Well that was surprising.
I didn’t expect anyone to really notice the Jackie Paper people in the flooring pictures. Let alone ask how to do it. So rather that write it up in emails I figured I’d just put up a quicky how to here. It is not complicated.
I use GIMP for photo editing. It’s free. and it is installed by default on Ubuntu. There is also a Windows version.
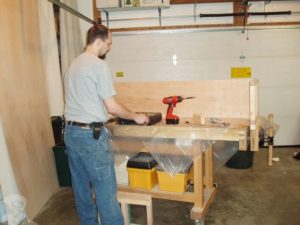
I’ll start with a completely different pic. Hopefully one that works without too much complication.
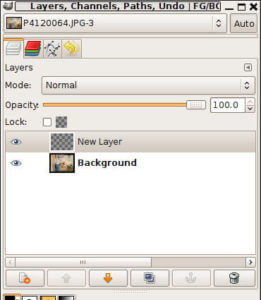
The First thing I do is add a new layer. In the file menu go to
Layer–> New Layer.
Click OK to accept the defaults.
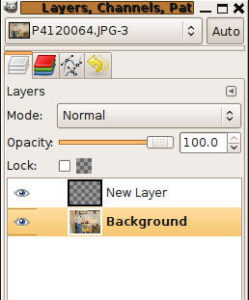
In the layers, Channels, paths… Window make sure you are in the new transparent layer. It will be highlighted.
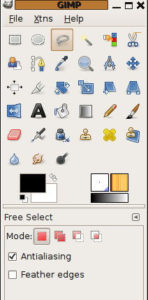
In the tools window choose the Pencil tool. It looks like this:
Choose the smallest brush Circle (01). It looks like a dot:
Set the scale to about 1.00 and the opacity to 100. You may need to adjust the scale up or down, depending on your photo.
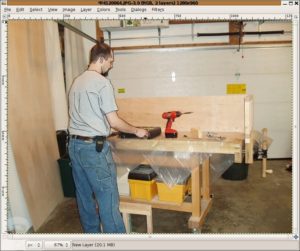
Now, while still on the new layer, I basically trace the object I want to turn into Jackie Paper. (in this case me) It doesn’t have to be perfect, but close is good. It goes a little bit easier if you zoom in a bit In the file menu go to:
View –> Zoom –> then choose the option you want.
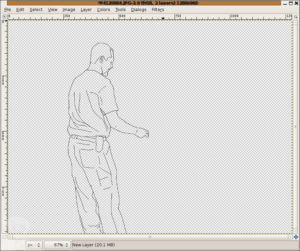
While tracing the out line, I also trace any defining characteristics the may help shape the object. i.e. a large wrinkle in a shirt, or a collar line. In the end, It looks like this:
If you click the eye next to the Background layer in the layers, channels, path Window you’ll be able to see just the lines you’ve drawn.
As you can see, it isn’t all that accurate, and the example is probably more detailed than necessary. It’ll work though.
Now comes the harder part.
You’ll need to select just the object (in this case, me again). So Go back to the Layers, Channels, paths window and make sure you can see, and you are working on the Background layer. It’ll be highlighted like before.
Click on the Free select tool. (looks like a lasso)
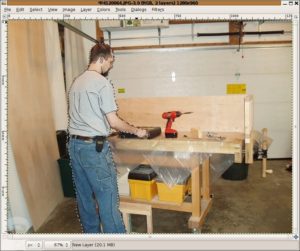
You are going to roughly trace the shape of the object. (again, me in the example) You don’t need to be perfect We’re going to adjust after.
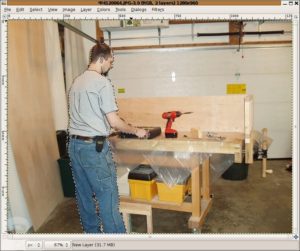
Now, here’s the time consuming part. With the selection tools if you hold down the Shift key, and use the mouse you can ad to the selection. A little plus symbol will be added to the cursor. So you can Zoom in and add any bits you missed. The Ctrl key works the same way, but subtracts from the selection. So what you want to do is zoom in and adjust the section to your liking. You can be perfect or you can be off a bit. I like to be off a bit so that it looks more like a rush cut of paper.
Hint: If there is a heavy shadow in the actual photo, don’t select it. It will help add to the effect in the final picture.
When done you should have something similar to this:
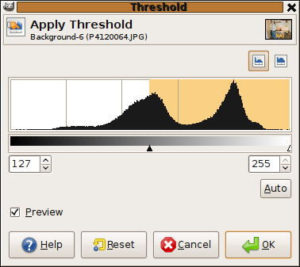
Then go to the file menu. Choose Colors –> Threshold…
Then adjust the little triangle until you have the amount of effect you want.
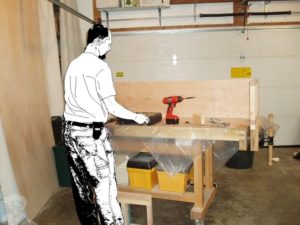
When done you’ll have something that looks like this:
Now you need to go to the file menu, chose Image –> Merge Visible Layers and click OK to accept the defaults. Lastly click File –> Save As
and name the file and choose a format.
that’s it.

