Using scraps that were left by the former owner of the house I decided to build a ‘guitar’ for Melissa to practice on. She already is using the Stratocaster knock off kit, but if we are playing at the same time My jumbo Dreadnought drowns her out. One day we went shopping for a smaller acoustic for Melissa. This was a good size for her. It was too much money for us at that time.
We took photos so we would remember the size and guitar type for a later date. When looking through my phone one day it dawned on me that this guitar had an electric guitars neck. Thus The idea for the Frankenguitar was born. Melissa had said that she like the shape of mine. O.O so I did a trace of the body with the idea of scaling it down after.

Stupid me forgot how to properly scale a drawing with curves. Didn’t think about it until after I cut it out. Because I didn’t properly scale the drawing and just copied the line one inch closer to the center, the top ended up way too small. Time to try another method.
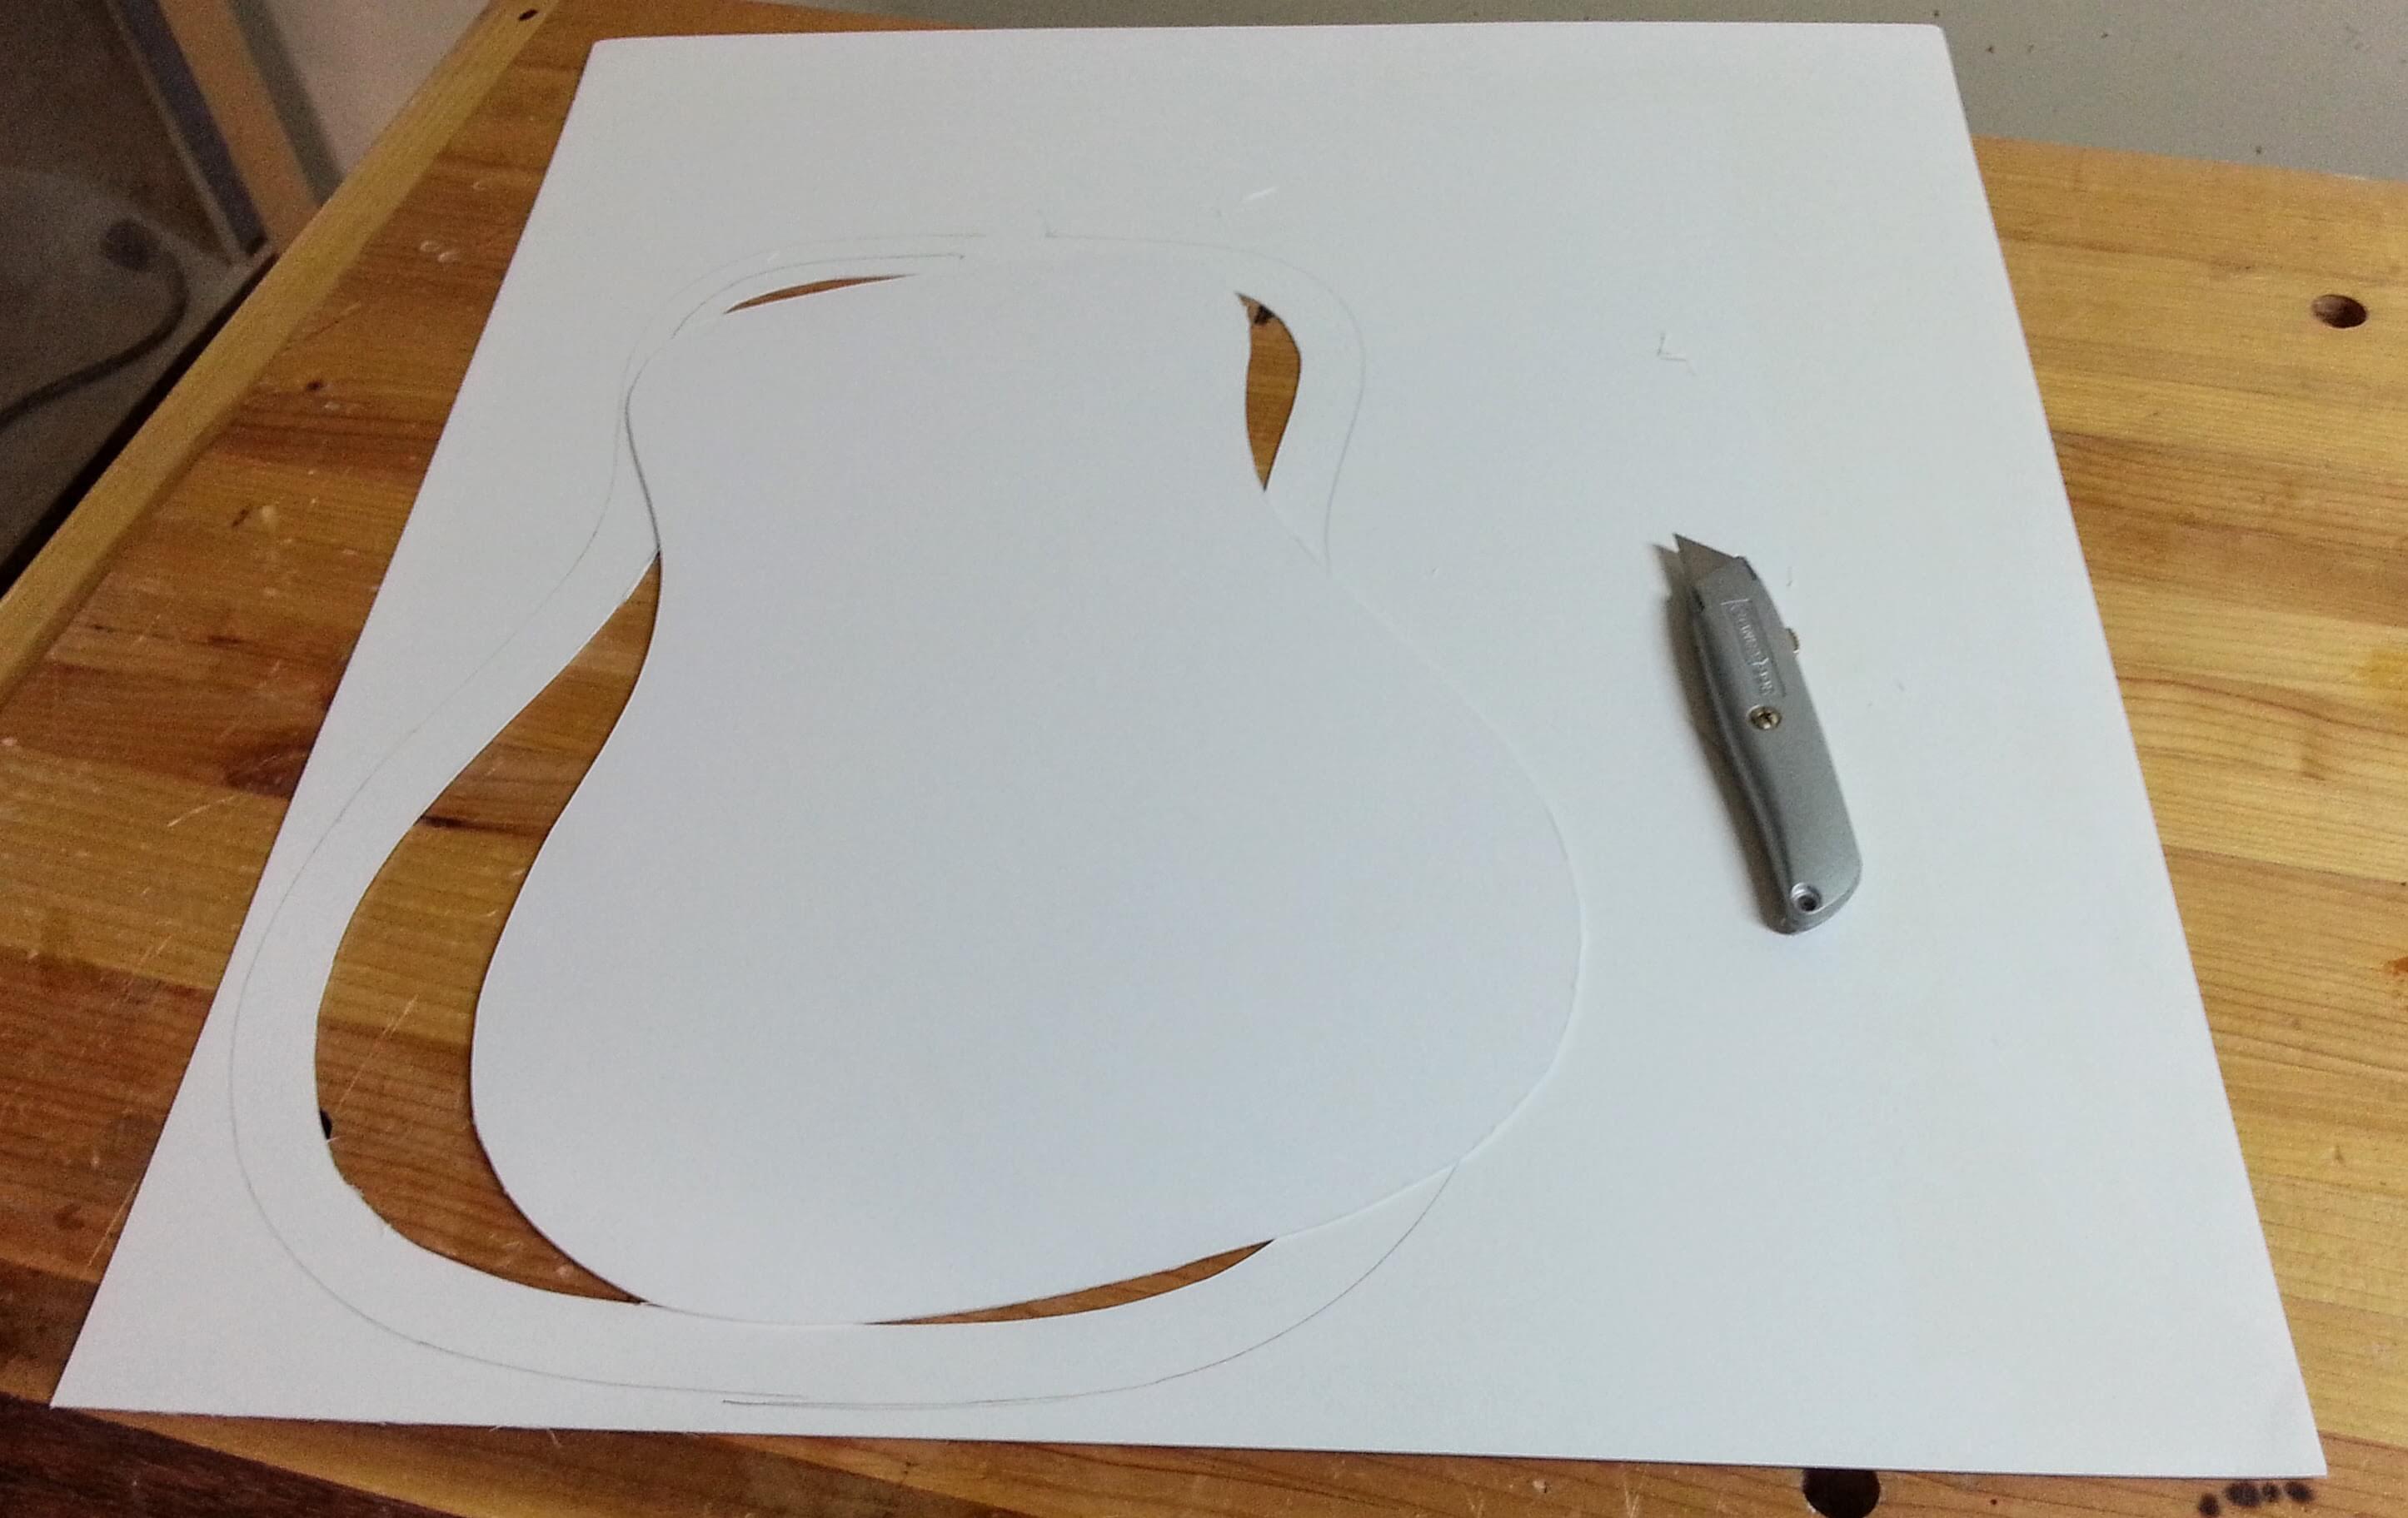
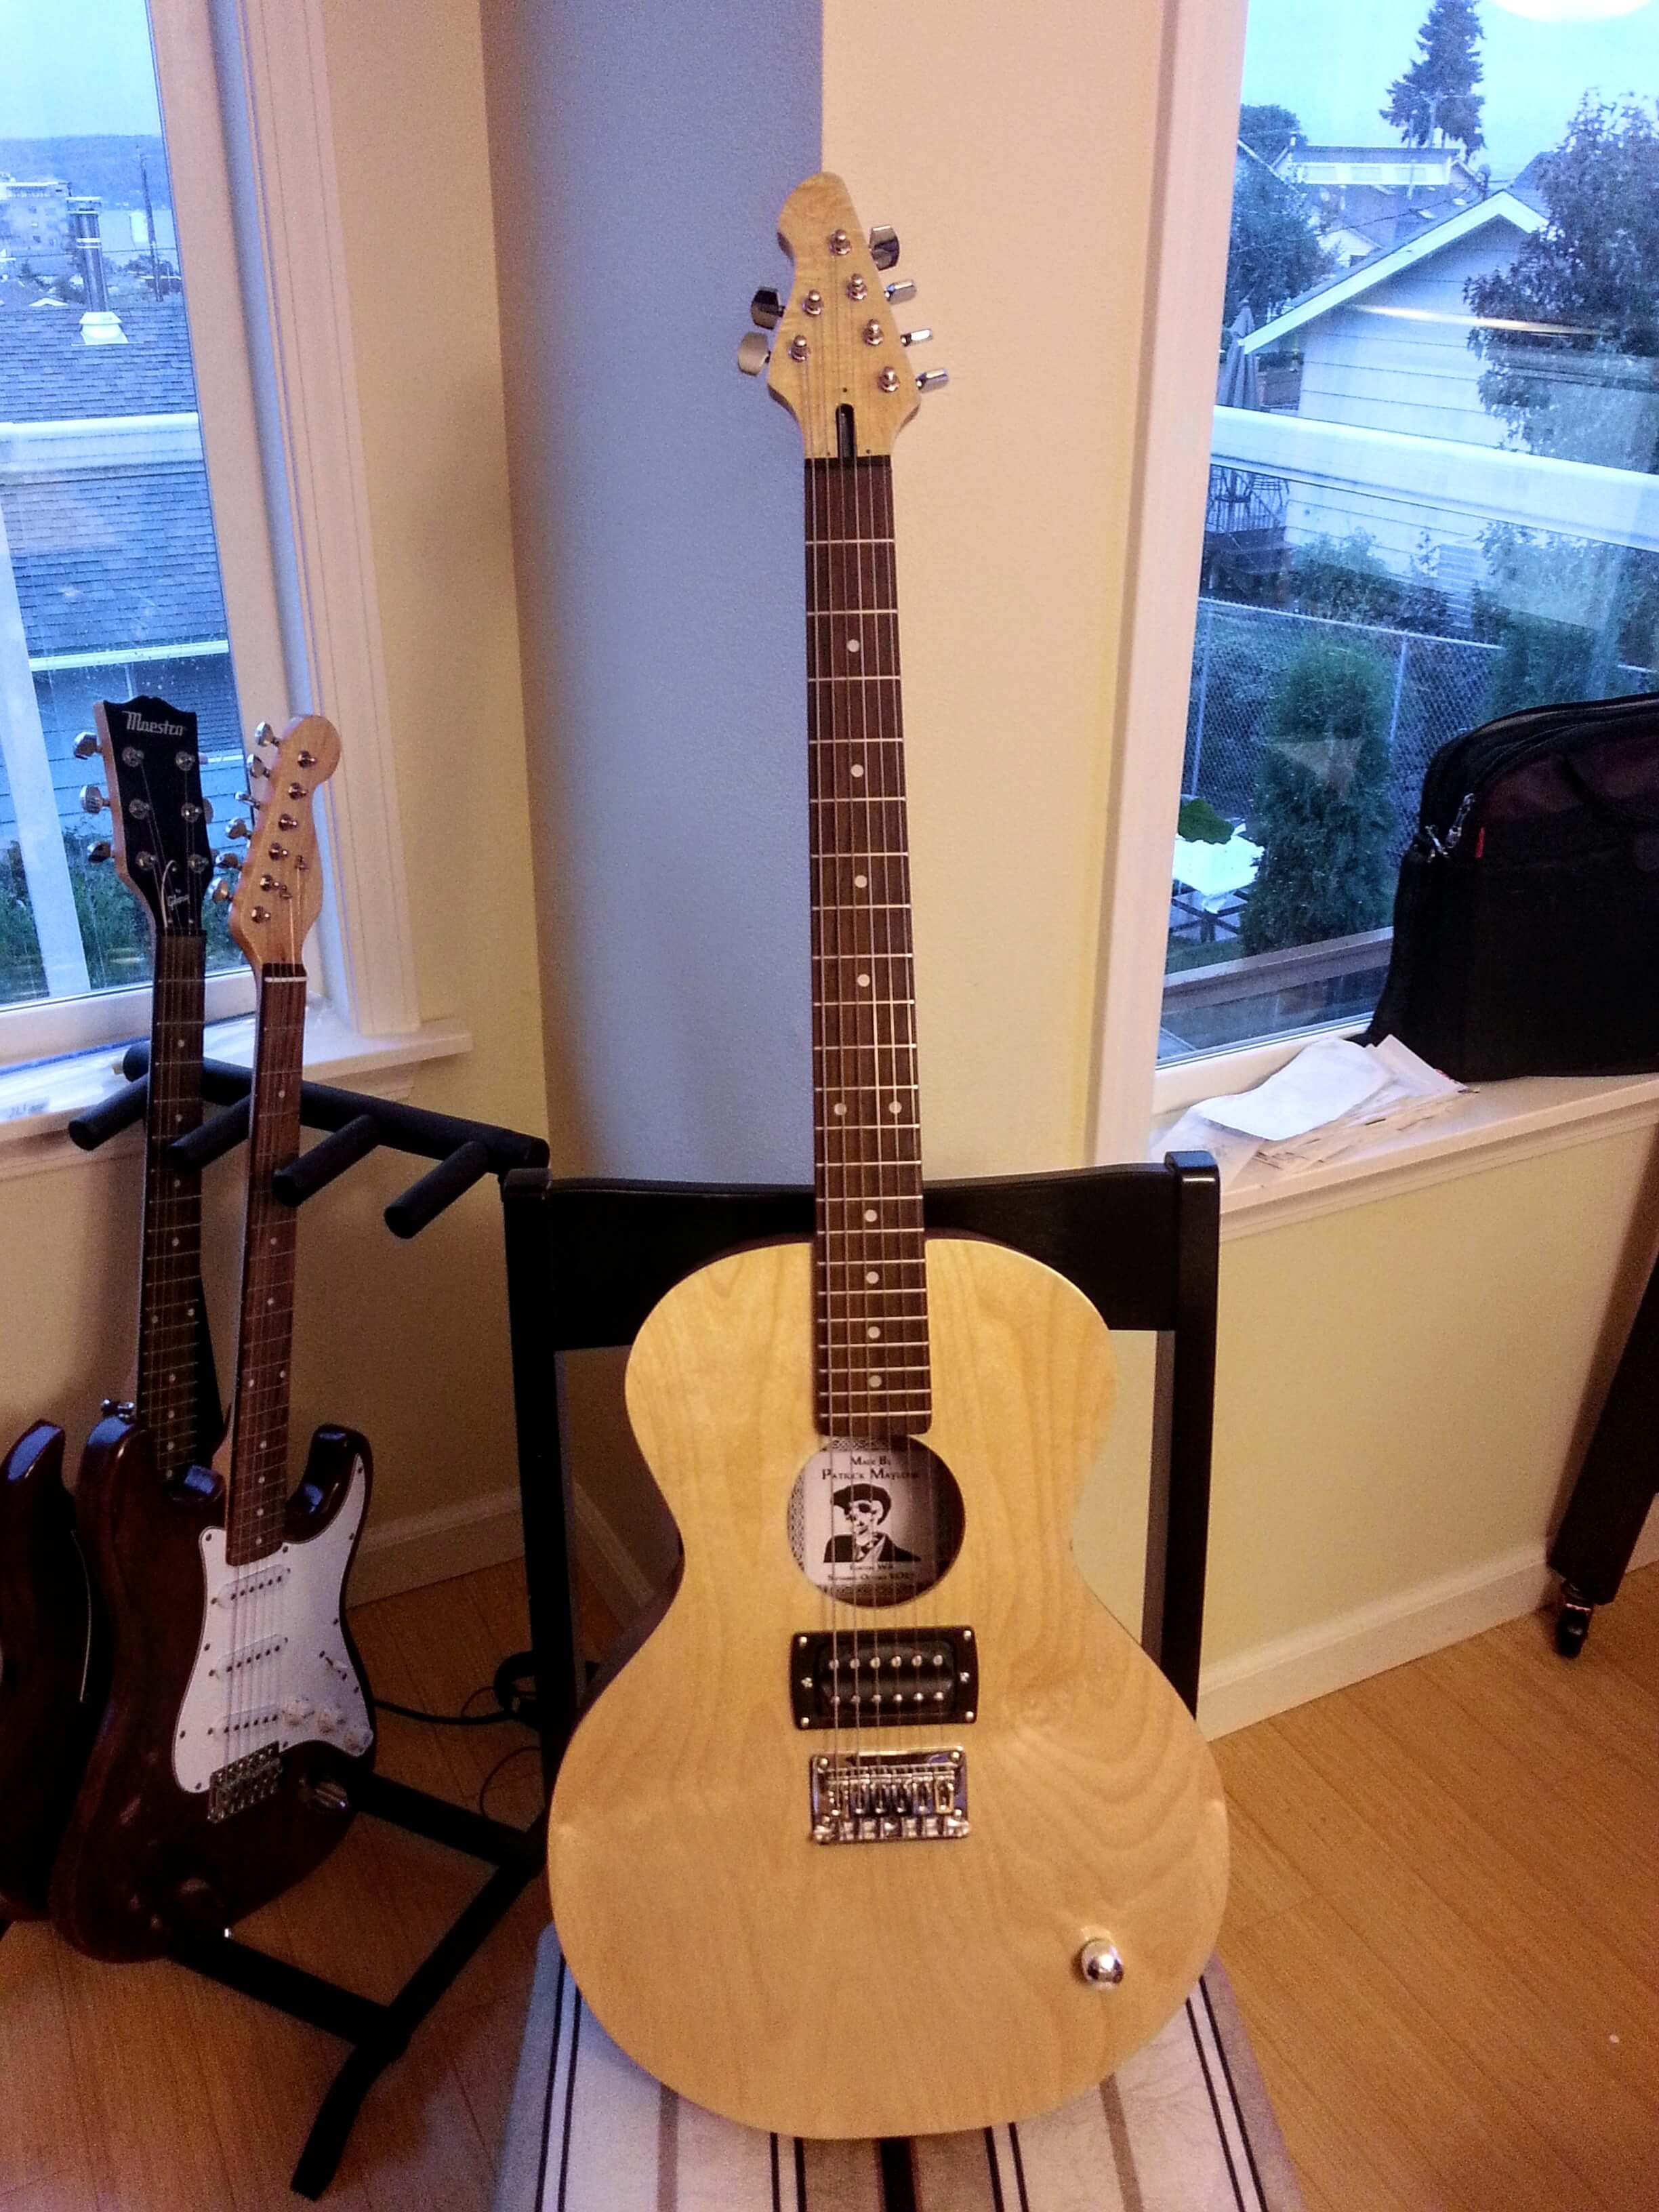
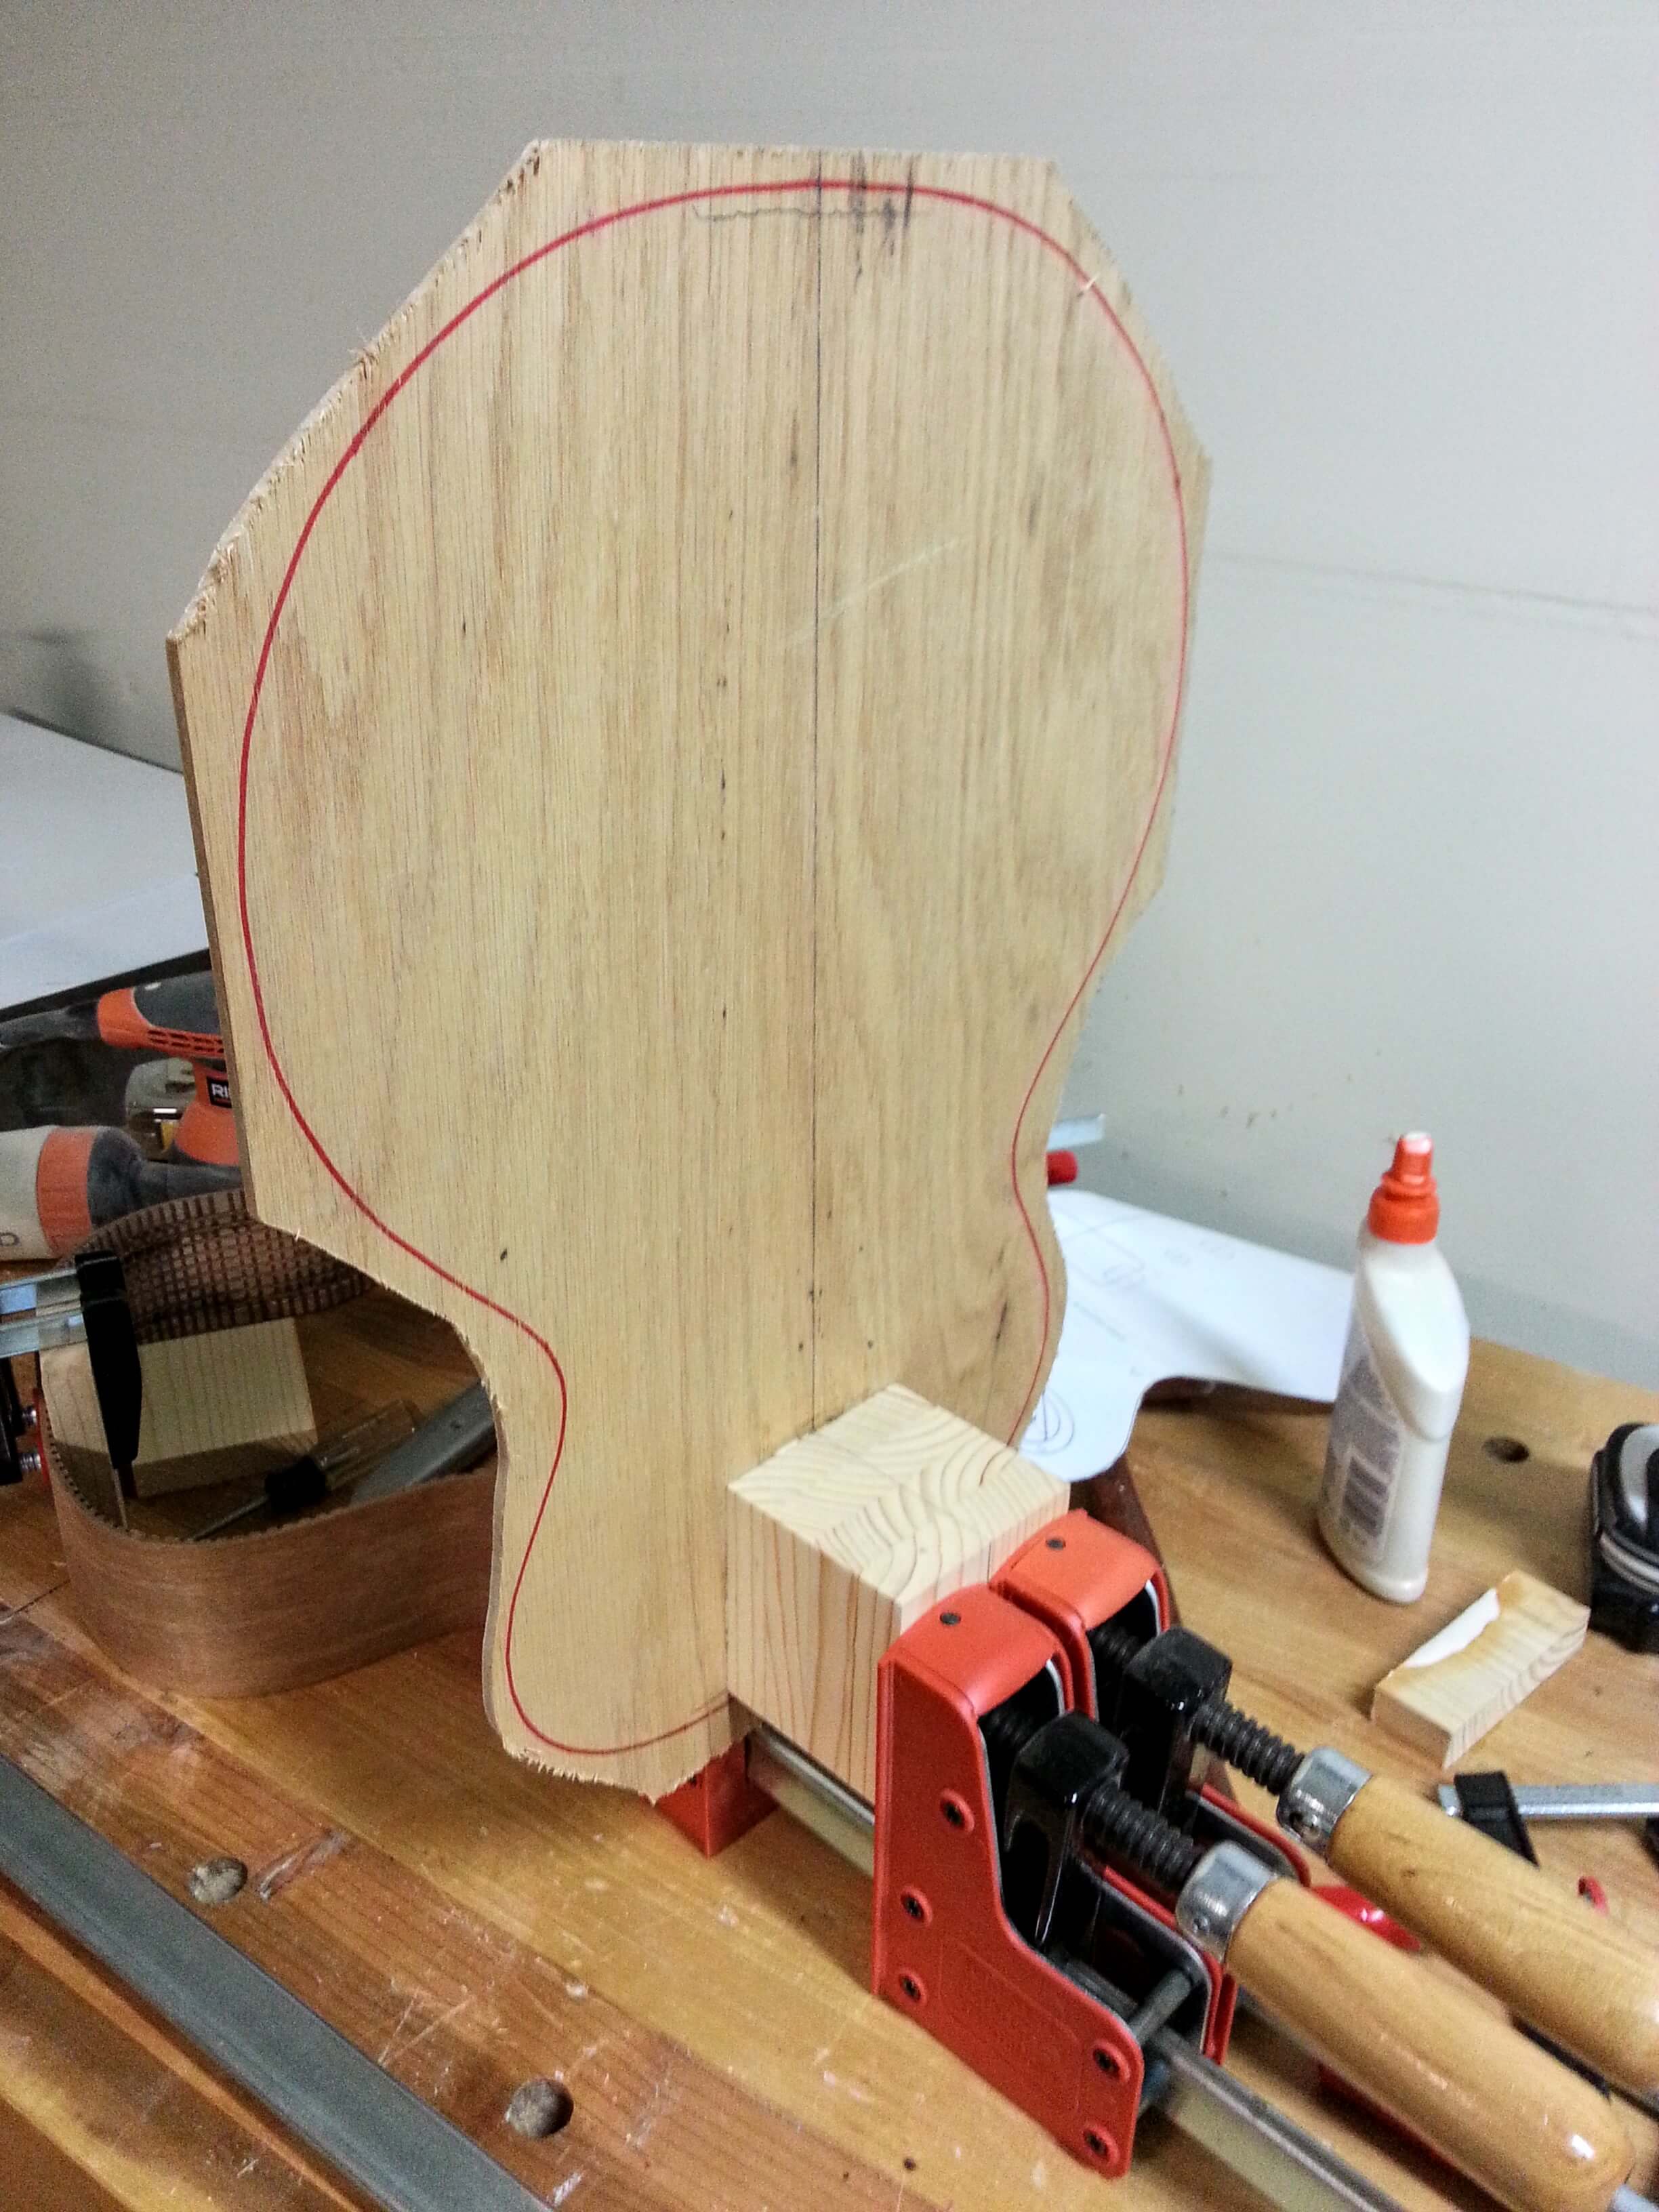
I settled on the Les Paul shape. It isn’t overly complex and it’s a pretty classic shape without being completely rounded on the bottom, which is what Melissa objected to. Since I didn’t want to mess with a cutaway on my first attempt at an acoustic, I just traced one side, then flipped the pattern over to trace the other.
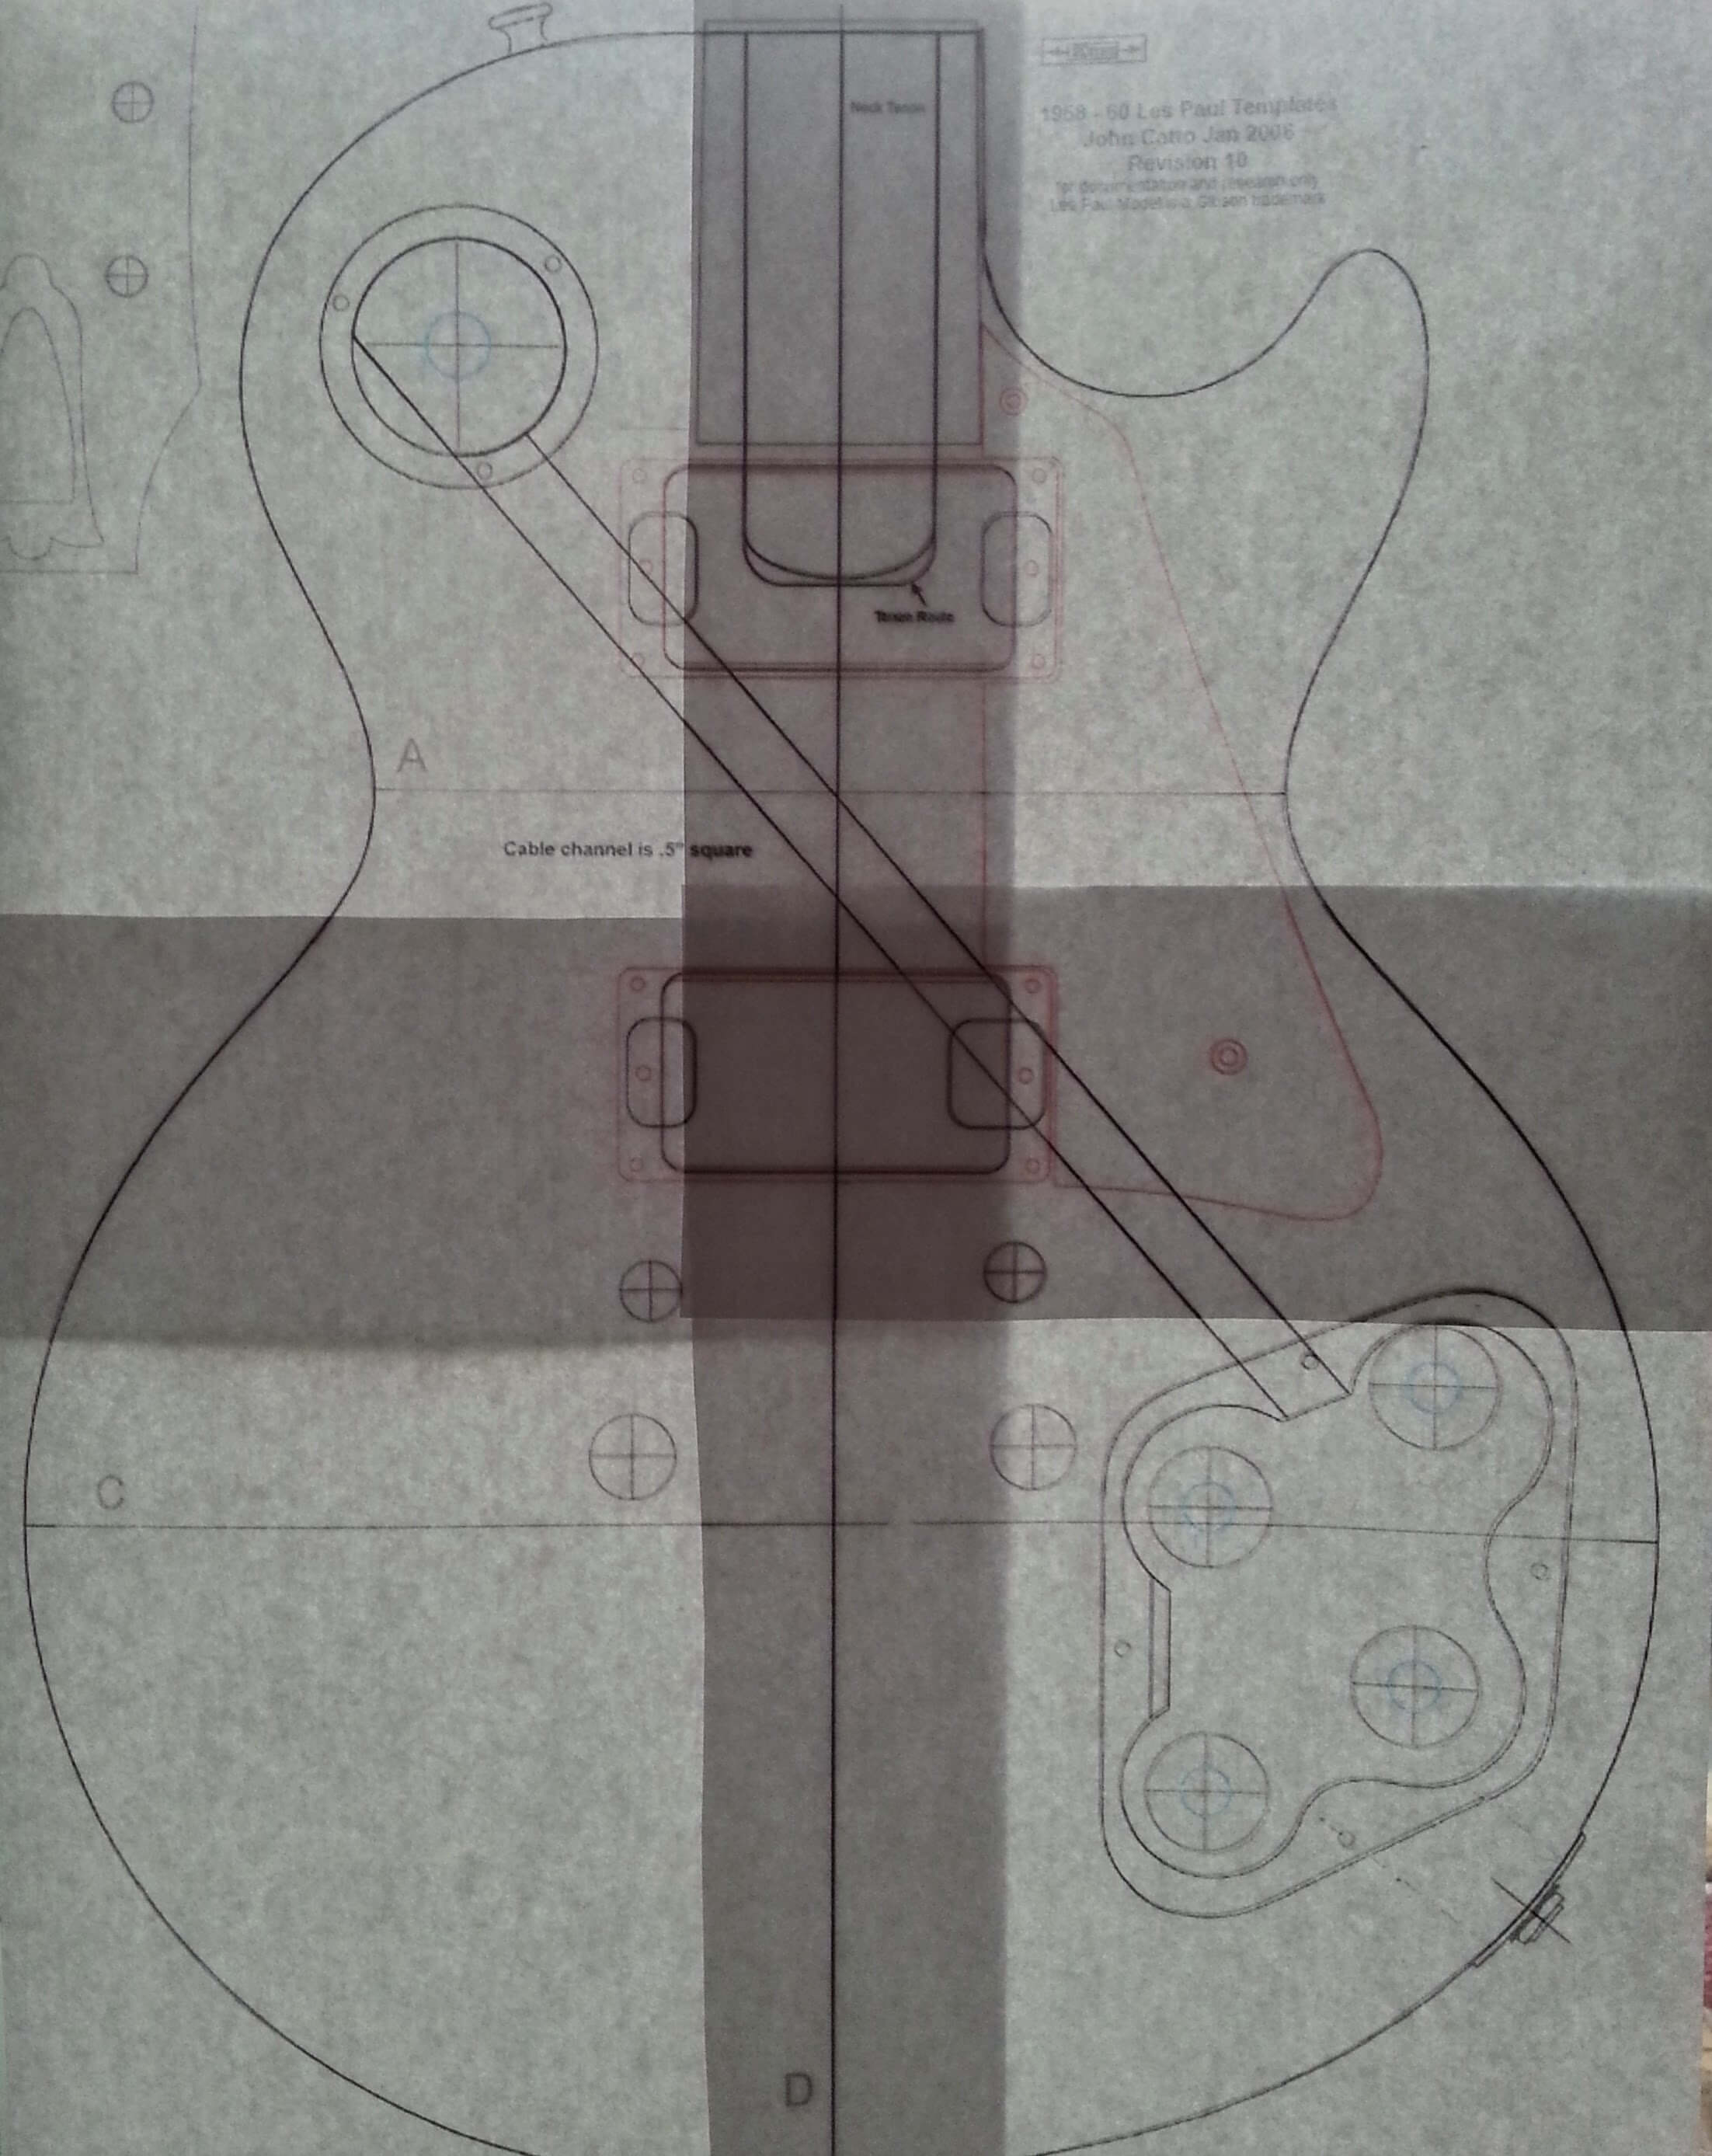
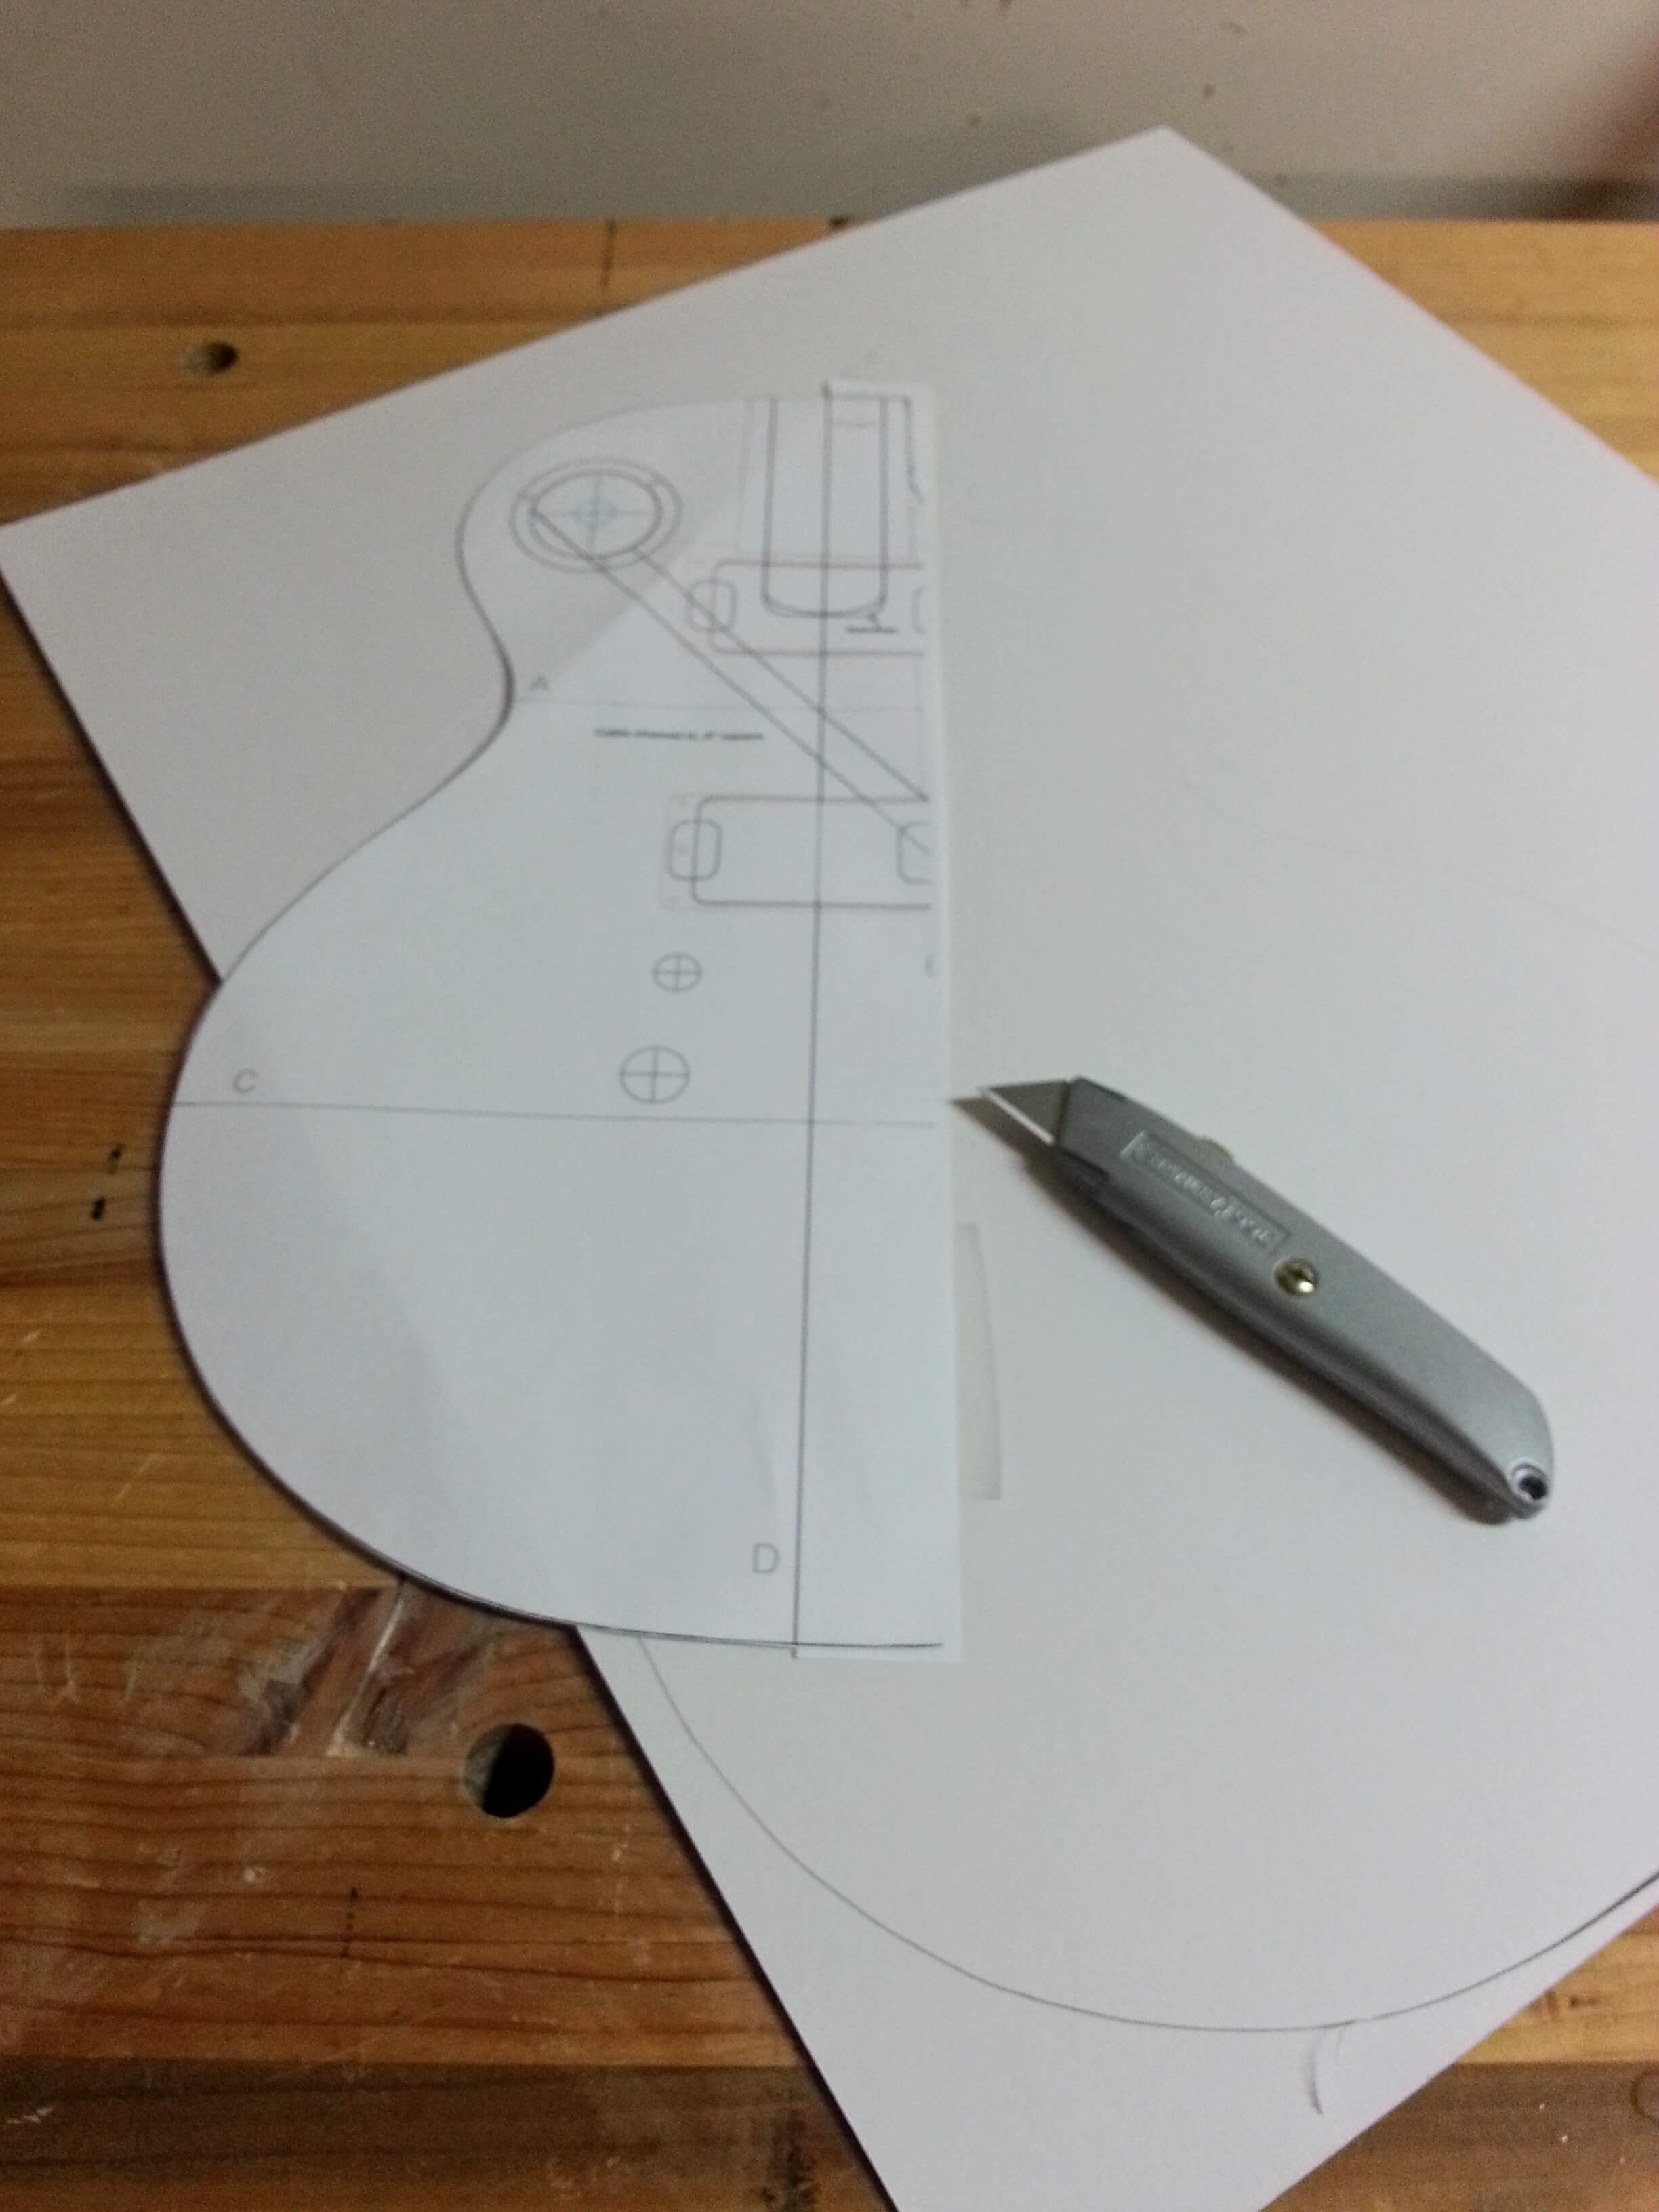
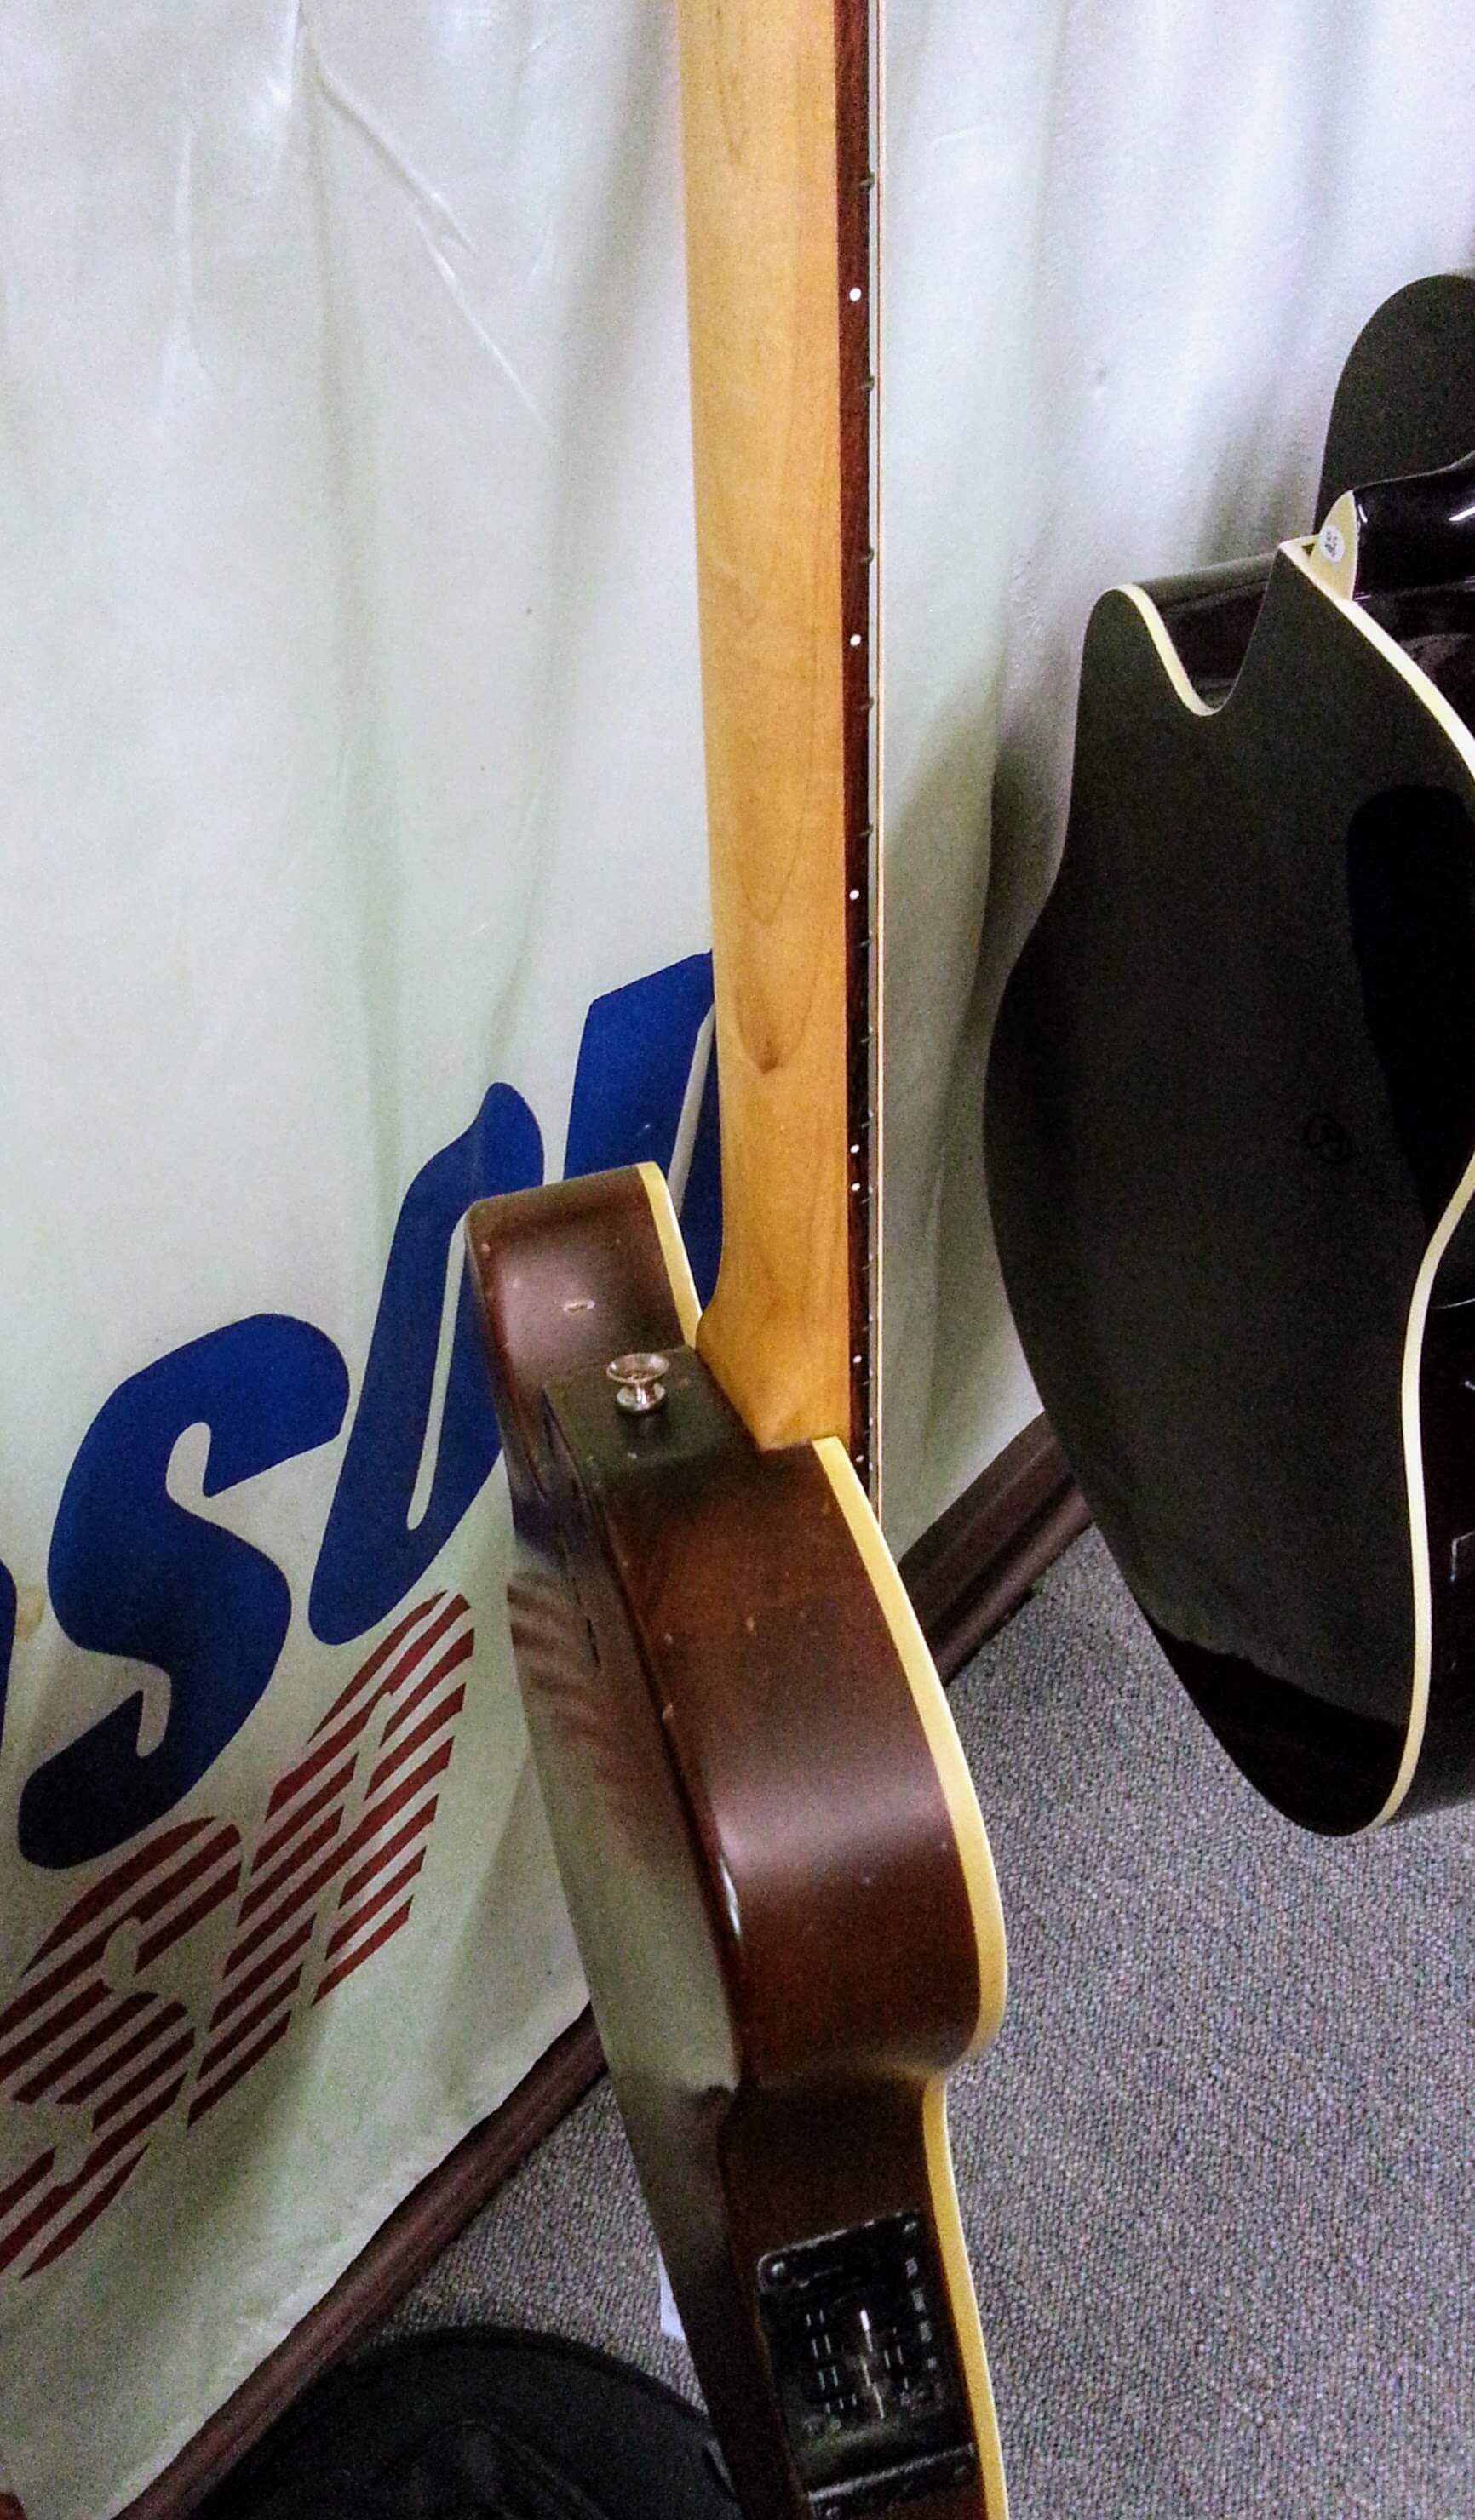
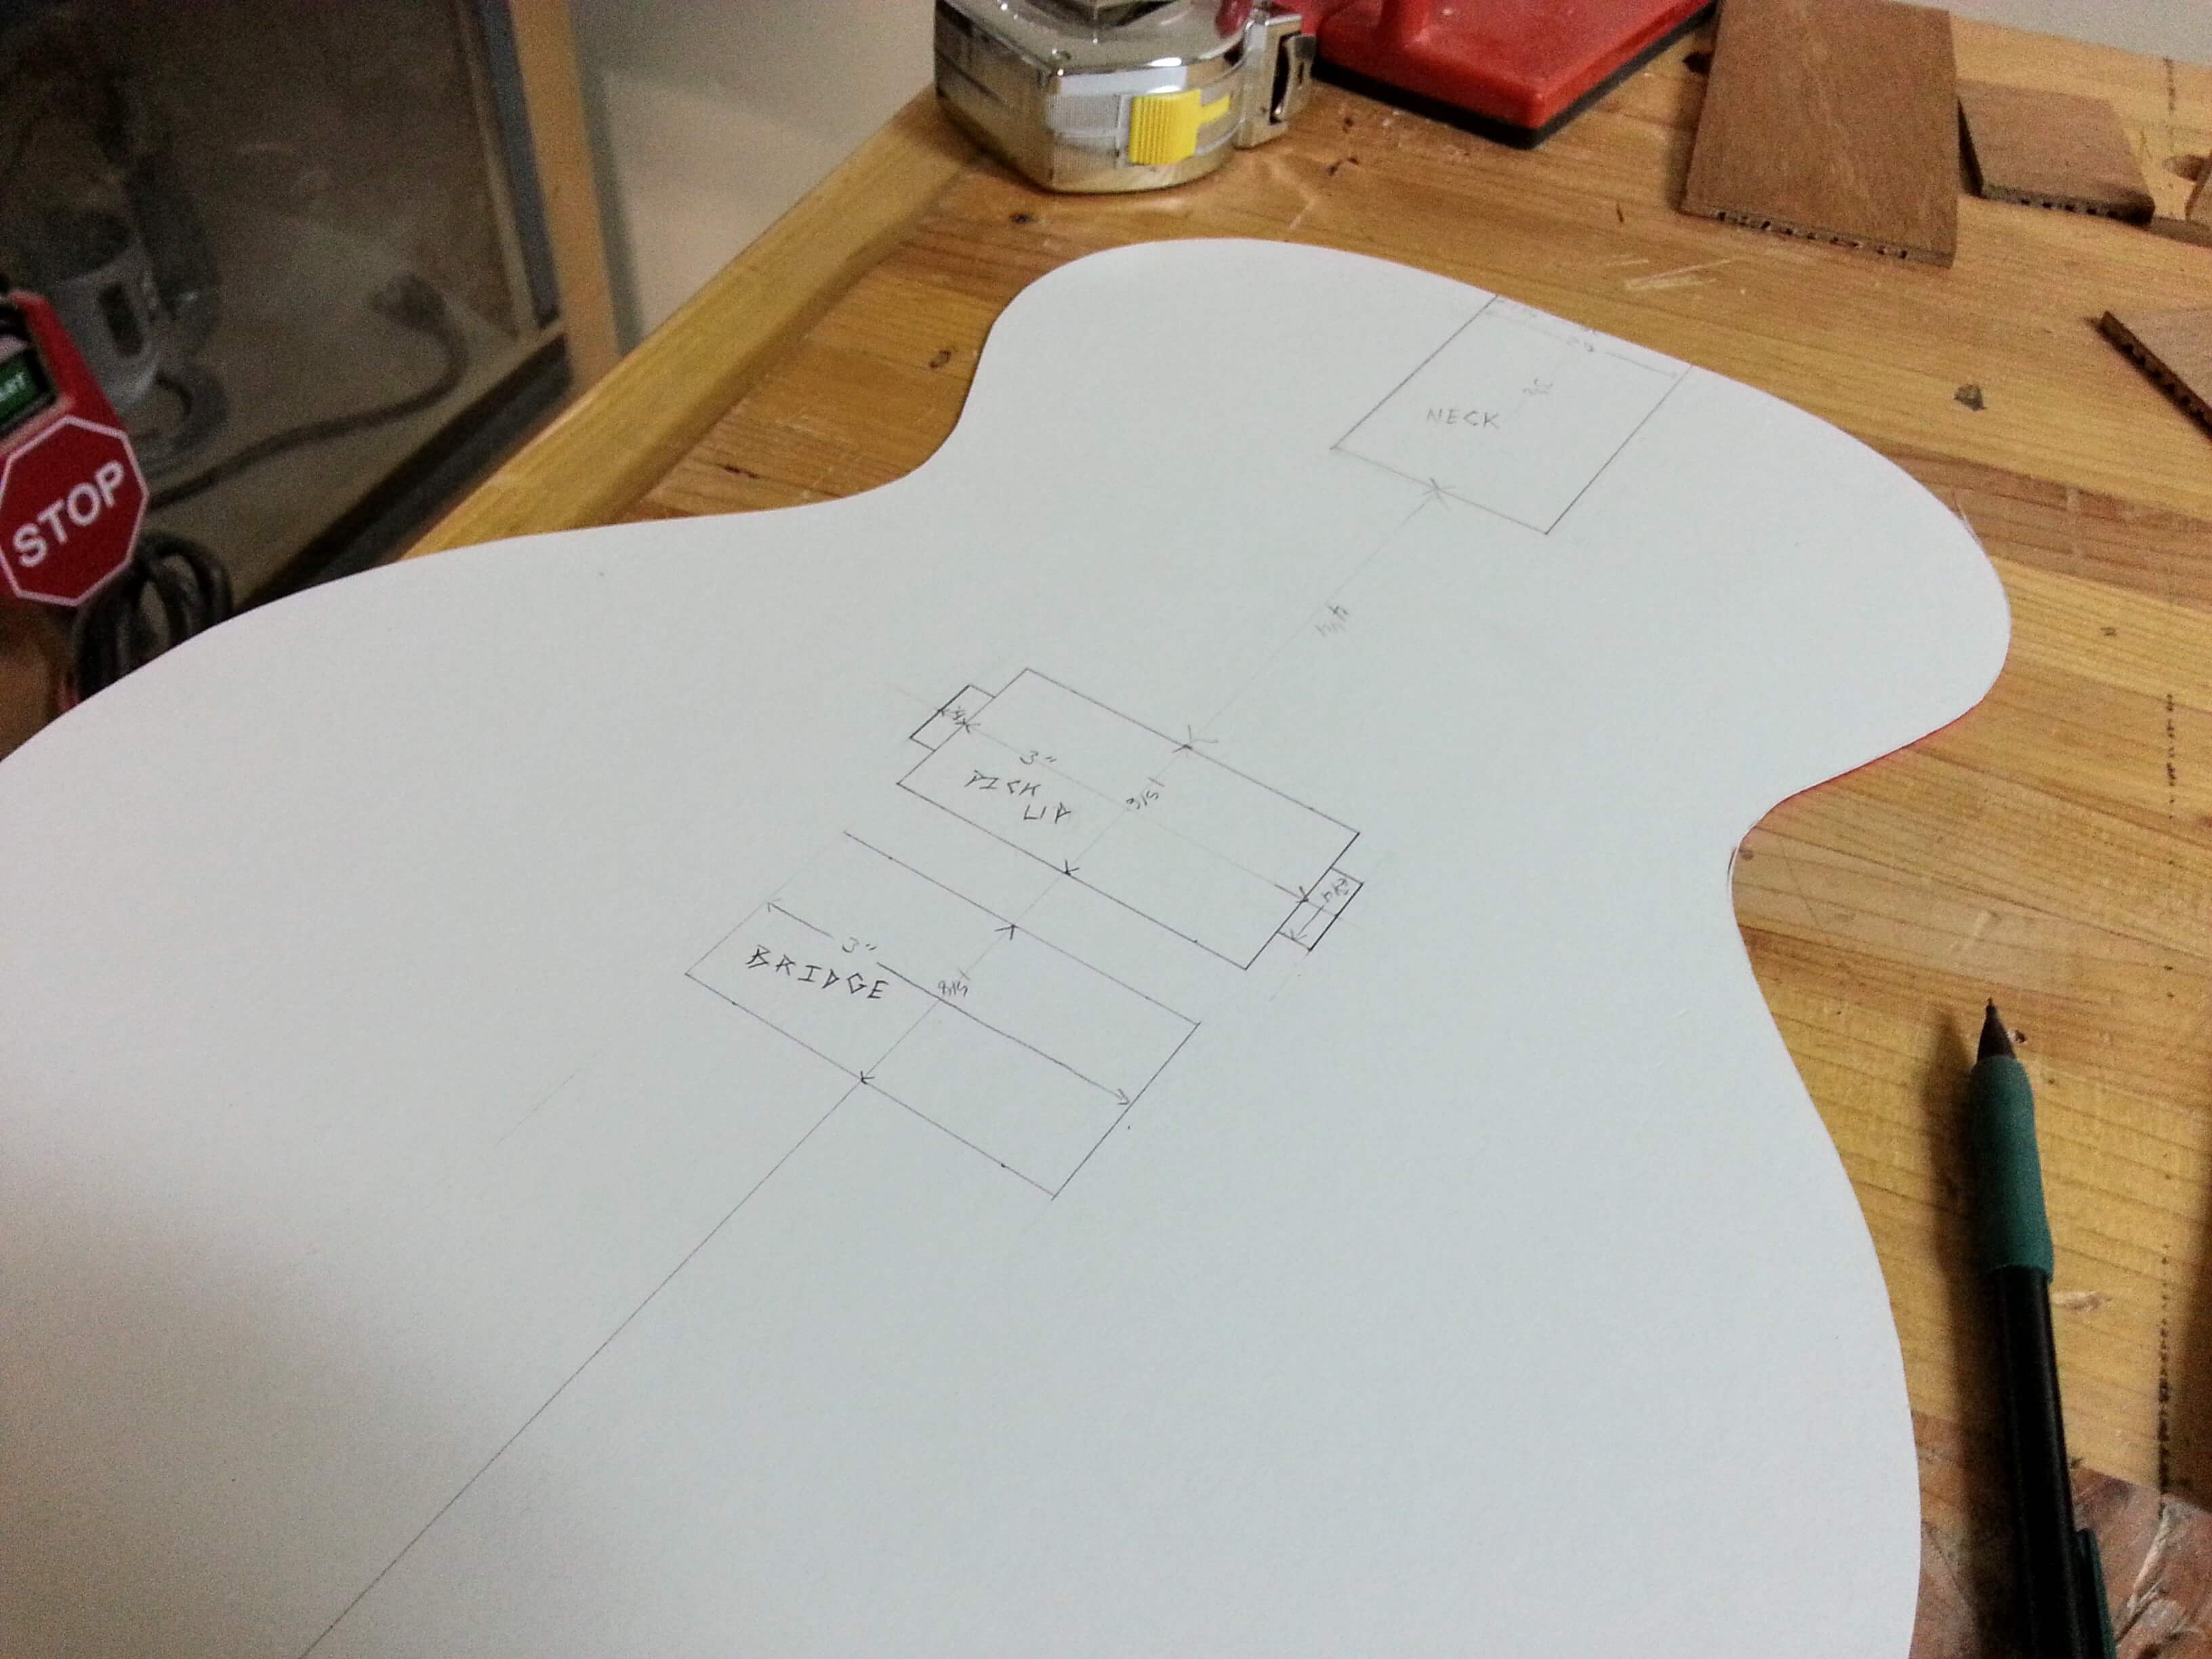
Because I’m kind of doing a combo electric and acoustic I needed to mark a few things out for the sound board. Not really knowing proper string lengths and fret placement for what I was doing. and not really wanting to screw with the maths involved, I just measured the cheap electric I bought for parts. Neck, headstock, bridge, pickup…
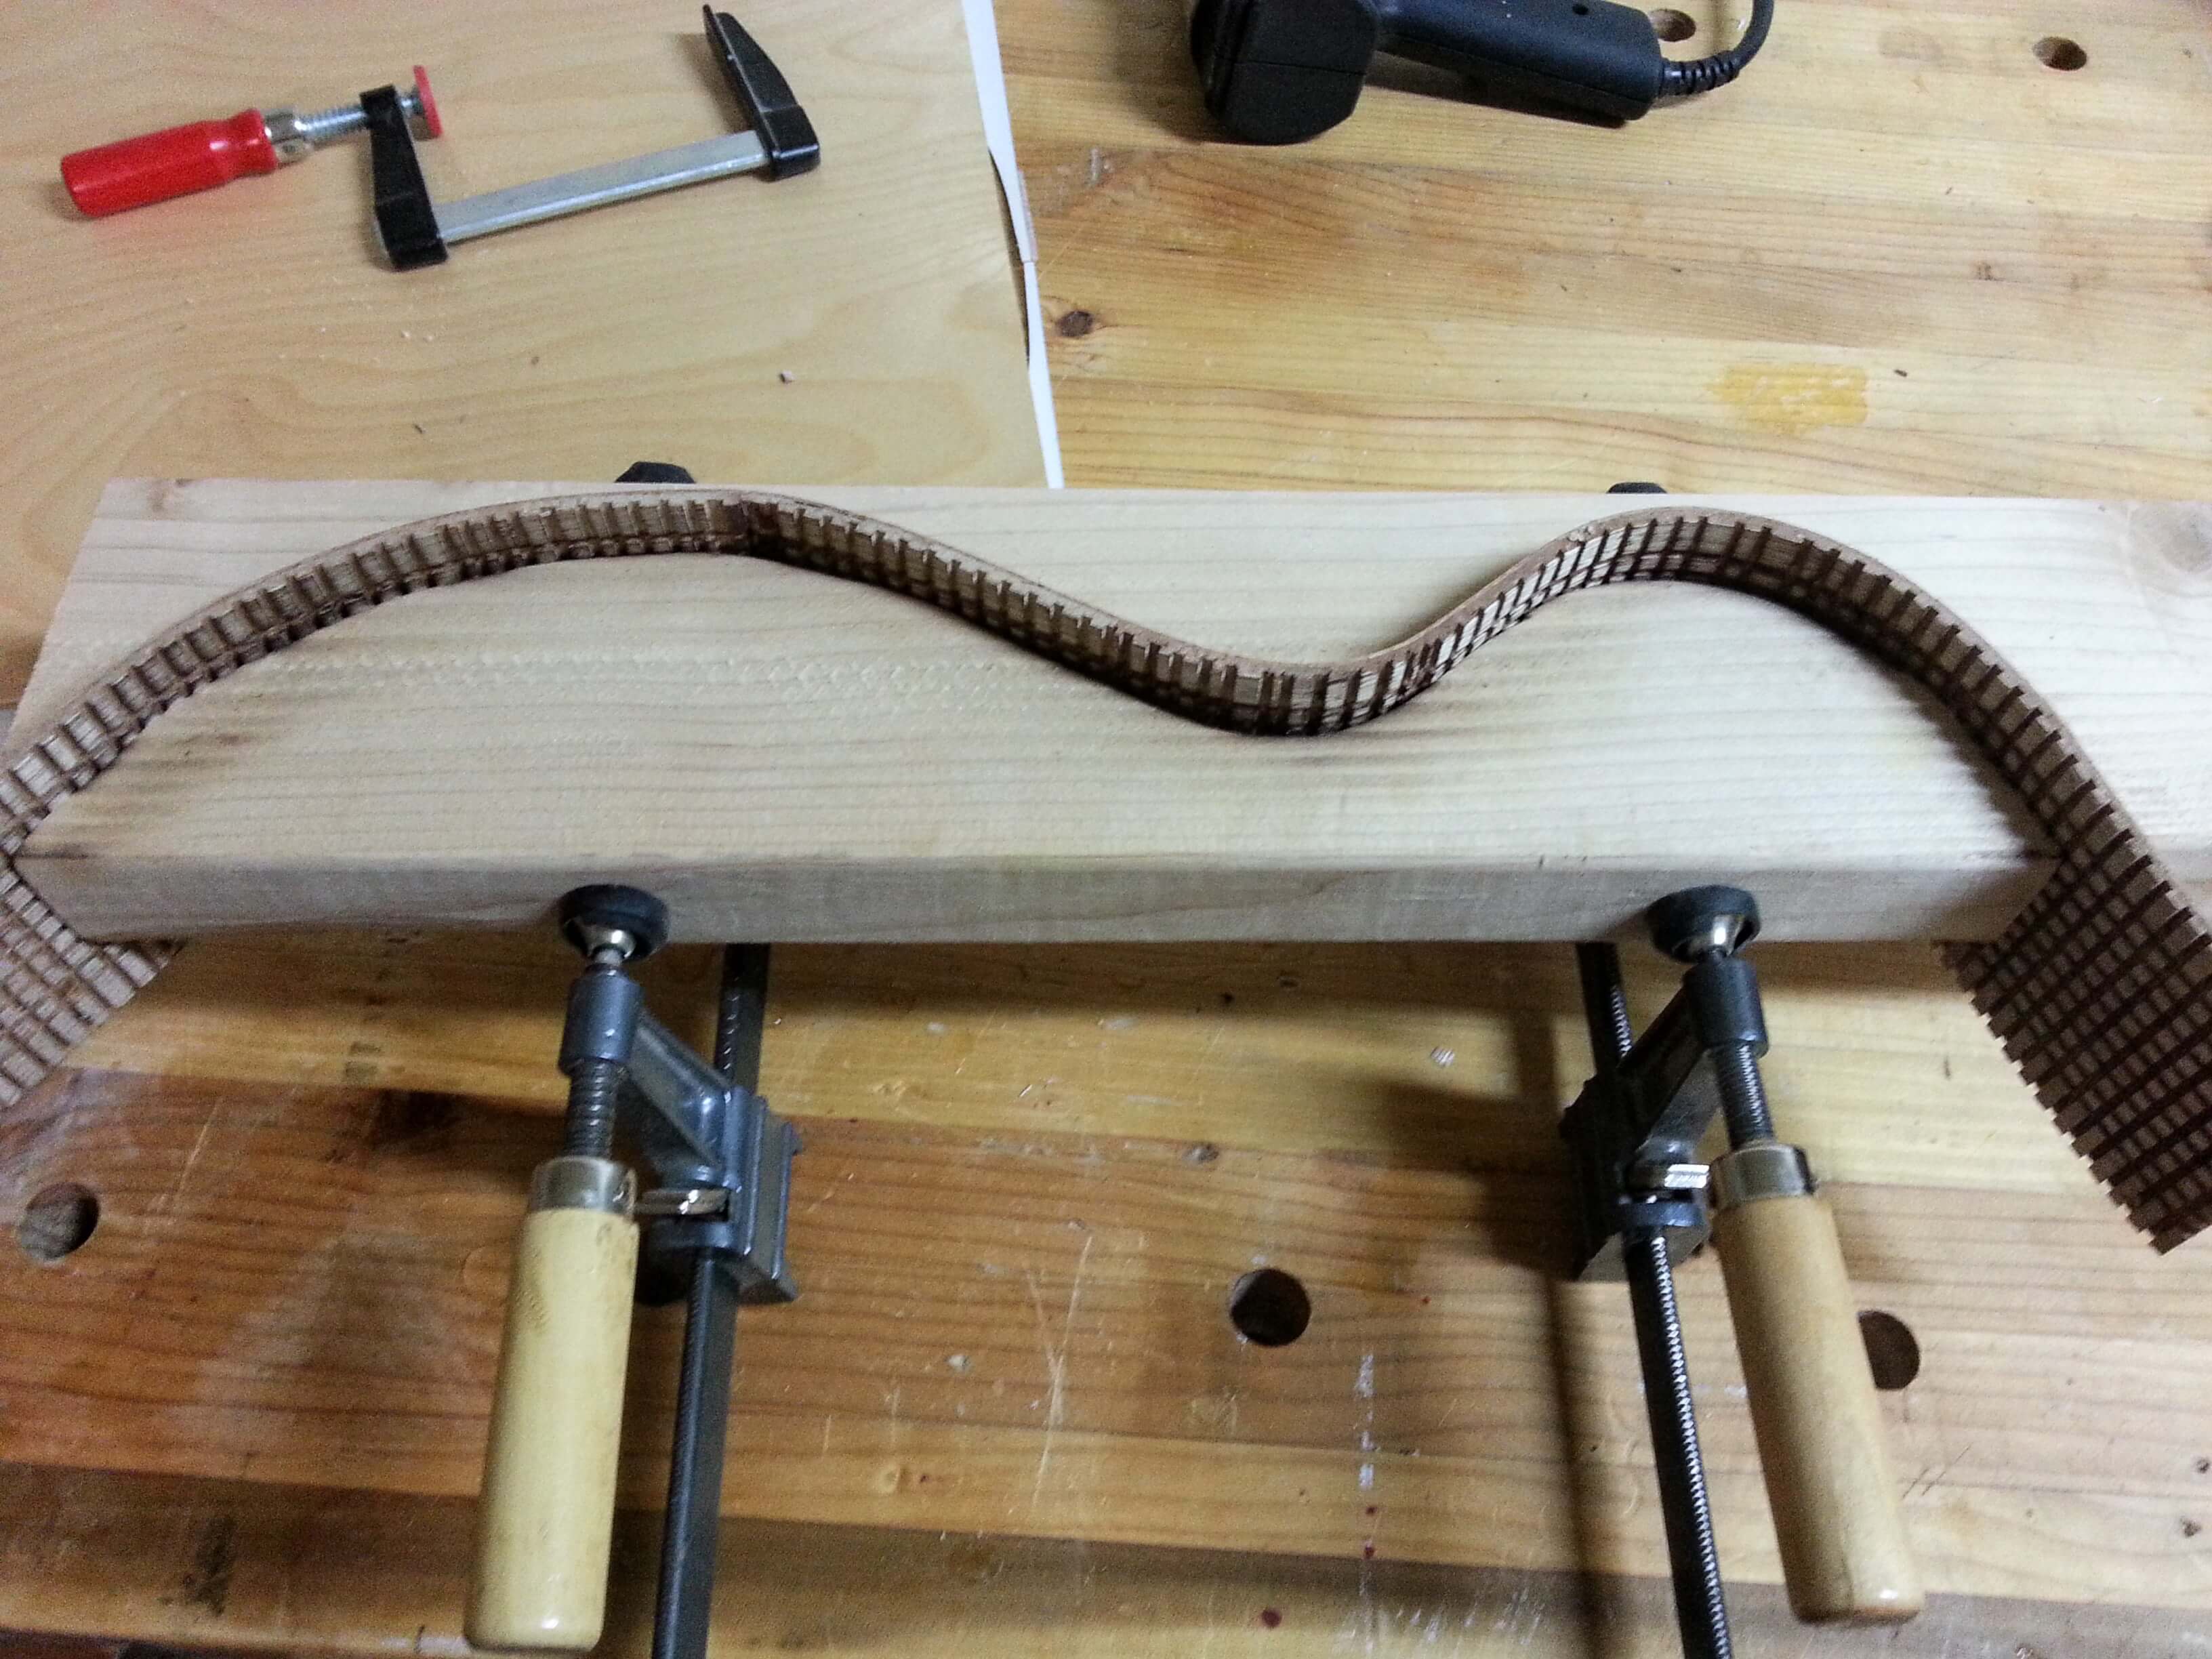
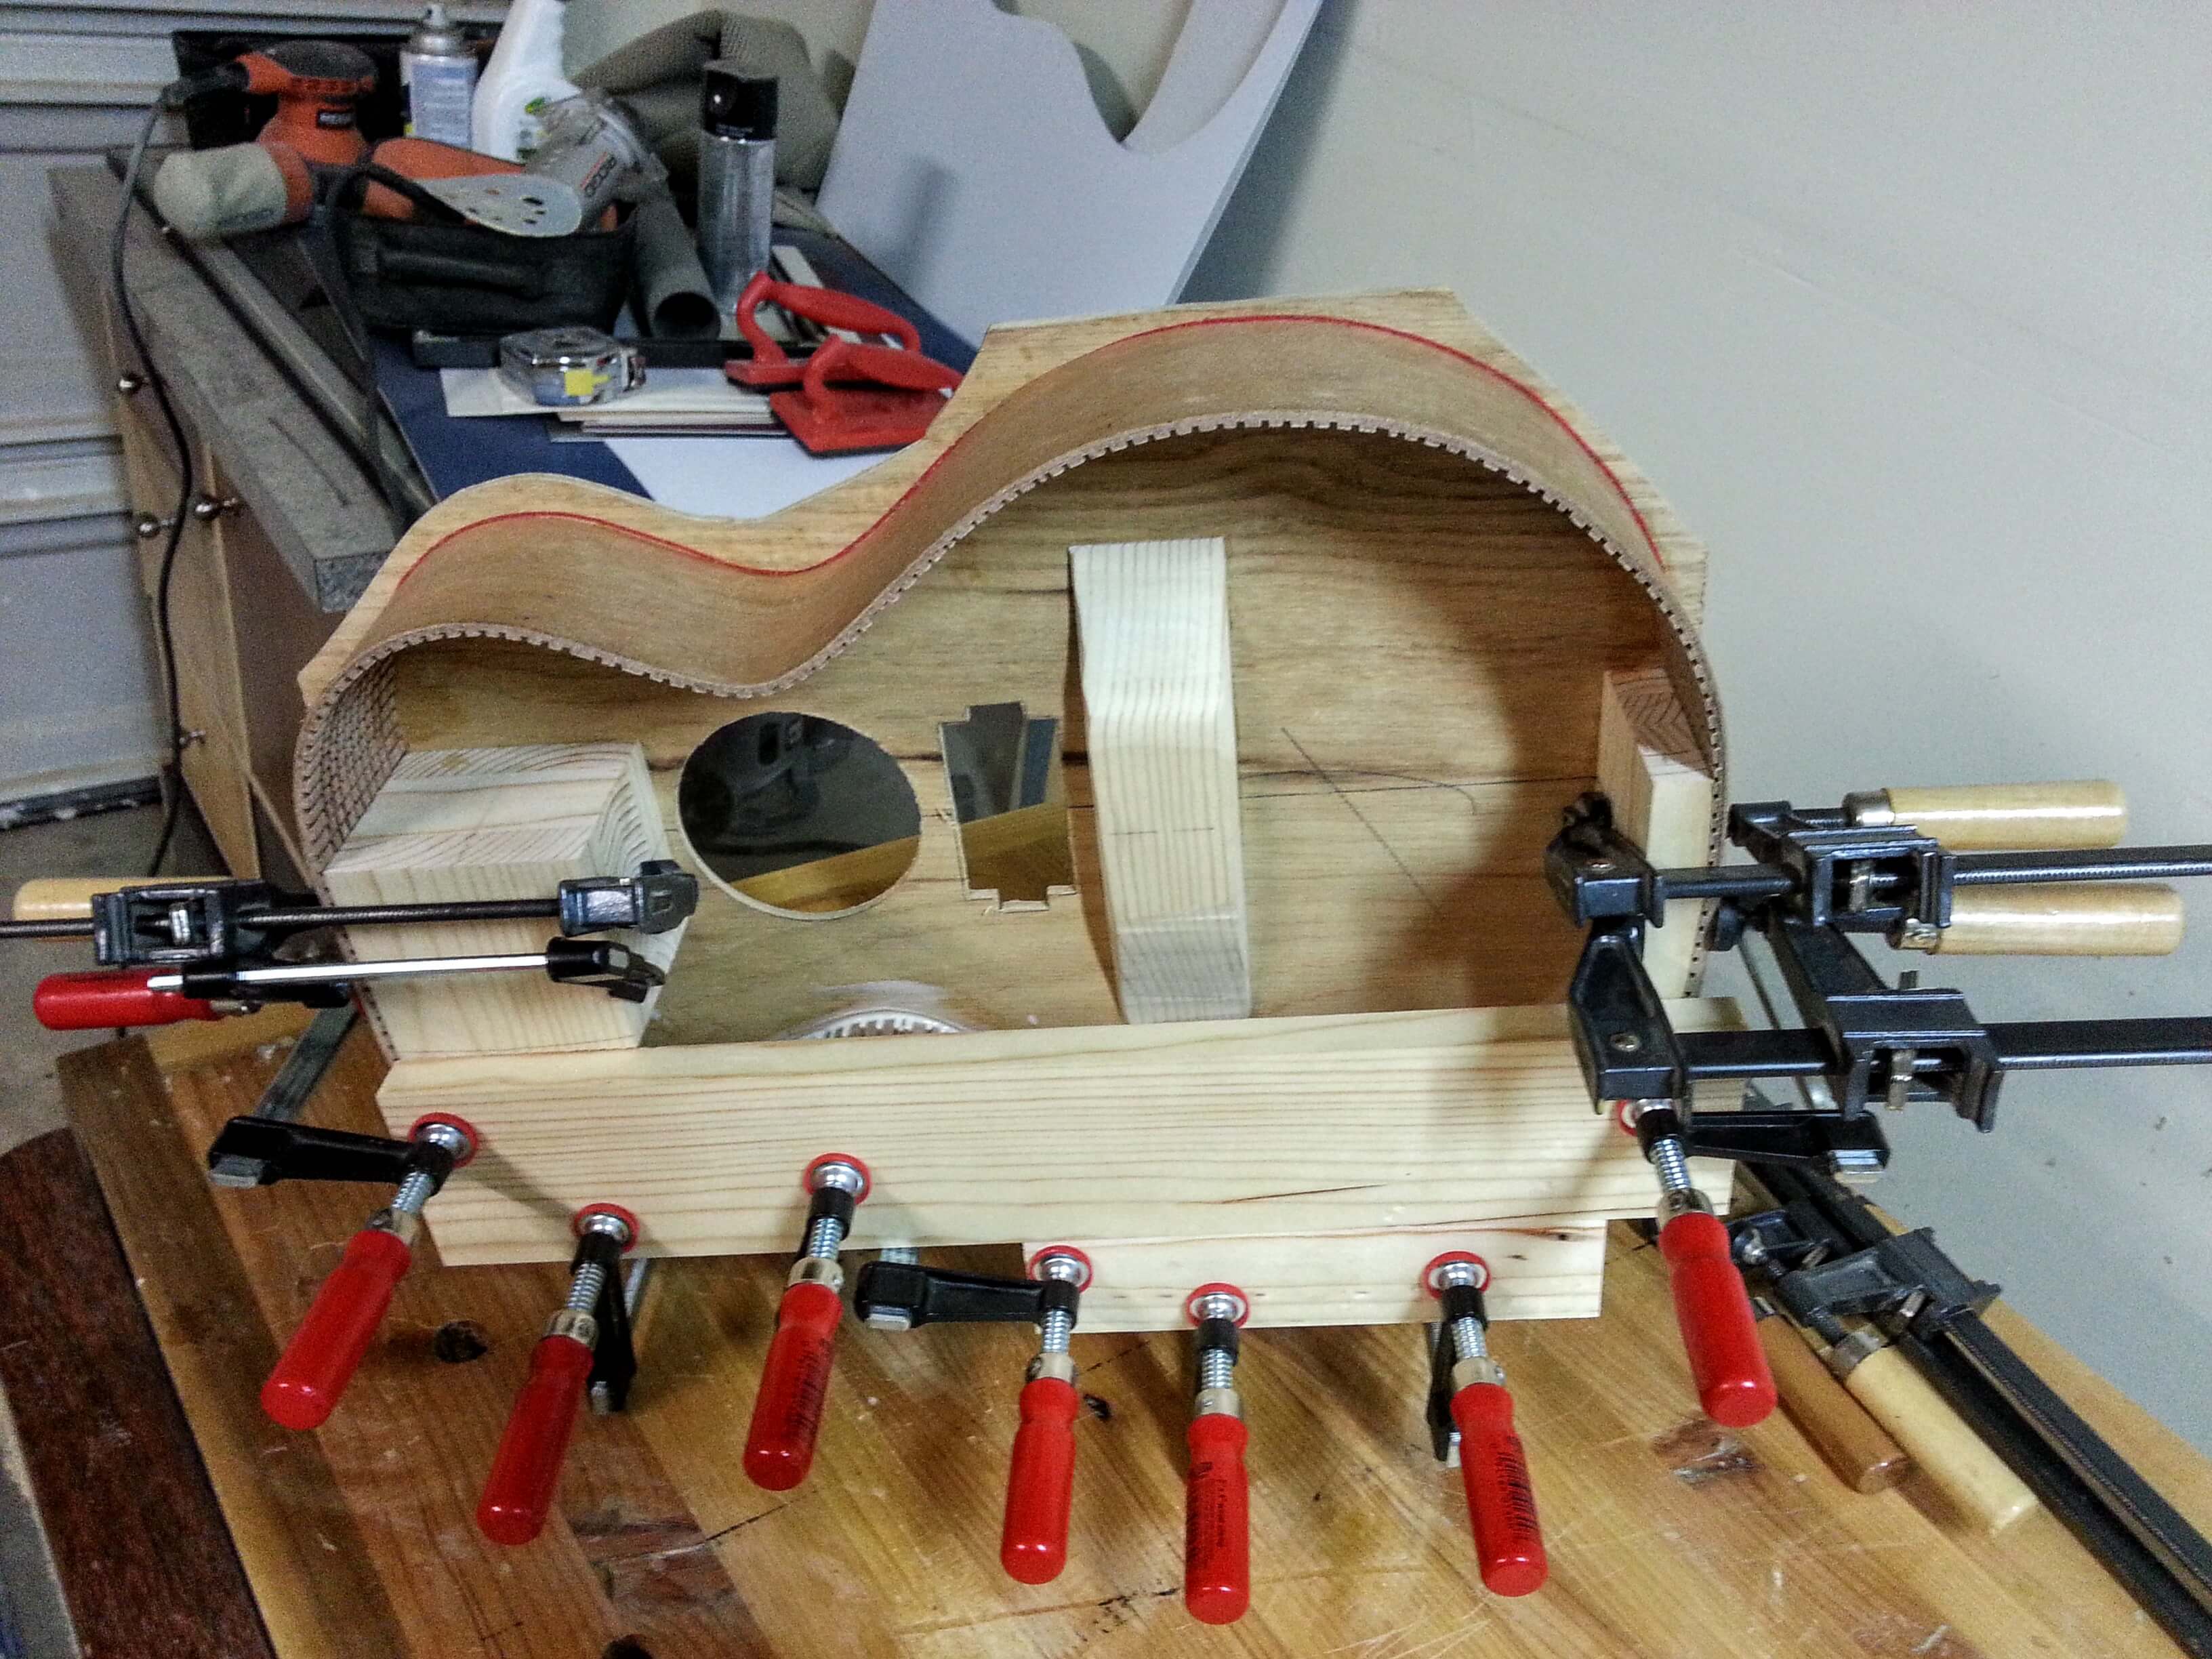
First attempt at the sides. The scrap is kick board trim for cabinets. The long 10ft printed things you get at home depot and such. They really are a bit thick for bending, but with reliefs cut in, the were very flexible already in one direction. The soundboard is a pre-skinned panel for covering the ends of a cabinet area. one side is a decent maple, the other is what ever crap they had. I chose to put the crap on the inside. :-)
My first attempt at bending wood. It didn’t go so well. There was a void in one of the pieces and it broke. In the end it worked out OK since I decided that the 2″ sides were a little narrow. These are nearly 4″ tall. They should add a little more balance when sitting and playing.
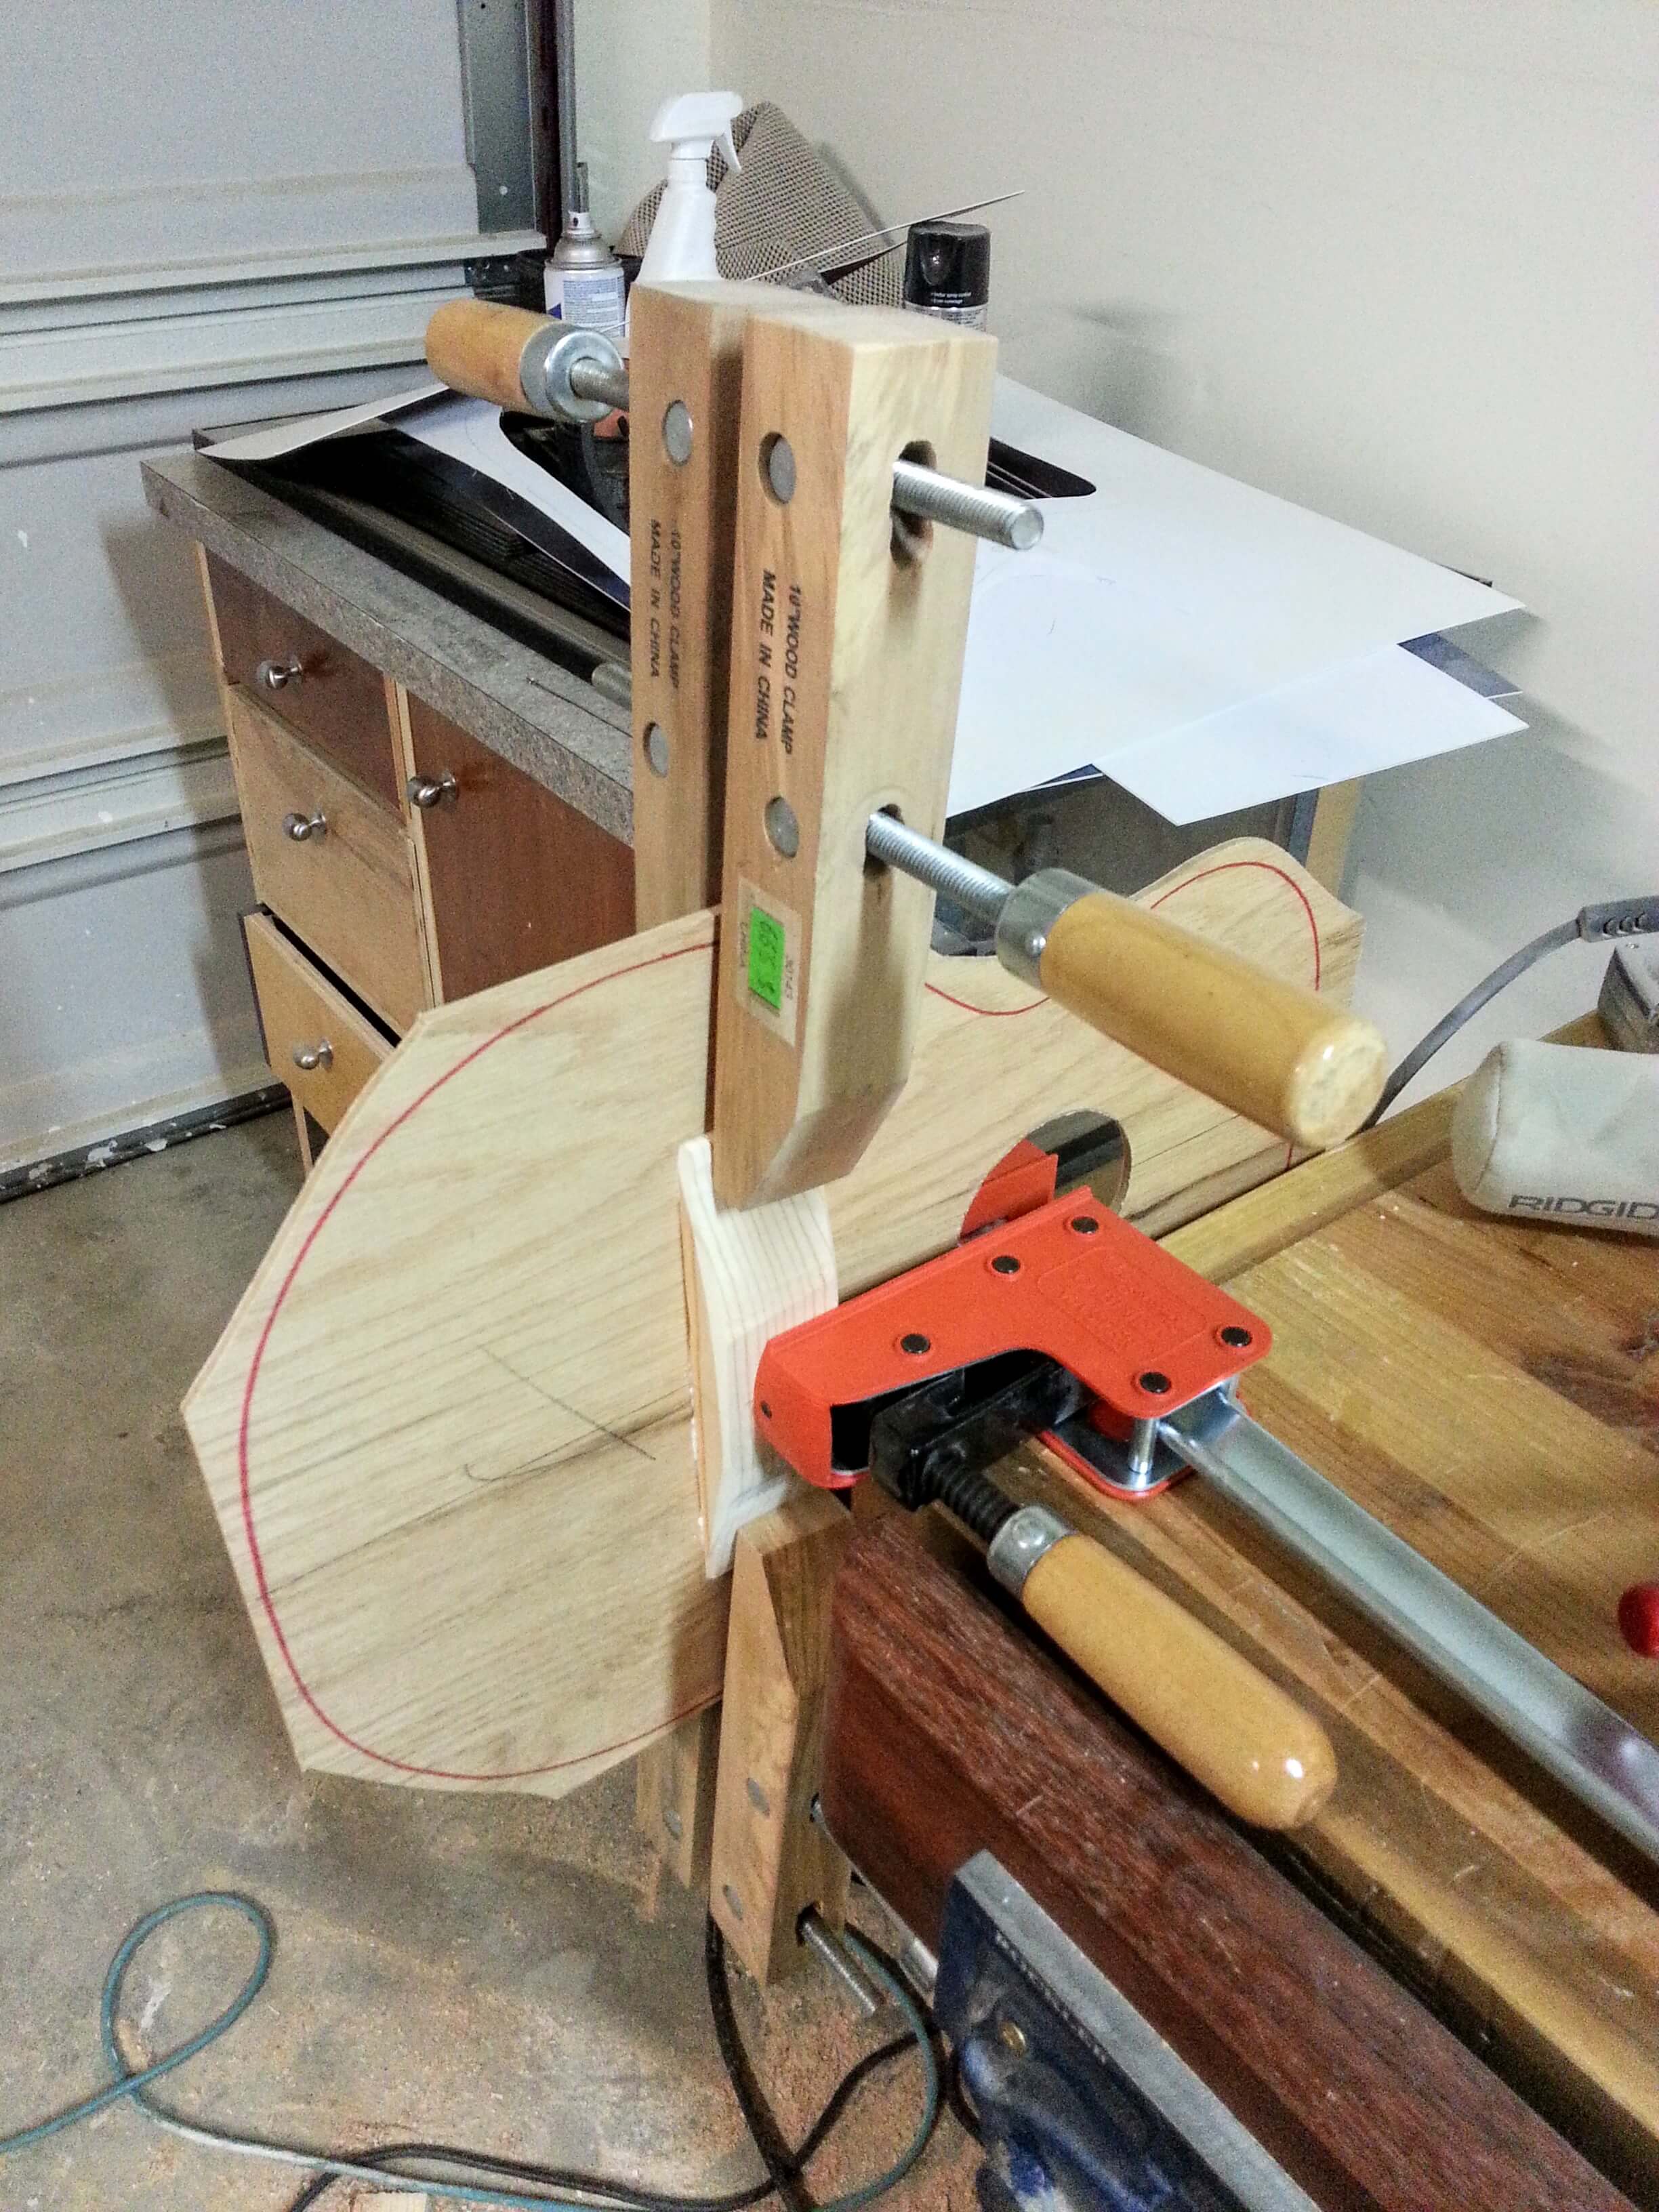
One method I found to bend the sides was to use a form and heat the side pieces to bend them. This seemed a better option than the heated hollow pipe that I did not own. It worked OK. It probably would have worked better if it was more accurate, and the wood I was bending wasn’t so thick. I clamped the sides into the pressform then used a heat gun on them.
After the press I tried to clamp it to the soundboard to get a more precise shape while it cooled down. It seemed to work OK. I did the same with the opposite side. In Hindsight, I should have used a board across the top. It would have been a lot easier to balance the clamps.
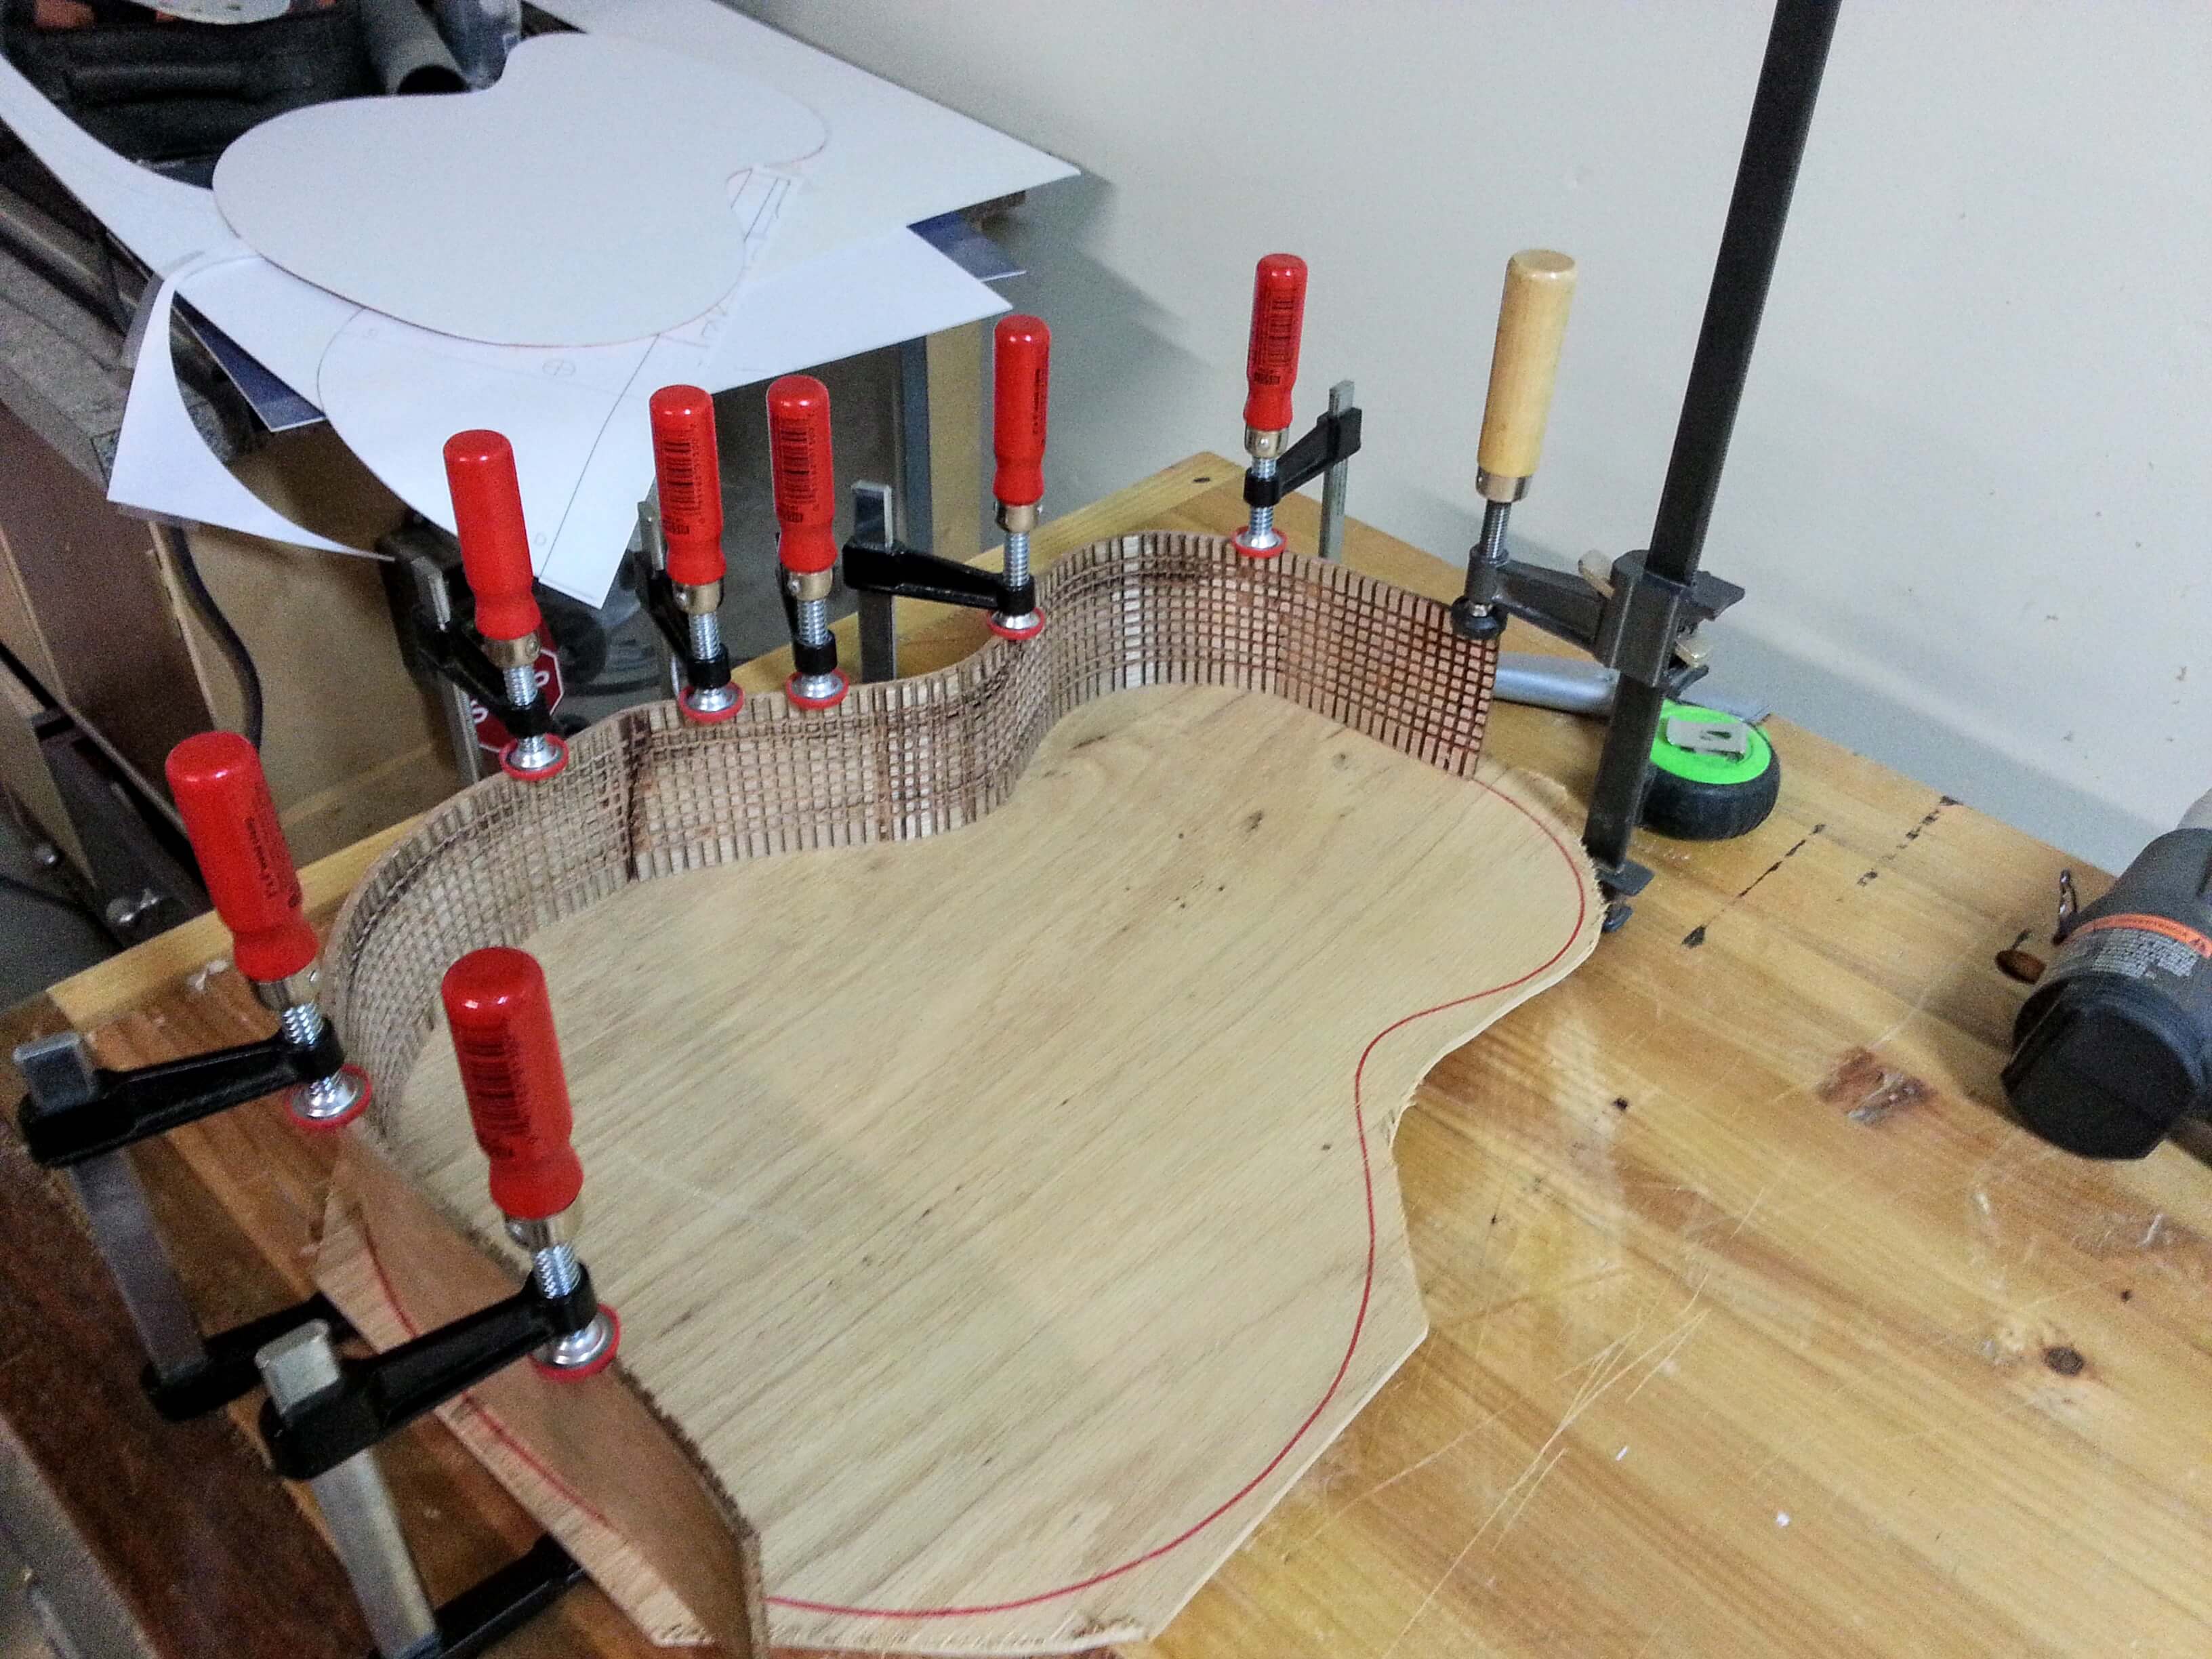
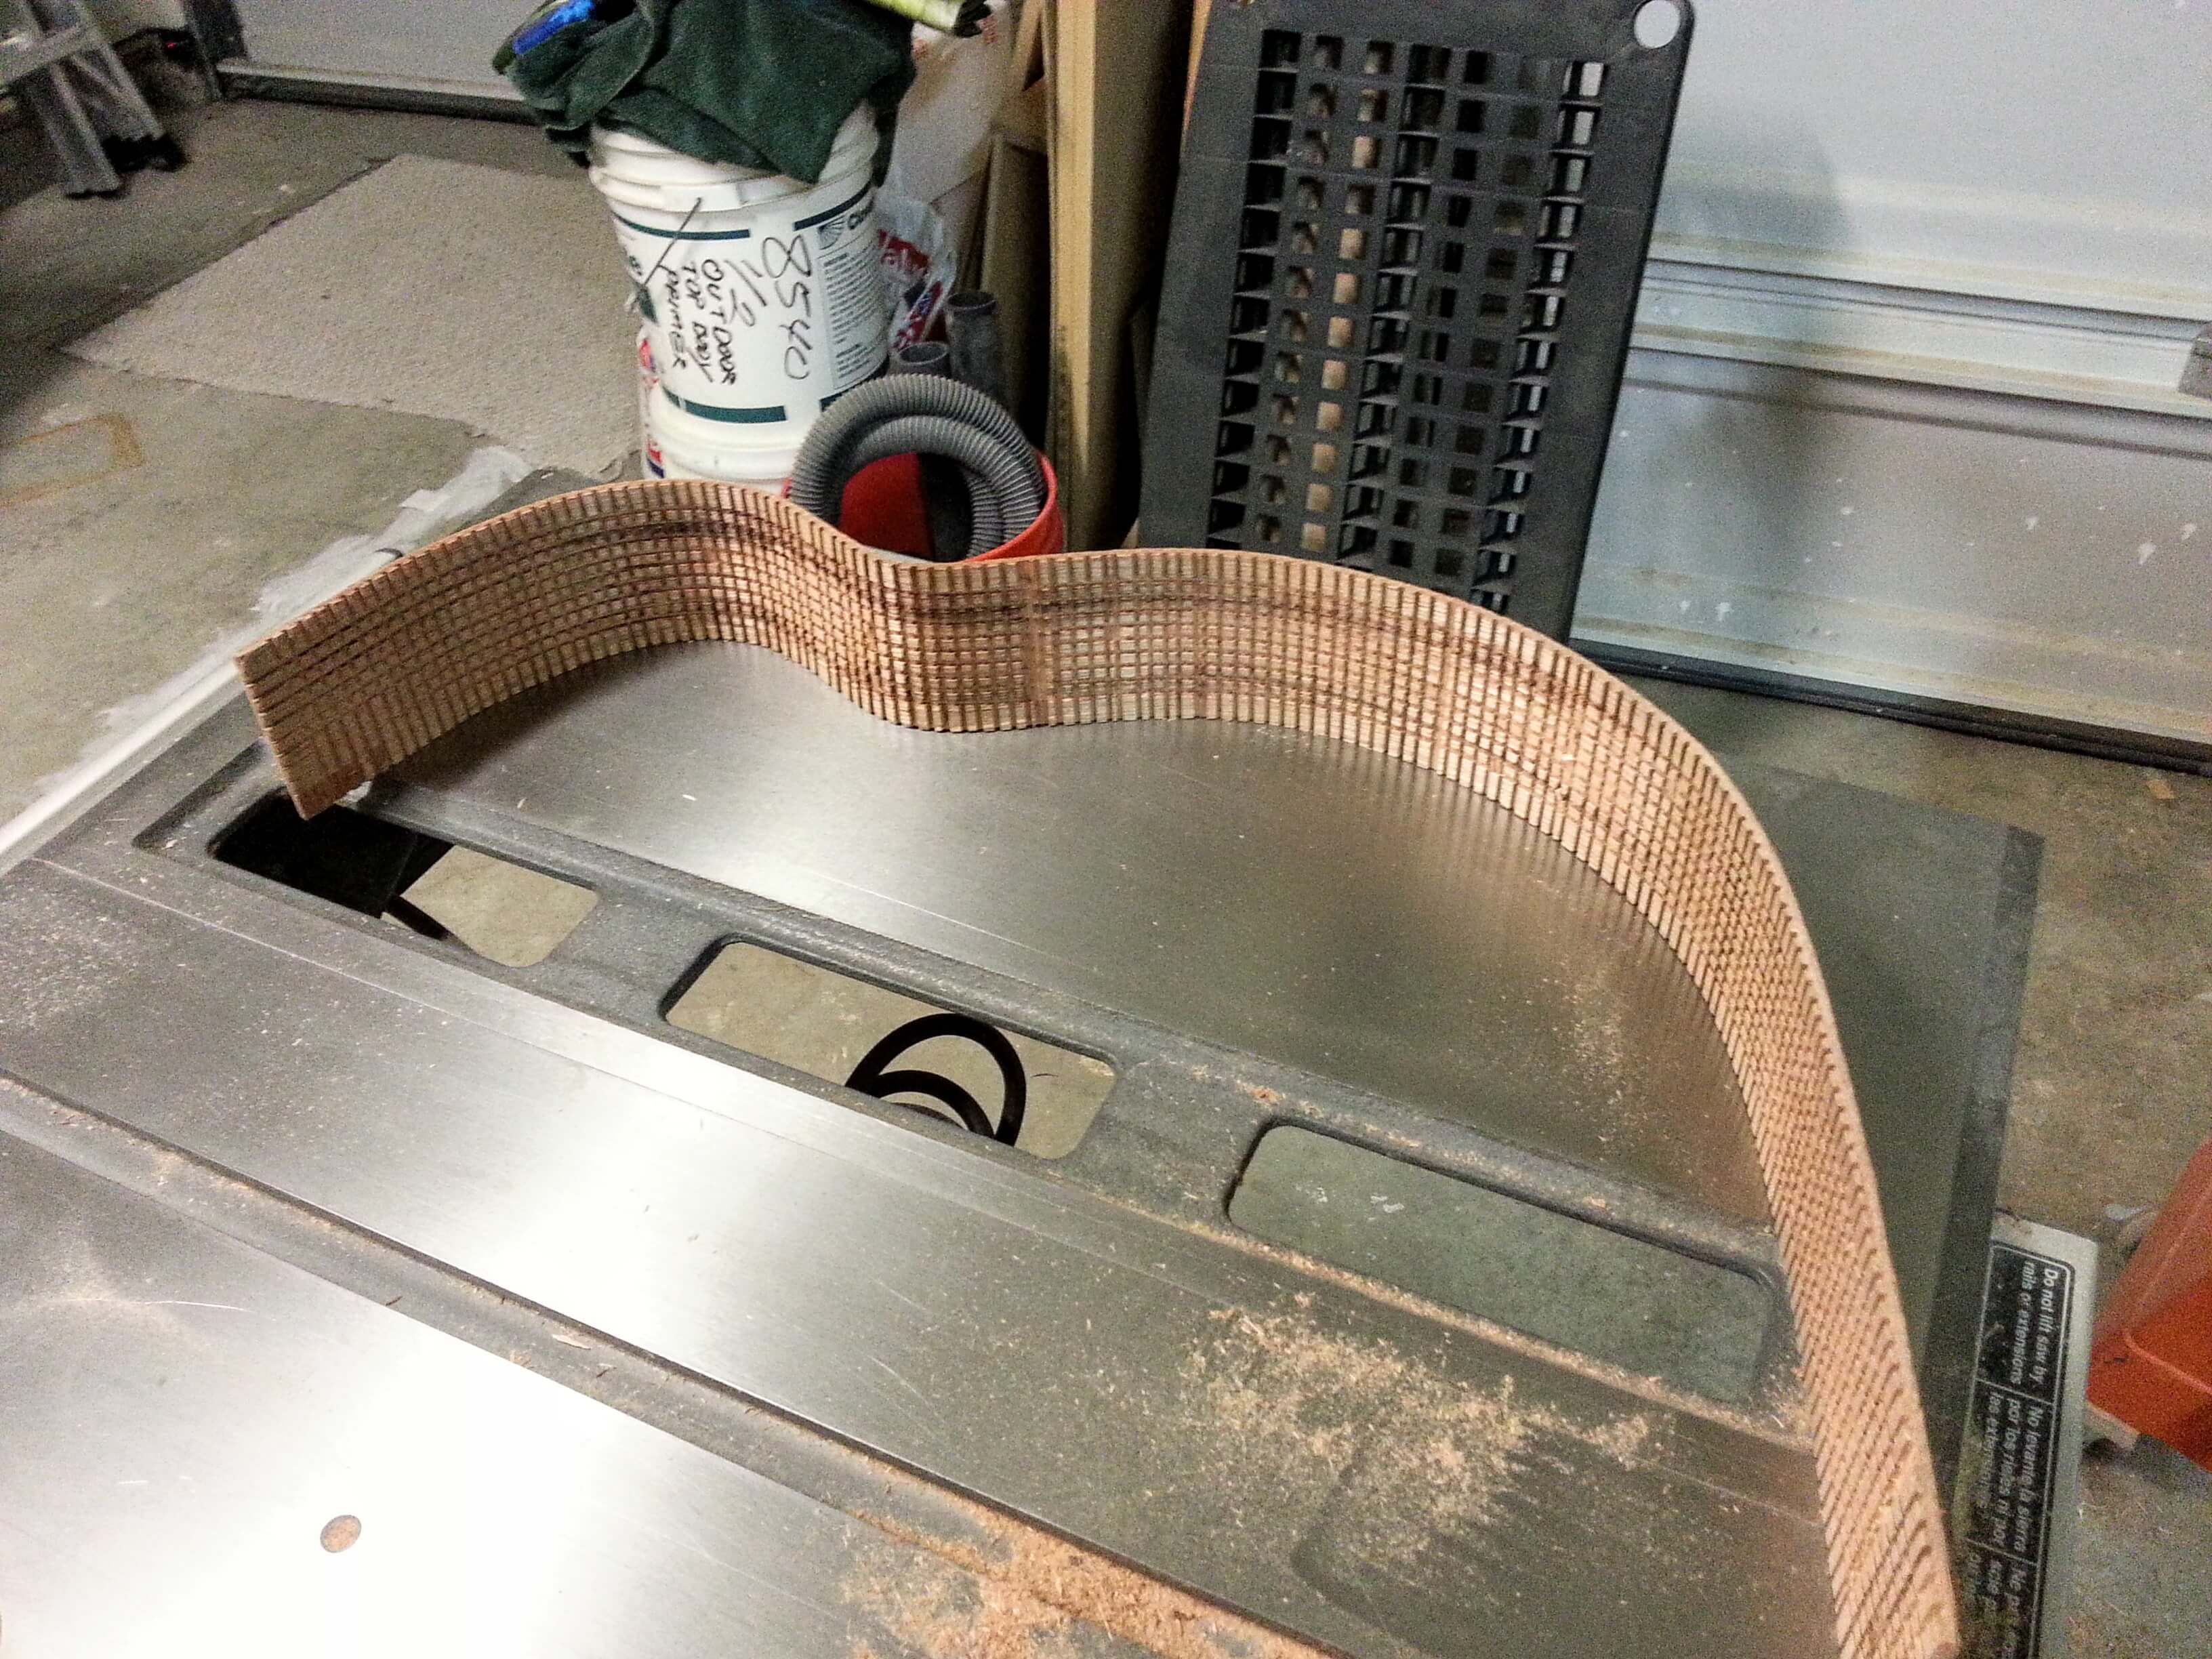
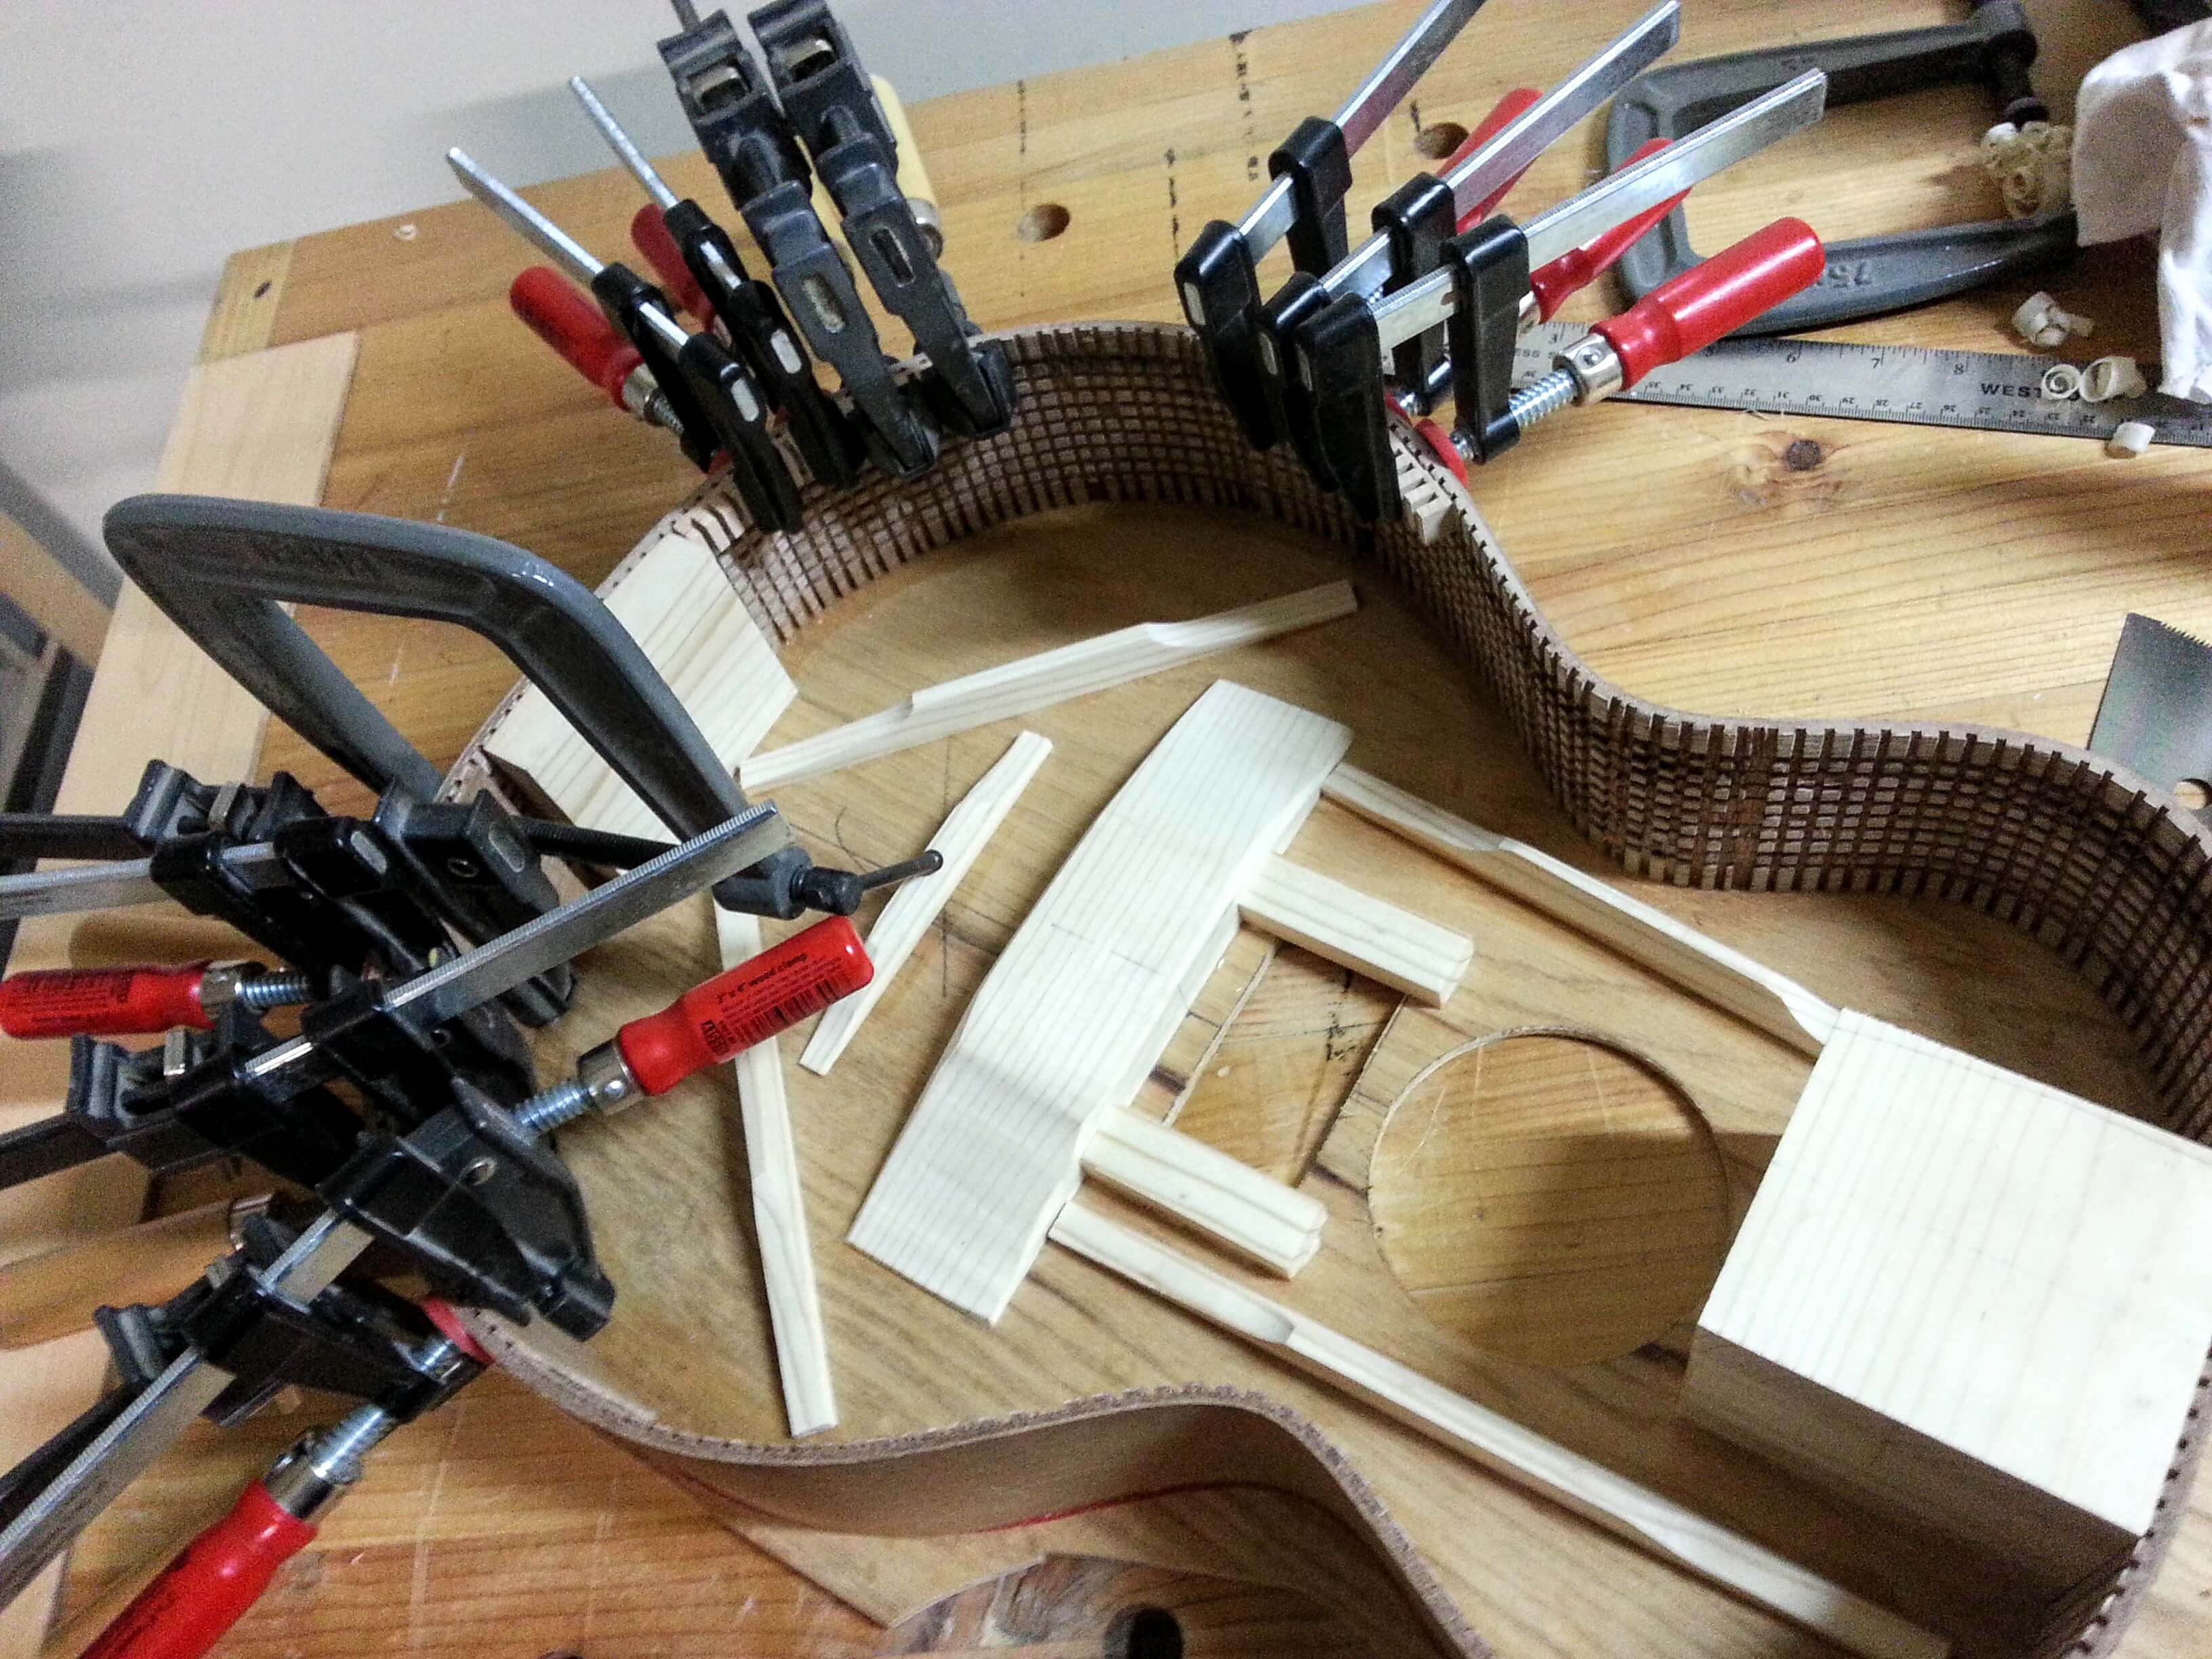
Once dry, the sides held their basic shape good enough. I’m wasn’t really going for a masterpiece here. It at least looked more guitar shaped. A quick trim of the excess and a clamp to dry fit and the sides were ready.
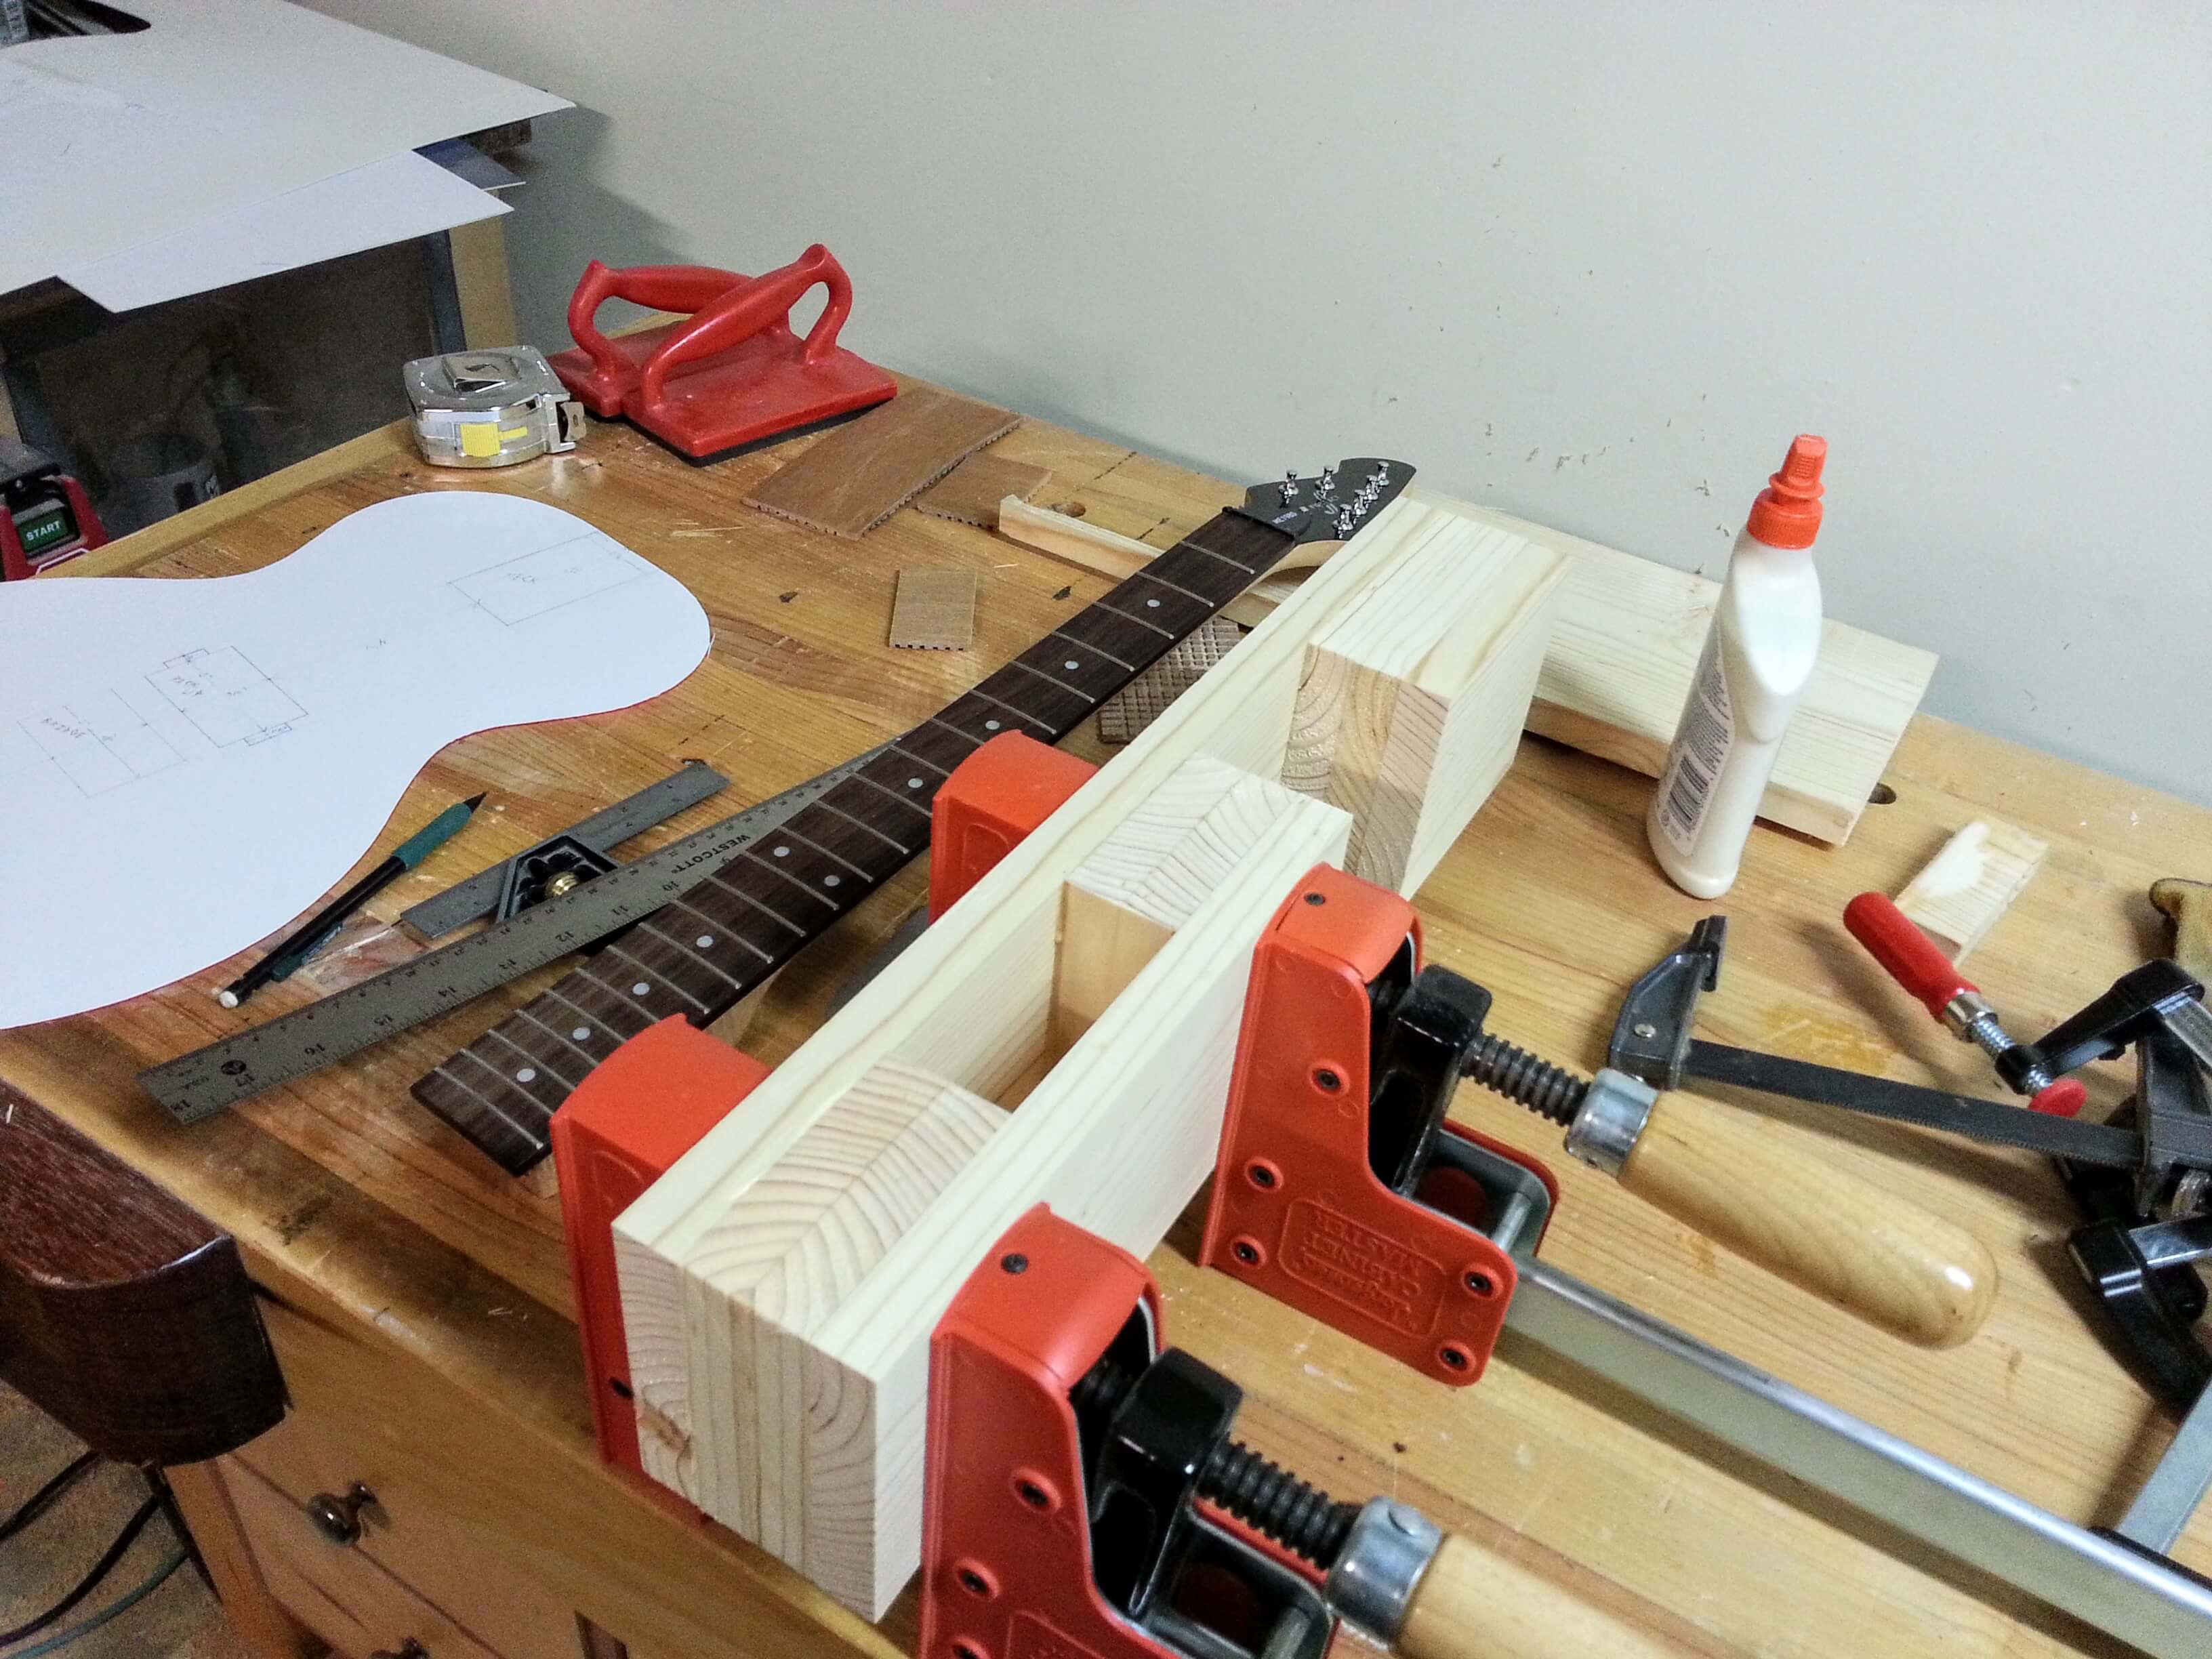
I started by cutting the rough shapes out on the body panels so that I wasn’t dealing with overly large sheets. I decided to work from the top down for some stupid reason and started by gluing up the blocks for the neck support.
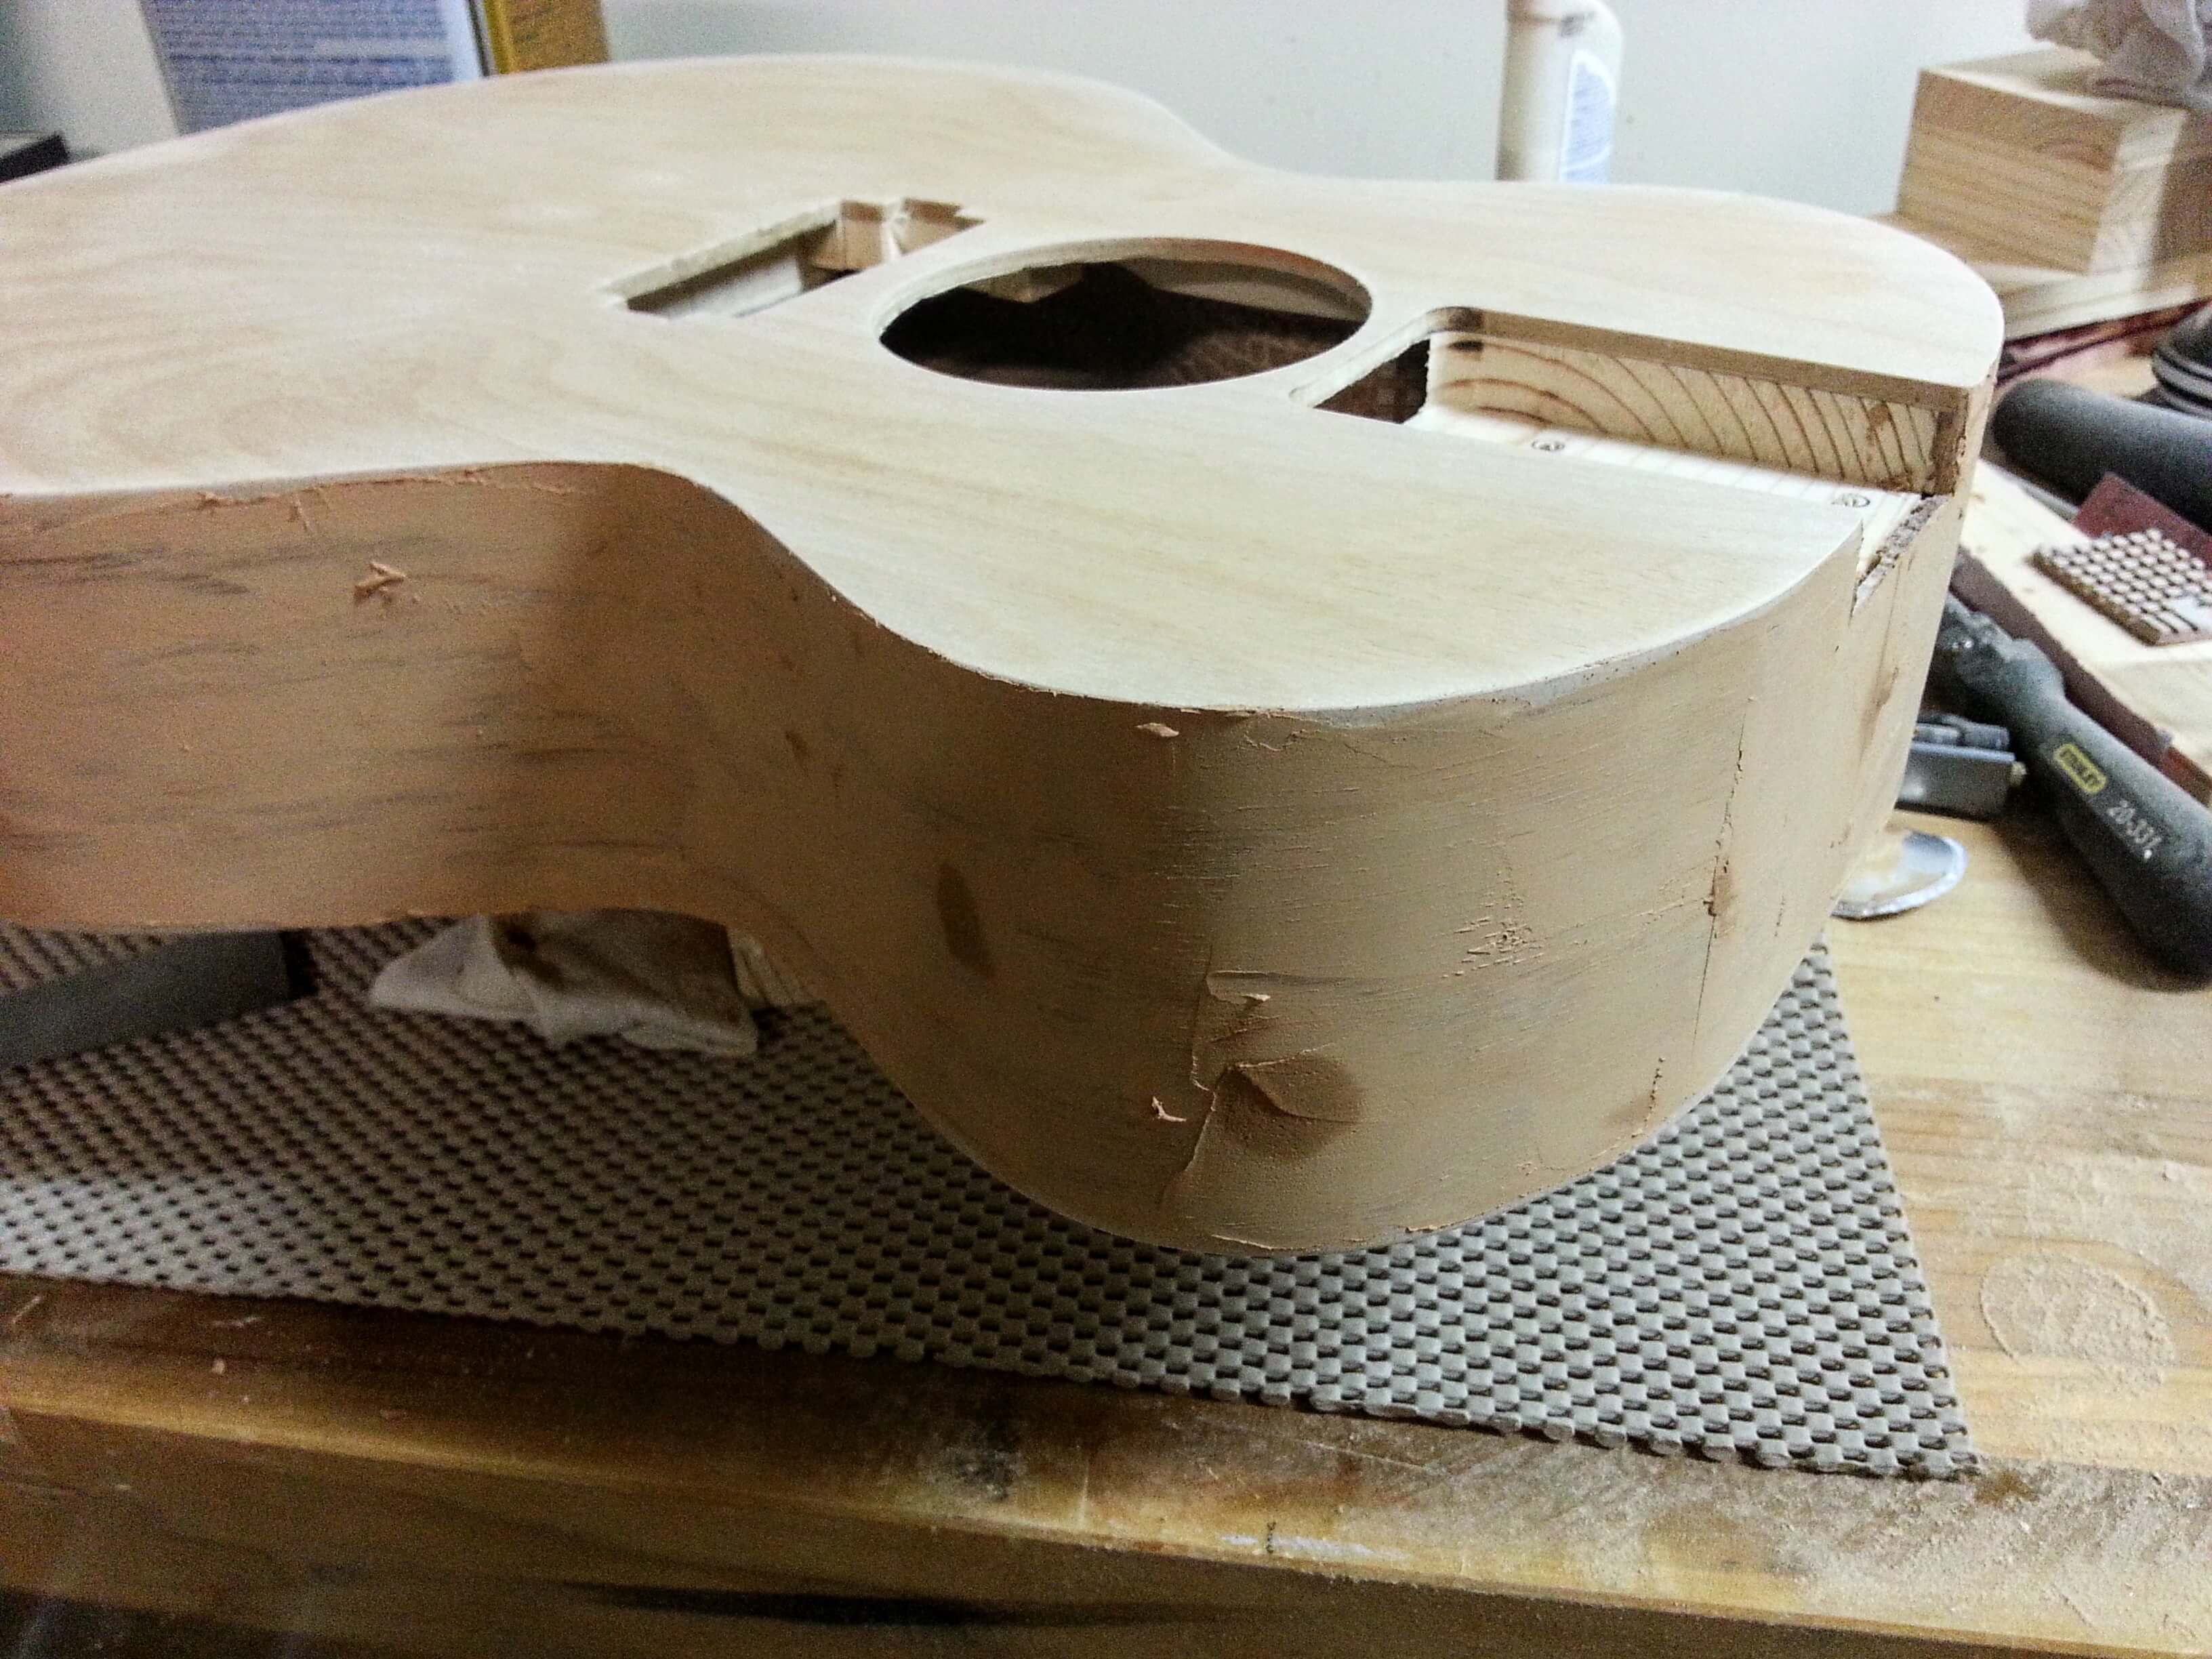
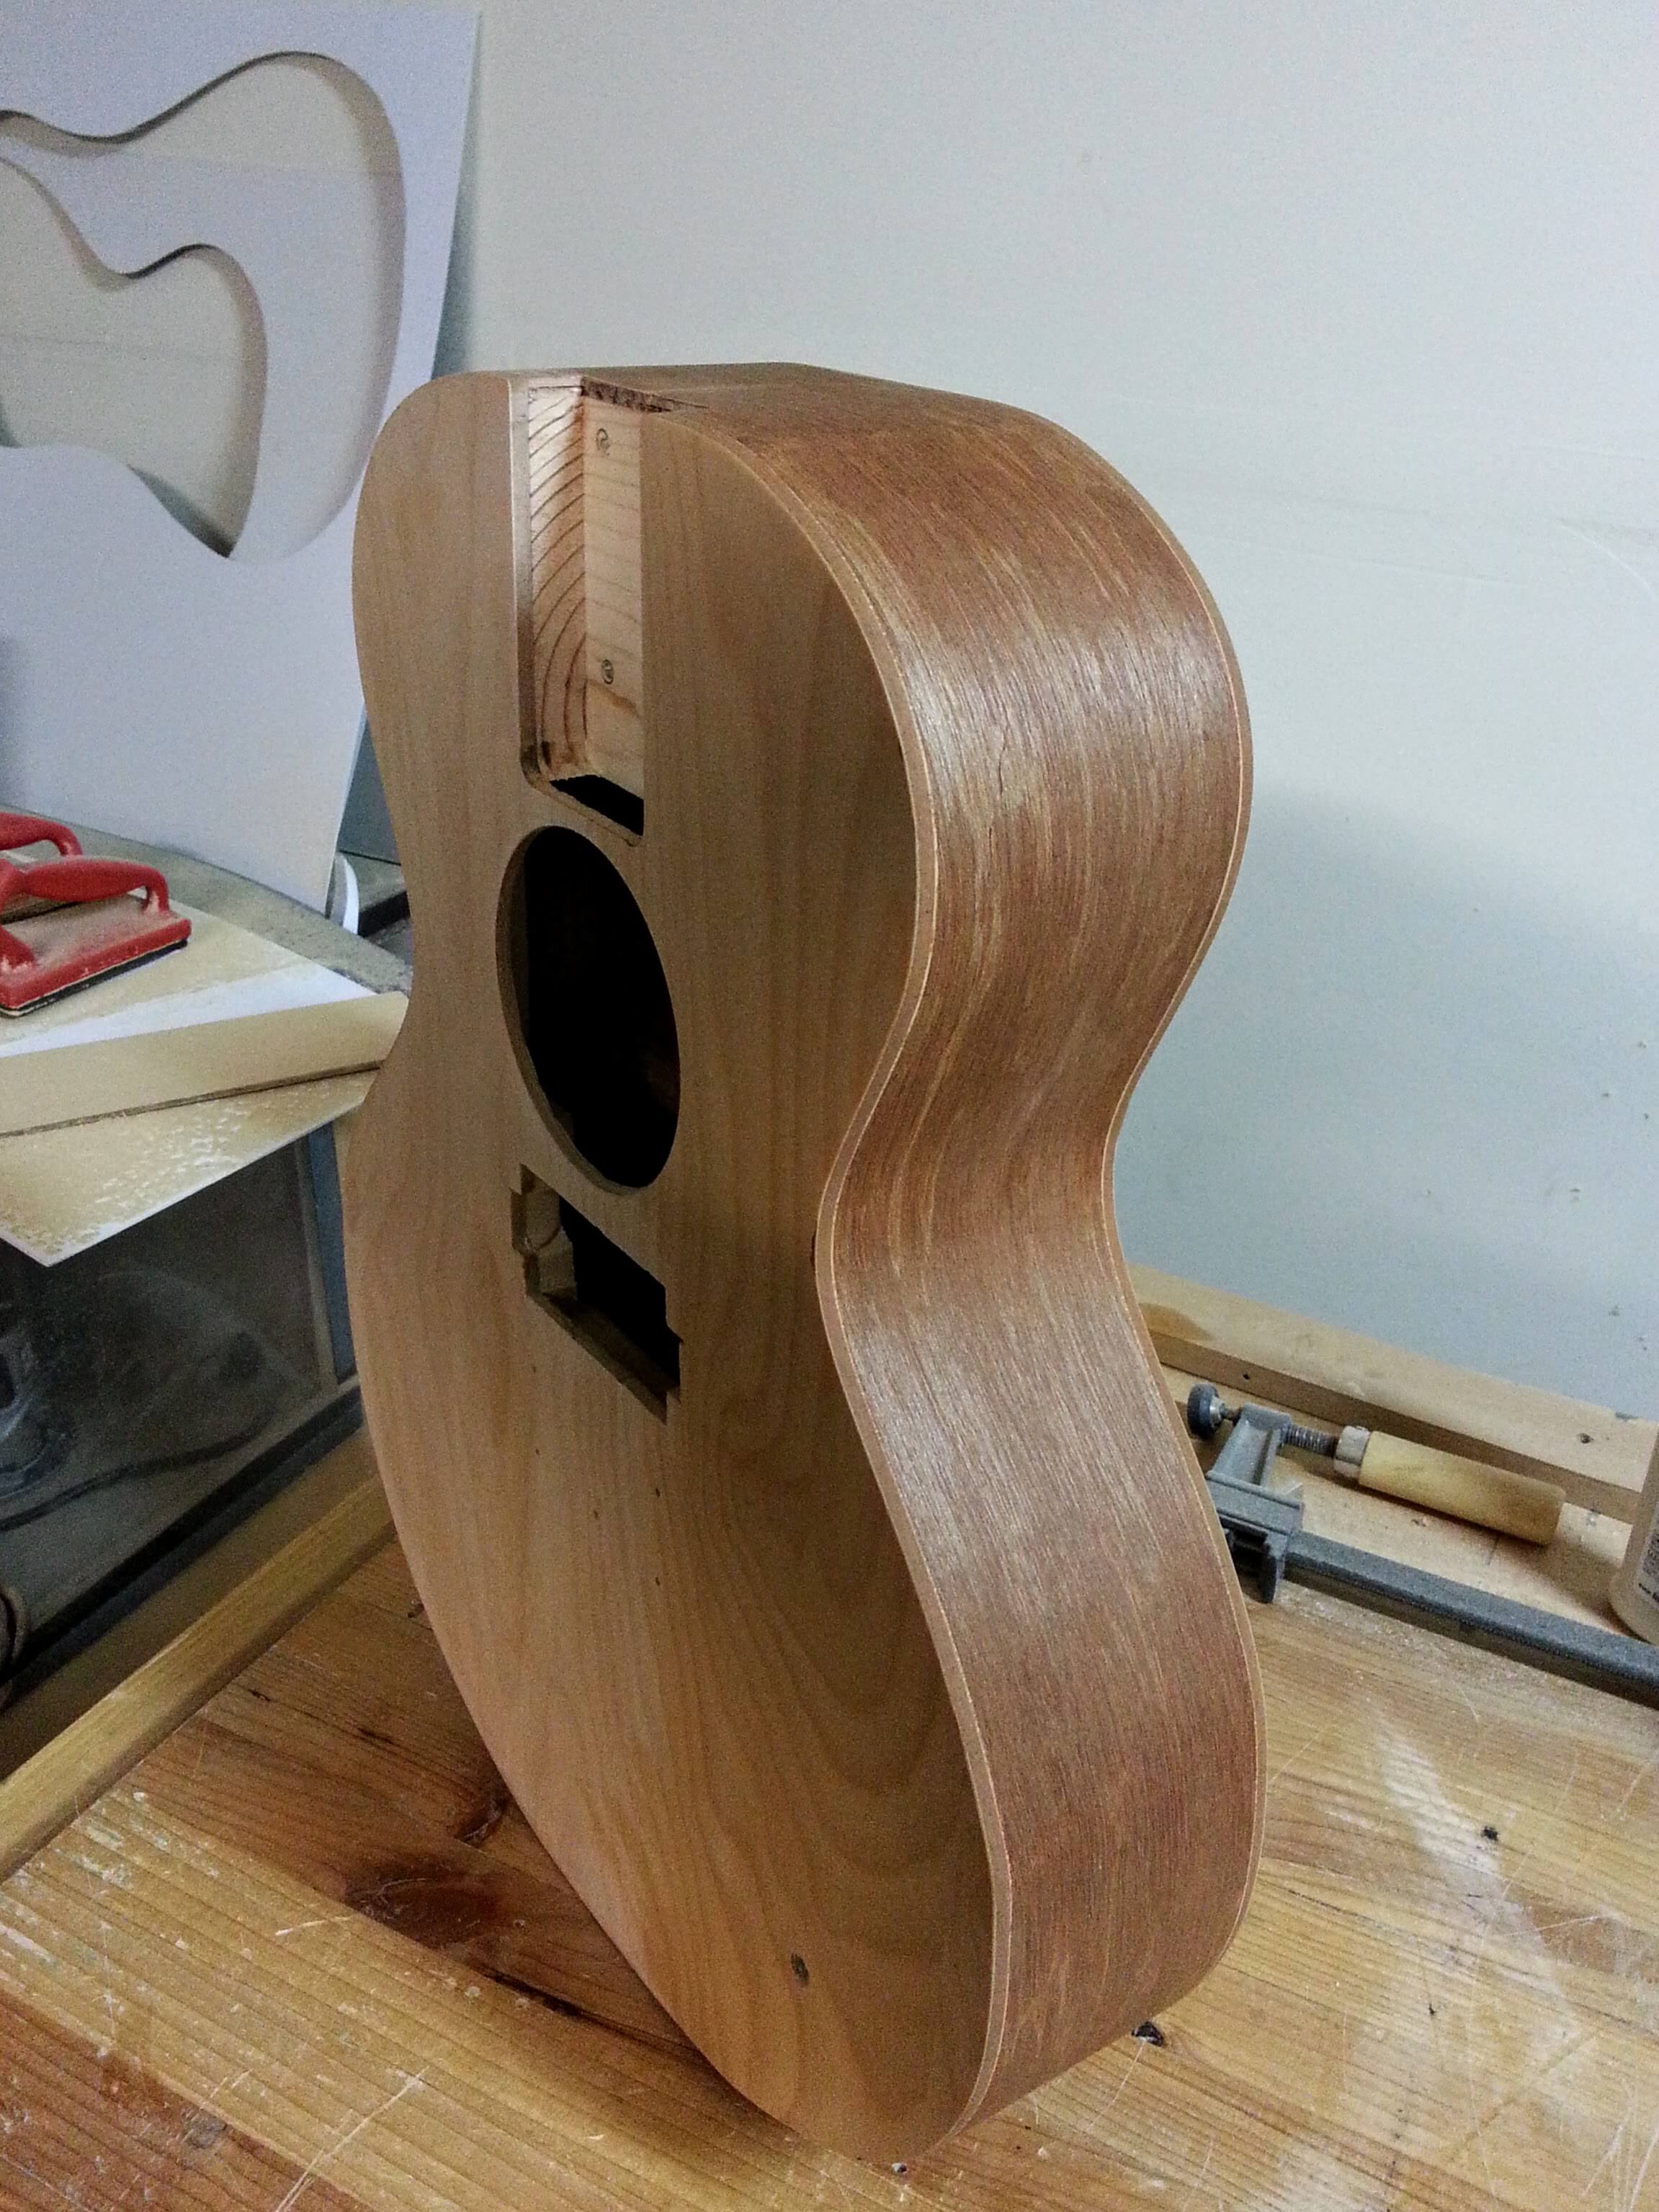
I got side tracked on what it was exactly that I was doing and started to really beef up the interior framing. I was concerned about the string tension tearing at the body. I also wanted a place to mount the pick up and the metal bridge piece. Hours of gluing until I realized that it would be plenty strong done as a regular acoustic with some modifications. It’s not like the soundboard and back weren’t too thick anyhow. (about a quarter inch)
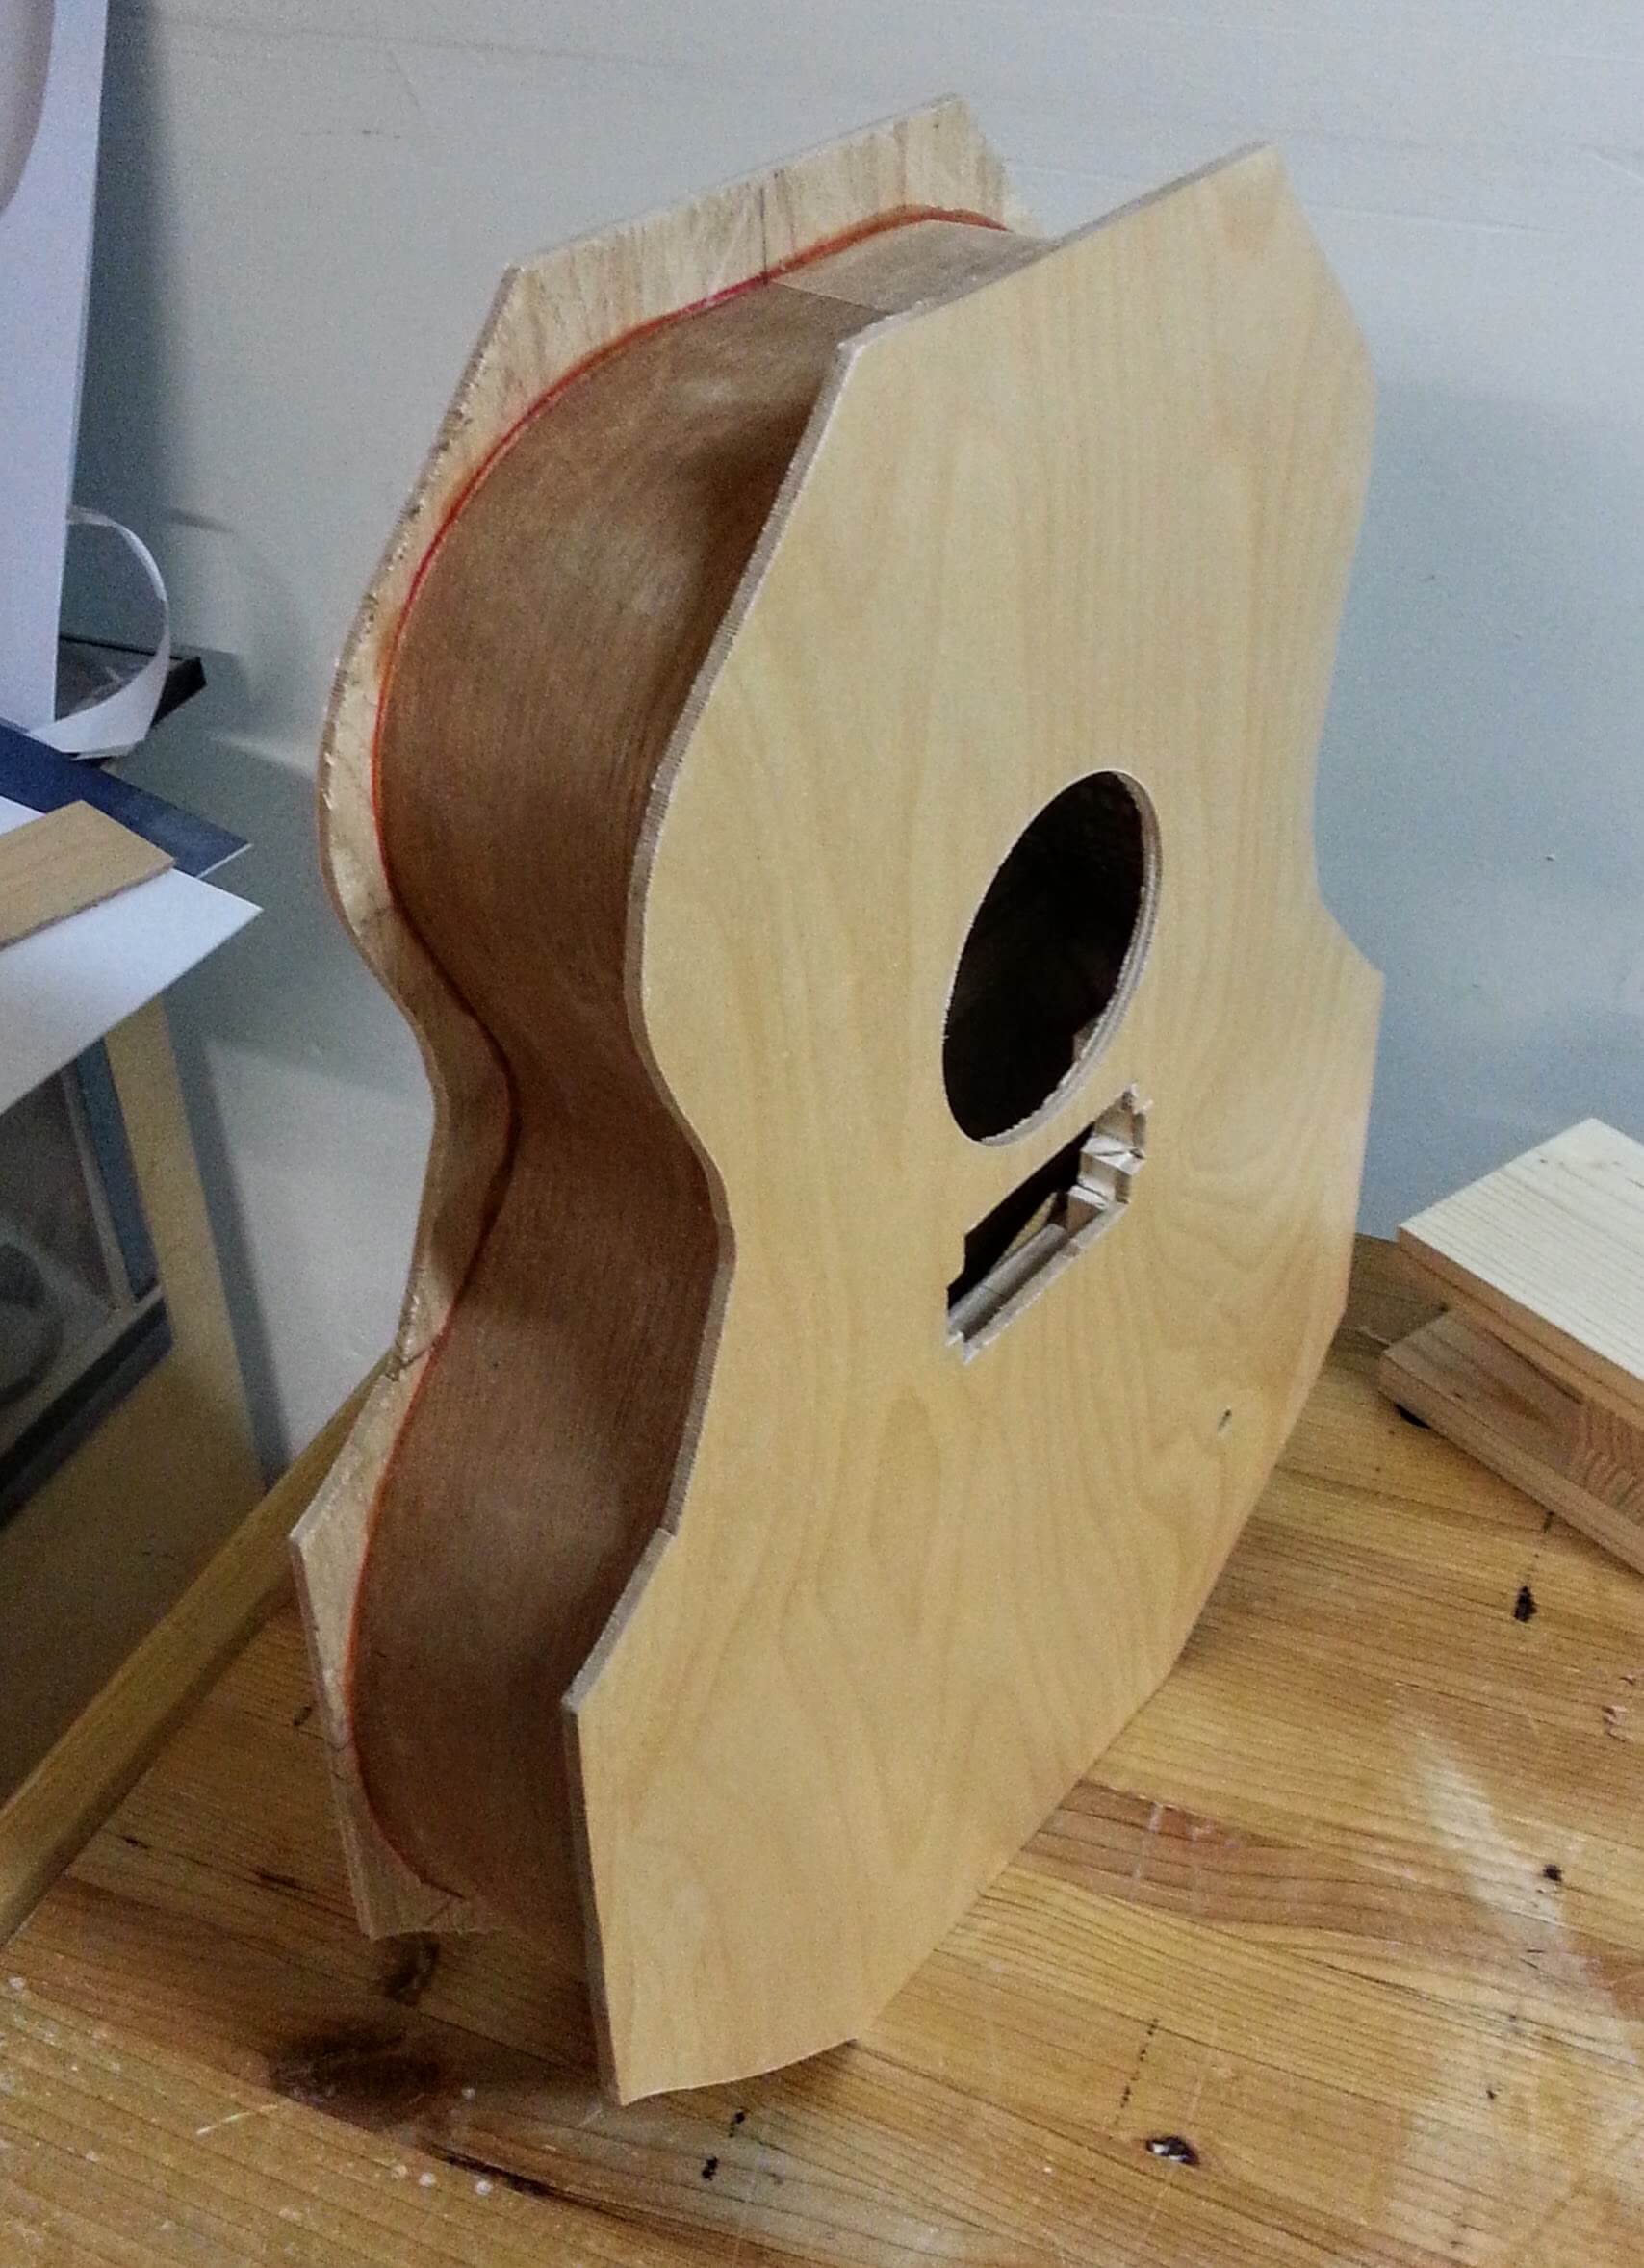
I forgot I was building the guitar ‘upside-down’ and cut a sound hole and pickup hole into the back, as well as glued the bridge reinforcement.
While doing a dry fit of the side piece, it occurred to me that I could glue it without the bracing, and get a better idea of how strong it was all going to end up. I’ll add the kerfed lining after the sides are up, for added strength on the soundboard, and to make gluing the back easier.
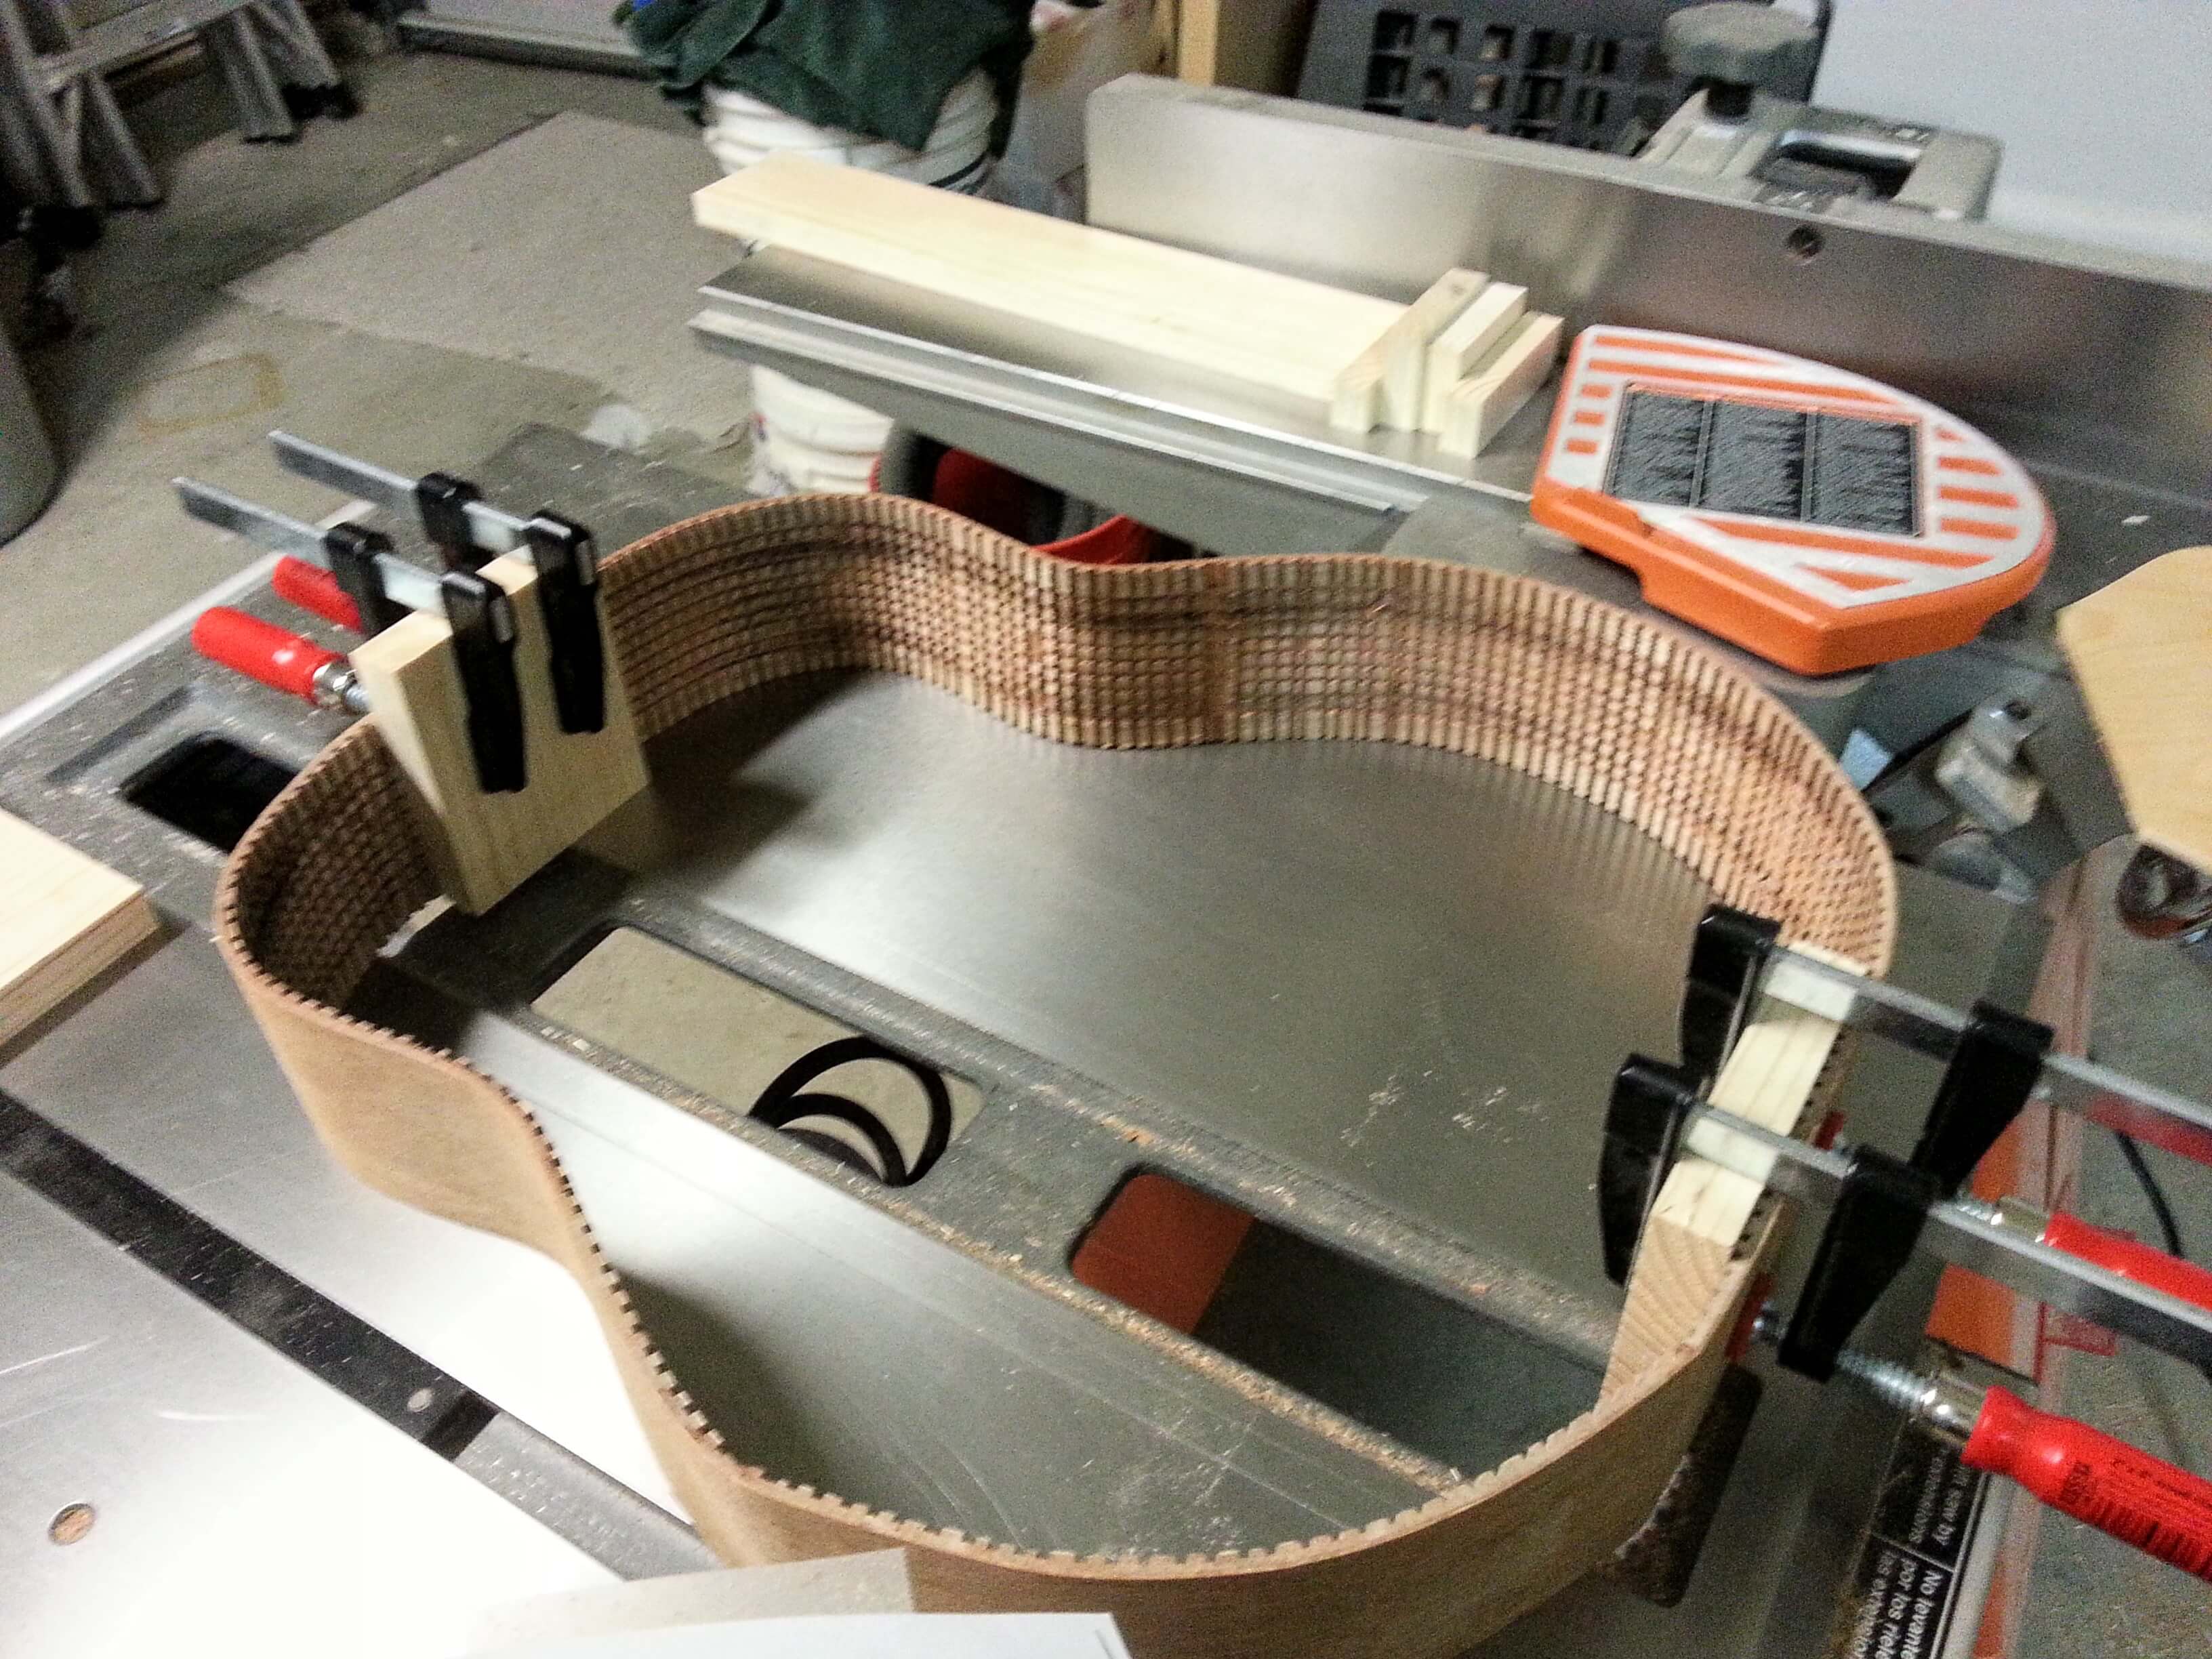
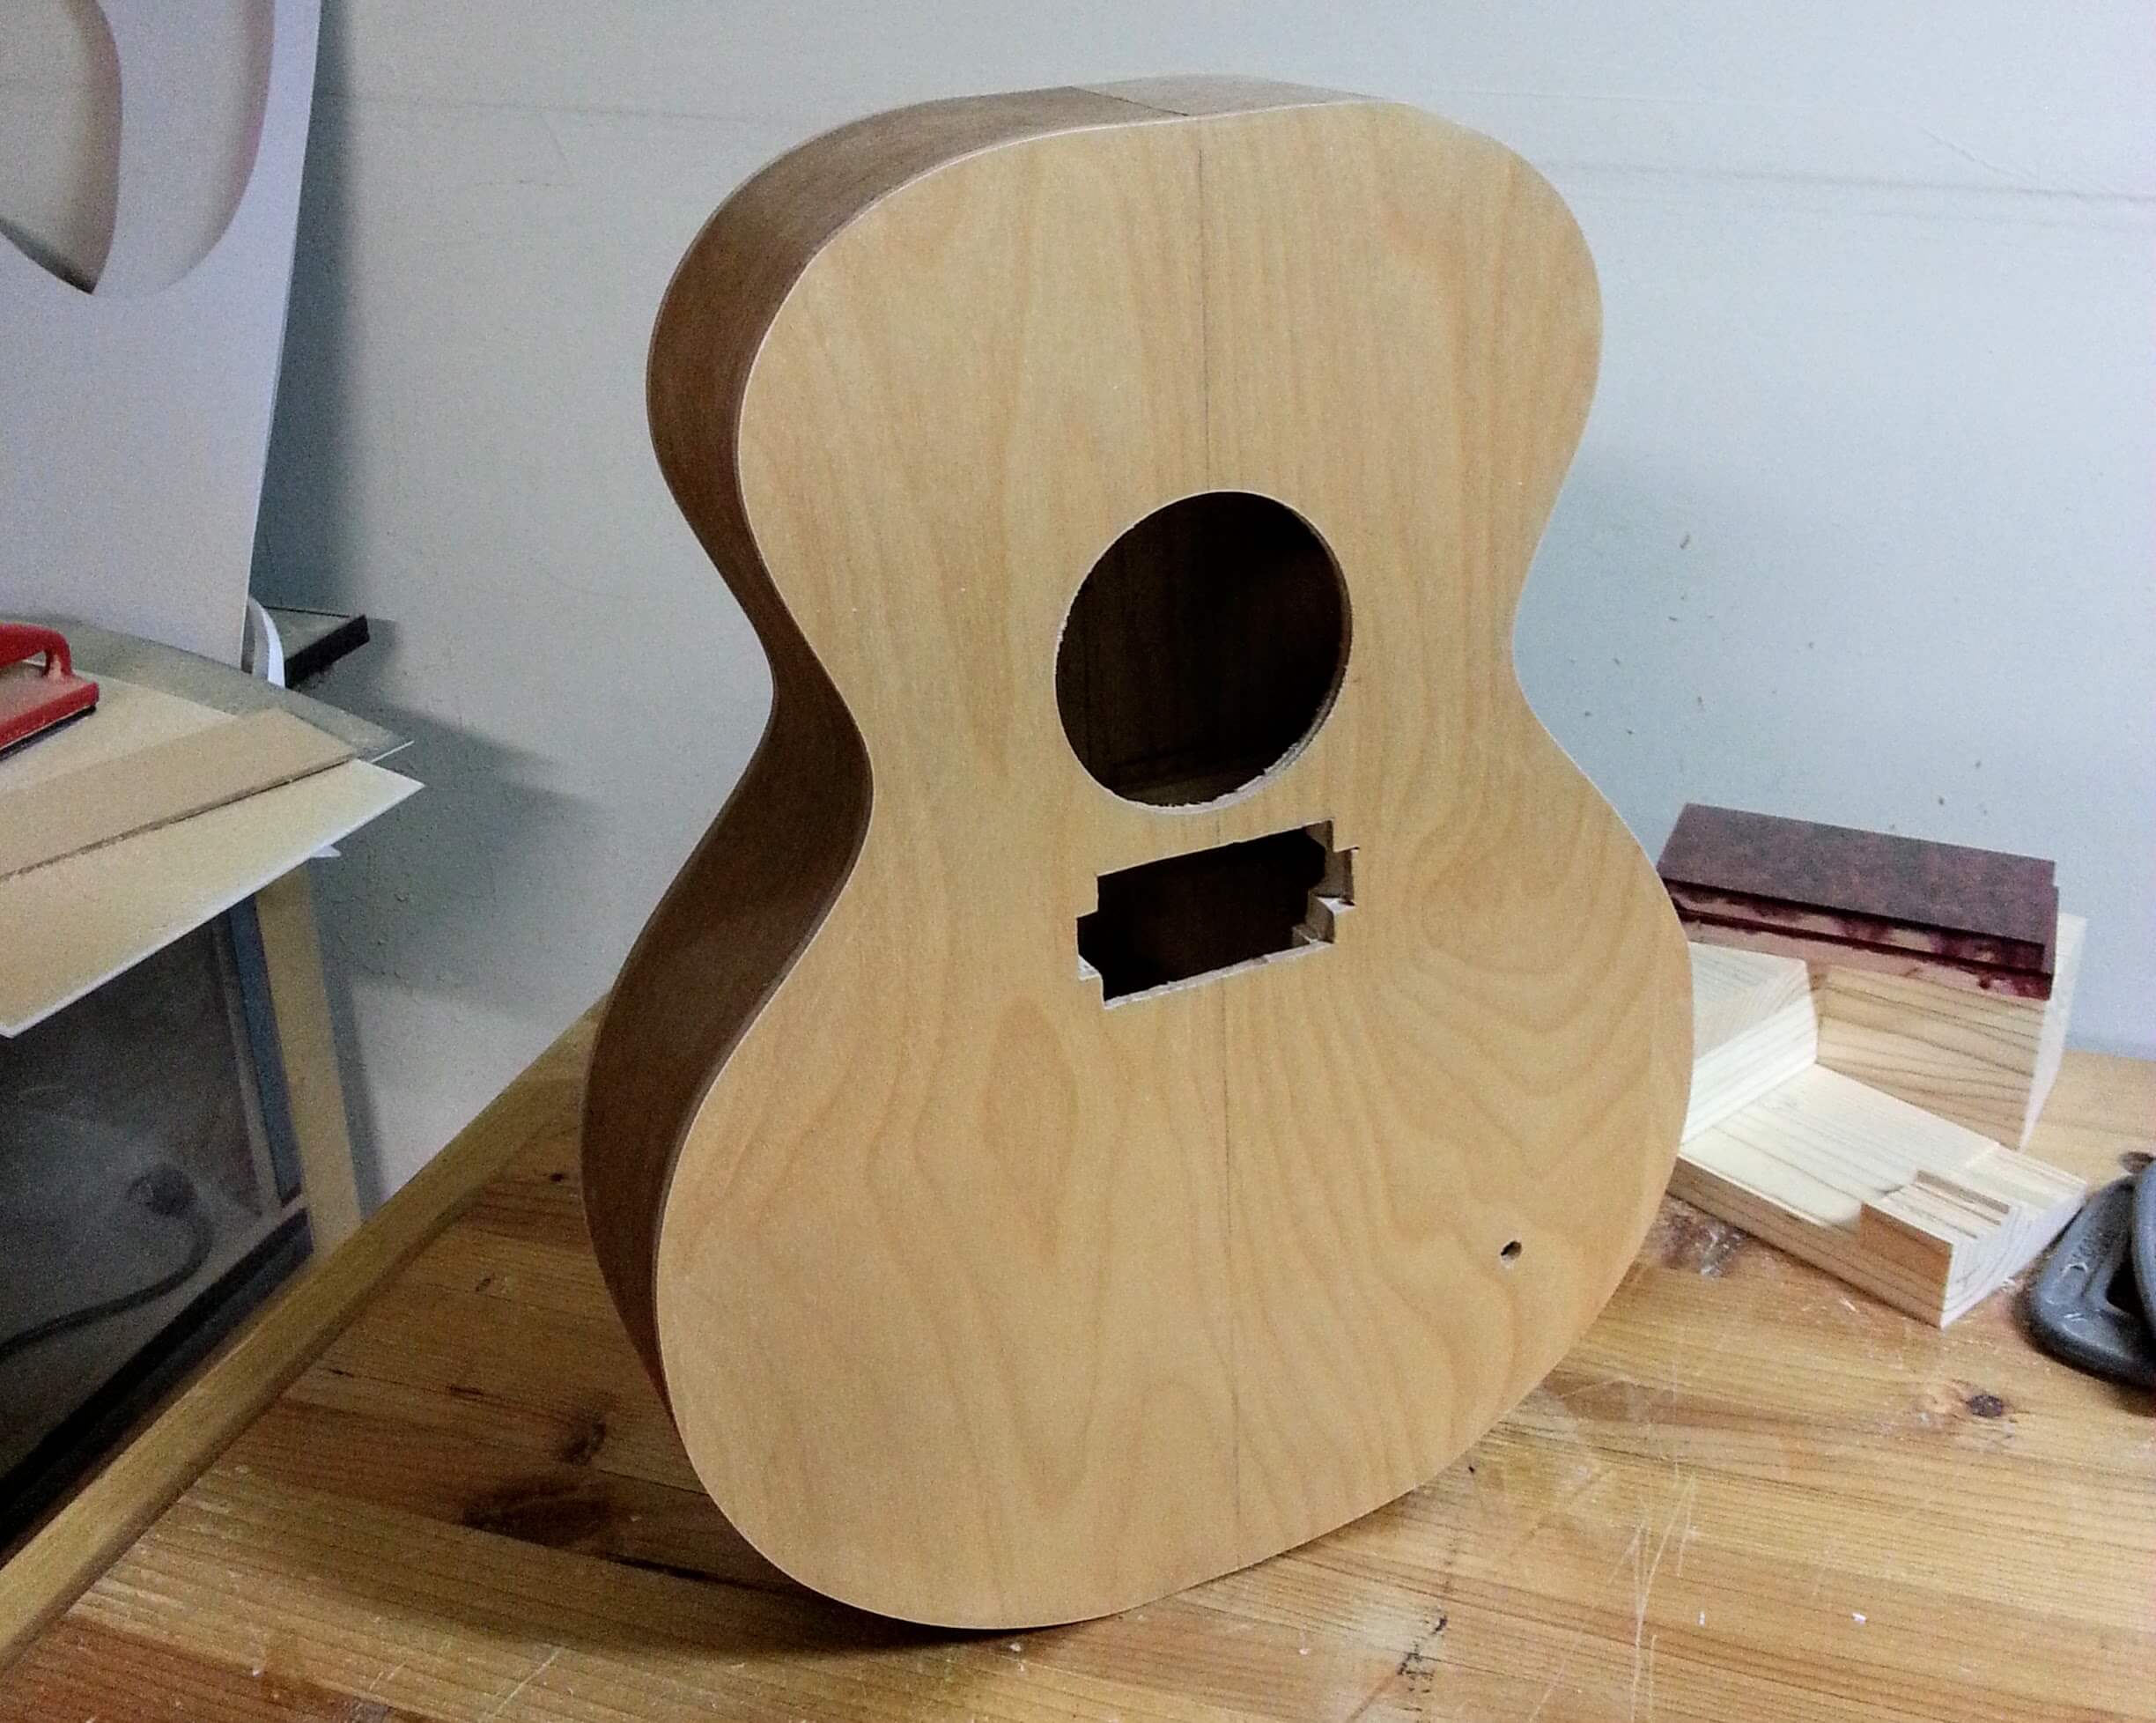
The second side went much easier. The inside curve lined up much easier. Once it was lined up, the two outside curves fell nearly perfectly into place. I can see why you would normally make a jig and template system. It would make things much easier, and more easily repeated if building multiple guitars.
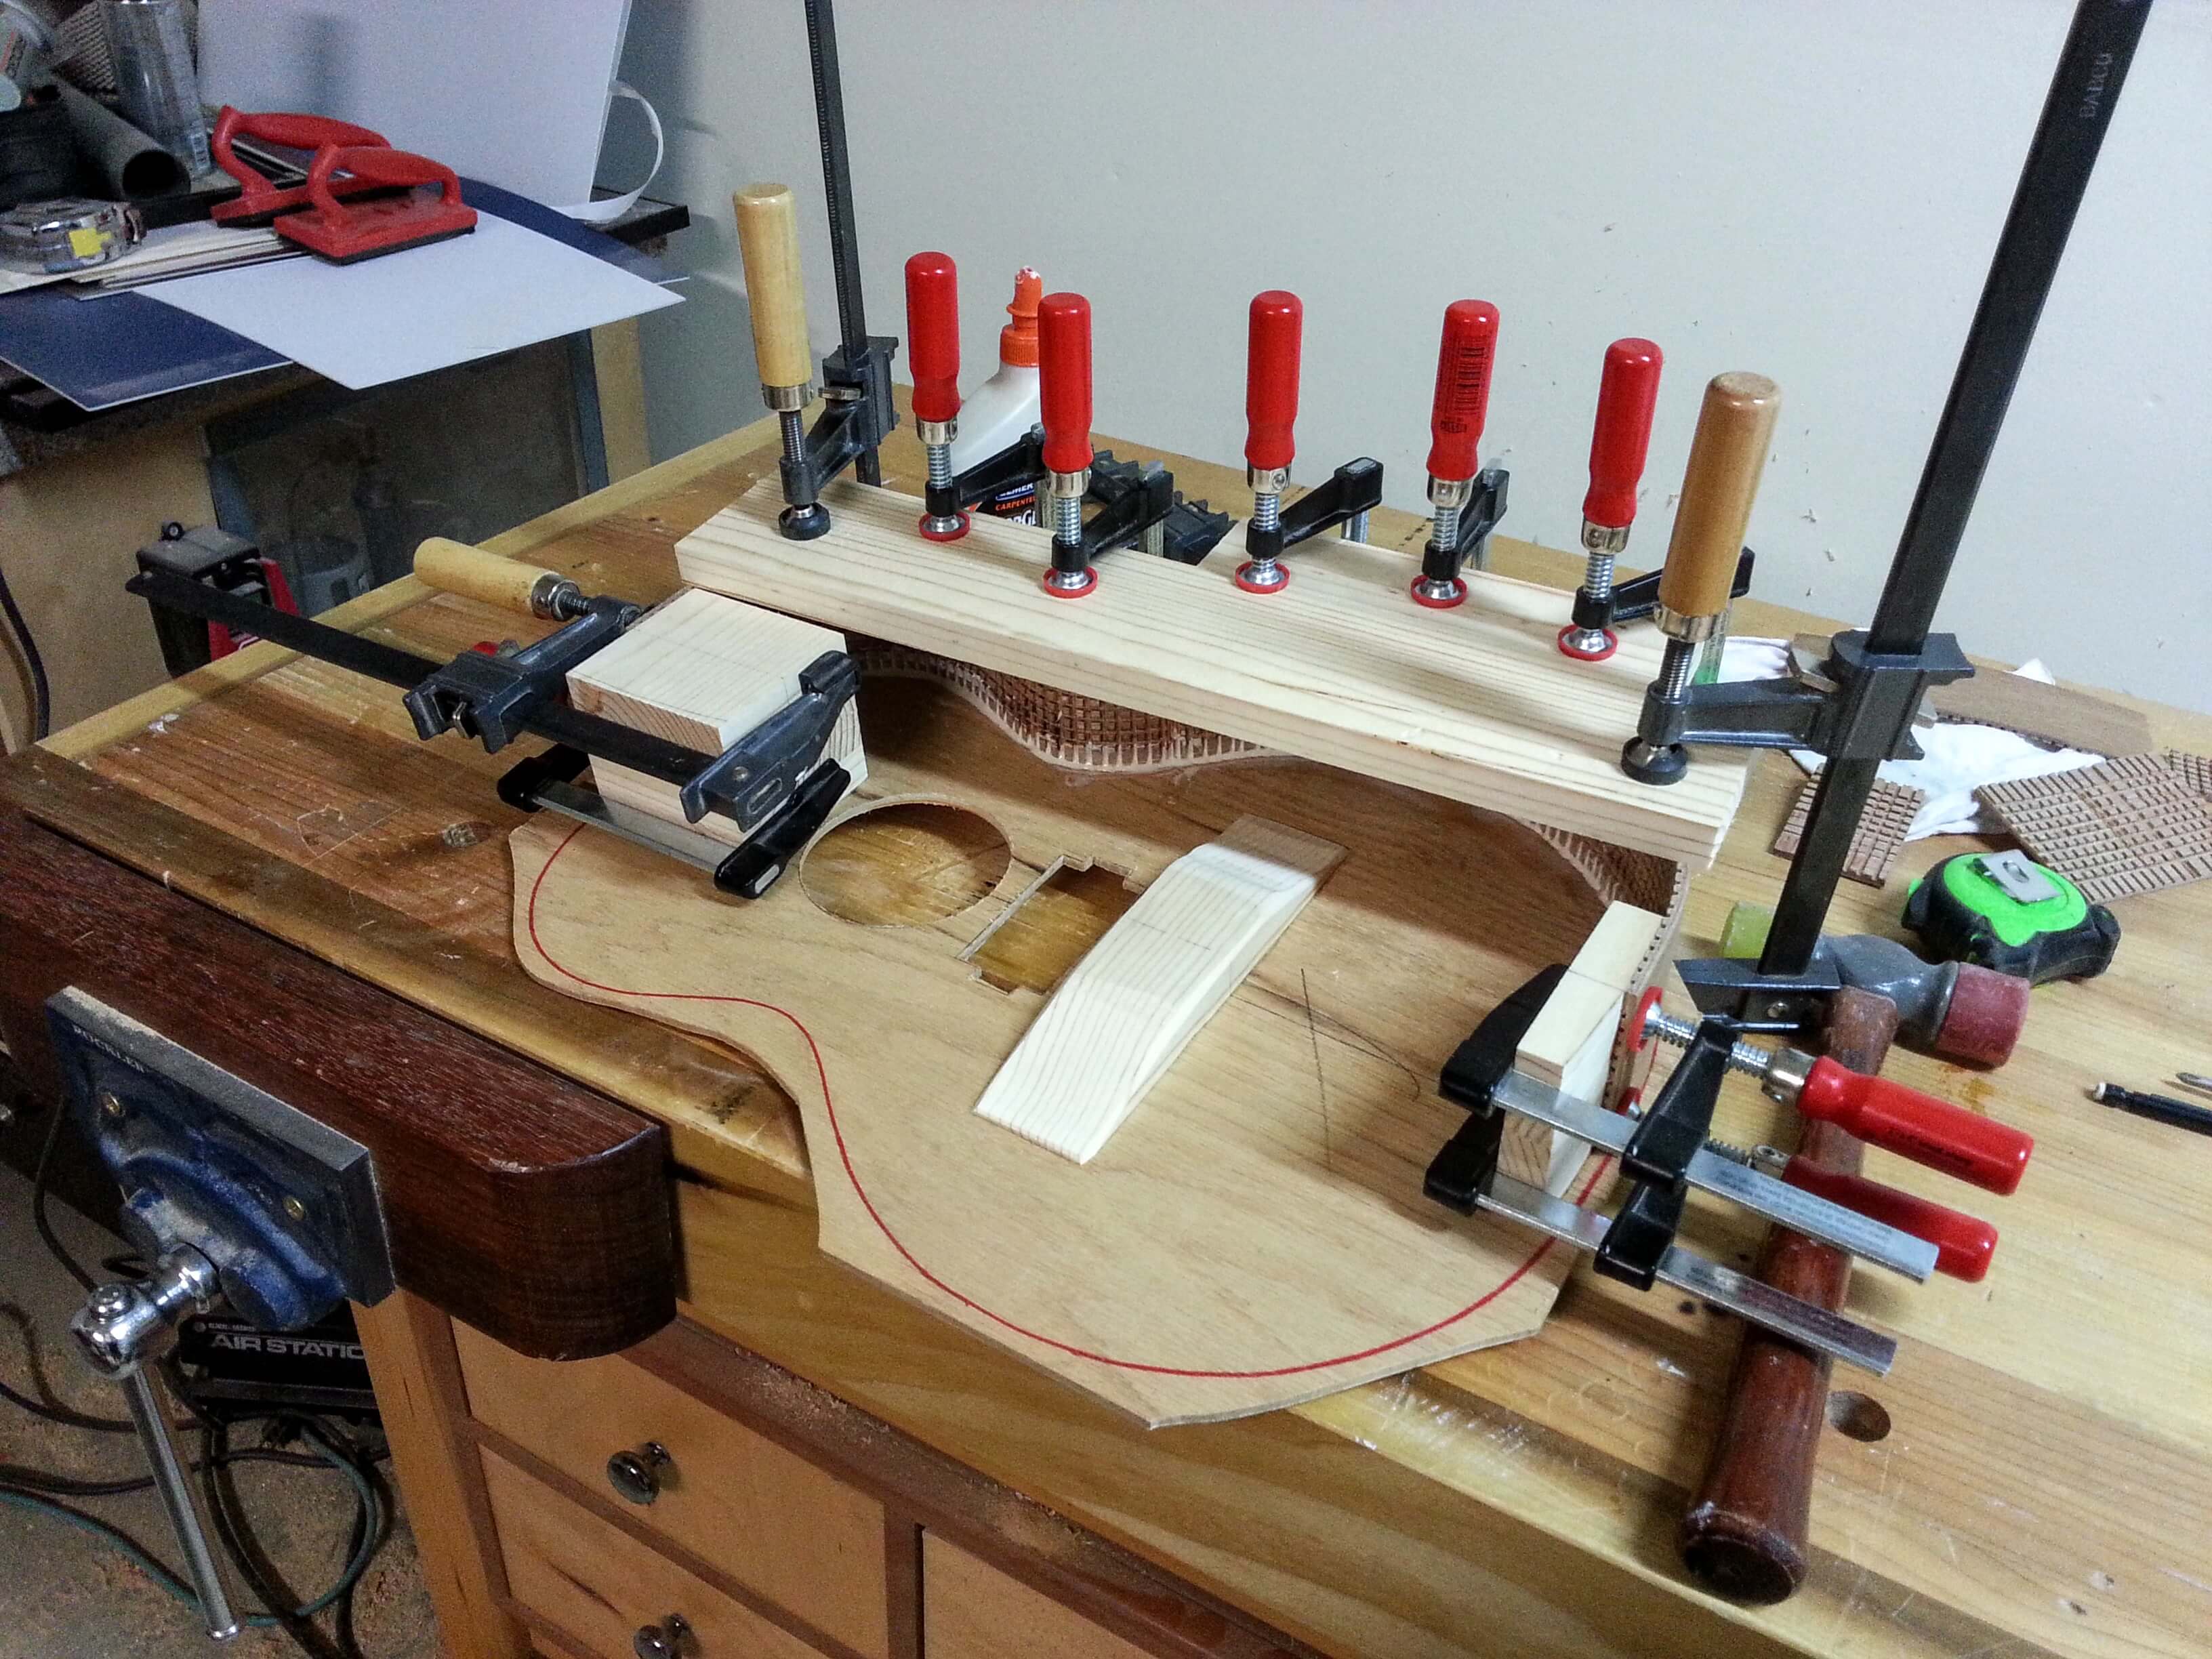
Adding Bracing to the soundboard. With any luck it will be strong enough to hold up against the force of the strings I did decide to add a bit of kerfing to the cracked areas on the one side. I also beefed up the section on the lower side that will hold the input jack.
With as thick as the back and top are, I’m not sure I really needed to brace the back. Better that I did just in case.
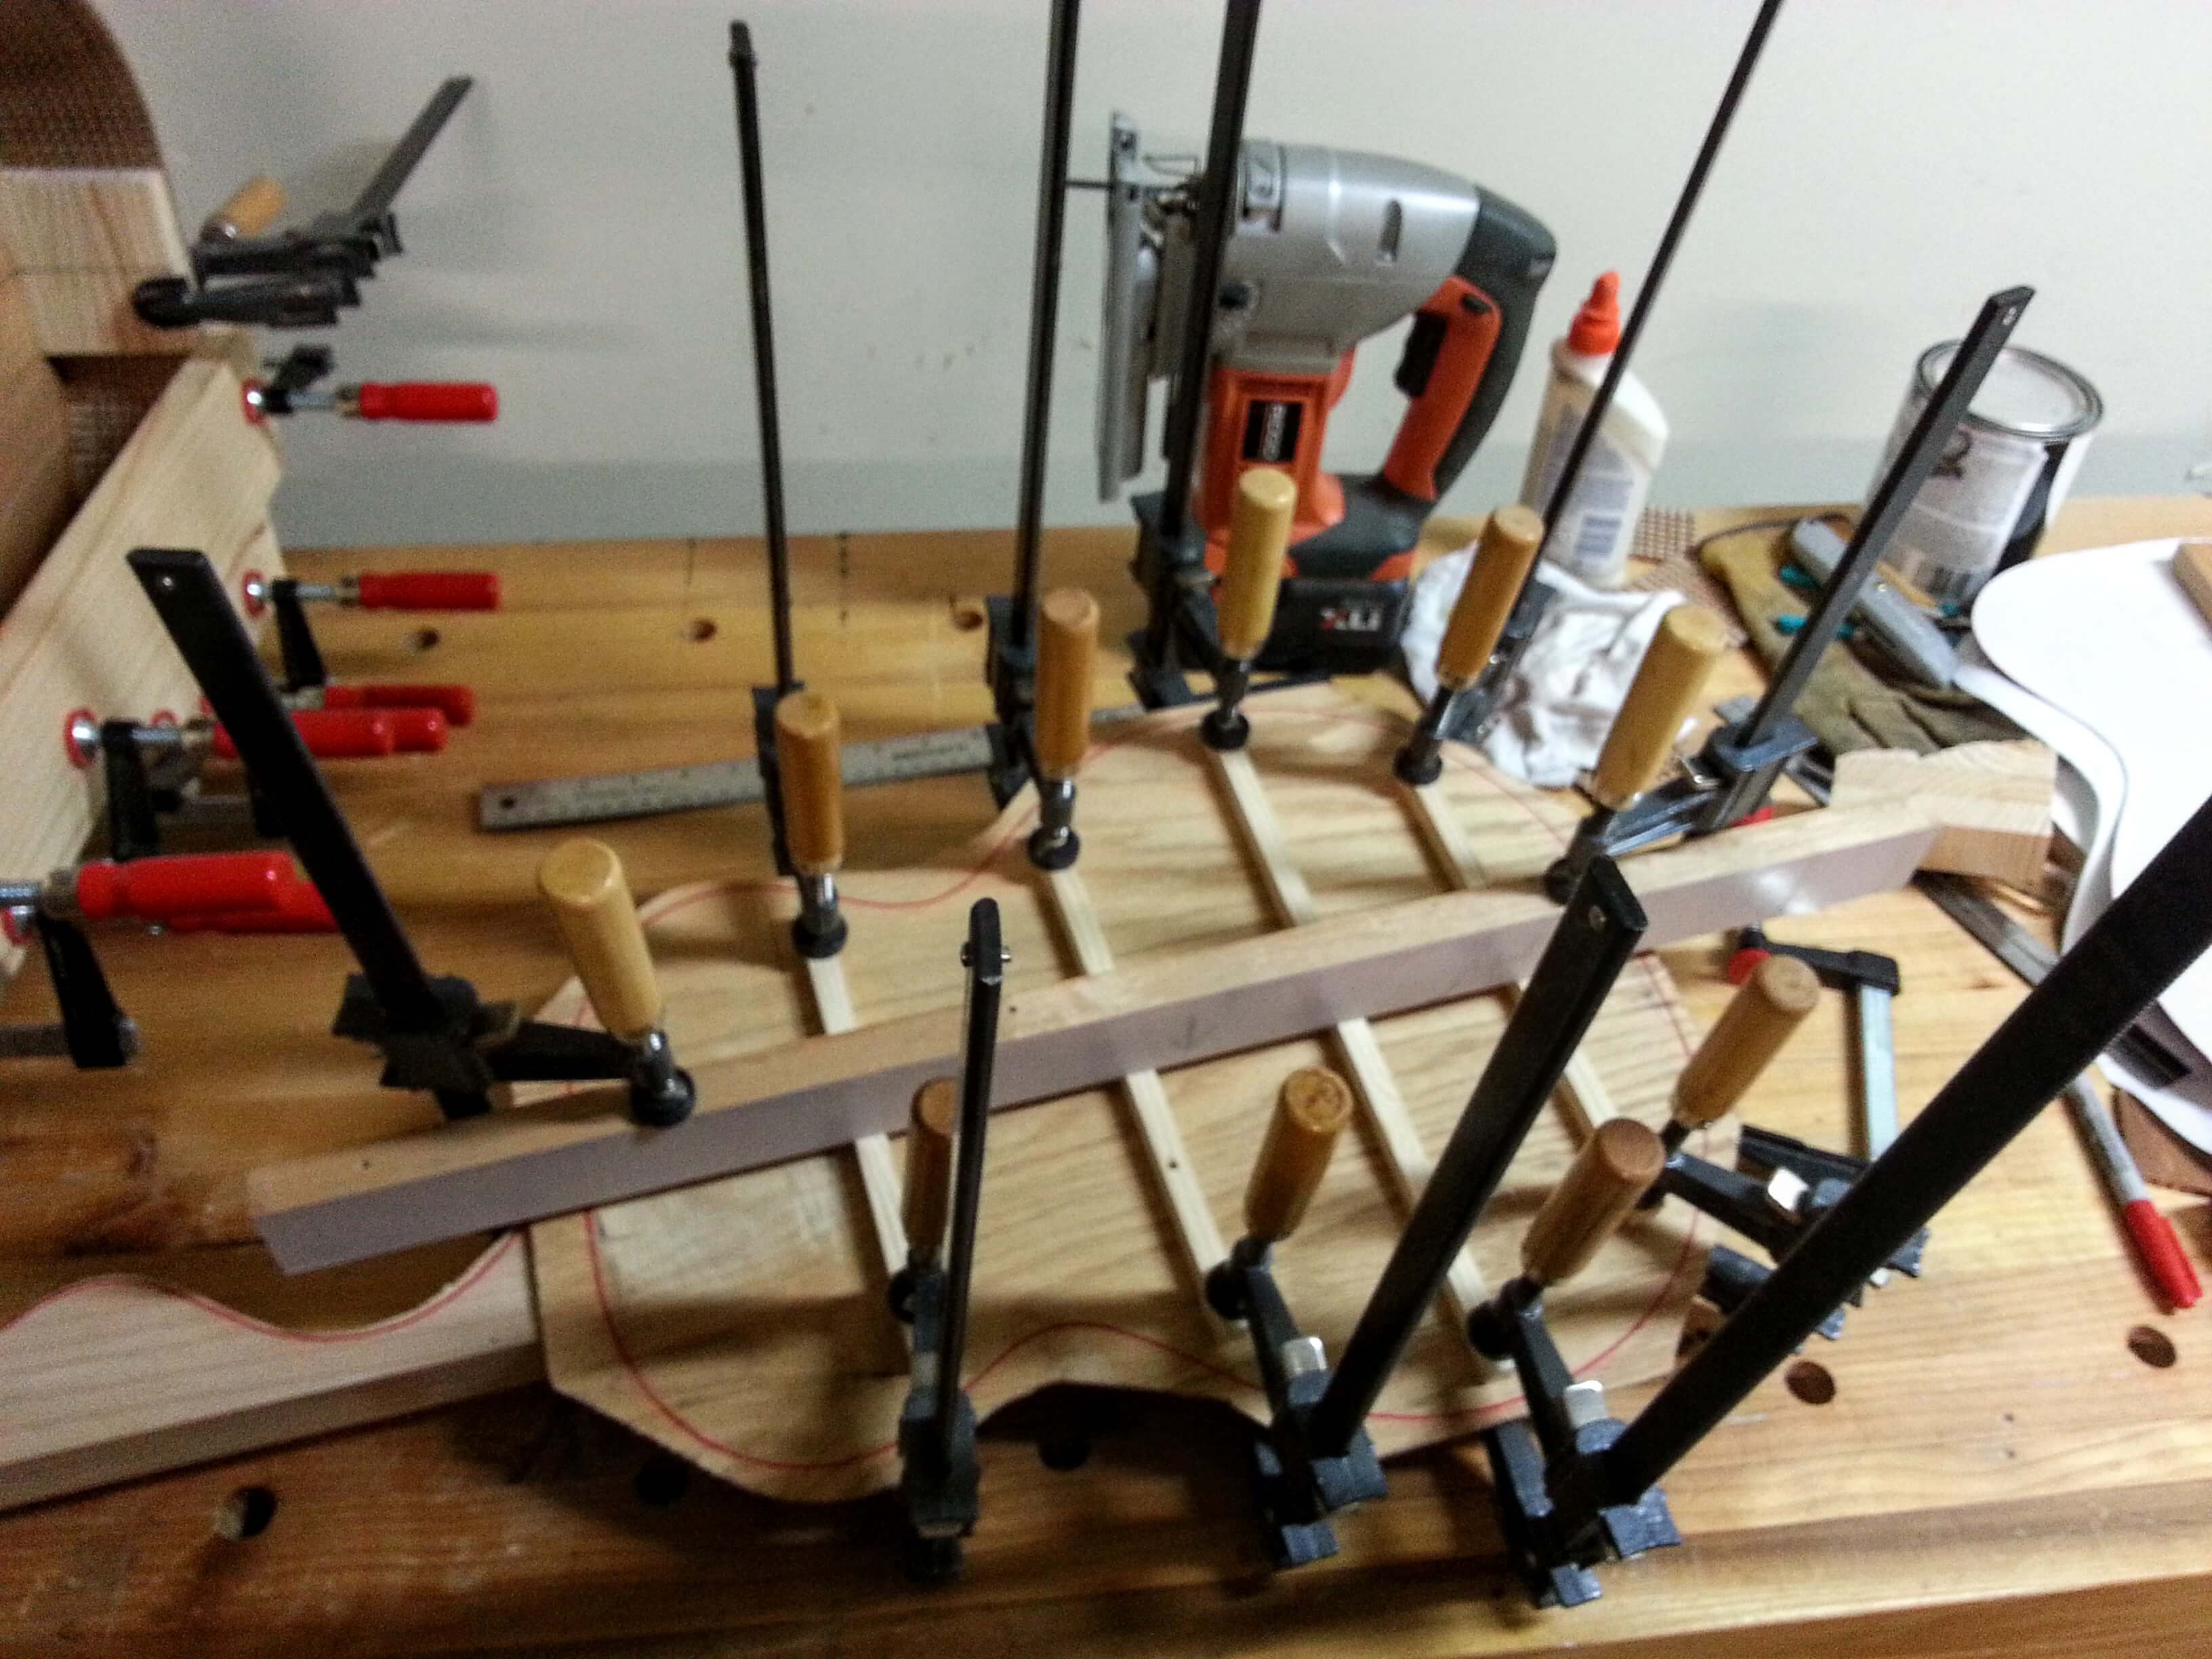
It was a bit nerve racking making sure that the sides and faces lined up properly. I also had to make sure I had even pressure all around.
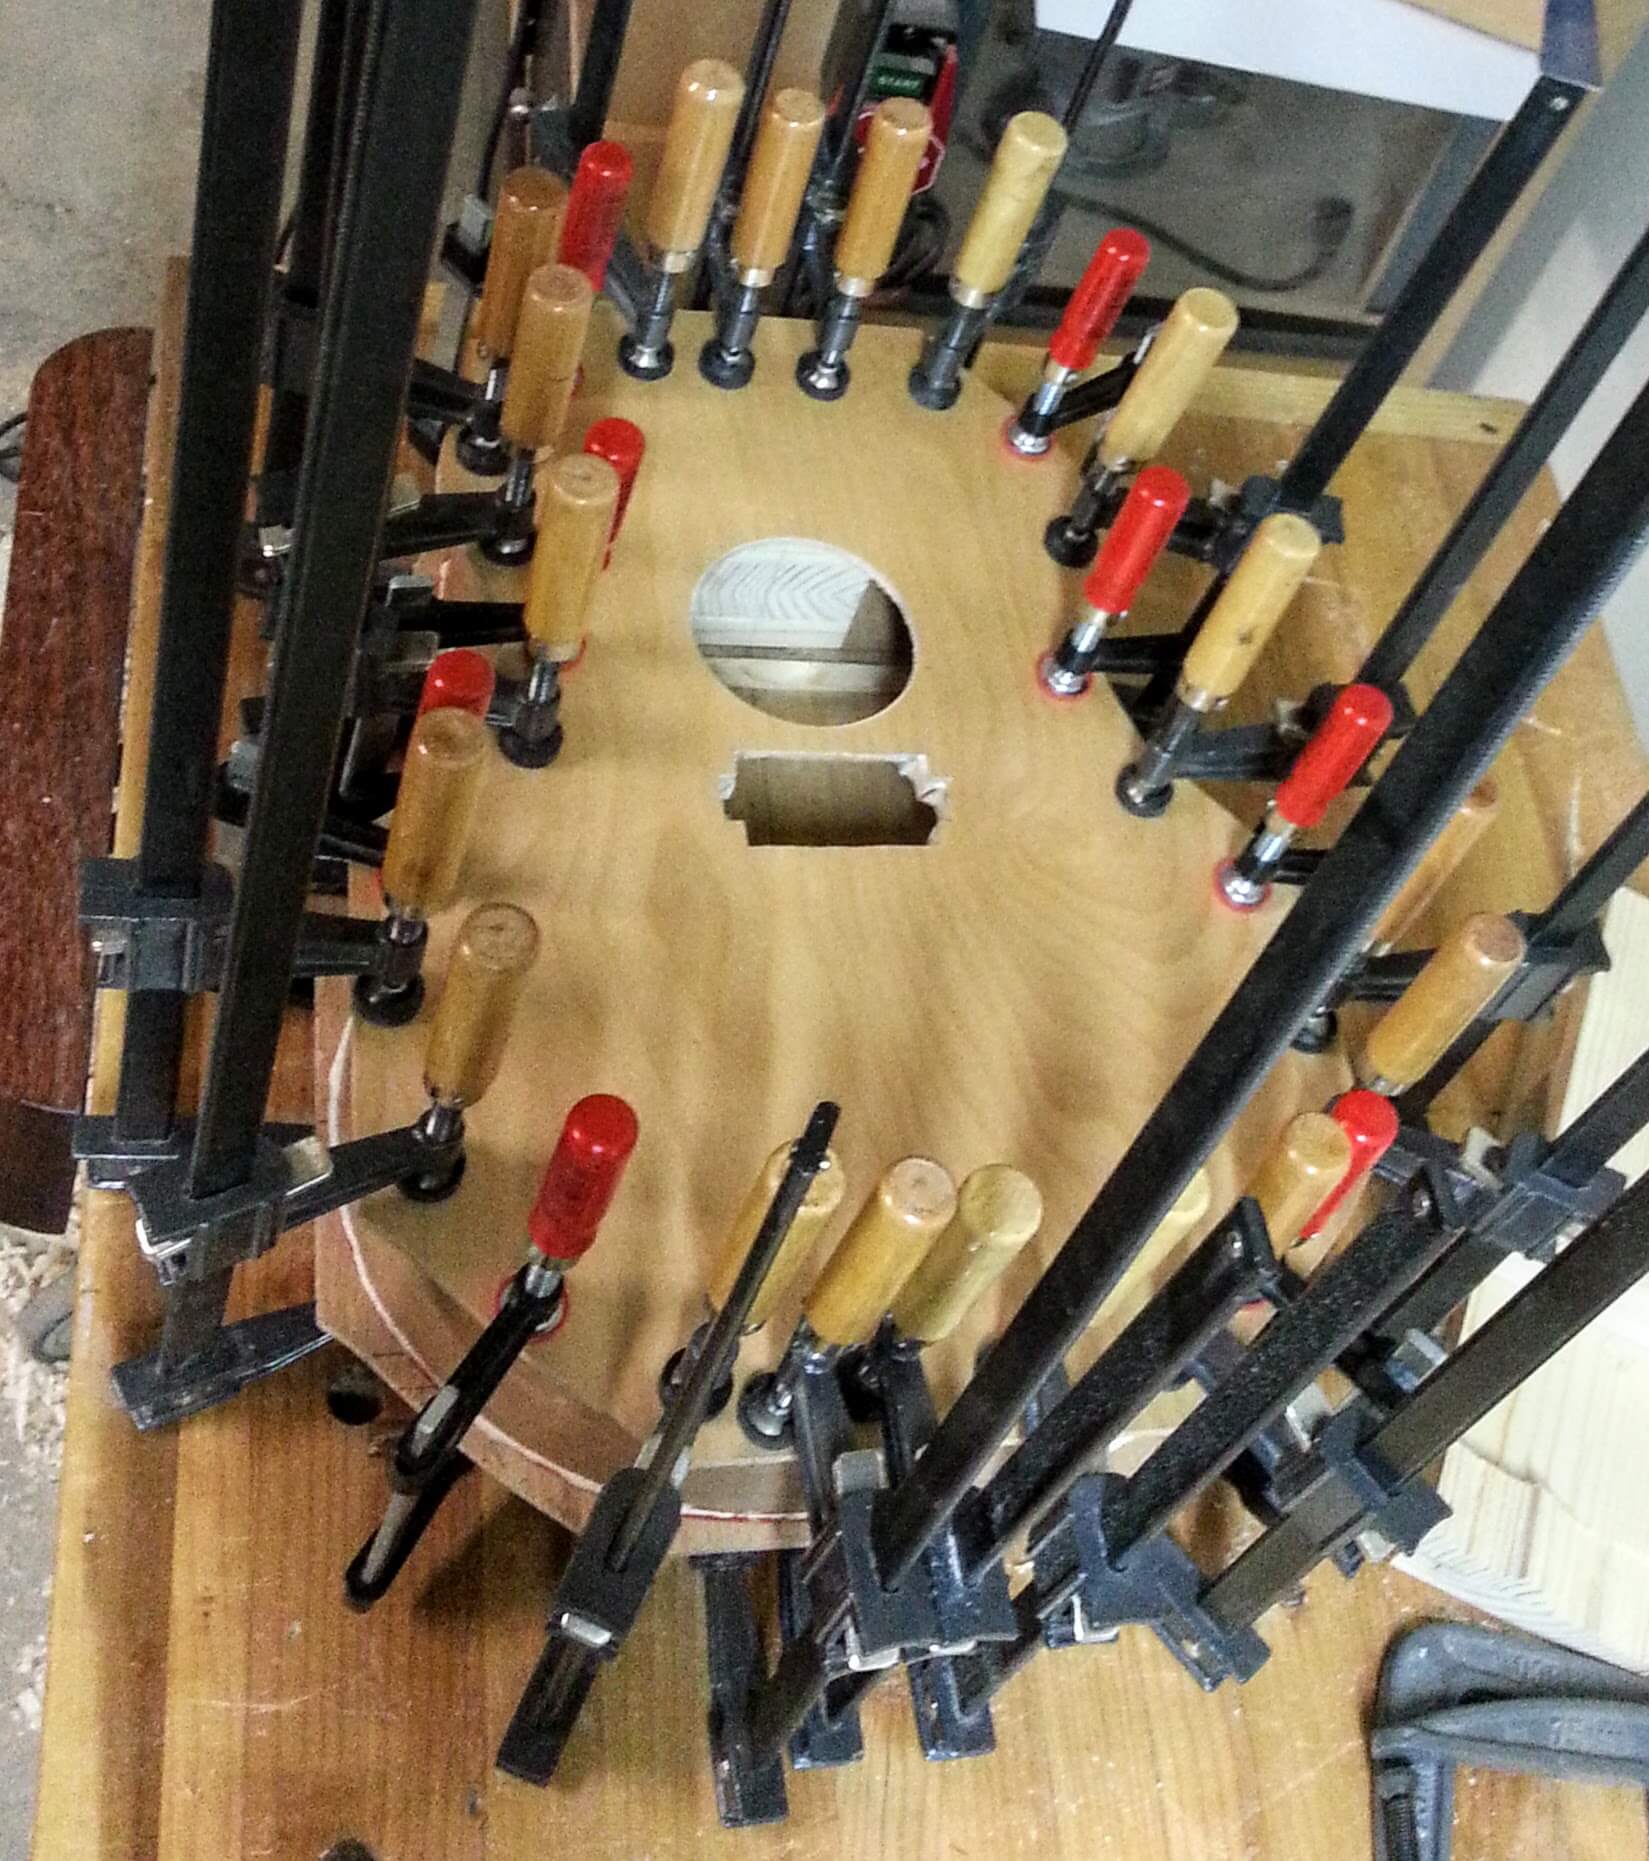
It went together rather easily. I probably forgot something. I also needn’t have worried too much about alignment as I would be using a router to trim off the excess. Again, this went rather easily, nothing bumped or telegraphed through. All went according to plan. I probably missed something rather important.
And what went wrong is I discovered I didn’t have a template bit for the router. Luckily Lowe’s has an inexpensive bit so I didn’t have to travel to Seattle Rockler and spend $30. It was a bit awkward with the 1″ bit and two different size template halves and the trim router, but it all worked out in the end. It’s a near exact fit. Except for one tiny dimple when I sneezed. Barely noticeable.
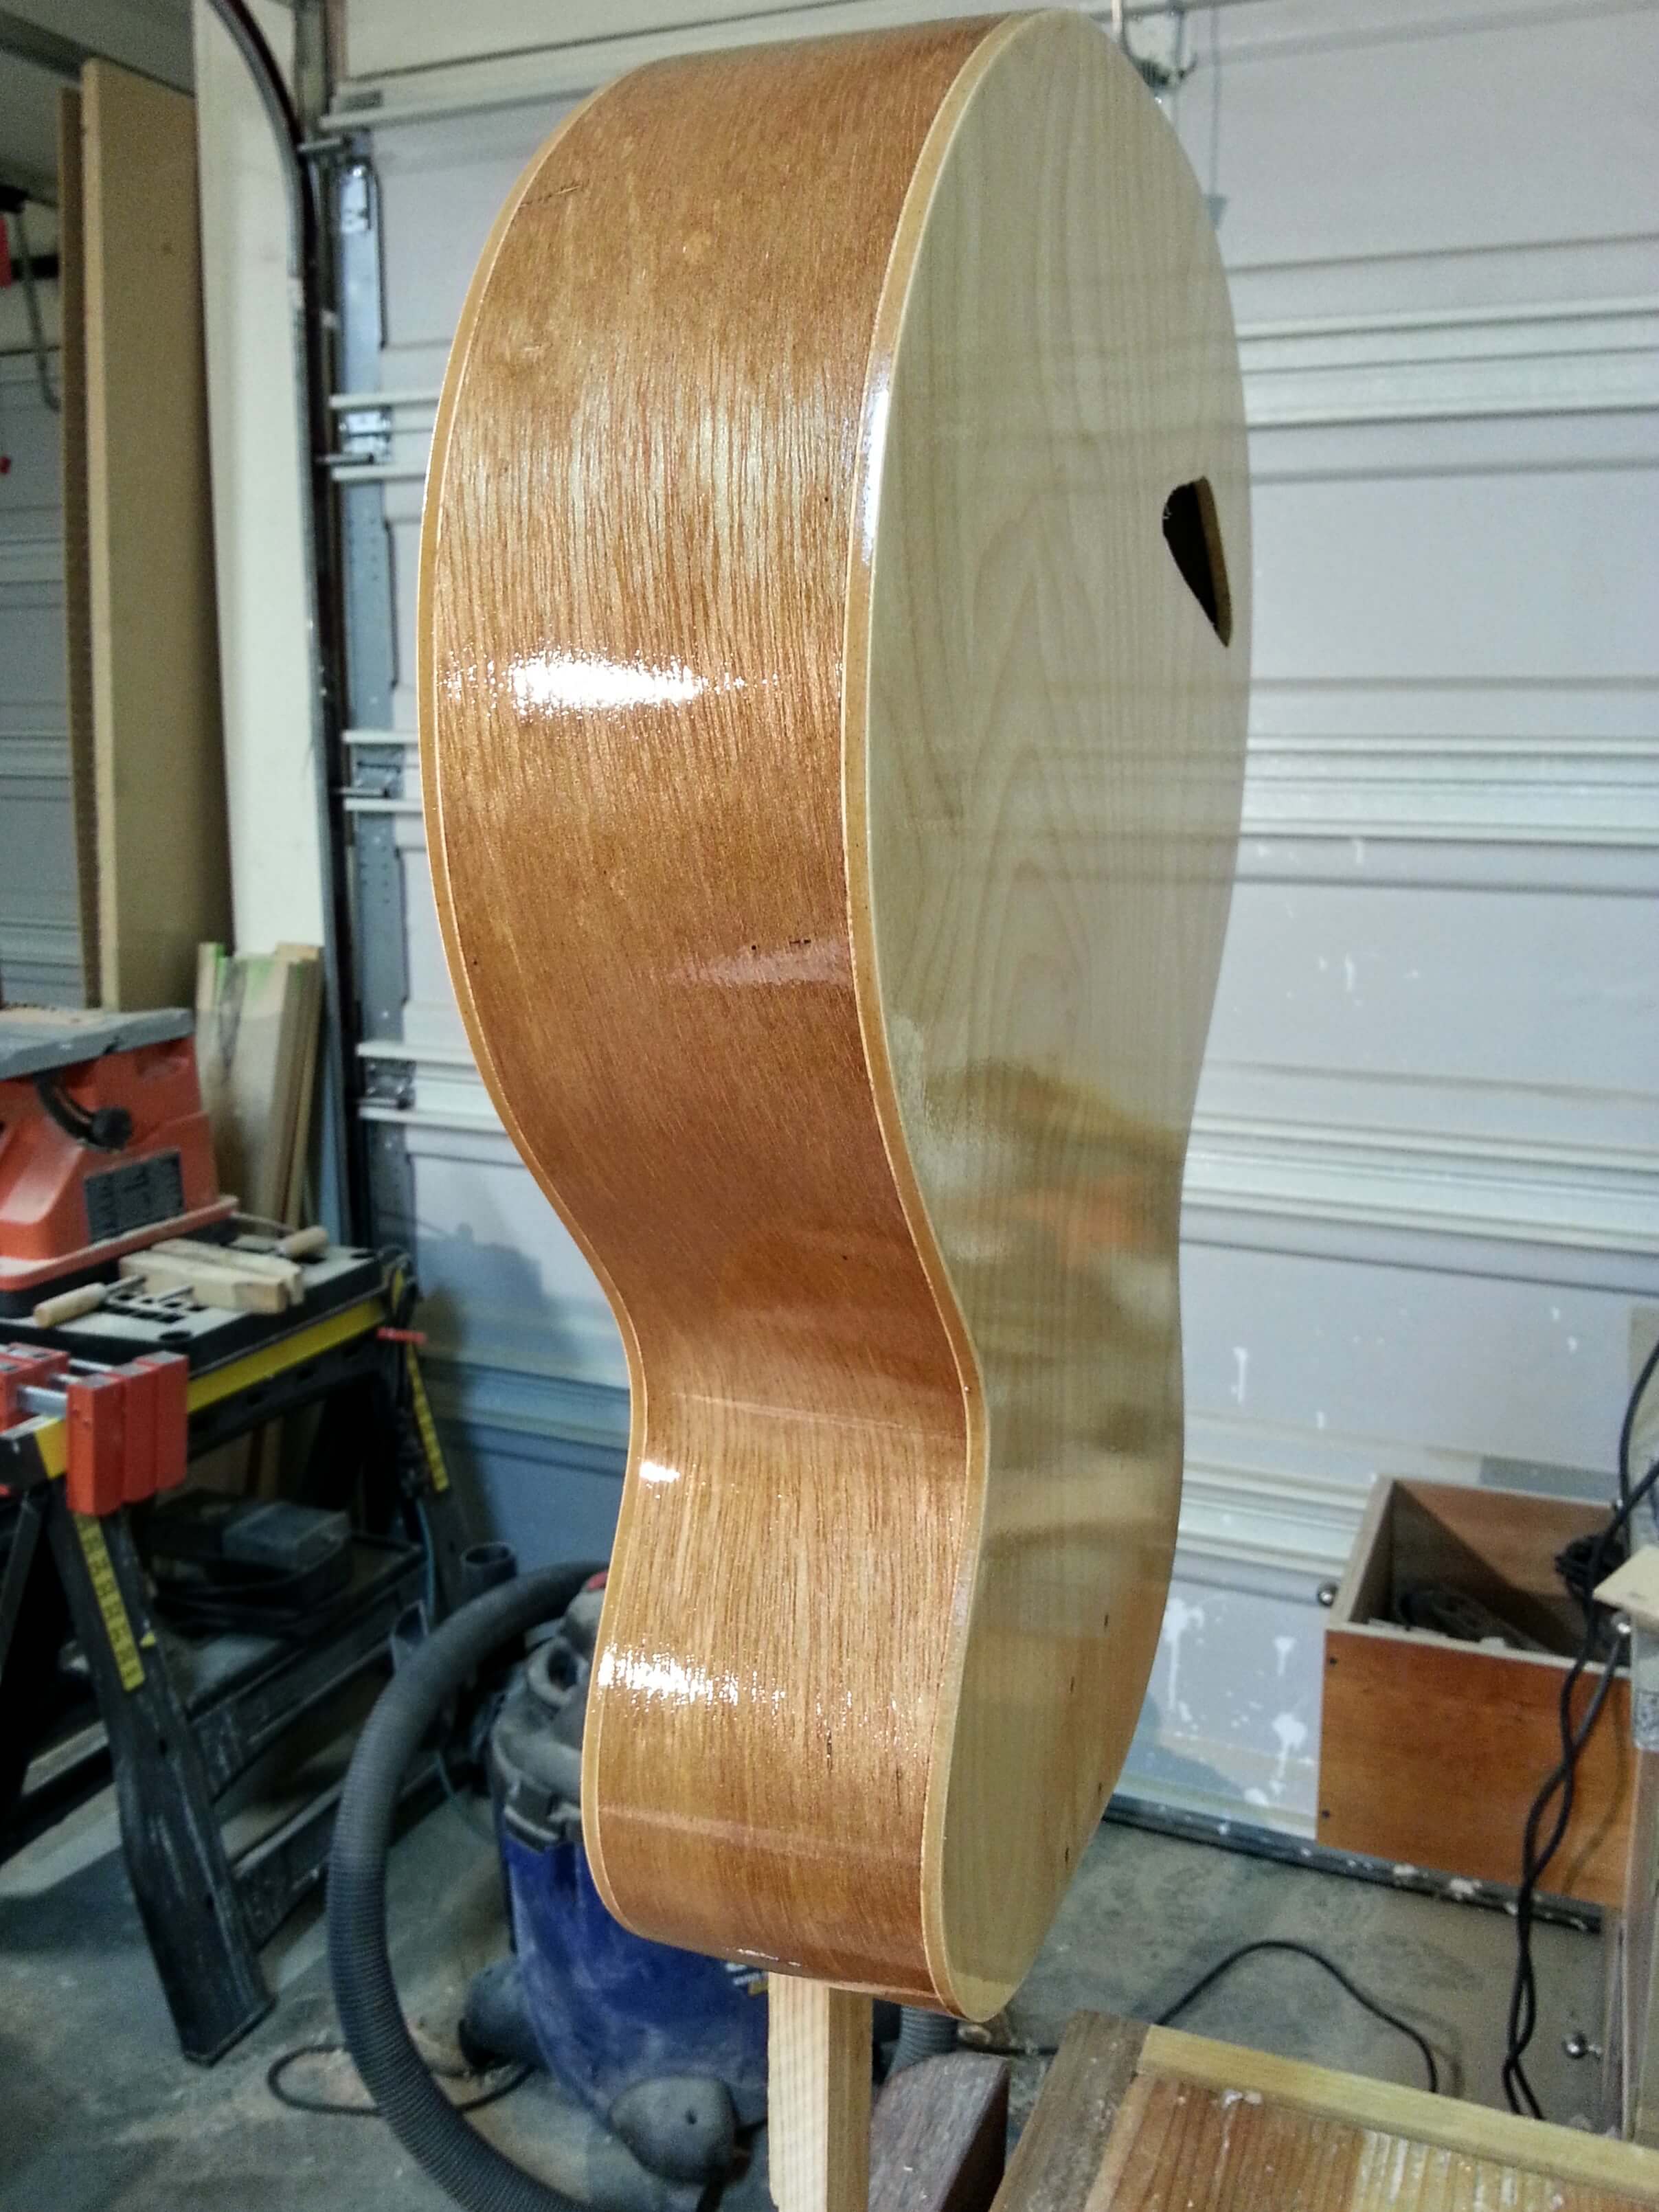
The side wood is very porous so Instead of filling in the pores with finish, (which is very time consuming and material wasting, like weeks of spraying, sanding, spraying, sanding…) I opted to try using a grain filler. Speed of application I am very happy. I will certainly use this method on things I paint.
I am very happy with the results of the grain filler. It gives a slight contrast to the grain and makes it a bit more interesting. I could have bought multiple containers and matched the color, or even went with a much more contrasting colour. I looks even better with a wipedown of mineral spirits.
I used nearly two cans of lacquer on on the body. Probably about 8 thin layers. With any luck I won’t rub through any of it this time. Something I realized with this project is that I no longer have a heated garage. It is certainly going to cure faster in the 68F house than it will in the 50F garage. Especially being right next to the heat register.
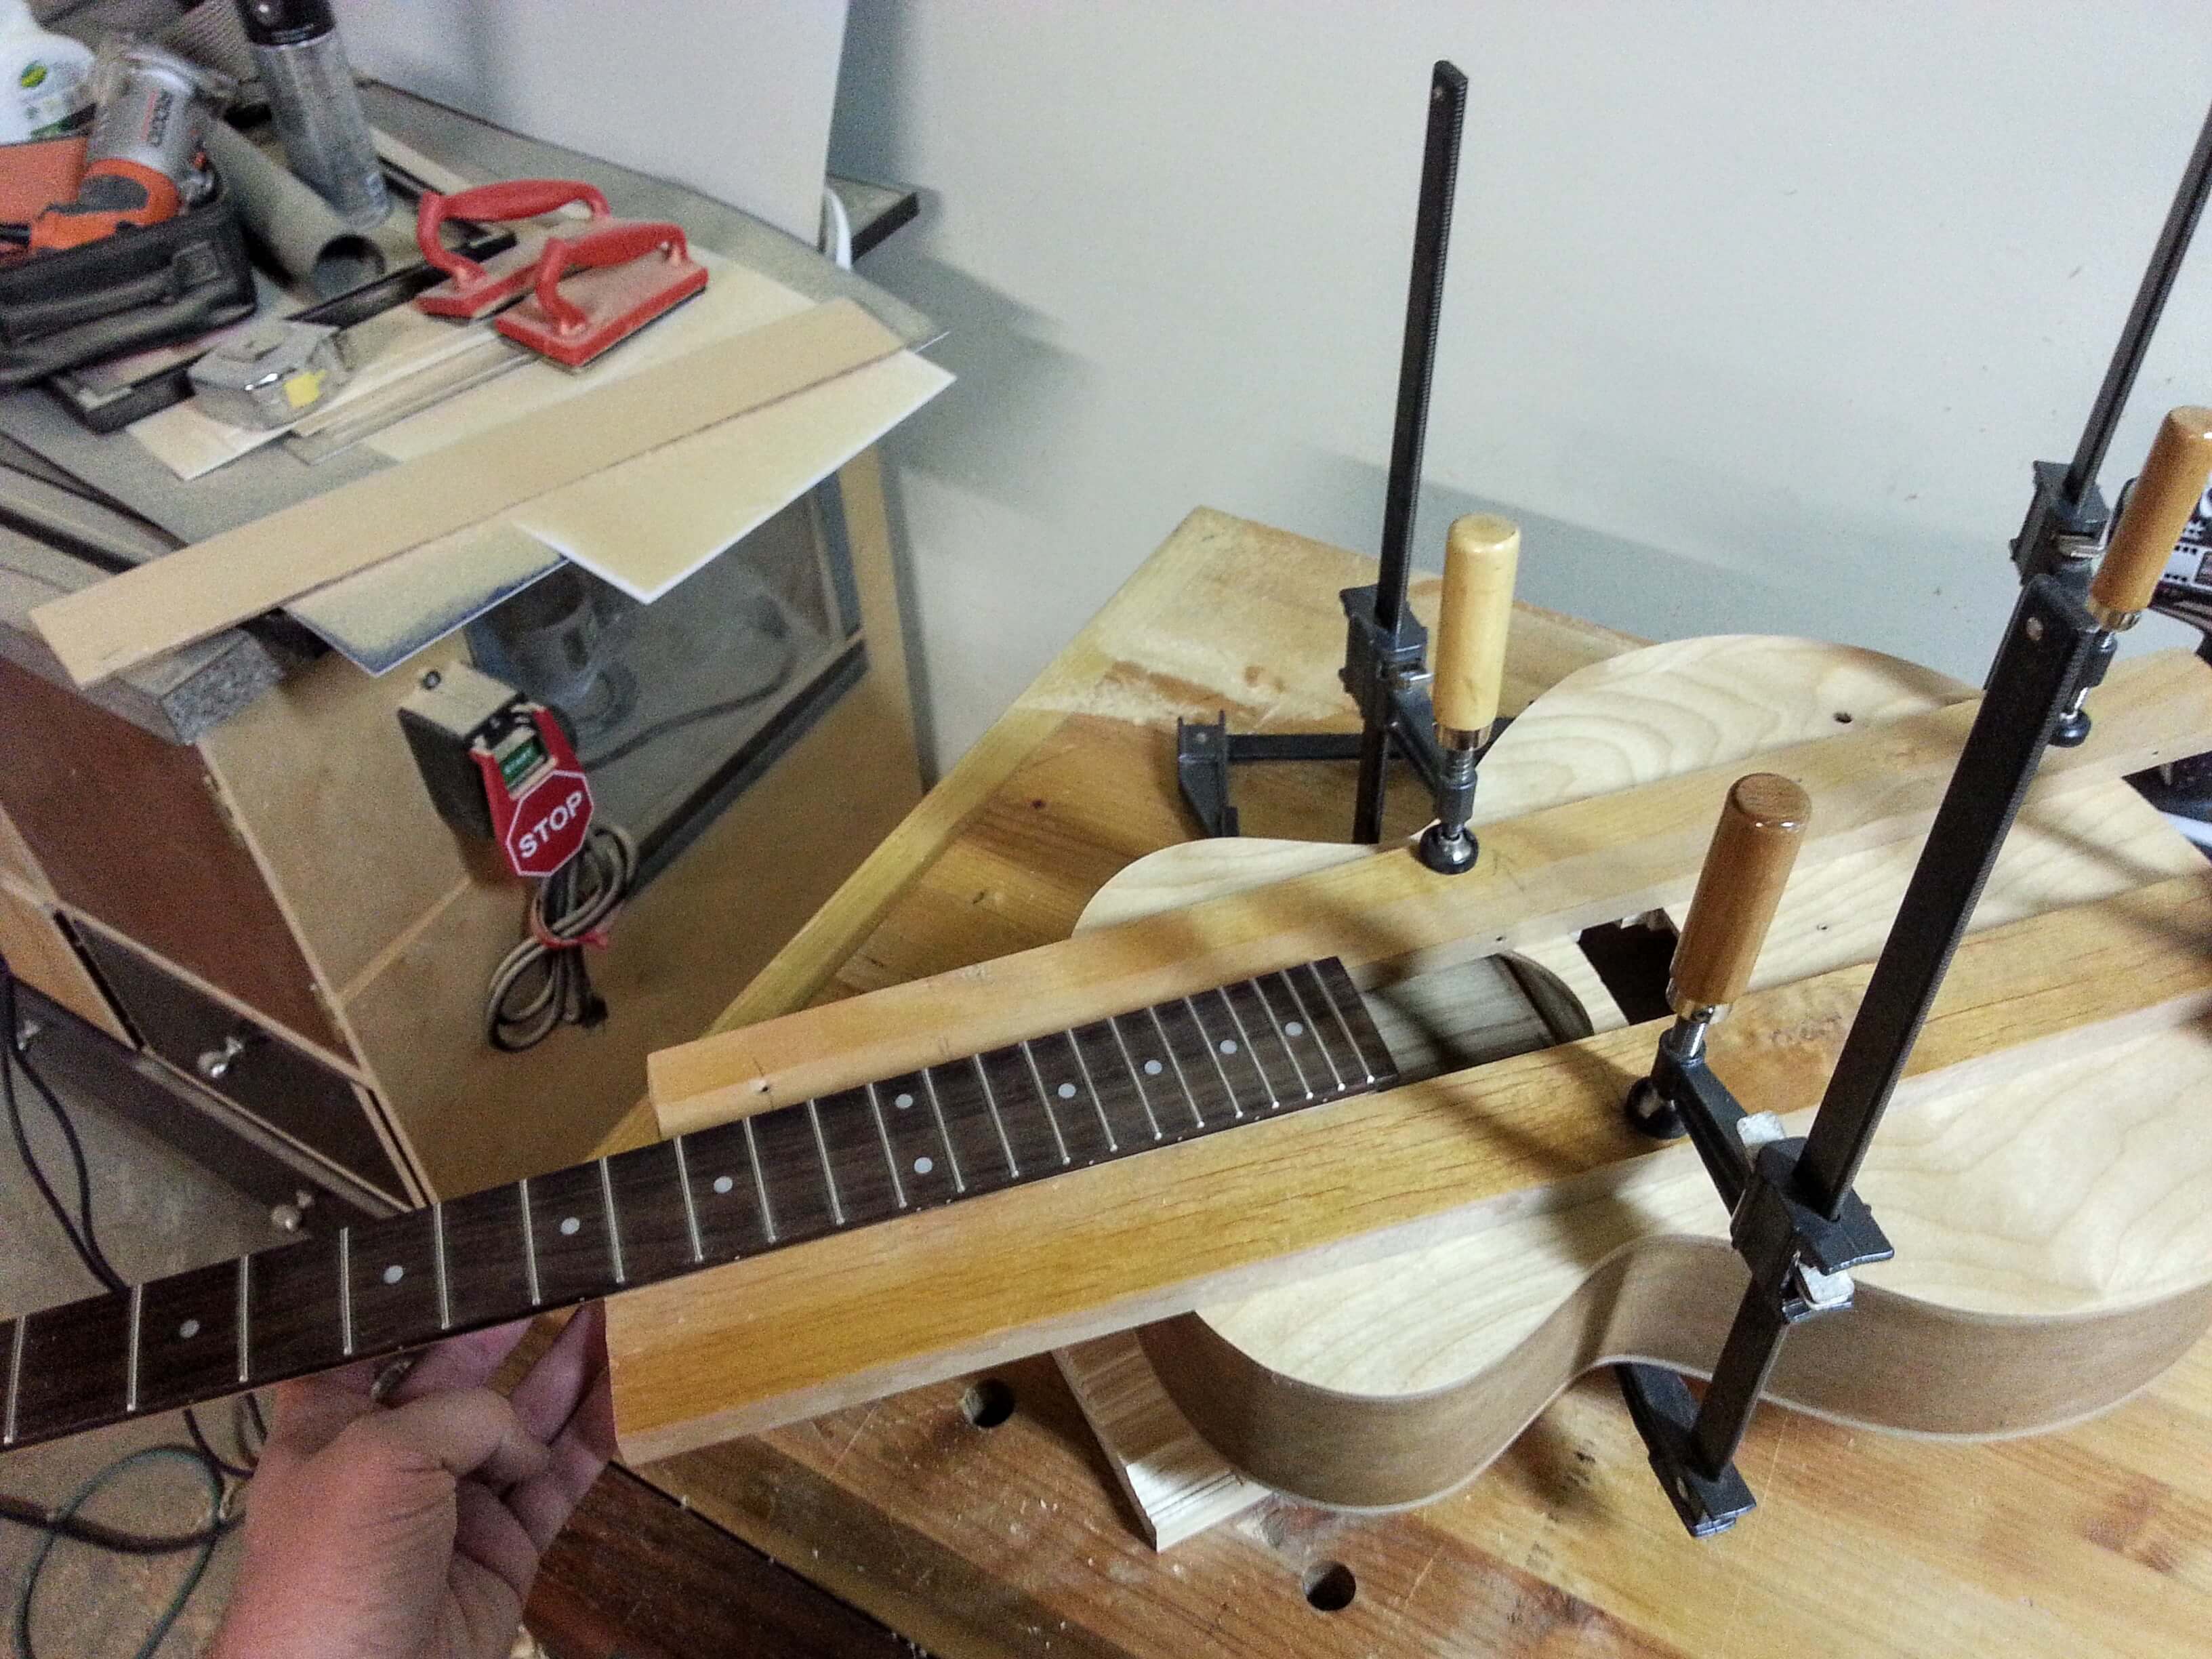
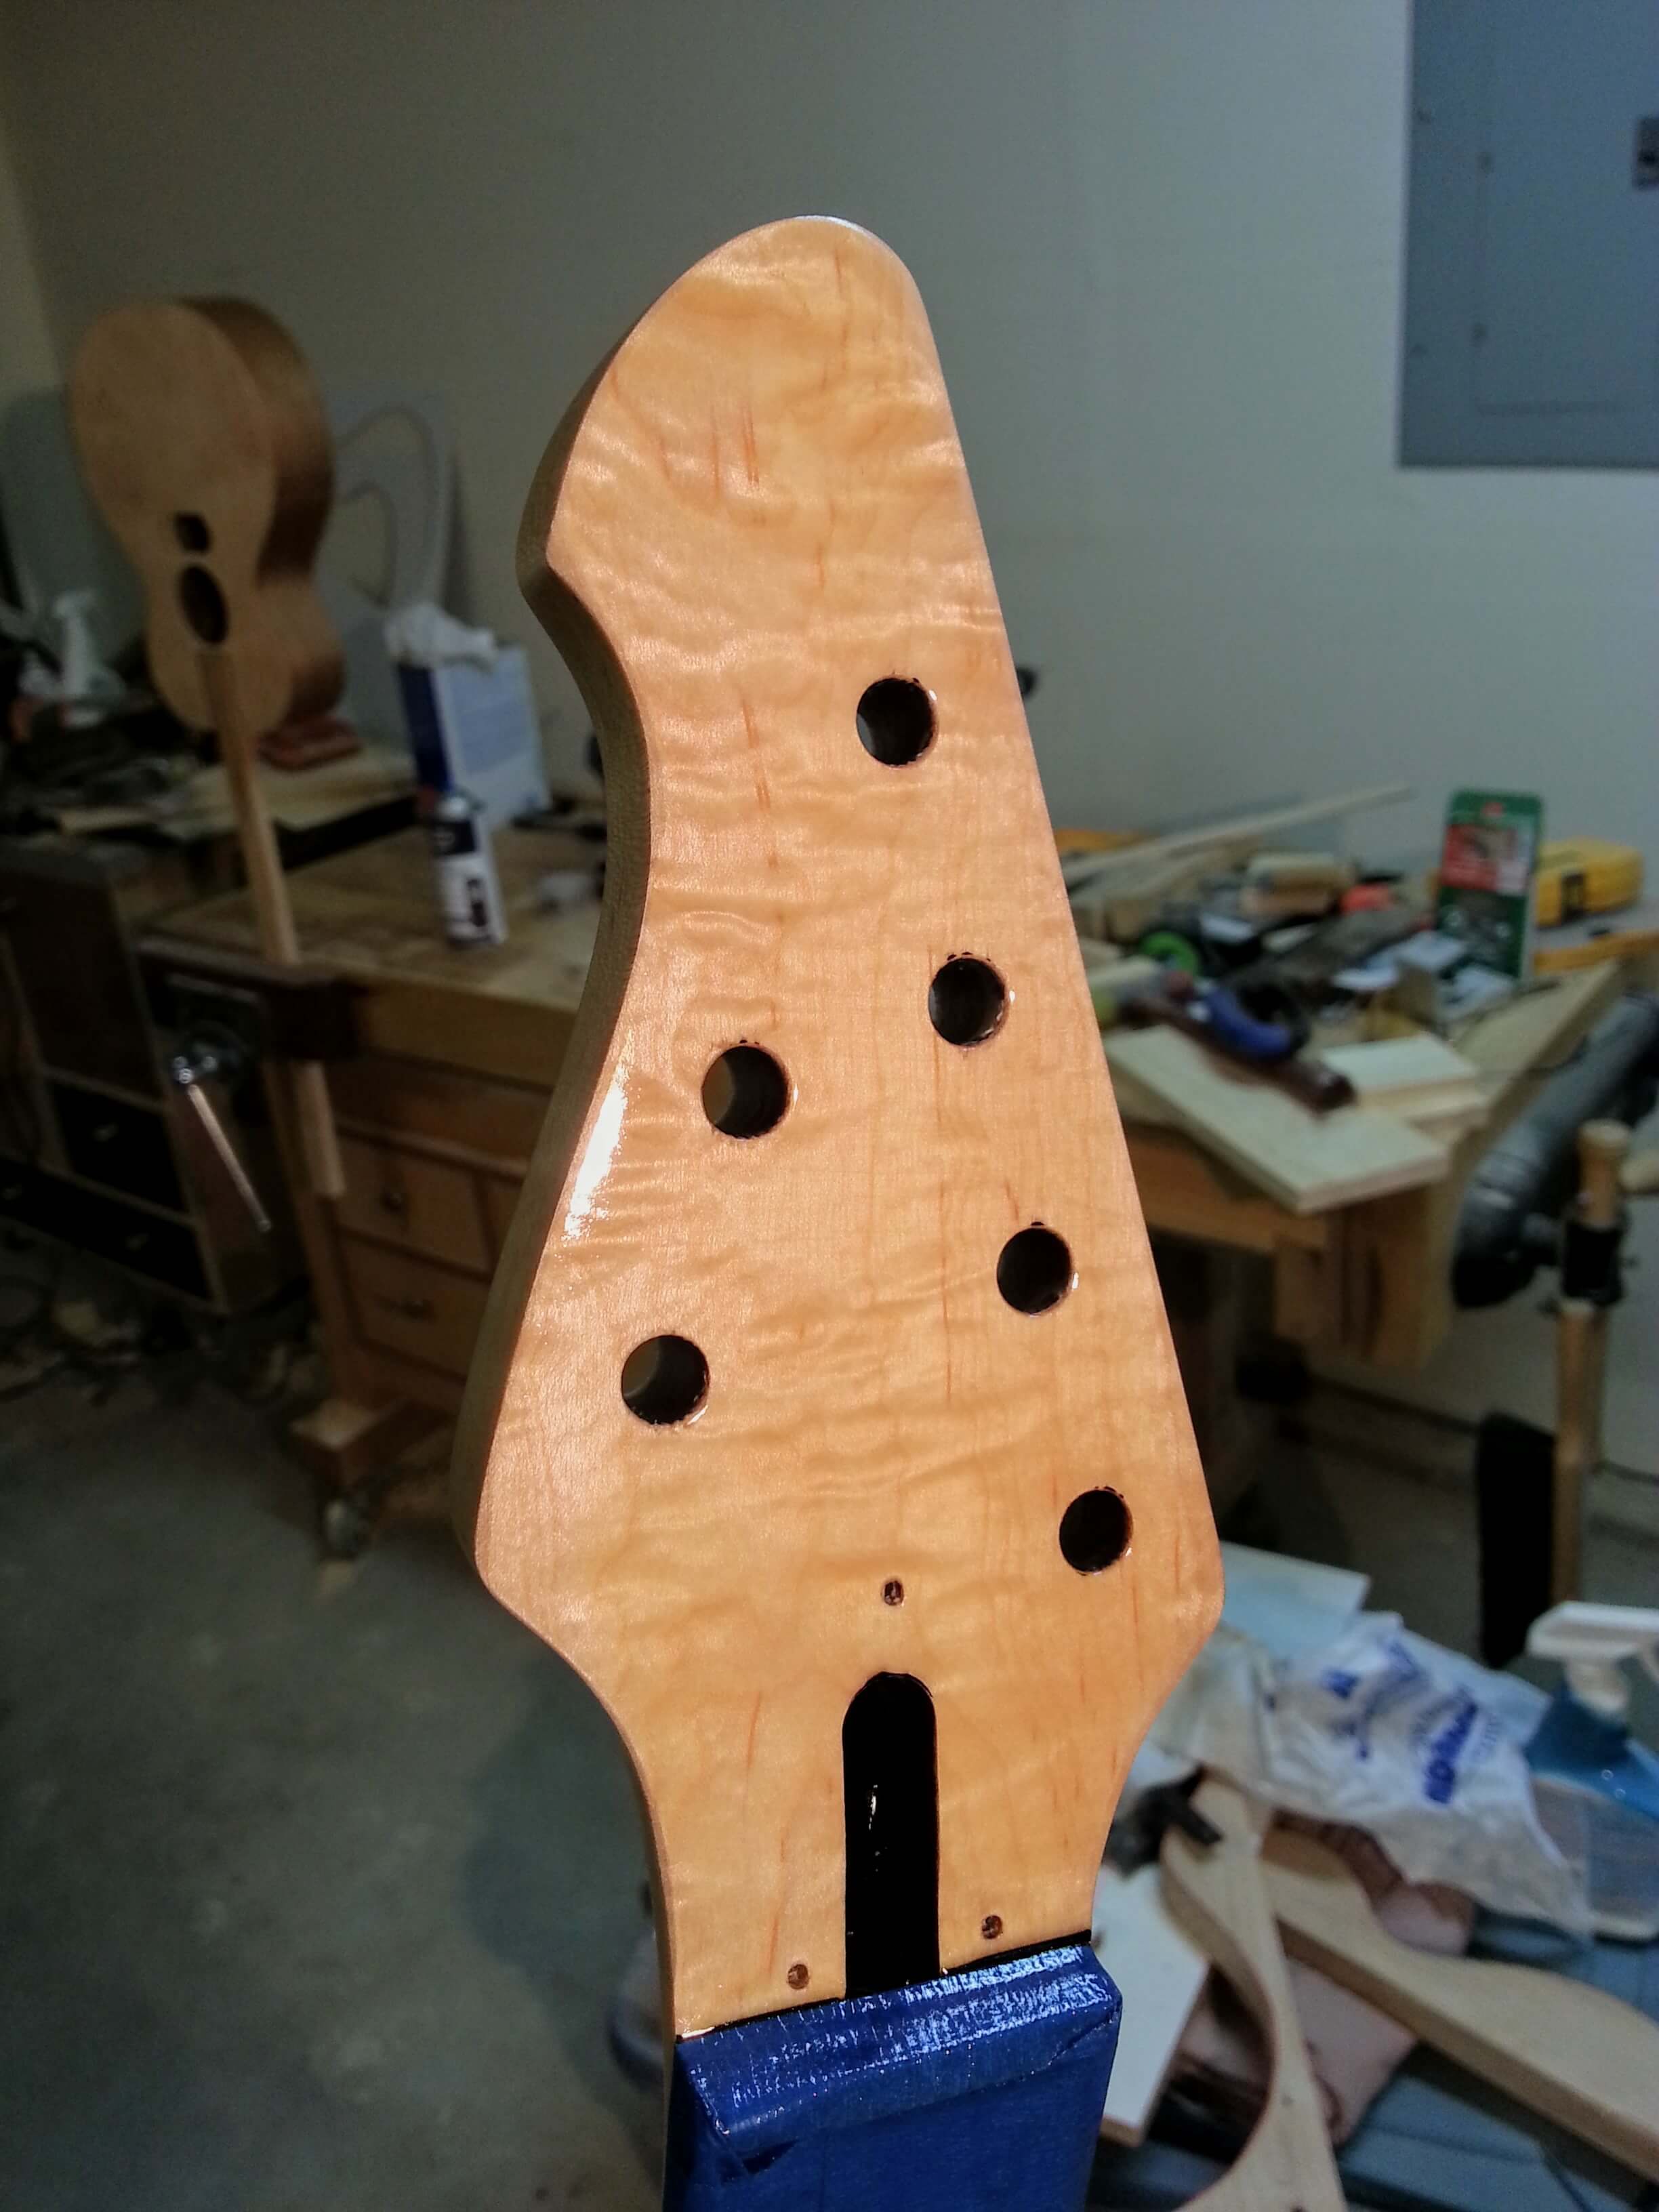
While that cured, I worked on the headstock. It was originally painted gloss black. The only reason I decided to to take the paint off in the first place was because there was a logo for the guitar the neck came from. “First Act”. When I sanded it off and saw the slight curl to the maple’s figure I was very happy. I decided on a nice gloss coat for it’s face.
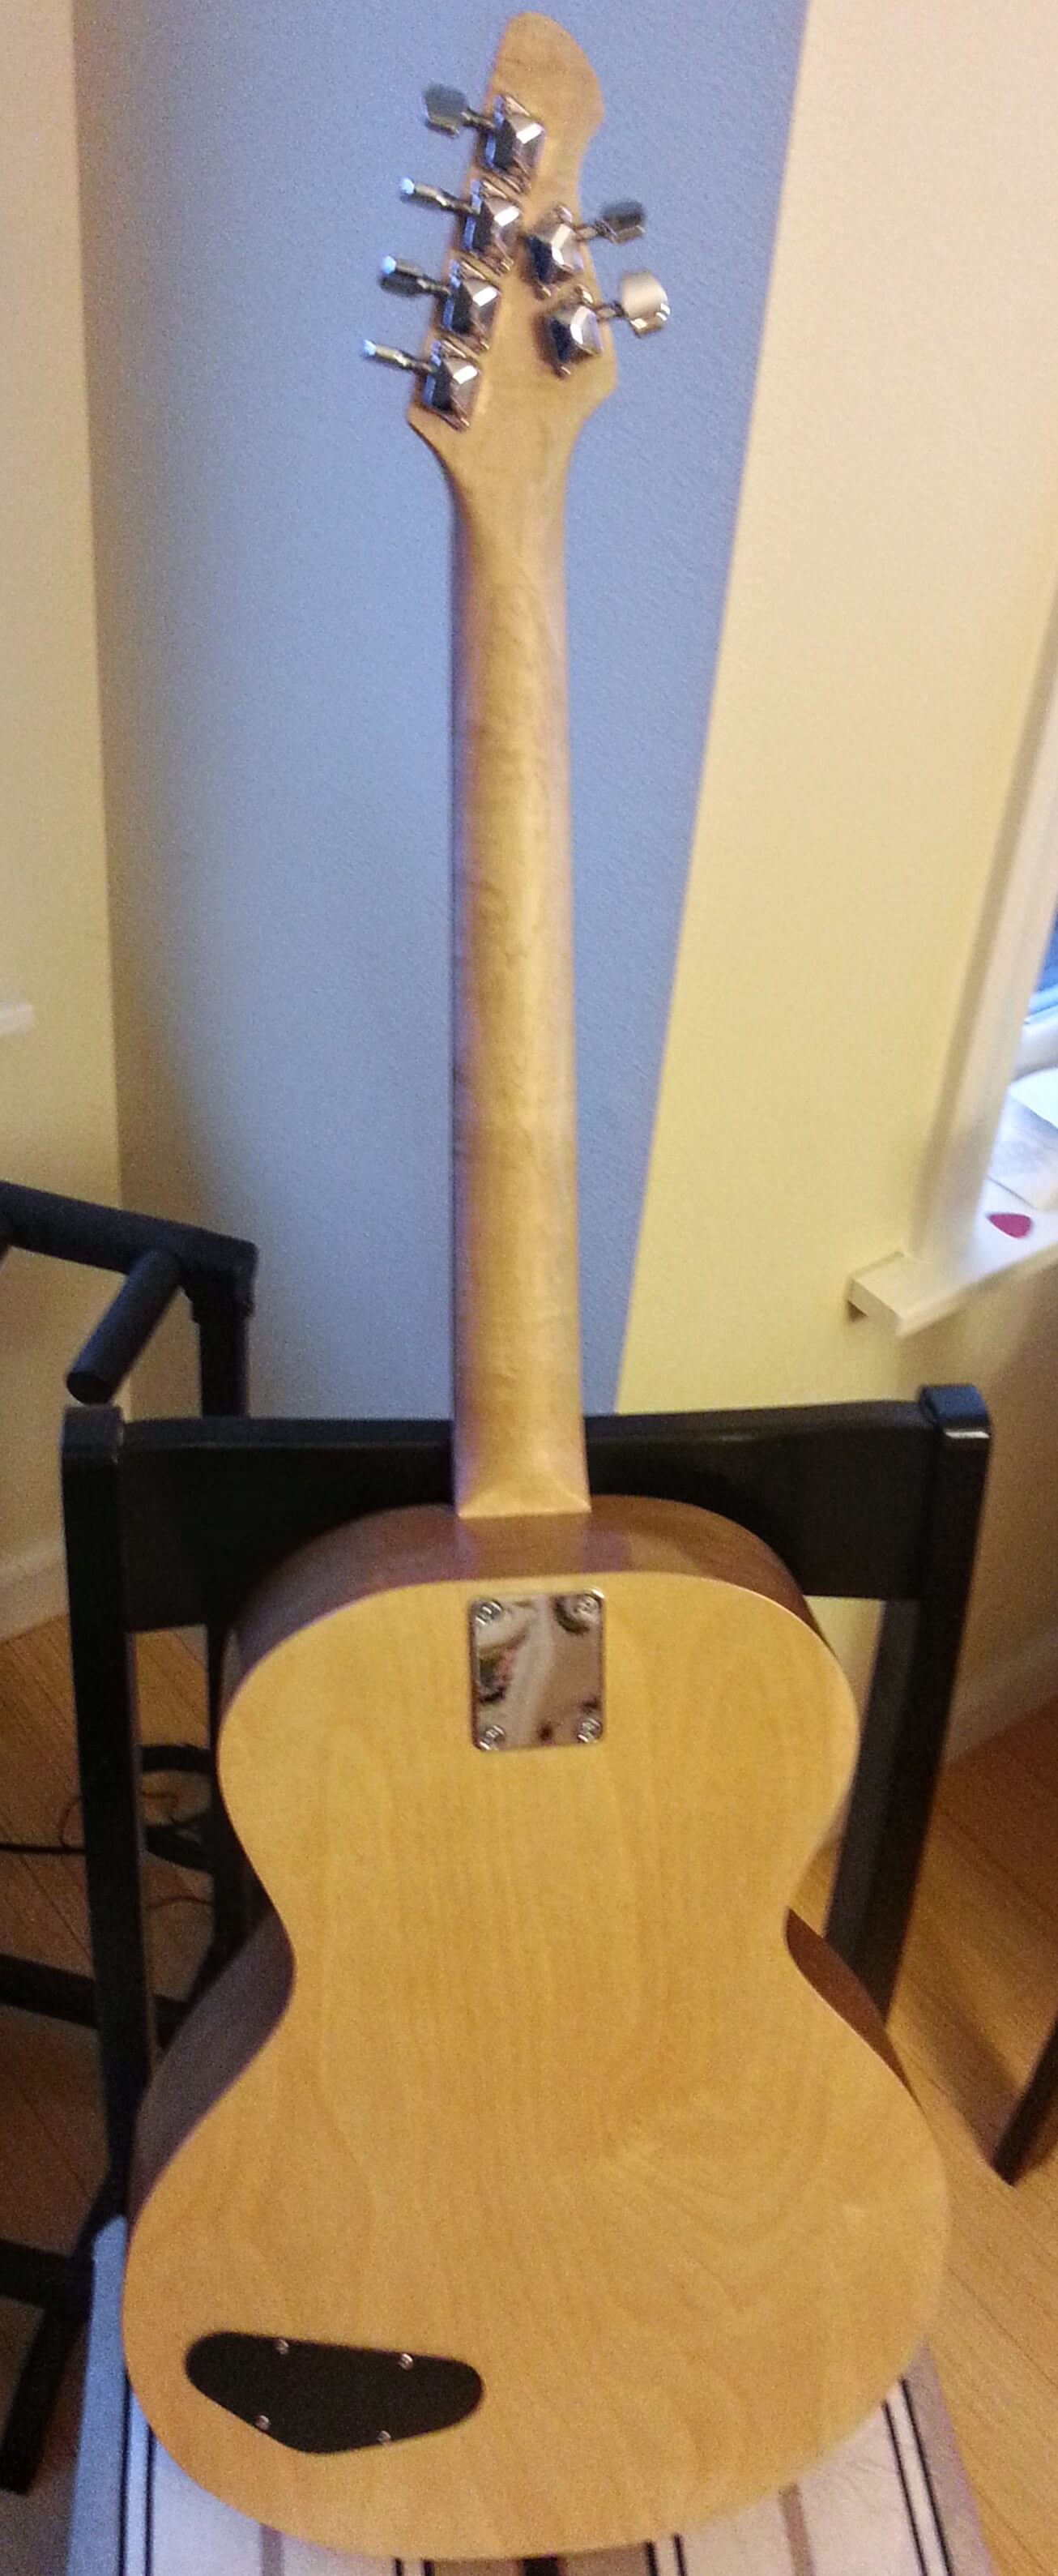
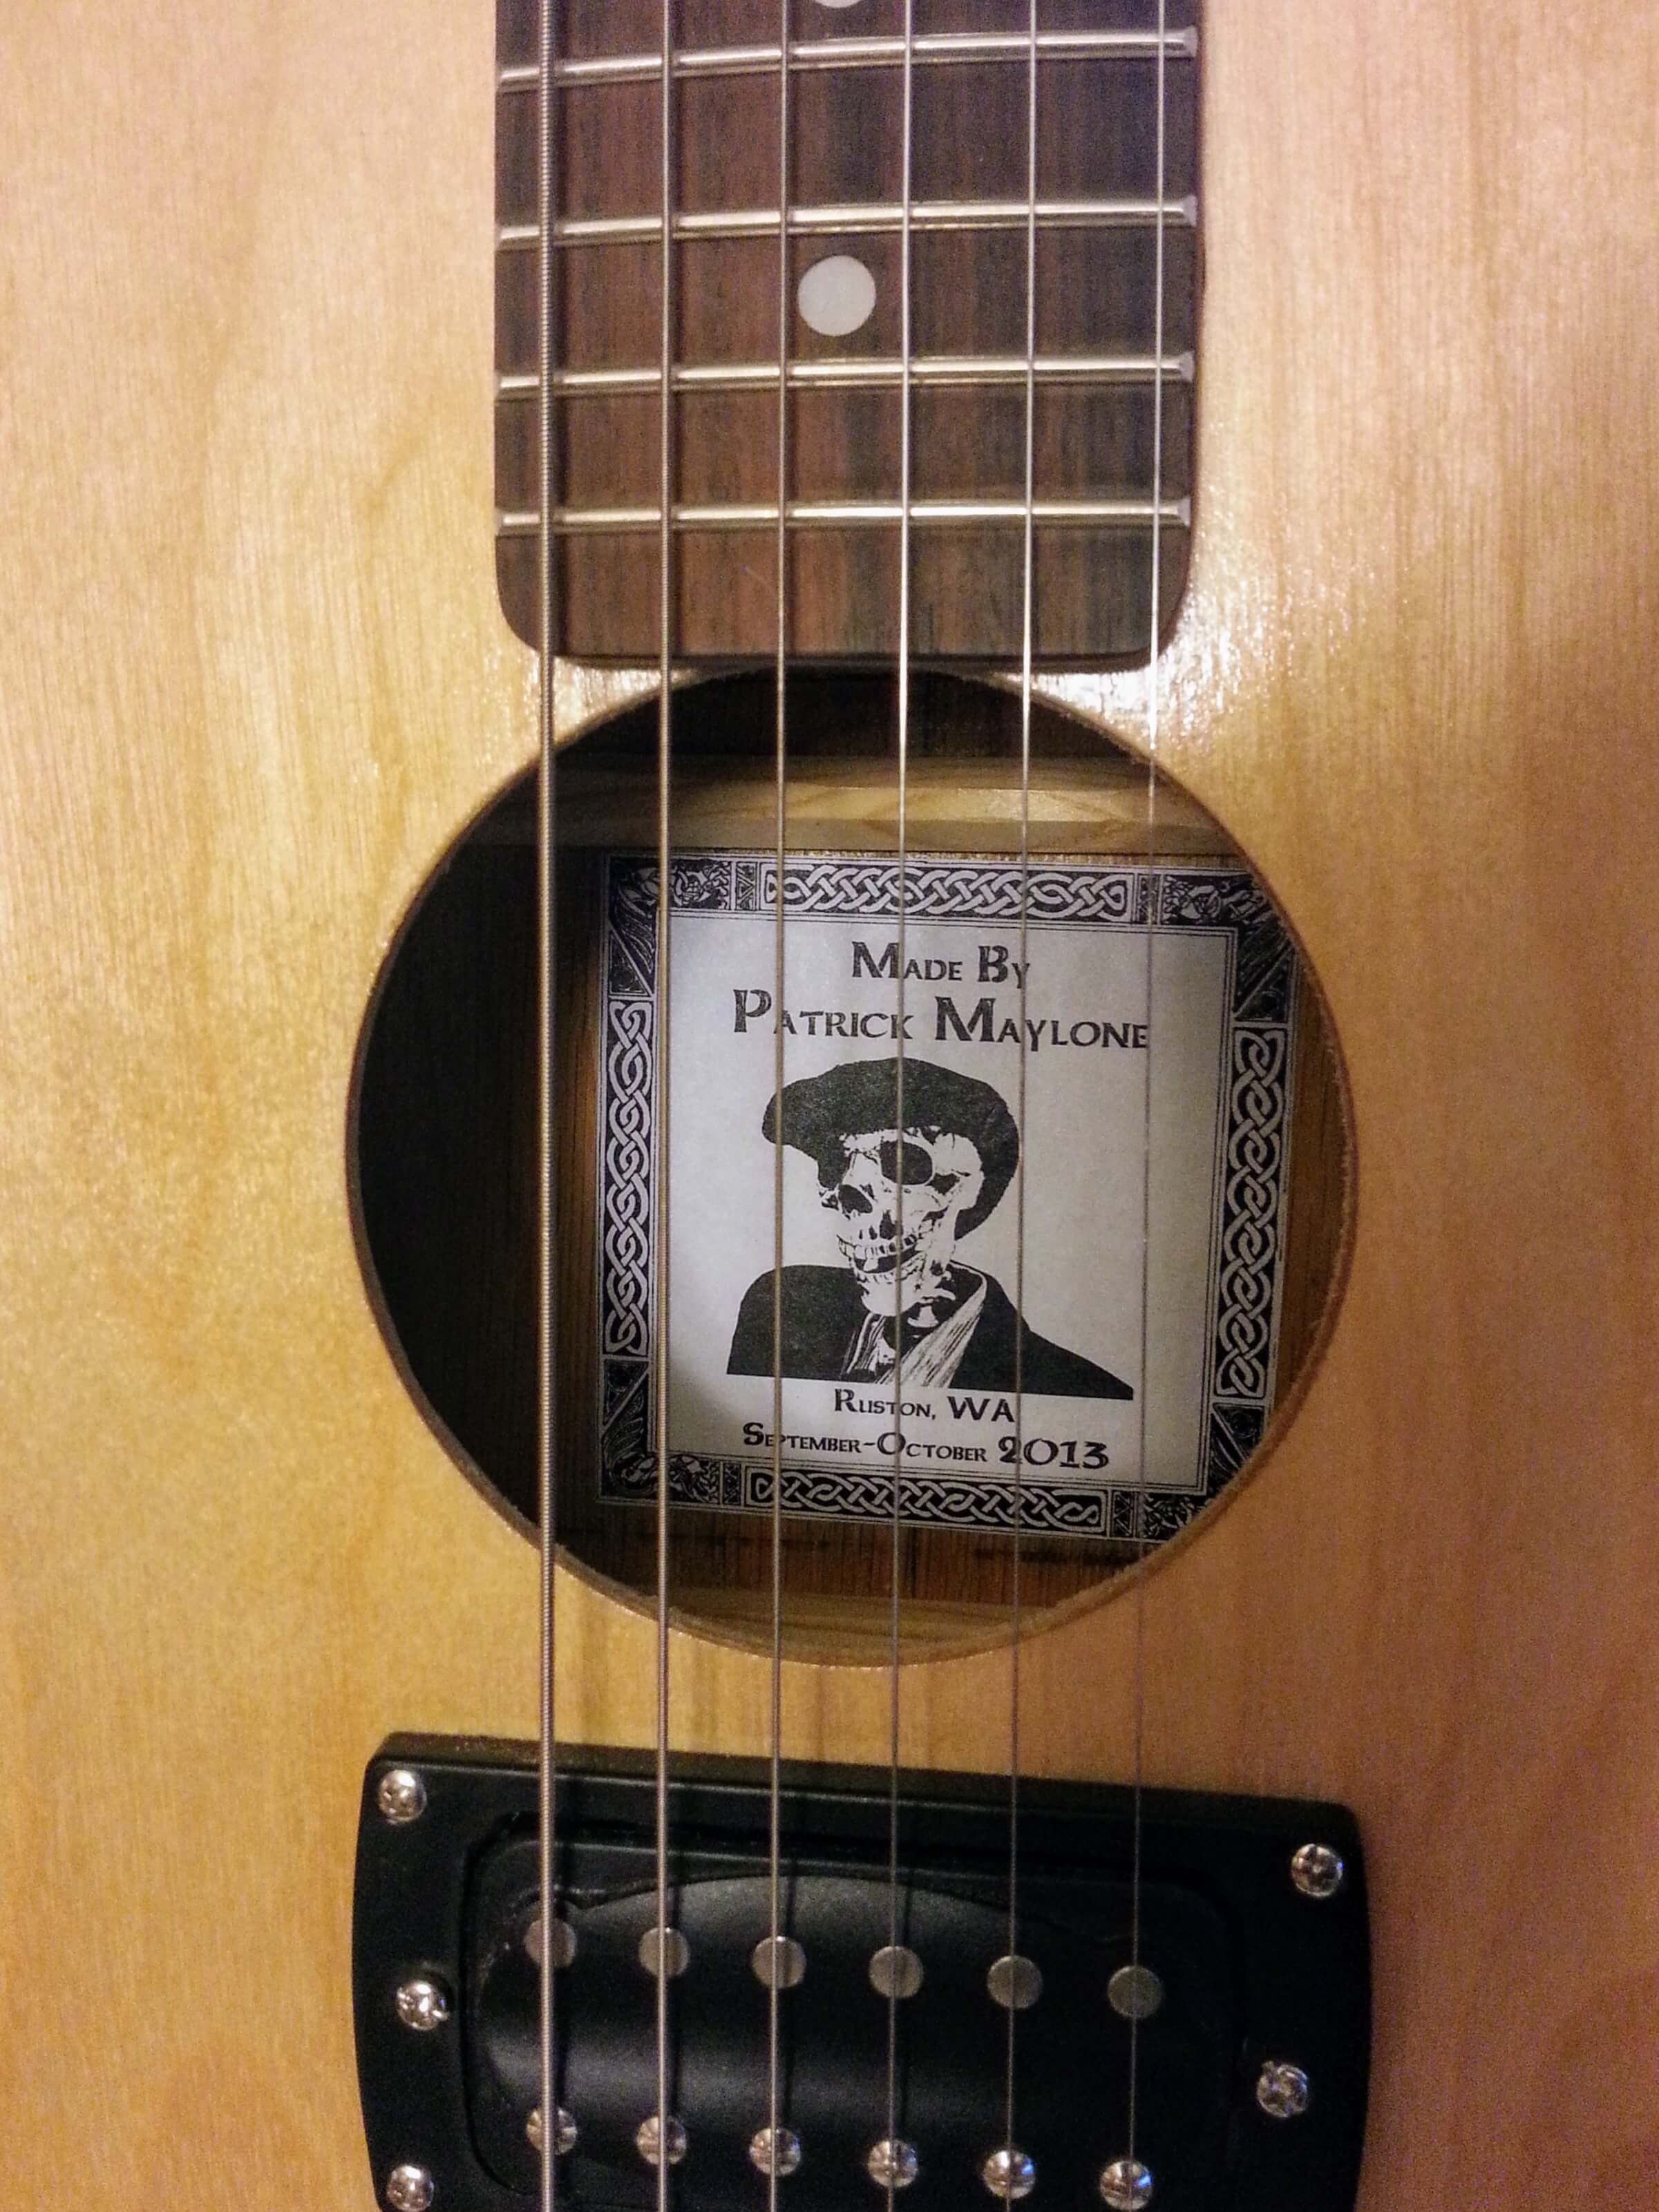
Once the lacquer was dry enough to mount the hardware and string it up. I decided that I wanted to make sure it didn’t blow up in my face before I waited a month for it to be fully dry, then spend 2 days rubbing it out only for it to fall apart from the neck pressure. So far so good. At this point it’s been a few years. I ought to actually take it out back and buff the finish out at some point. The black panel is the access for the volume knob and the output jack. While the lacquer dried, I fiddled around and made a manufacture tag.