In the beginning of April, 2014 I decided to tear apart the Rockler kit and give it a proper go. I am certainly much happier with the results. About a year prior I bought a Fender replica kit from Rockler Woodworking. As far as kits go, you certainly get what you pay for, but for my first attempt at building a guitar, it was money well saved.
First thing I did after tearing it apart was sand off the clear coat. Then I started reshaping the body. Experimenting with the shaping an changing the color are the exercise for the project.
I added a much more pronounced bevel, as well as removed most of the top edge plane.
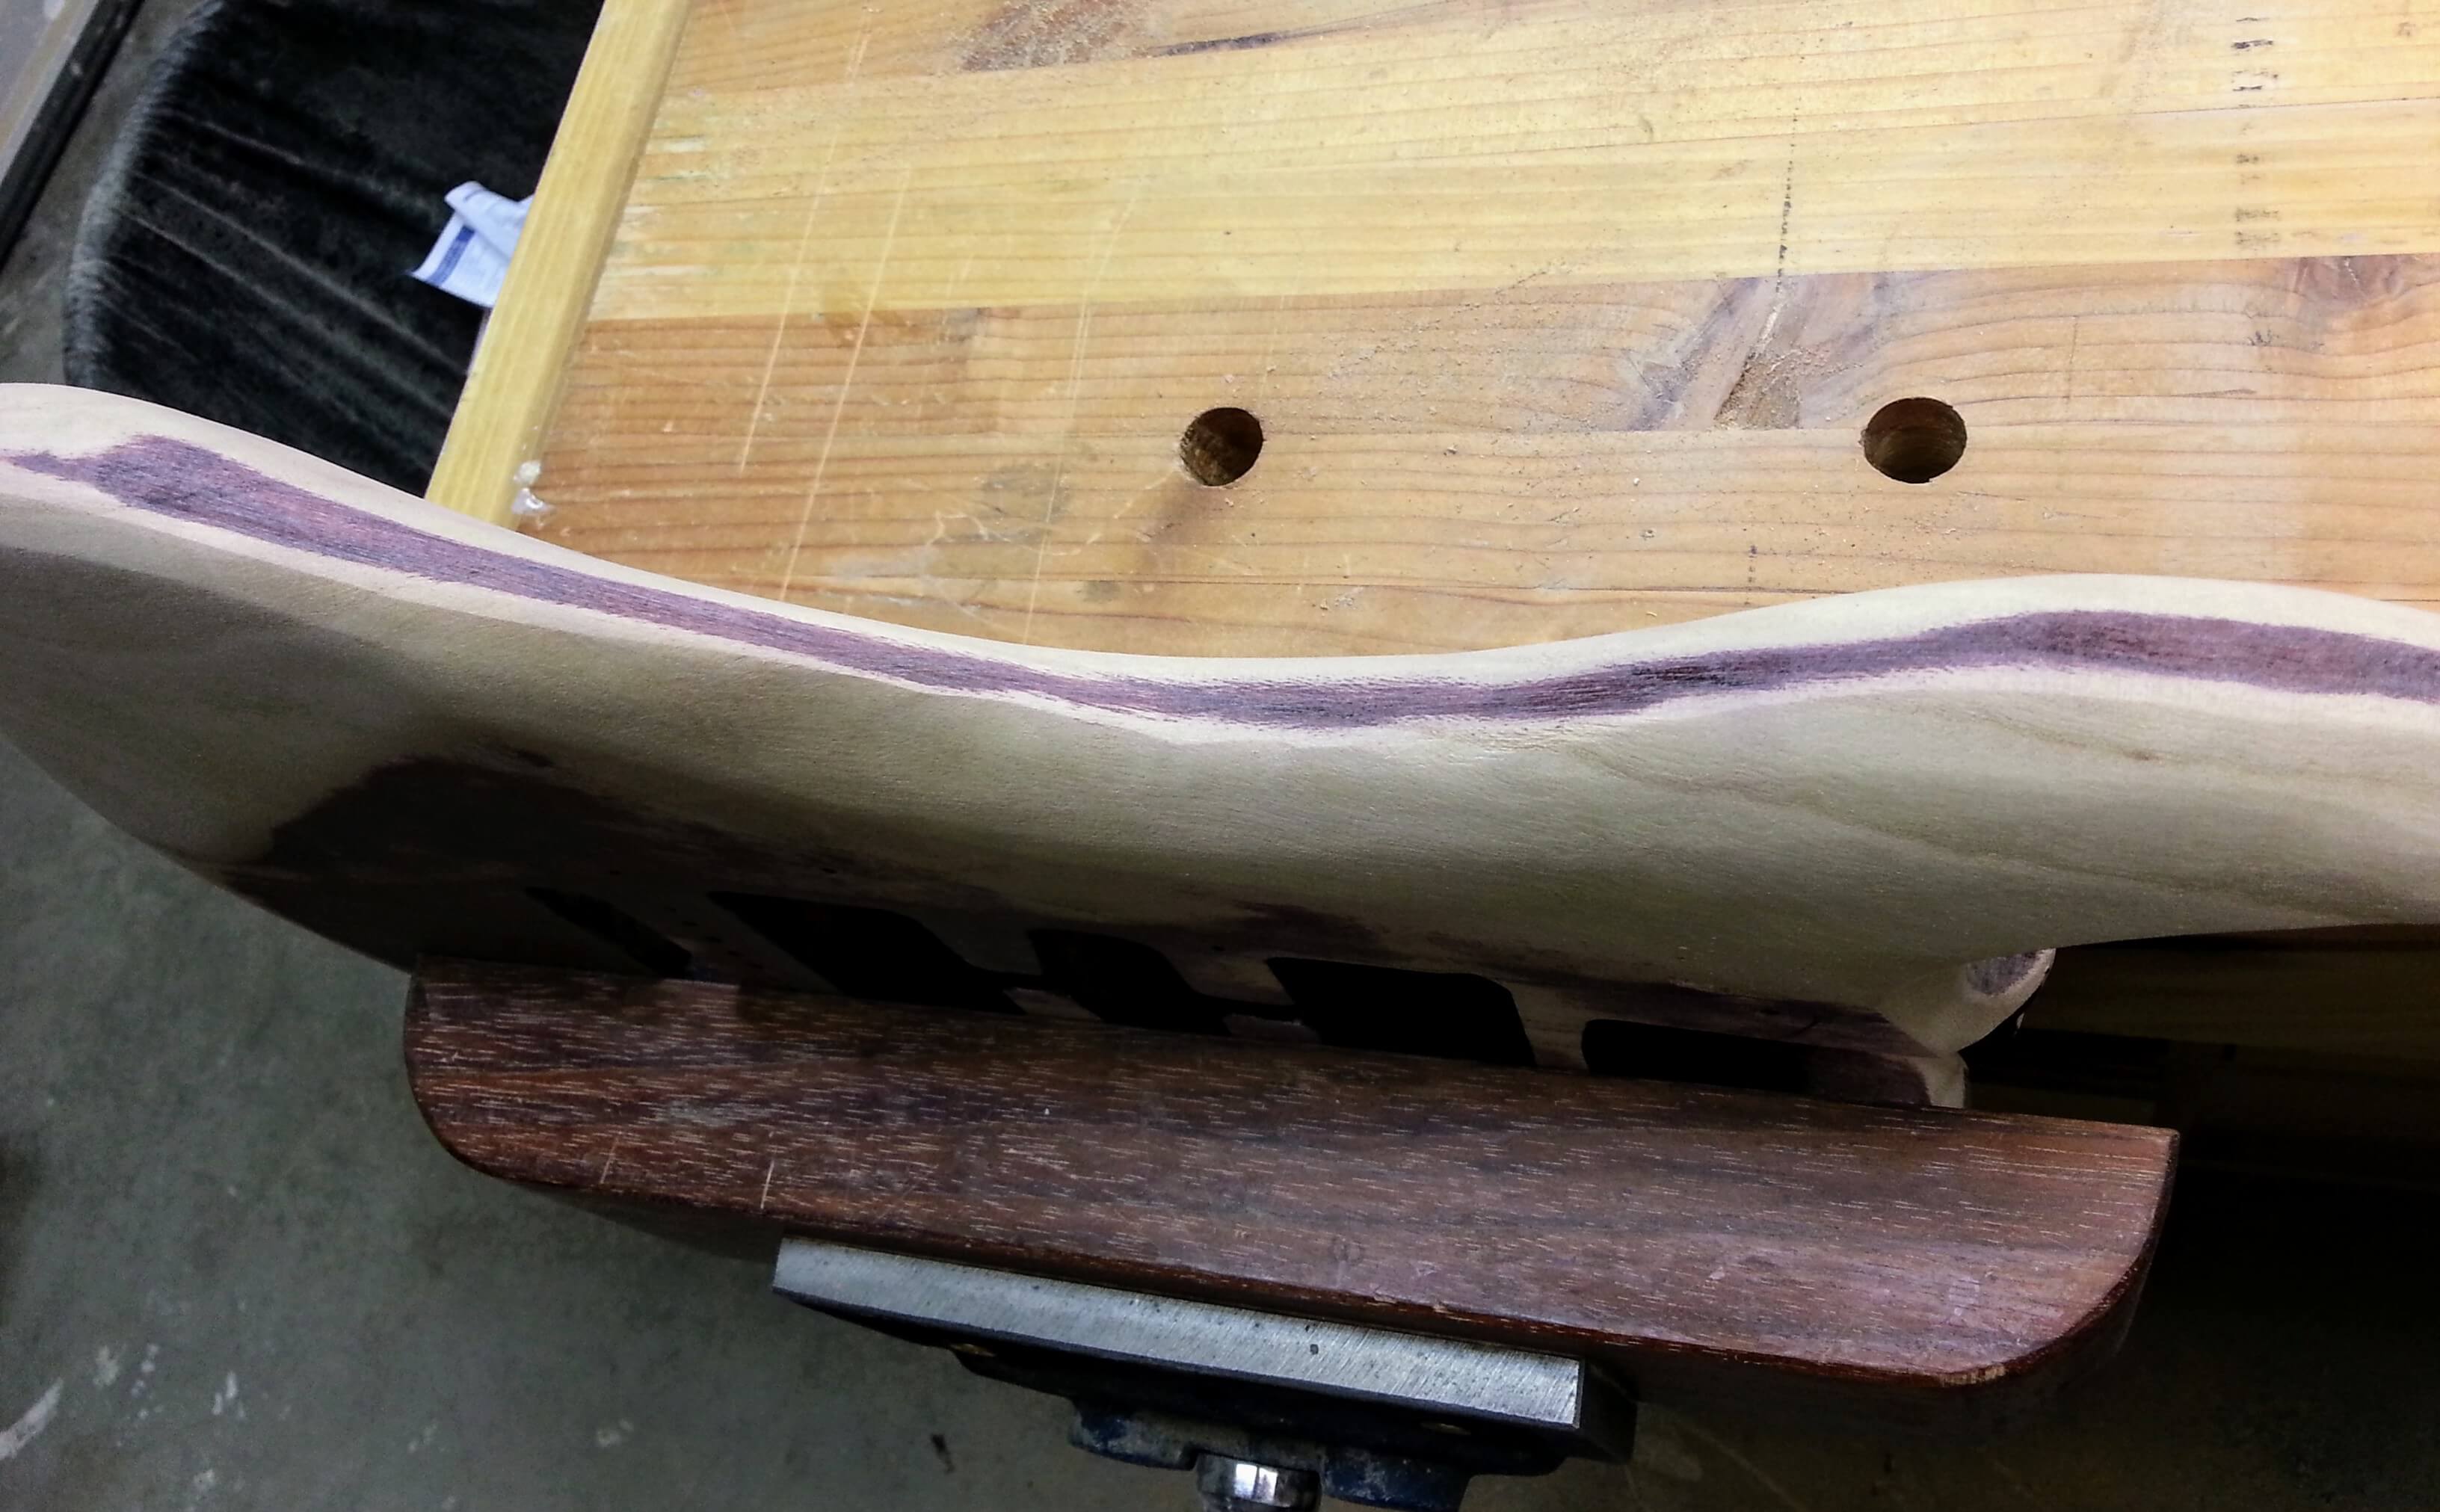
I fine tuned the shape by personal feel, I had/have no idea what works and what doesn’t, I then sanded down to 220, cleaned it and began the grain fill. The cheap wood is extremely porous.
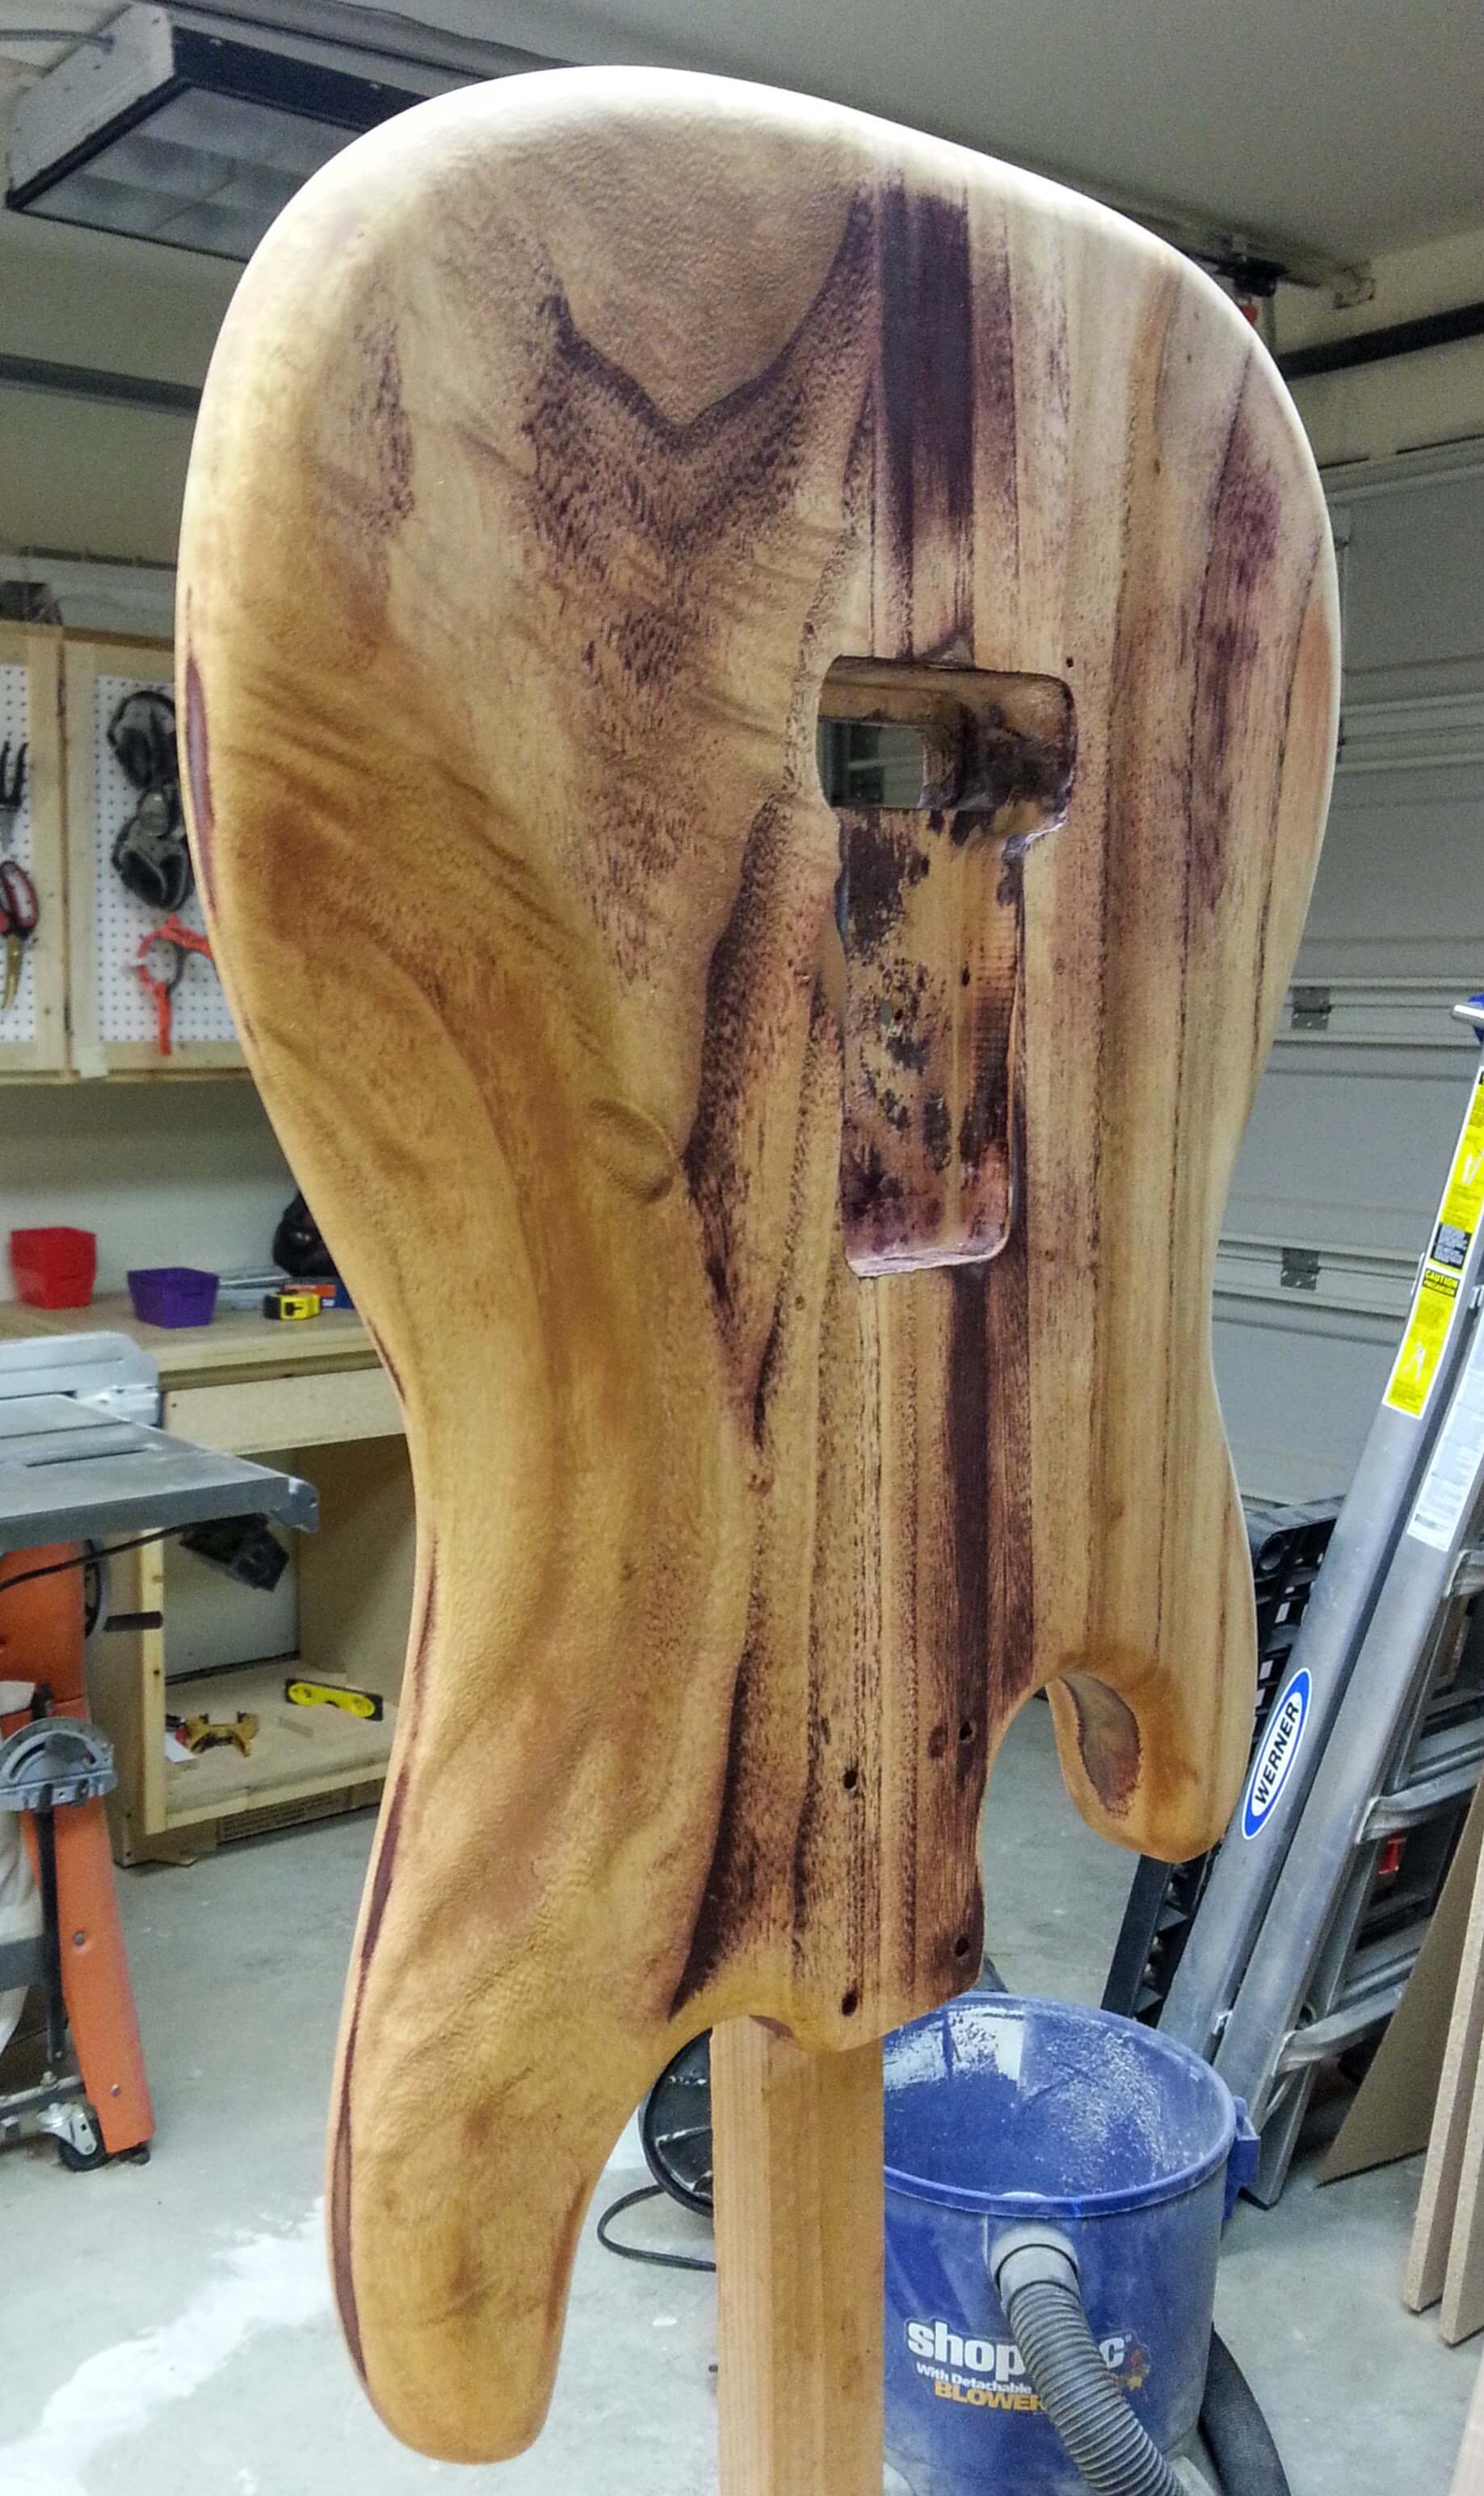
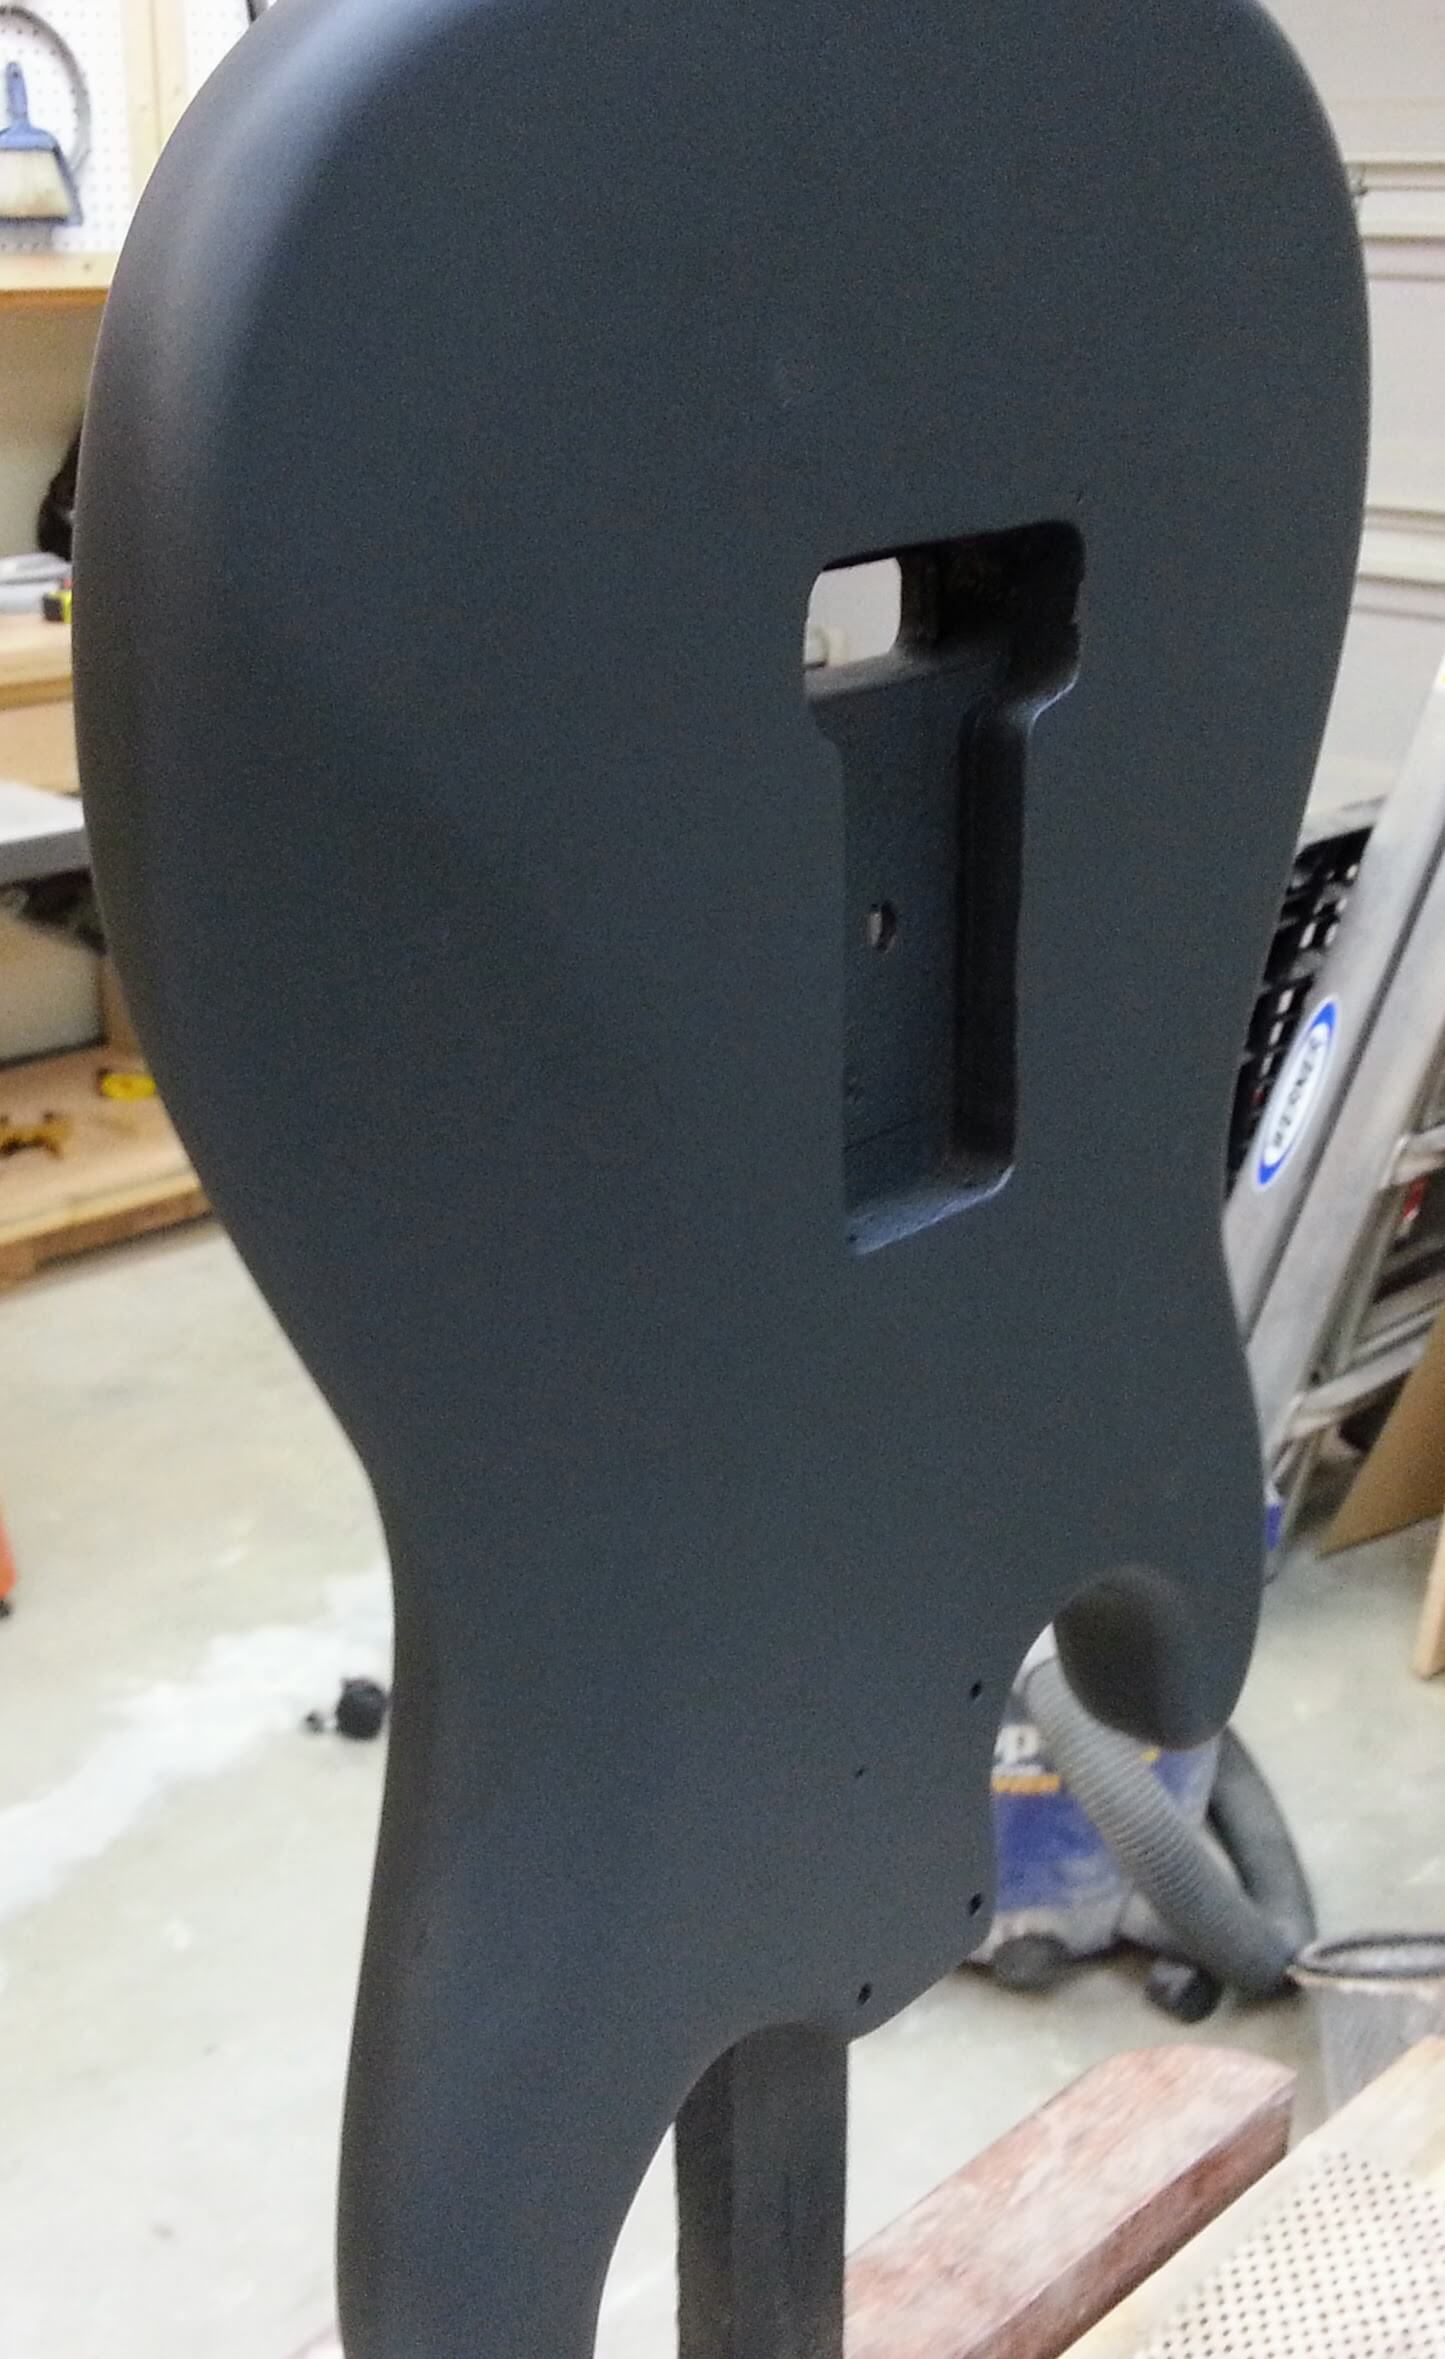
The first coat of primer was more of an attempt to see what I’m doing on the grain filler. Still a lot to go.

Finally! After twelve attempts with the filler to get things to smooth out properly it was smooth enough for the next phase.
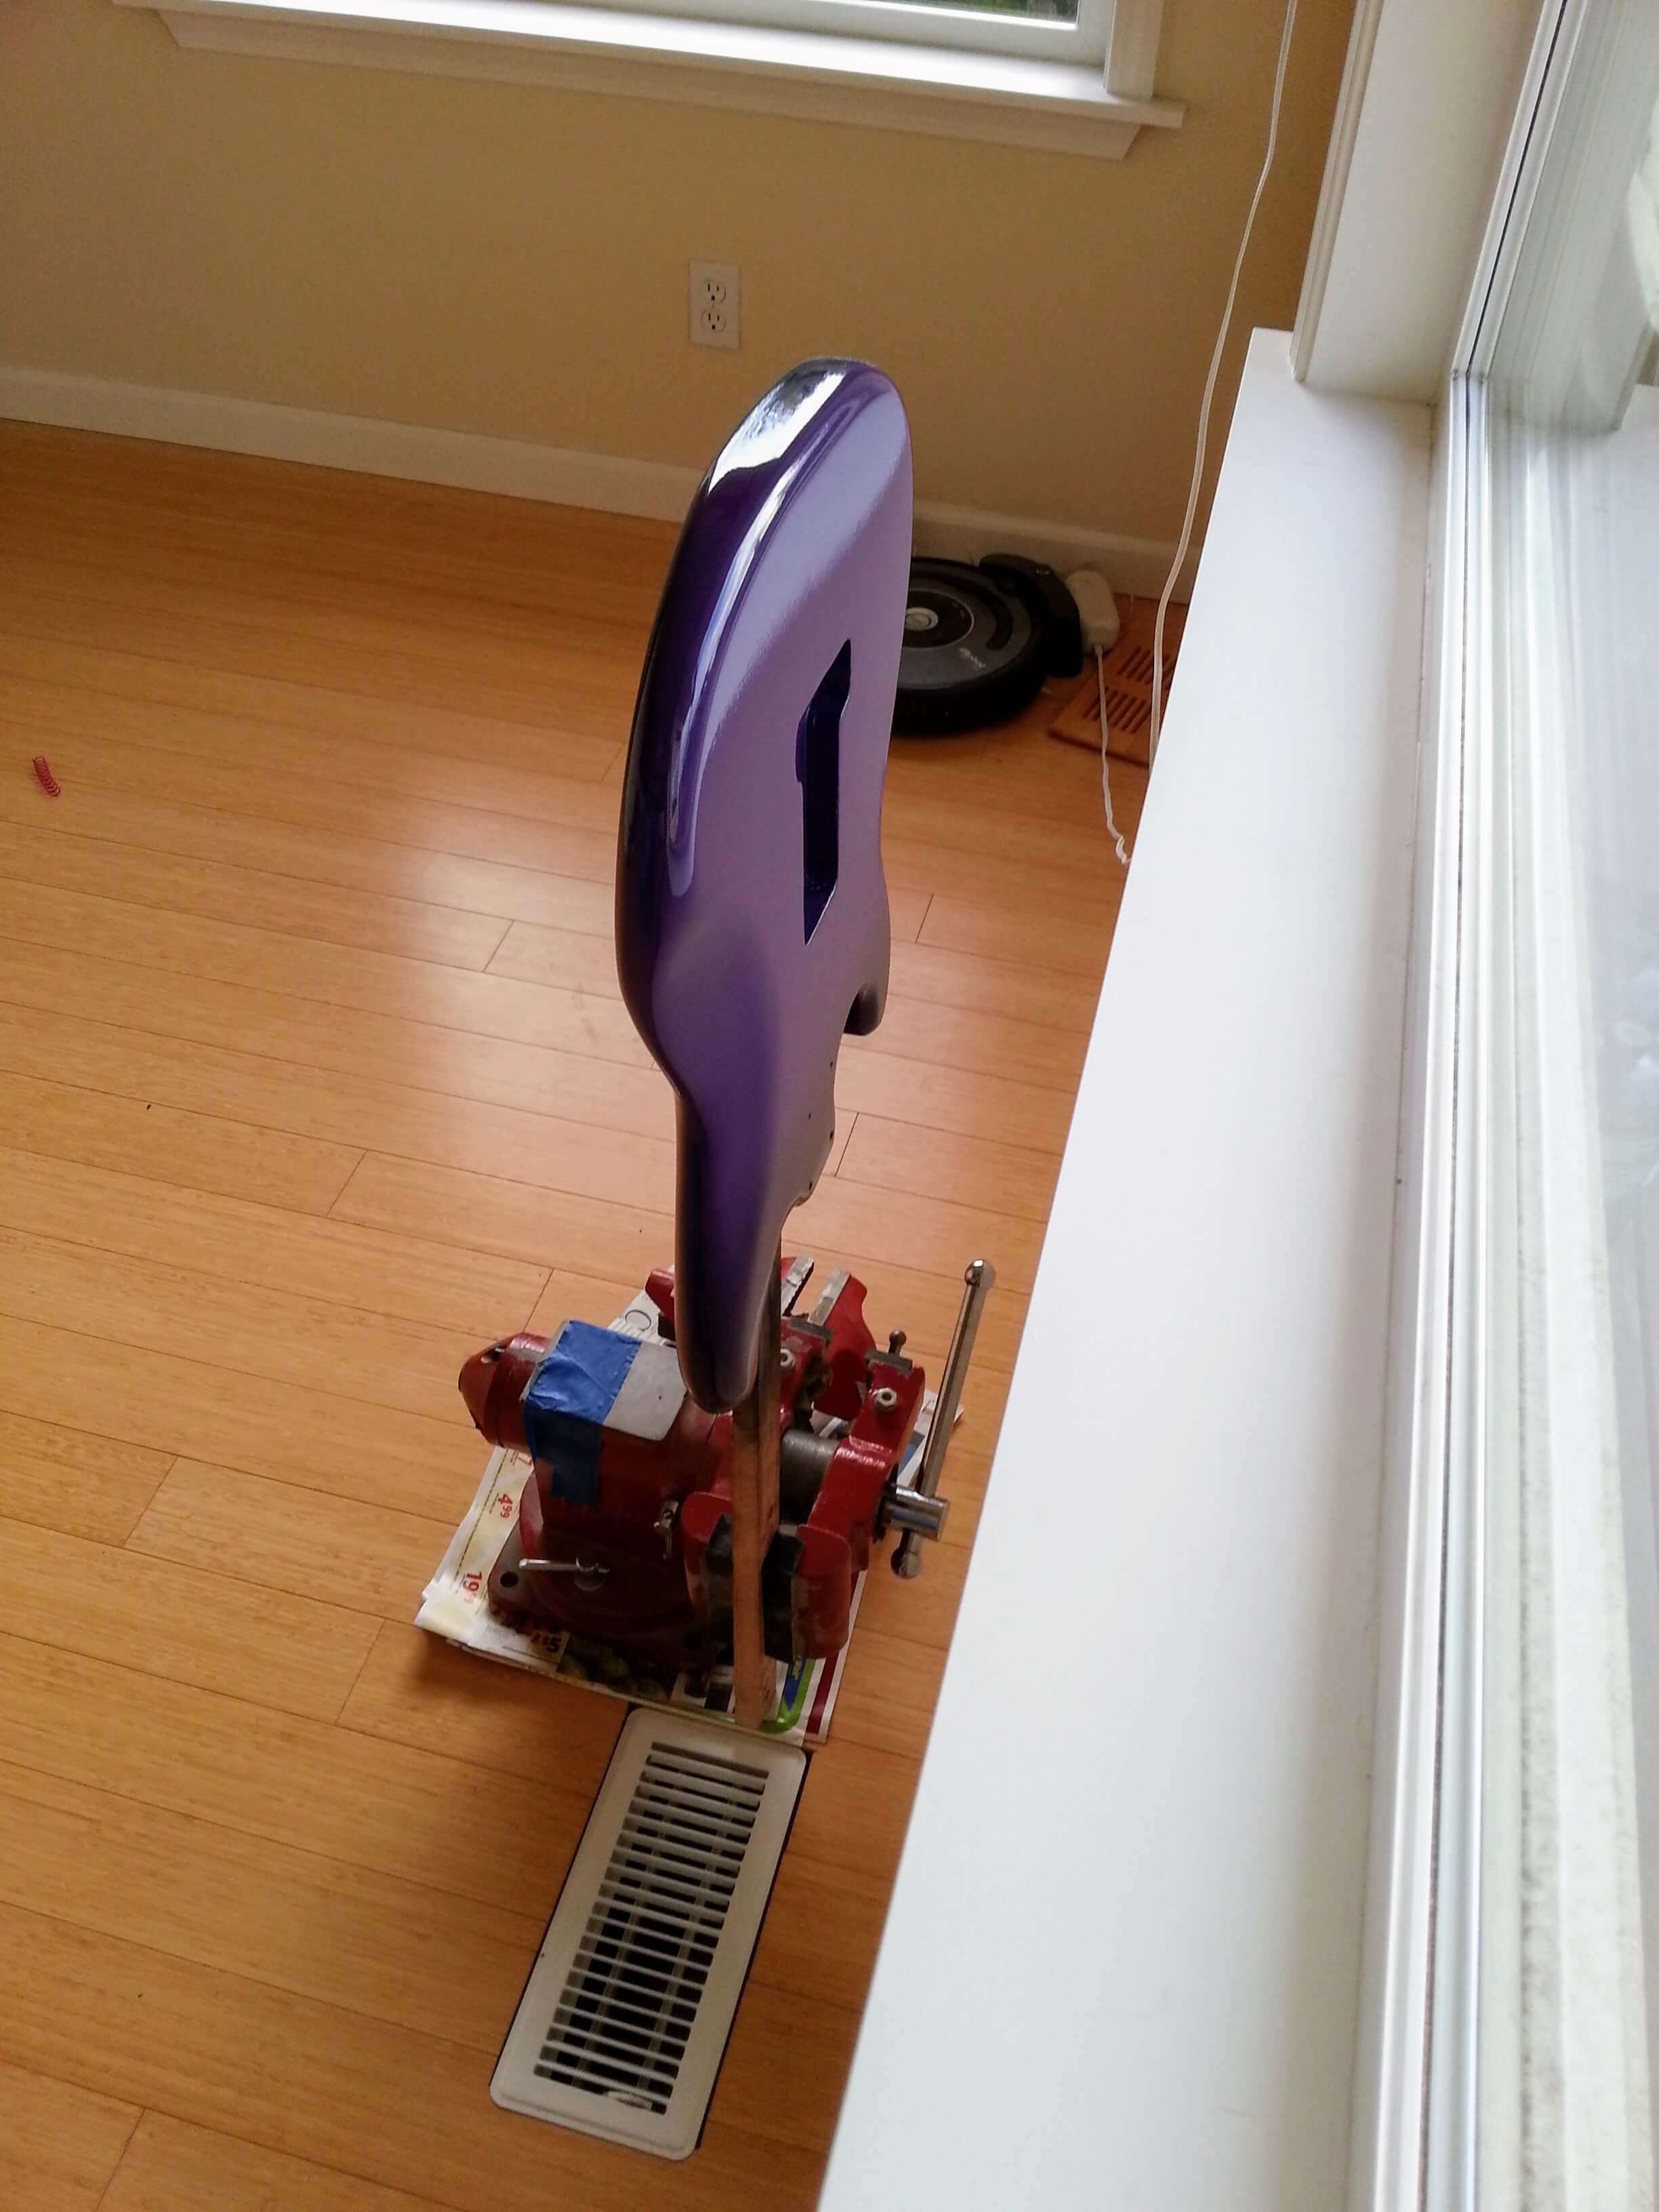
After a clean off, it was time for the first coat of the various purples. I was attempting to put on multiple thin layers of different shades of purple as the base coats, then add a final purple pearl coat. Using spray cans because at the time that is what was available.
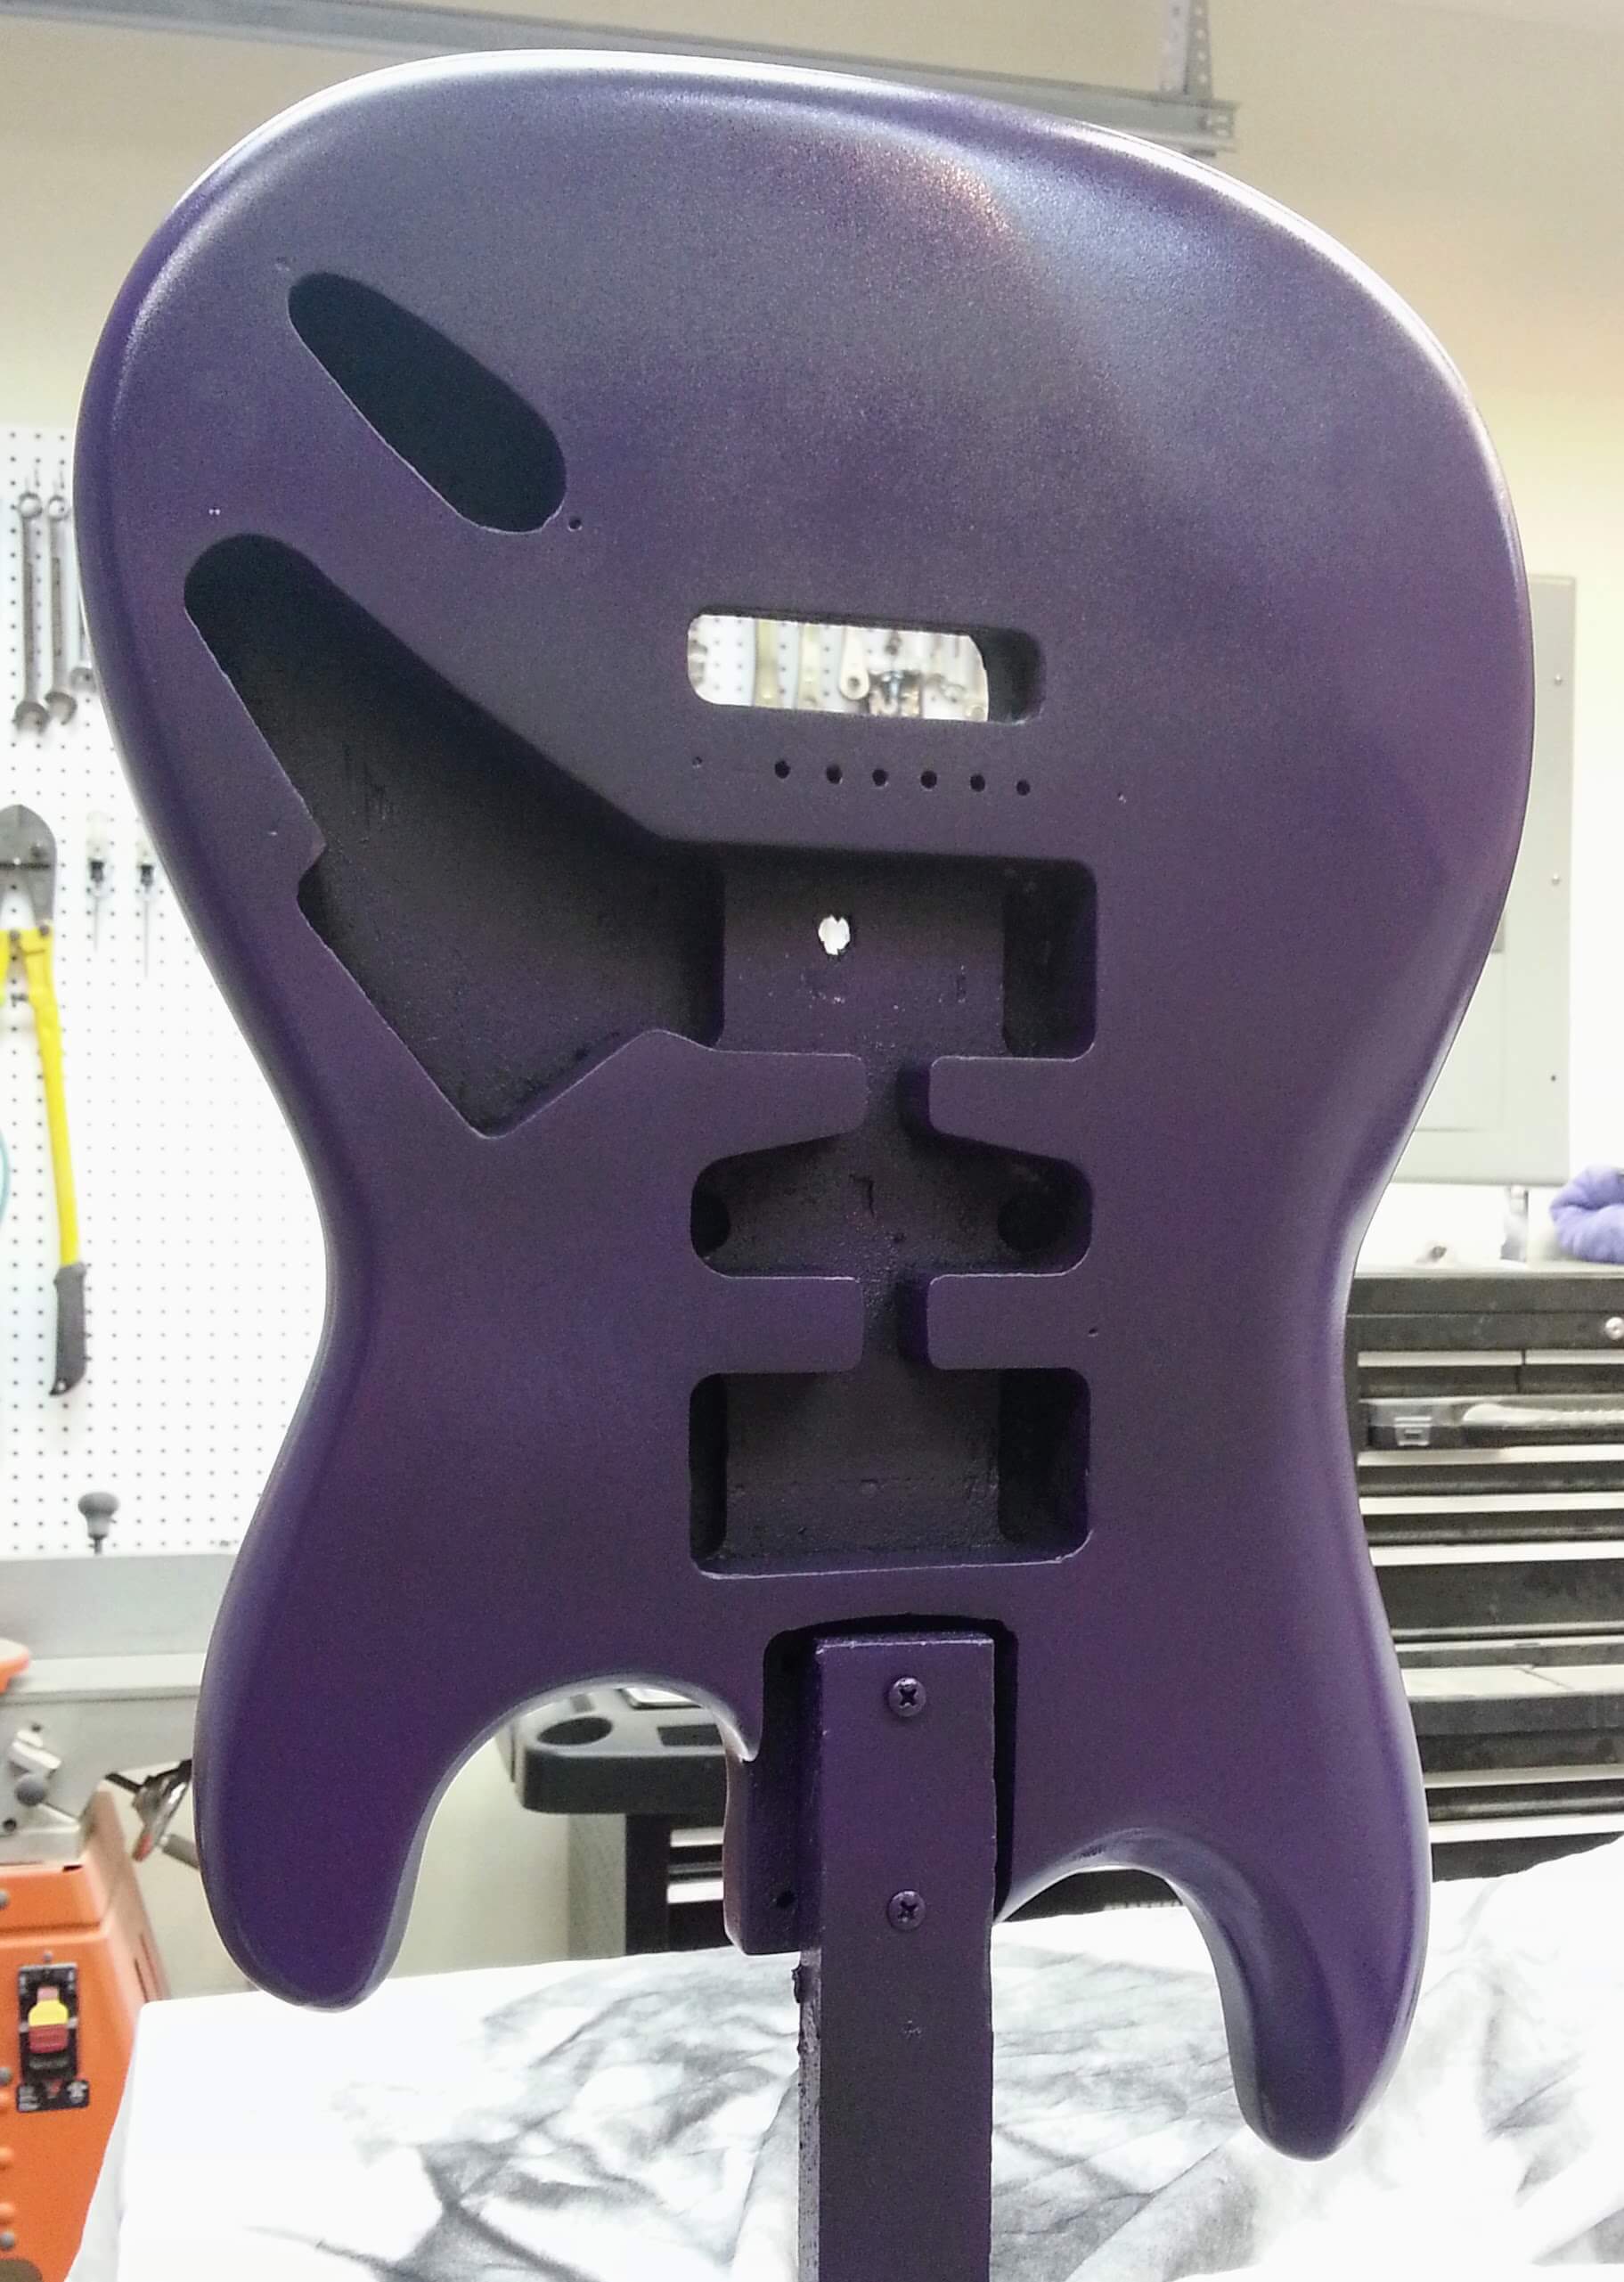
I started getting a bit worried. The colour was turning into a bit of a 1970’s Joker purple. Not quite what I was looking for. Luckily, some of the brightness turned out to be the lighting and uncured paint, that’s good. Nothing to do at this point but wait a few weeks for the finish to cure enough to wetsand.
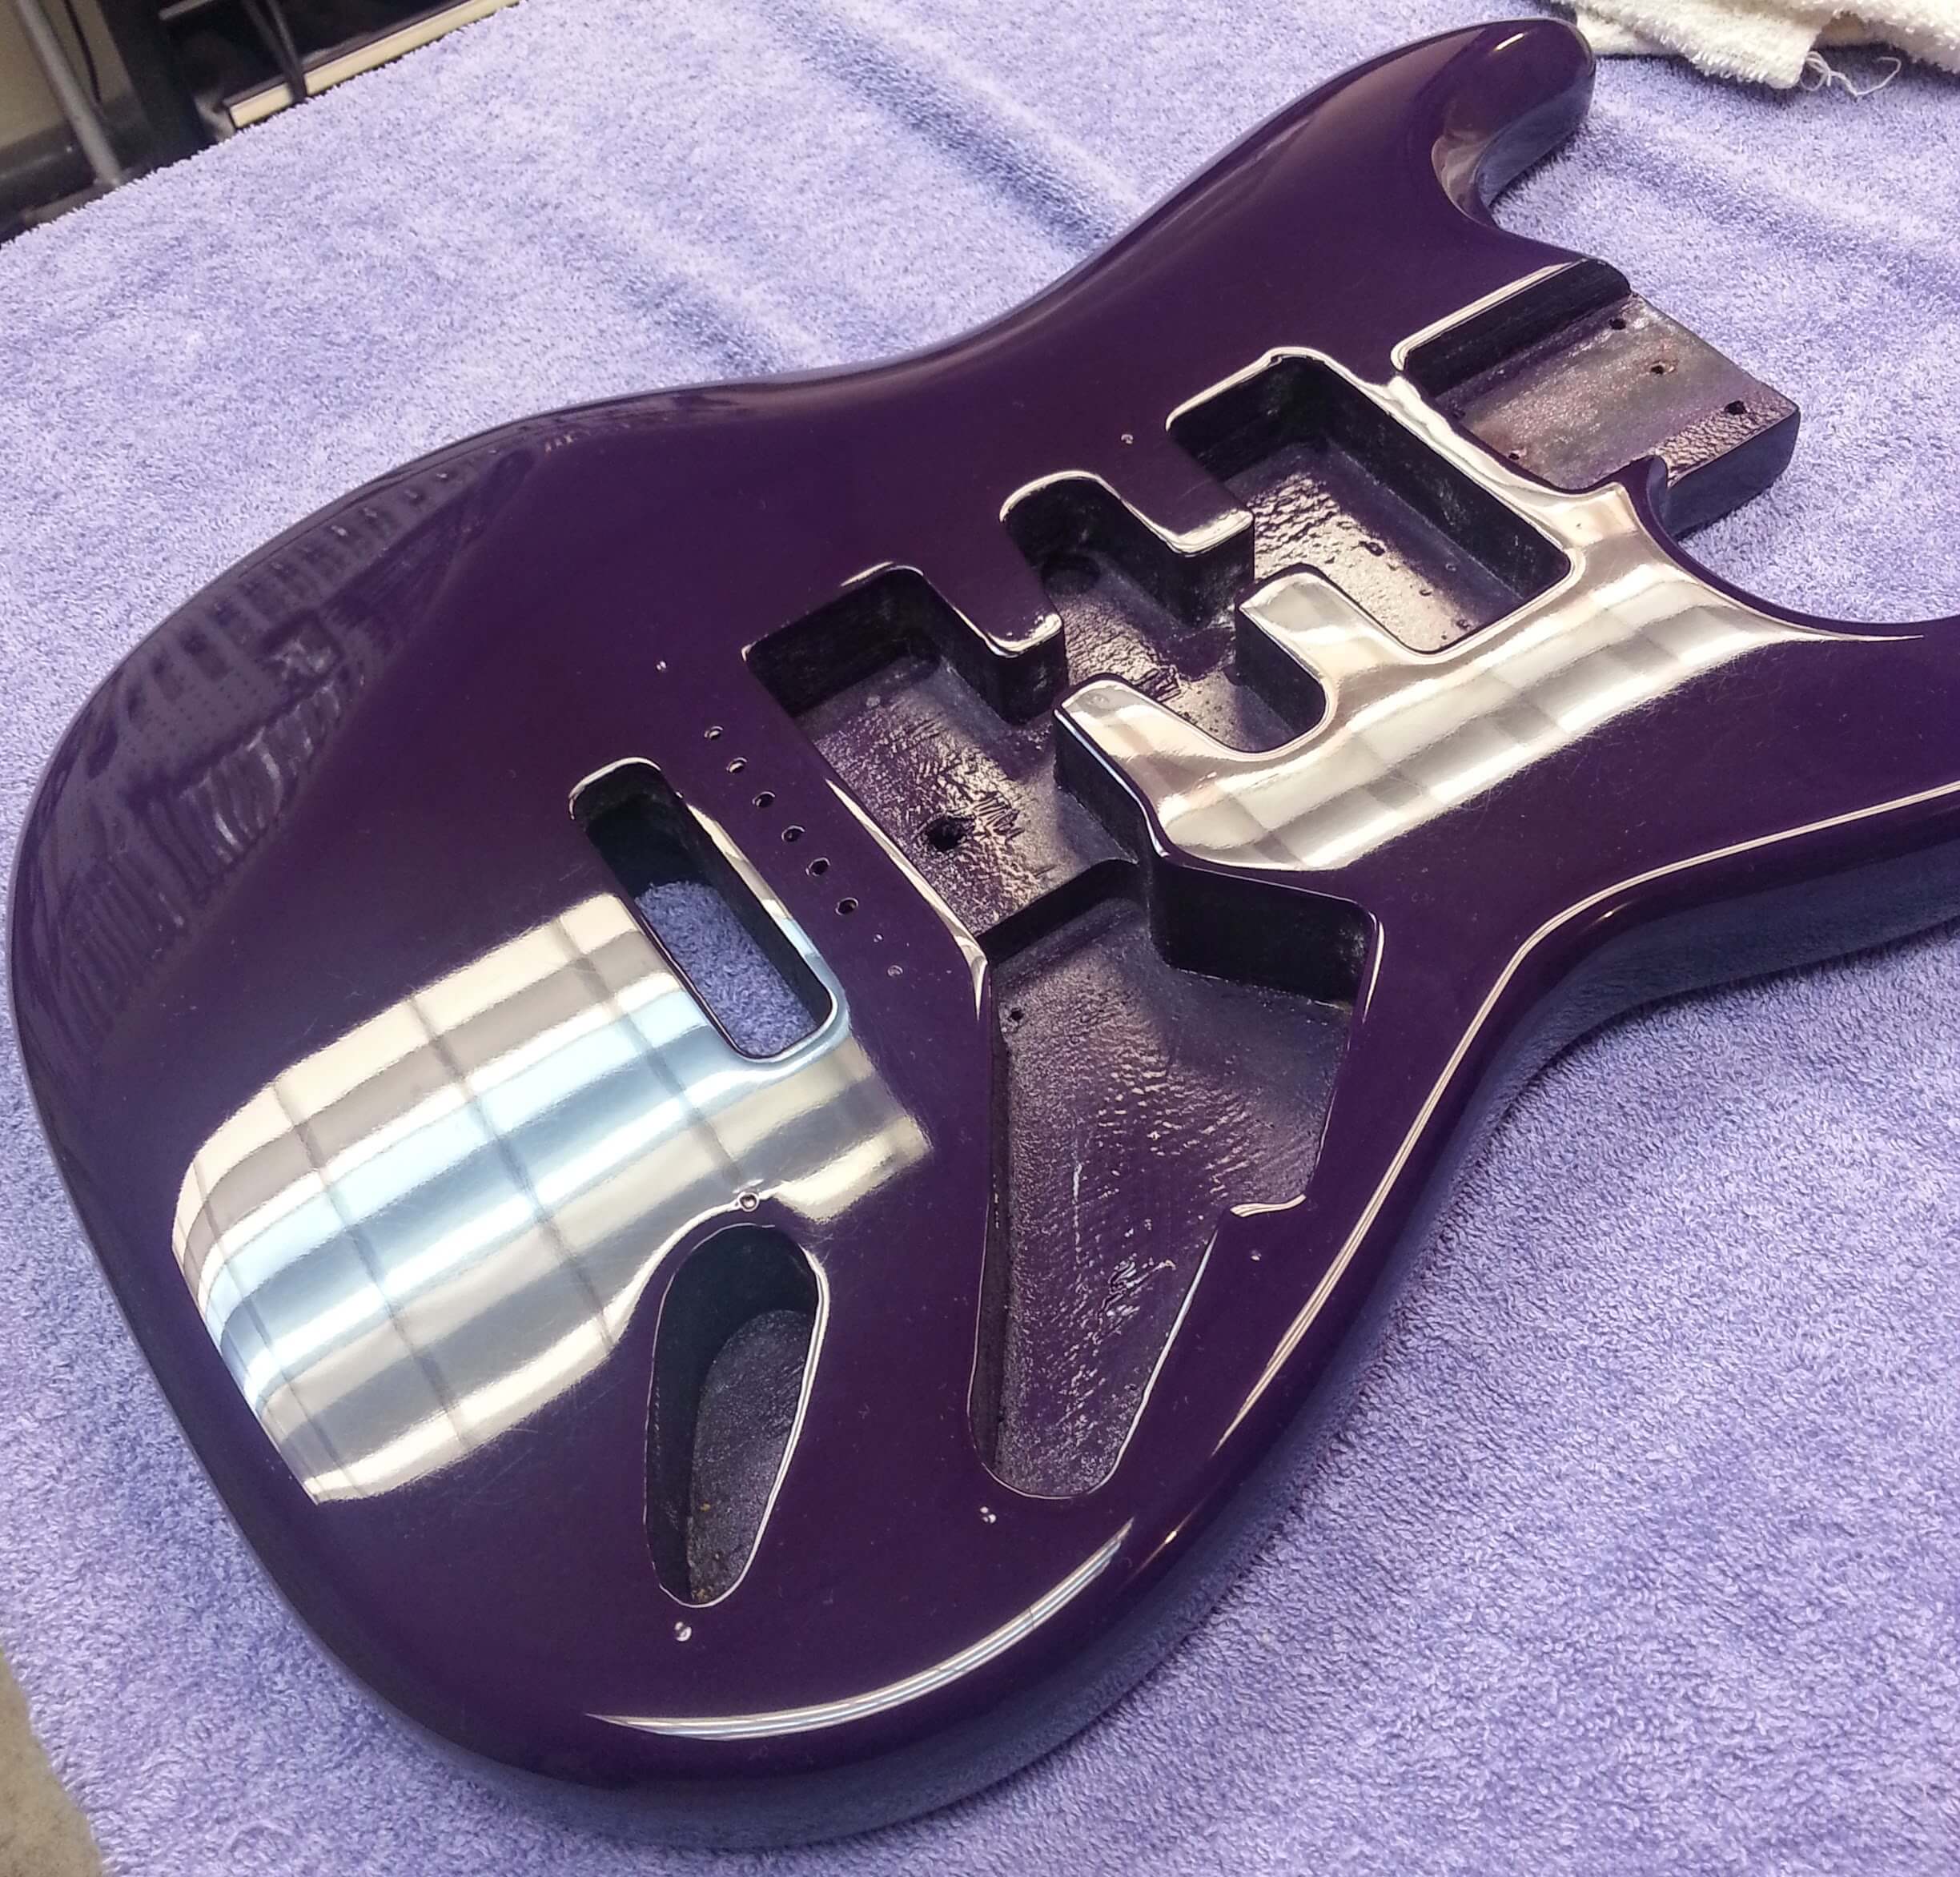
Once the paint is cured, the plan was to sand it level and add the metallic flake. Then wait for that to cure, then clear coat, wait for that to cure then rub it out and polish it.
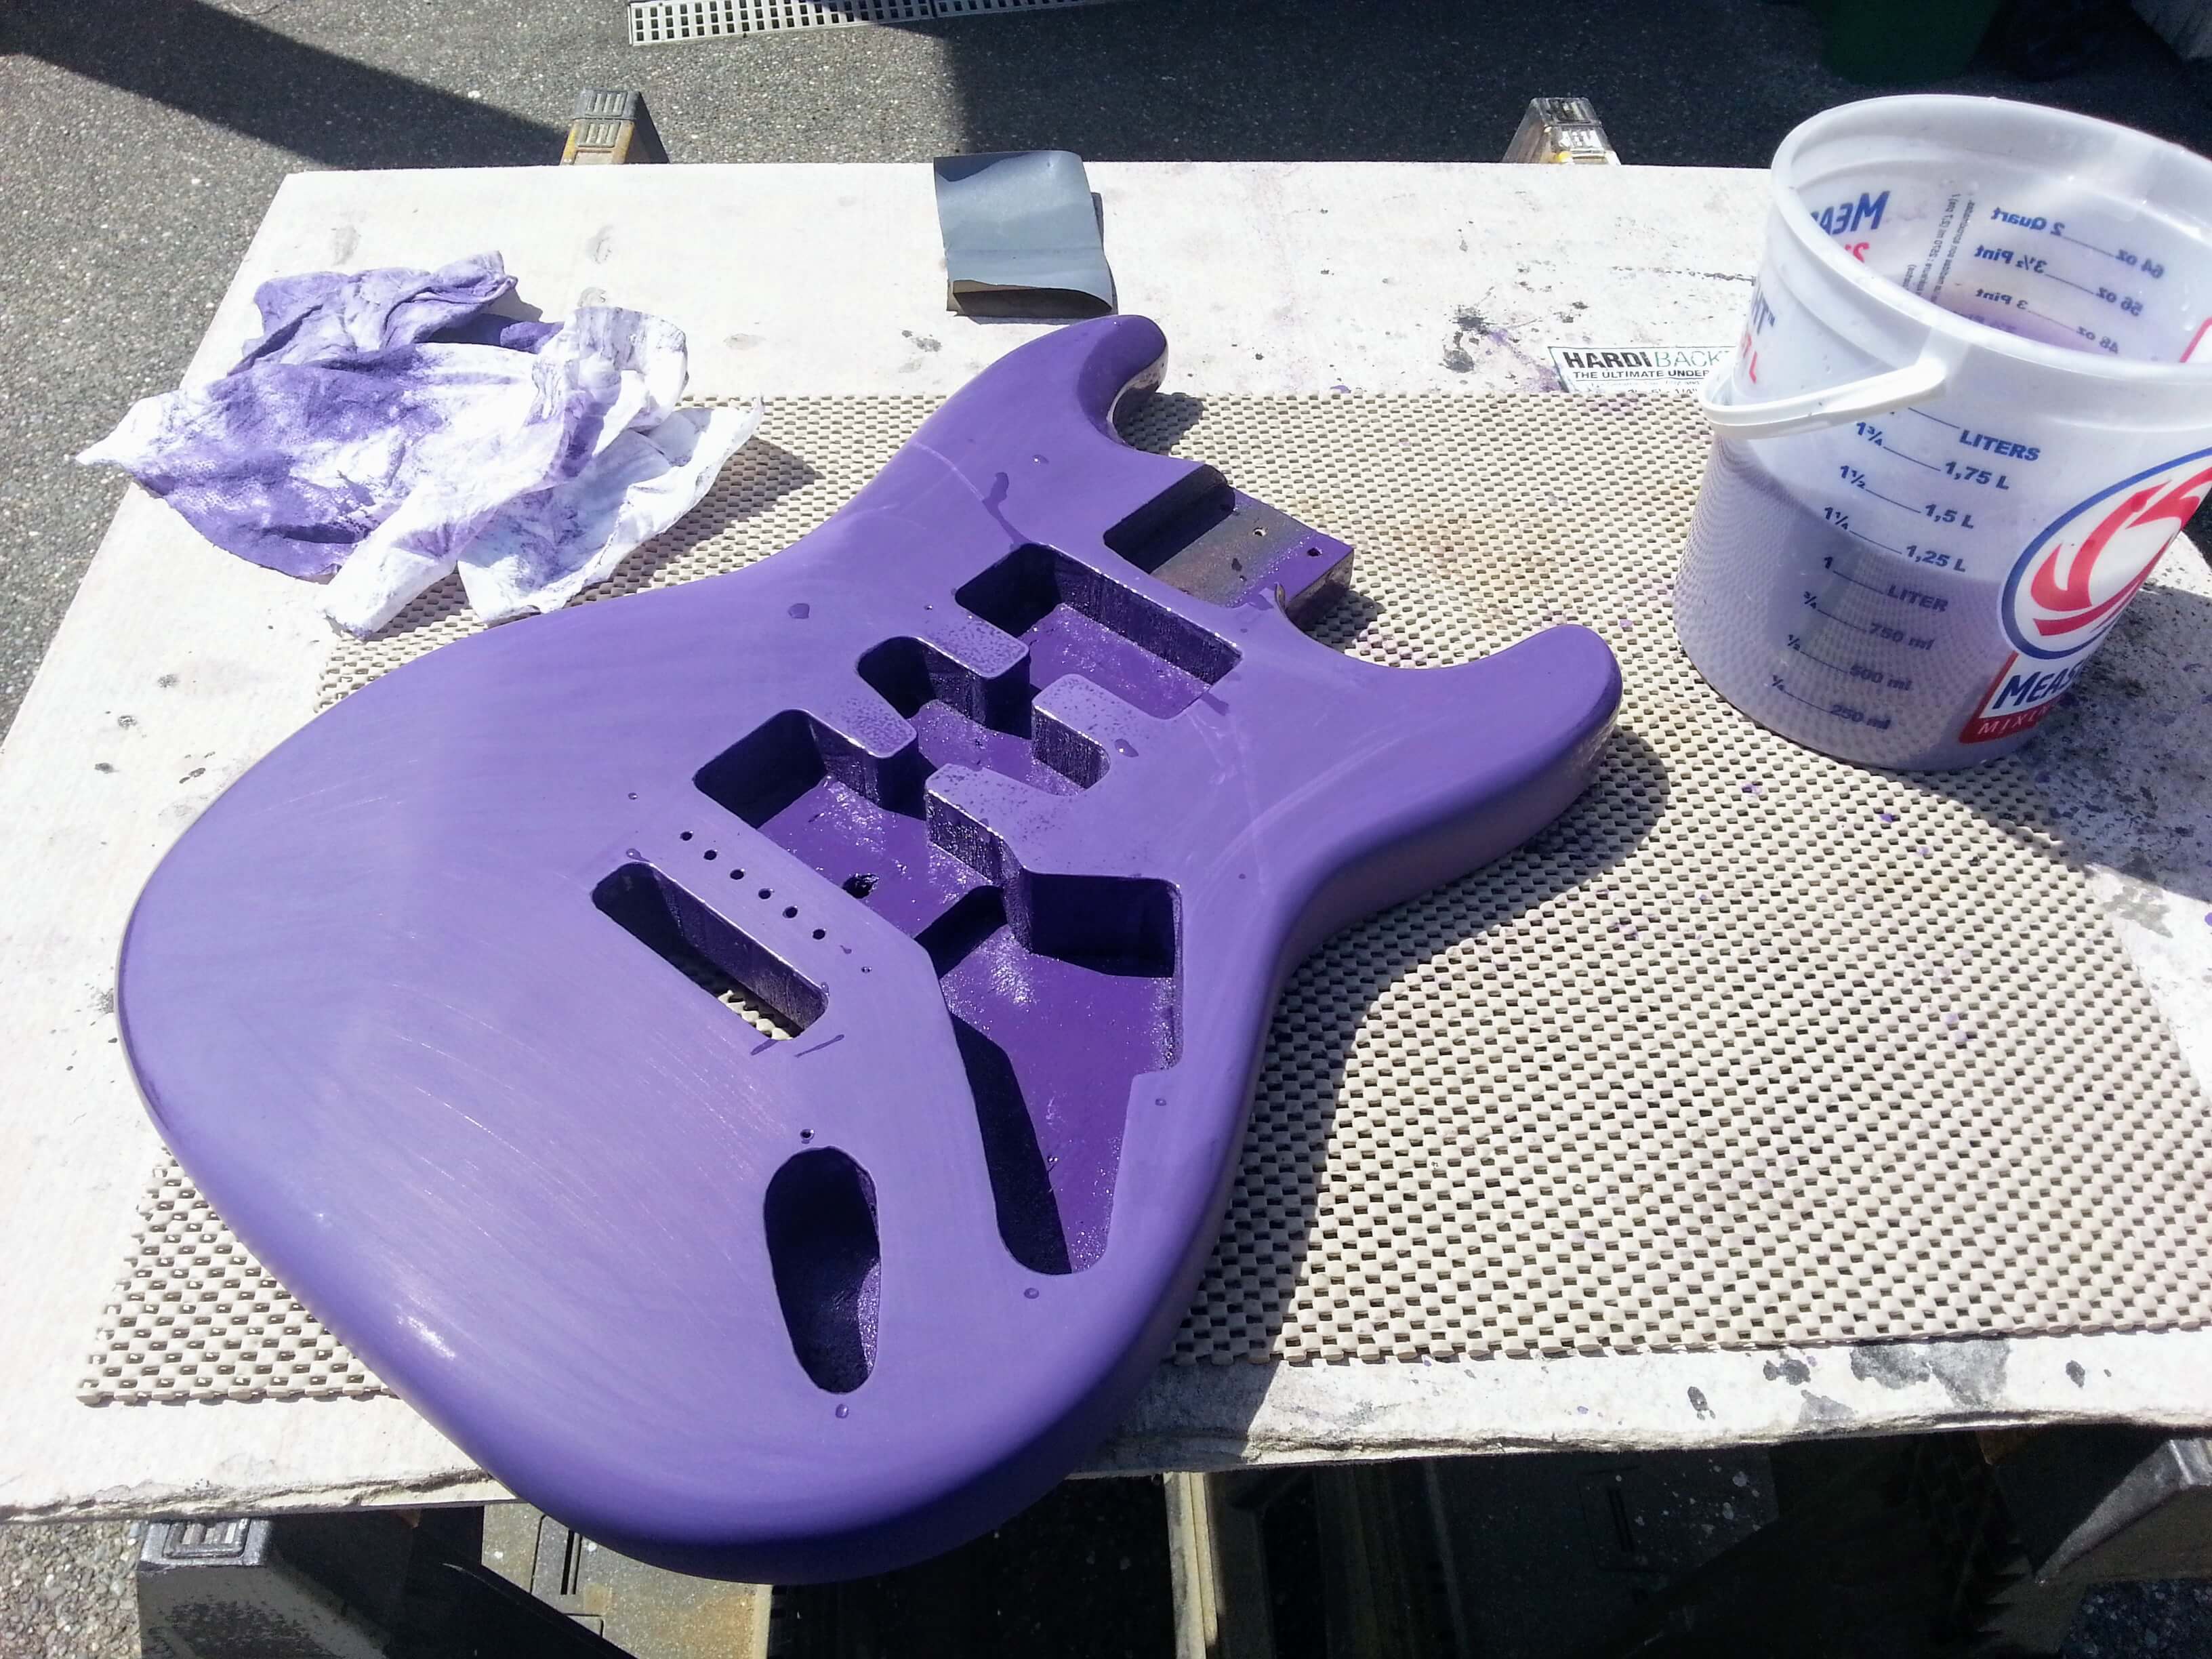
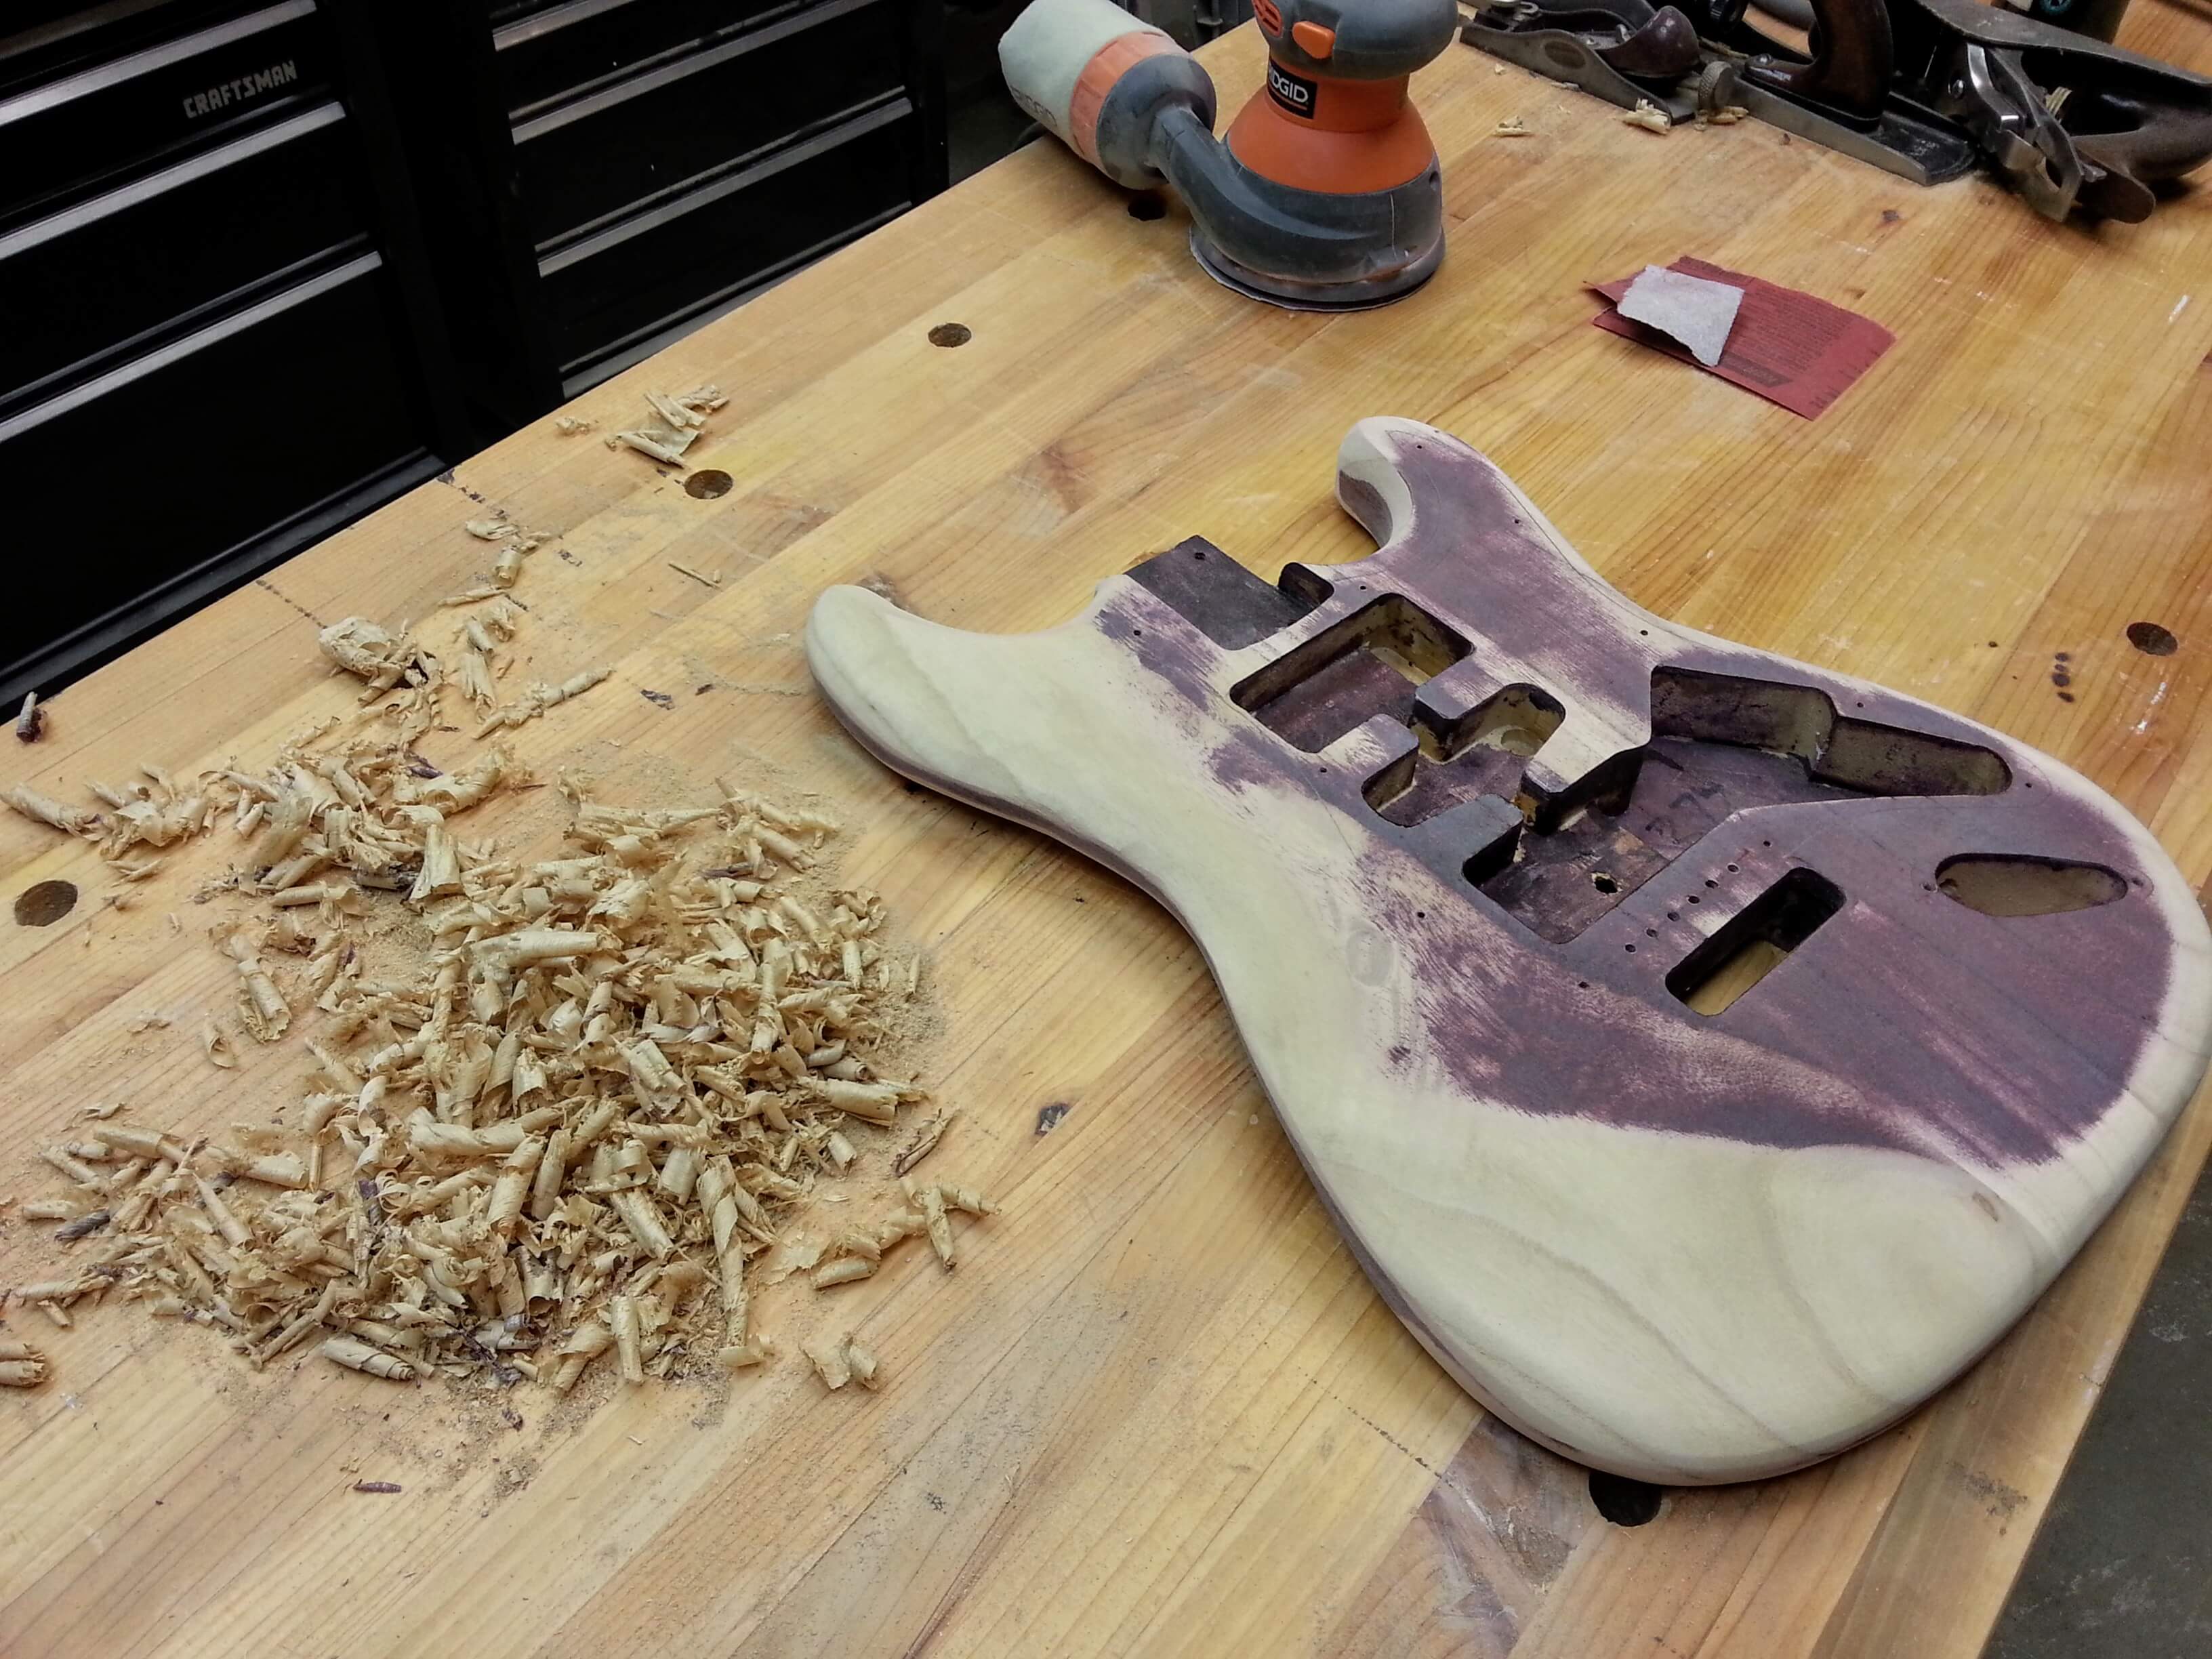
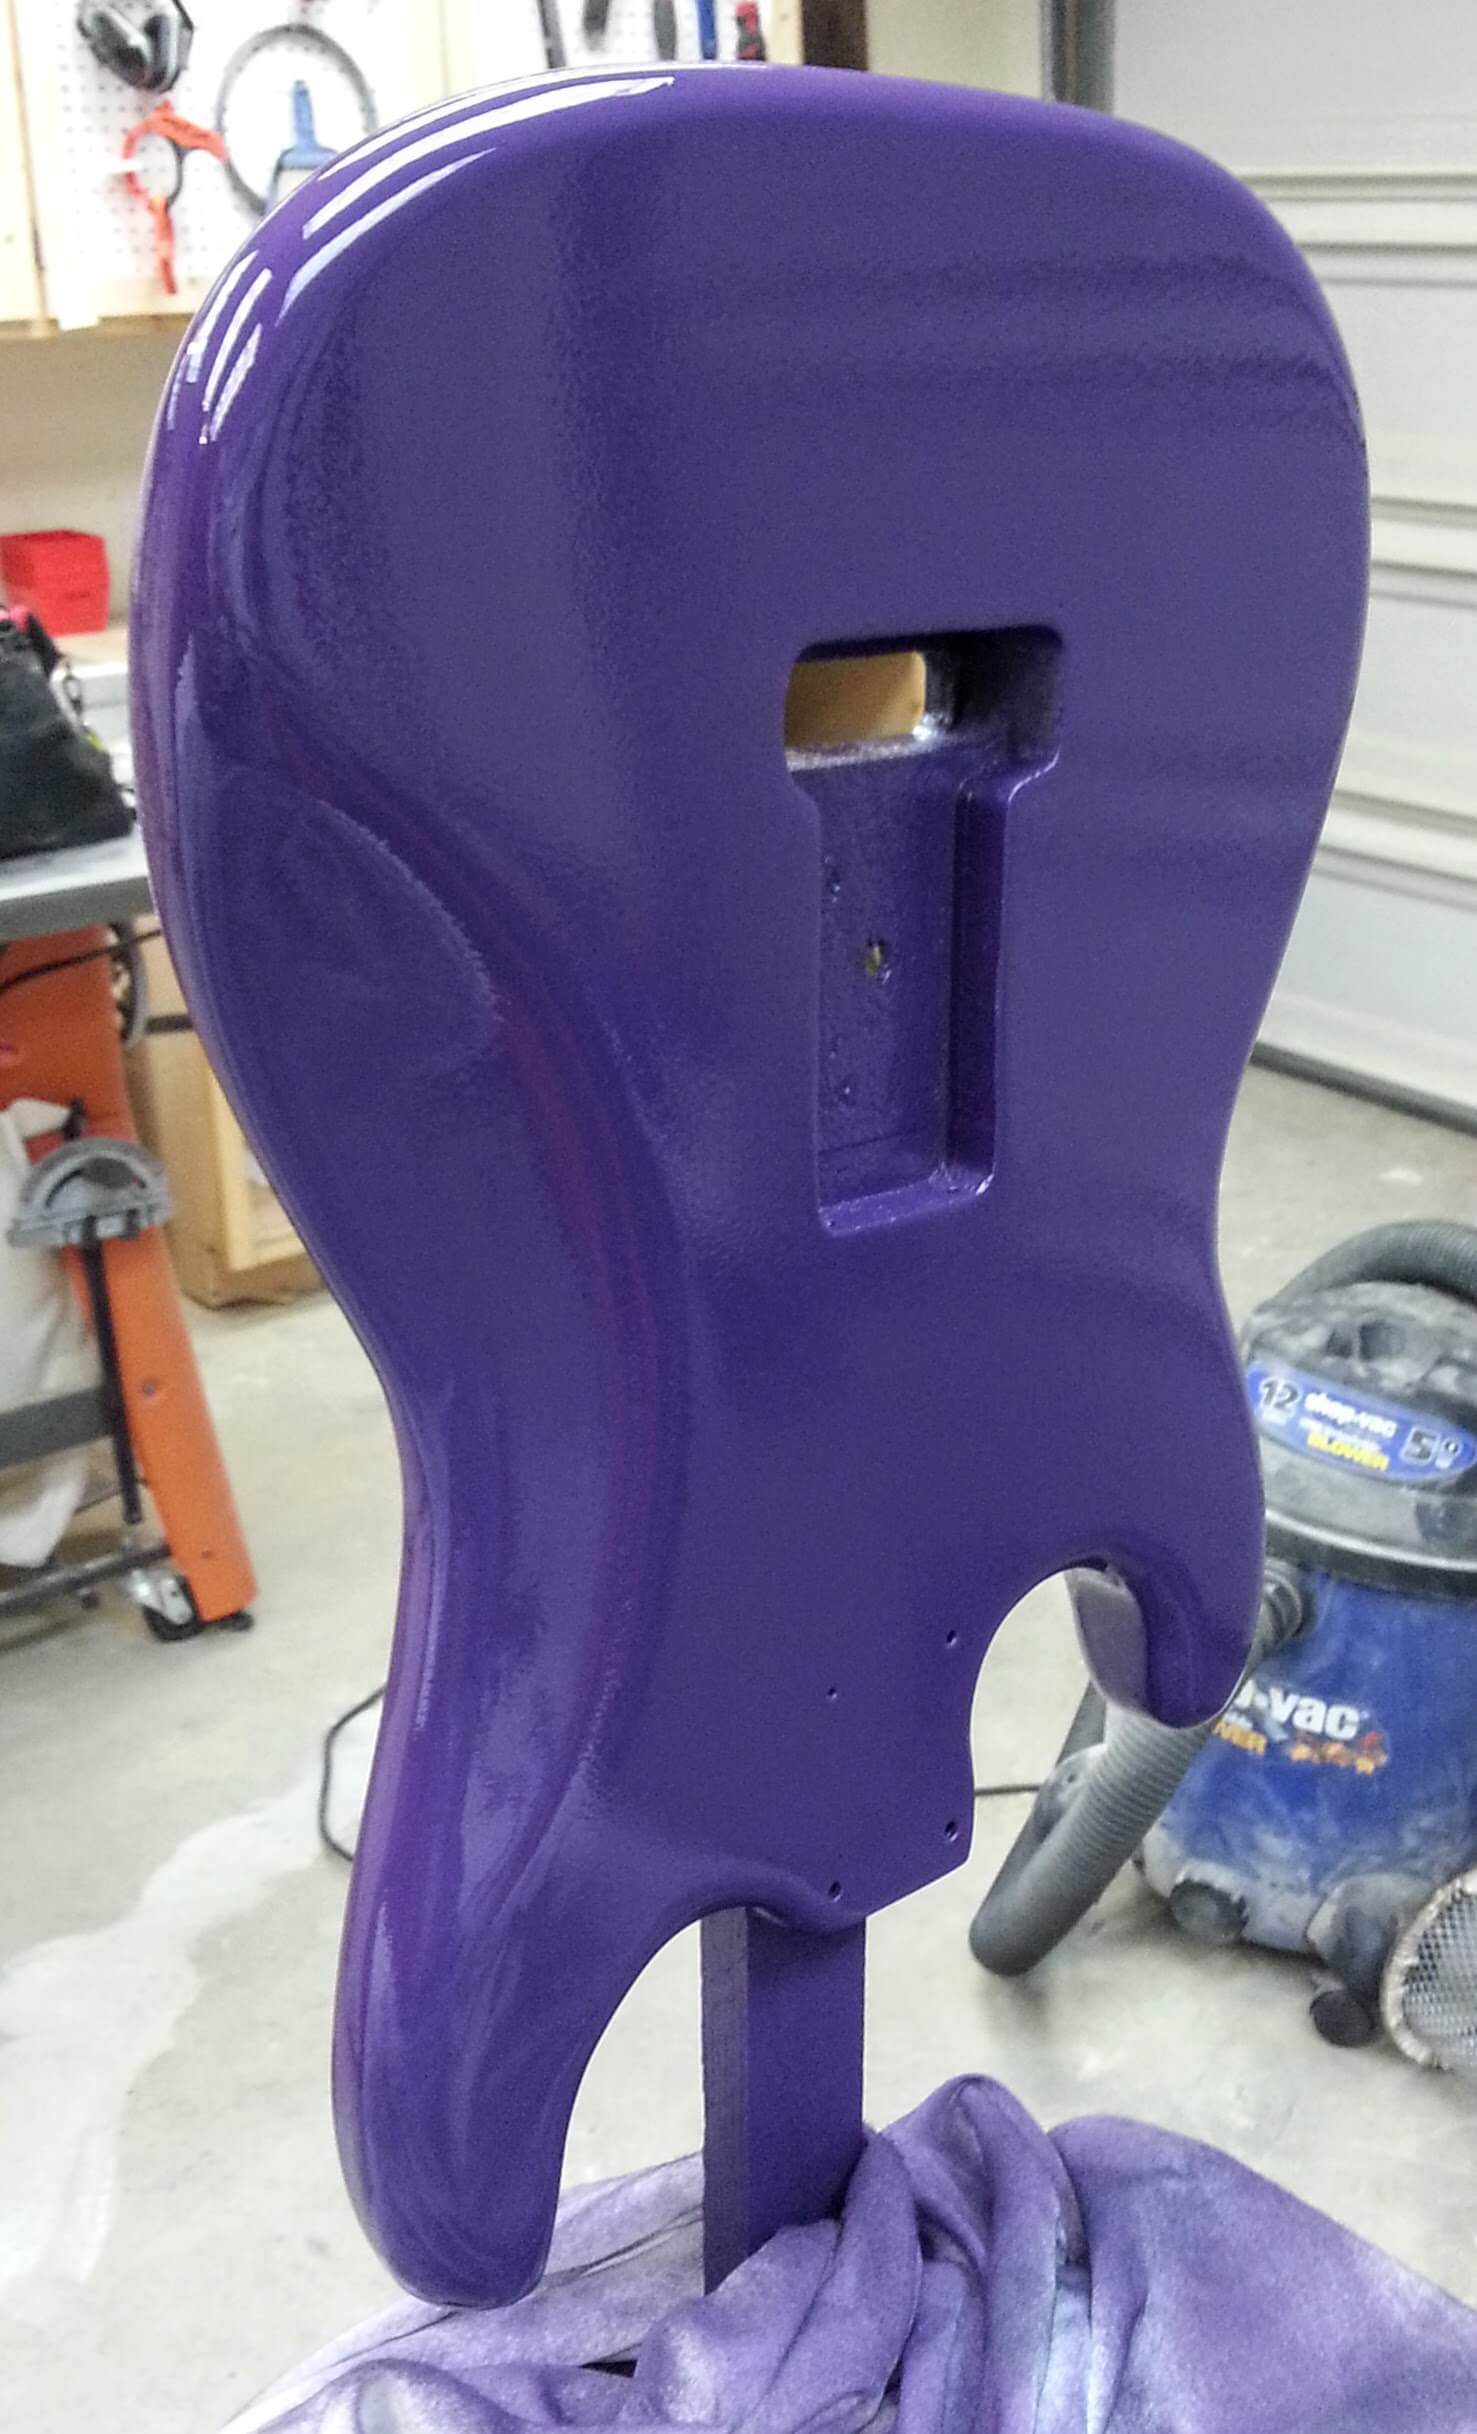
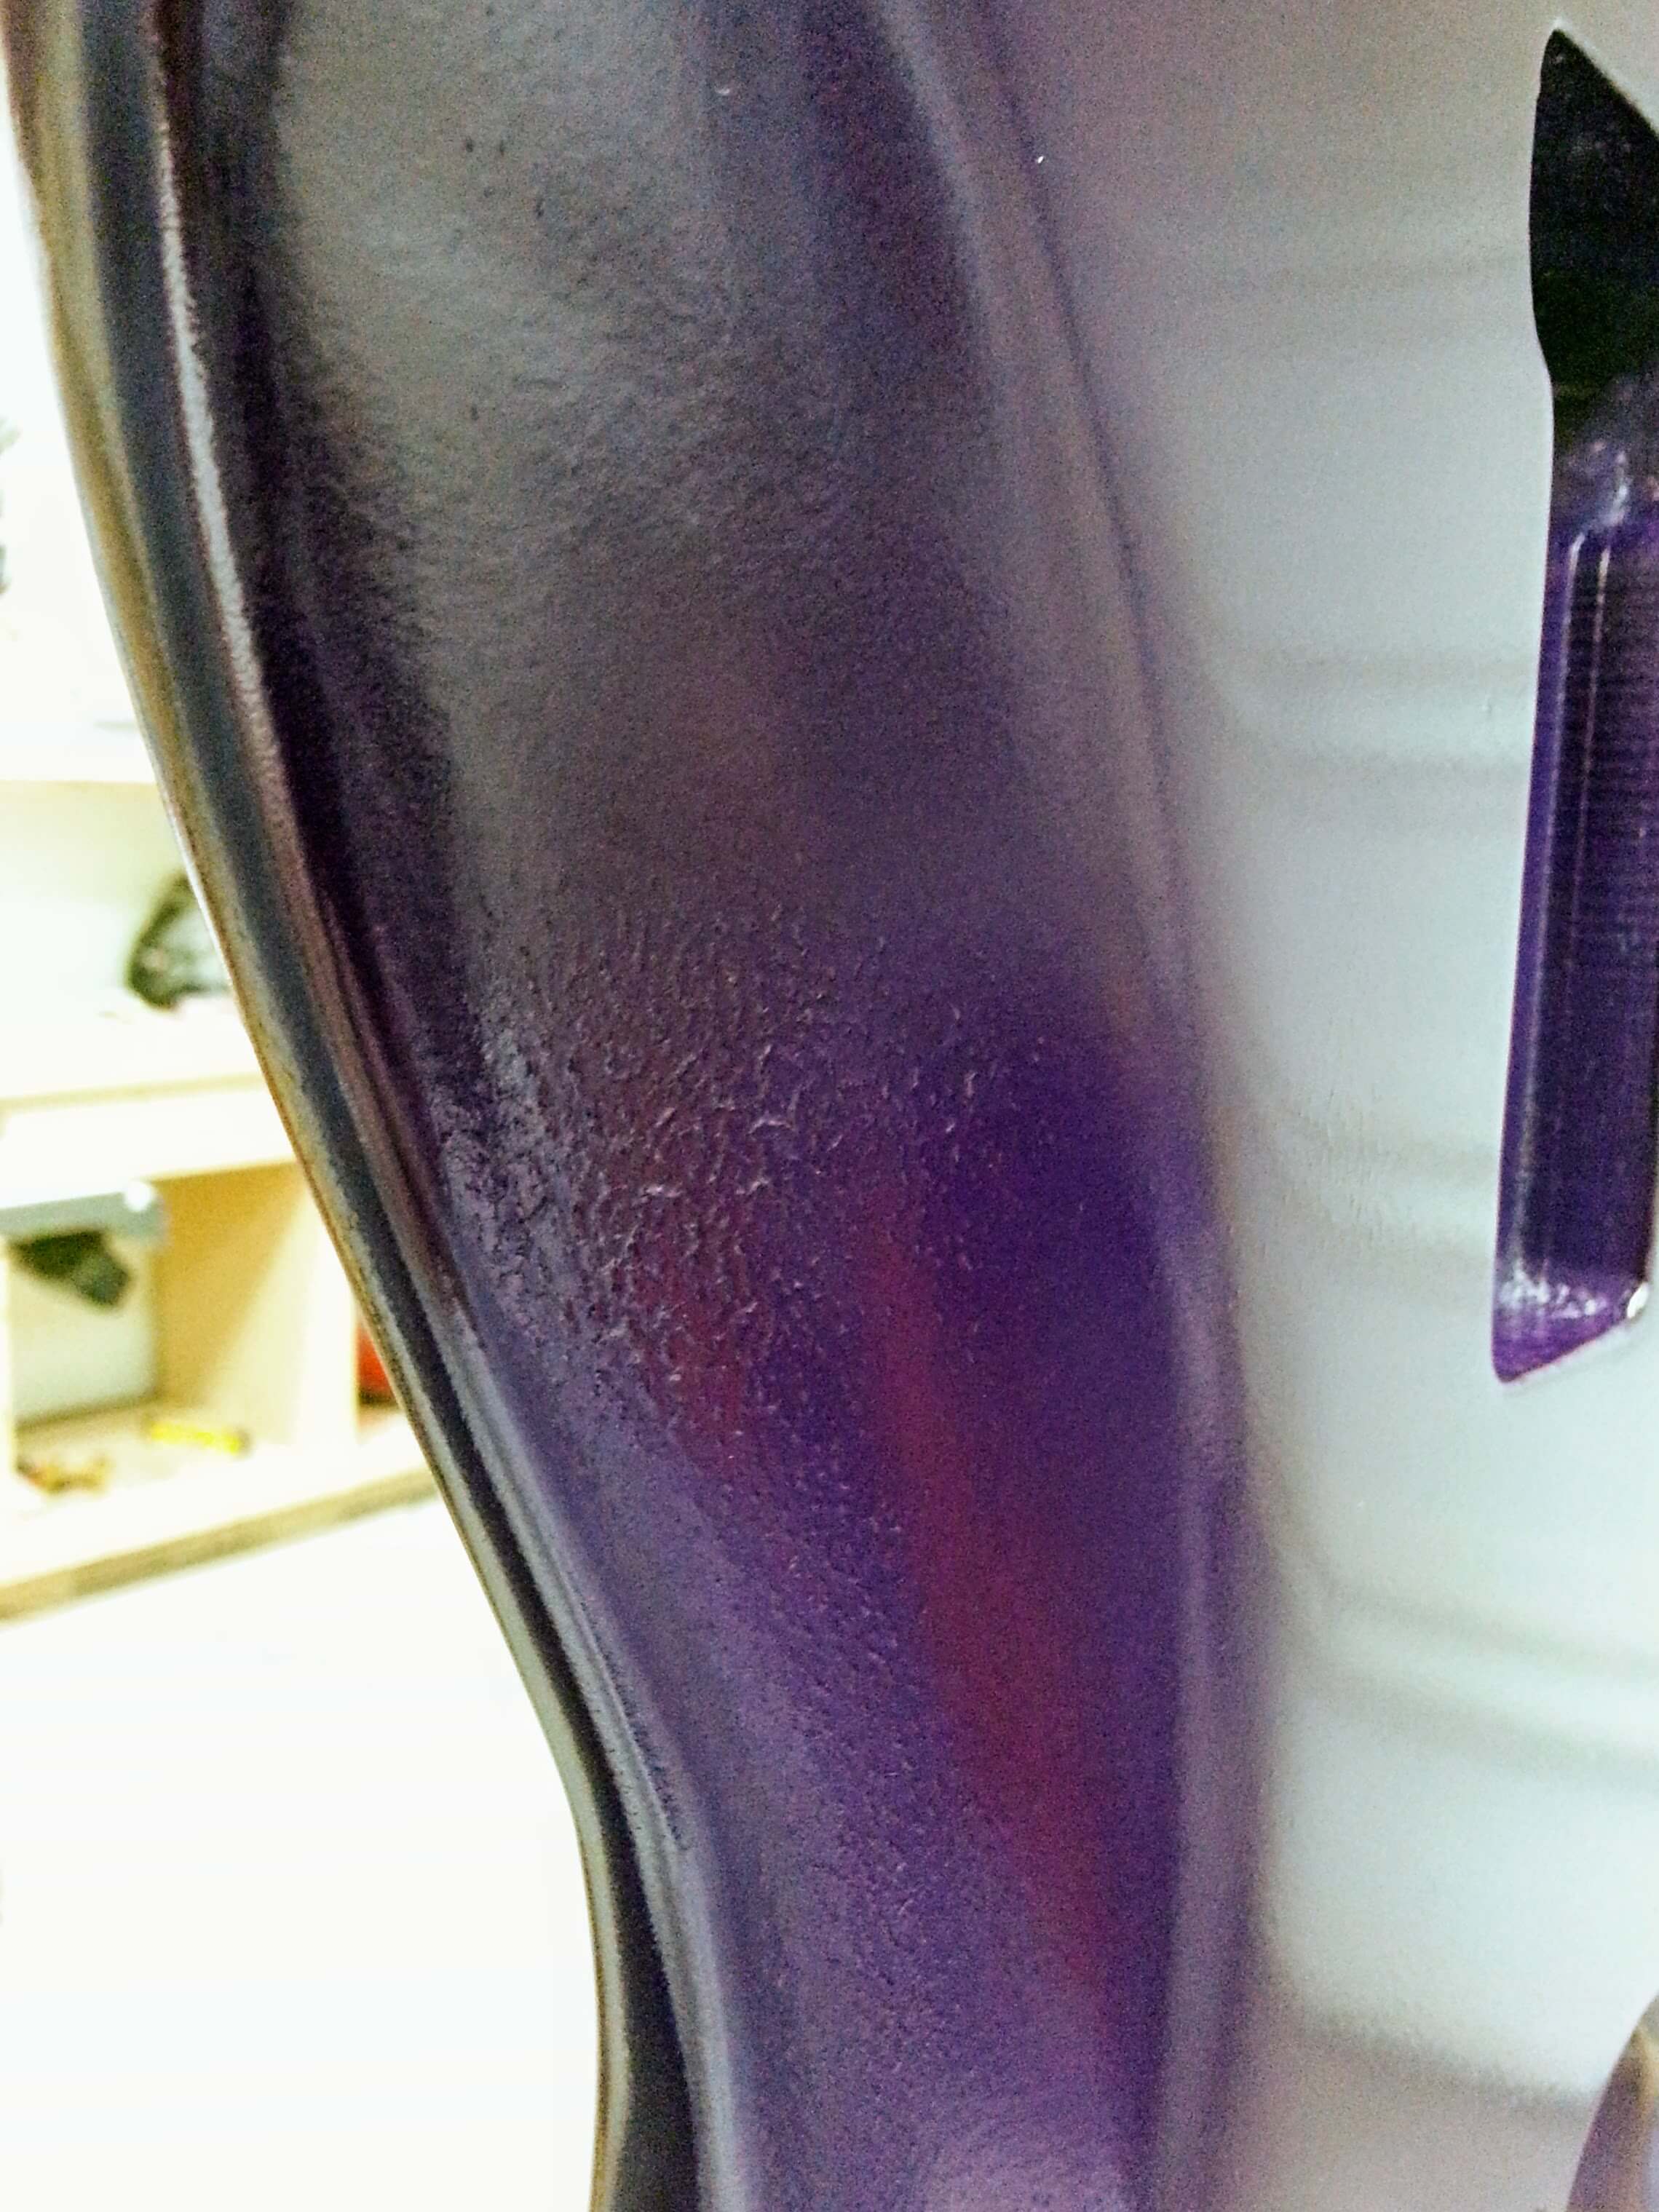
I wet sanded the whole thing for the next layer. I was really happy with the paint. It went on thick enough that I only went through in one tiny edge where I was having a hard time getting the paint. The next layer will cover over it with out a problem. So I either got a bad can of Duplicolor Metal cast, or the whole line is shit. I suspect I got a bad can. I got one thin coat out of the can, and the anodized effect really grouped up on the body.

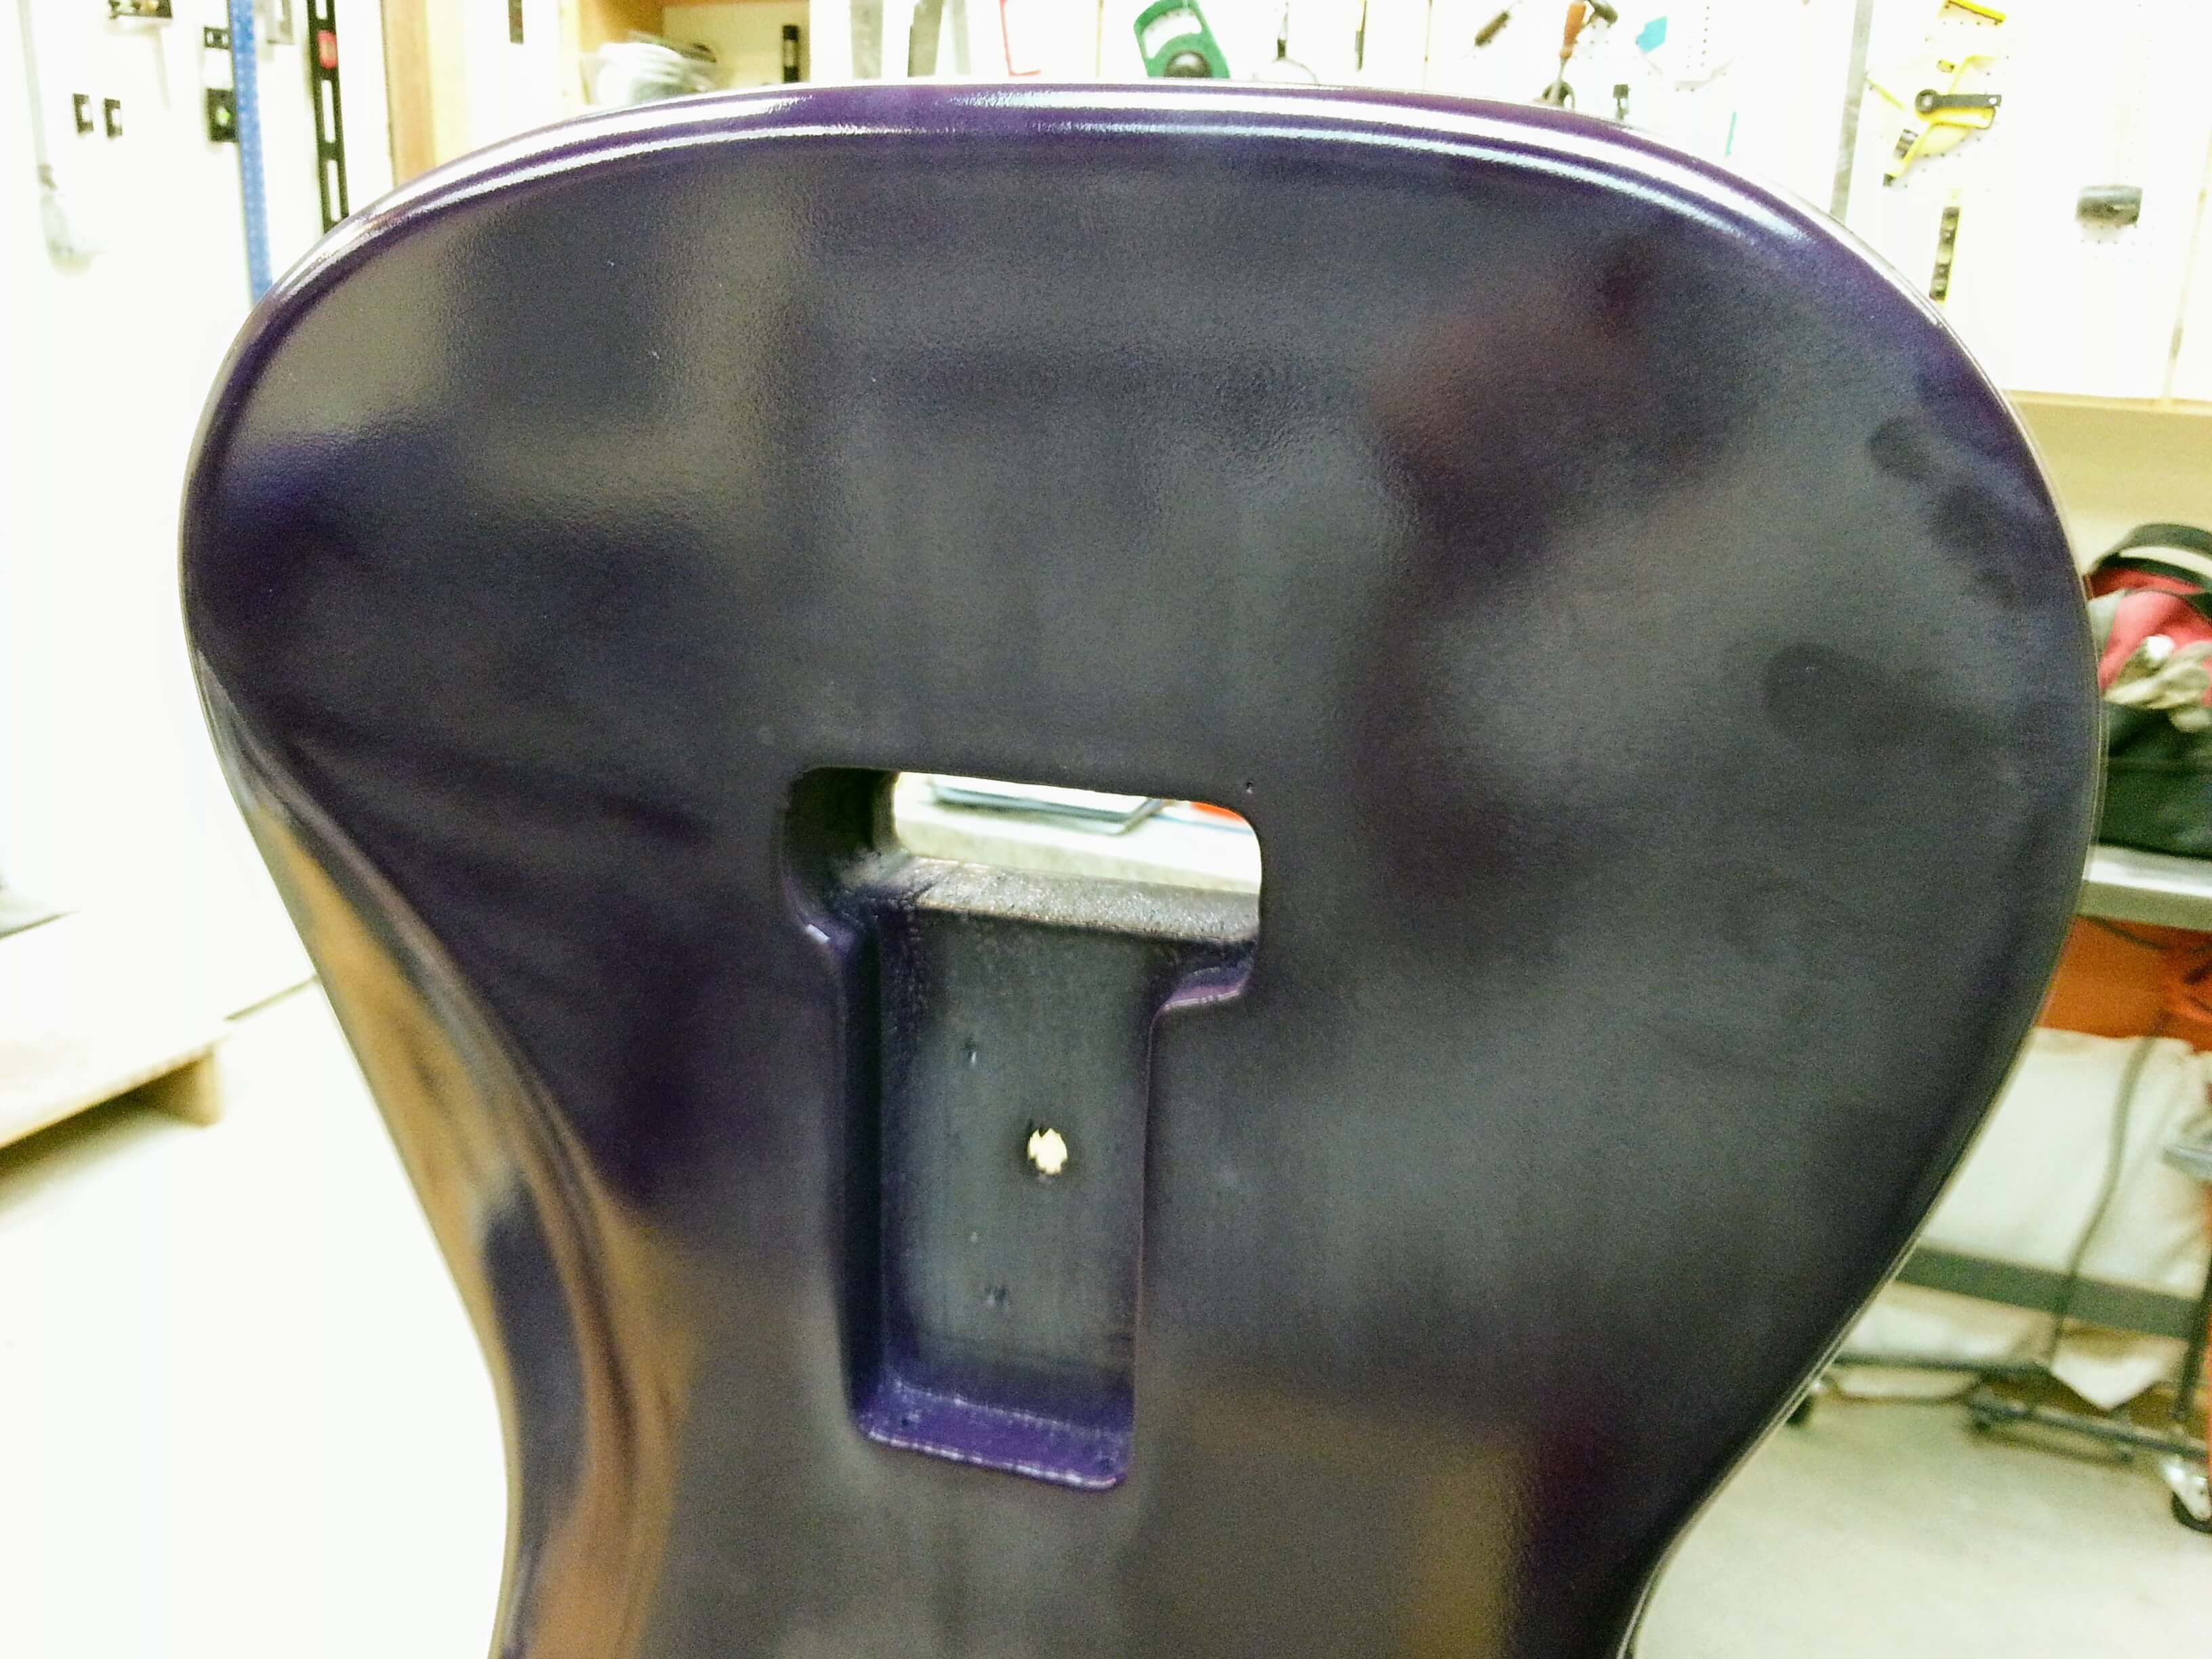
The anodize layer didn’t even stick. It came off with my fingers. I had to wet sand the whole thing again. The nice thing is that the clear coat in the Metalcast tinted the purple to the darker purple I was trying to get in the first place.
The next issue I ran into was I either didn’t give the metal cast enough time to cure, or got too tick a layer on the first bit of clear coat. I suspect the latter. At least it was only a few spots and not the whole damned thing. This is probably the first time in at least 20 years that I’ve done this. Stupid mistake.
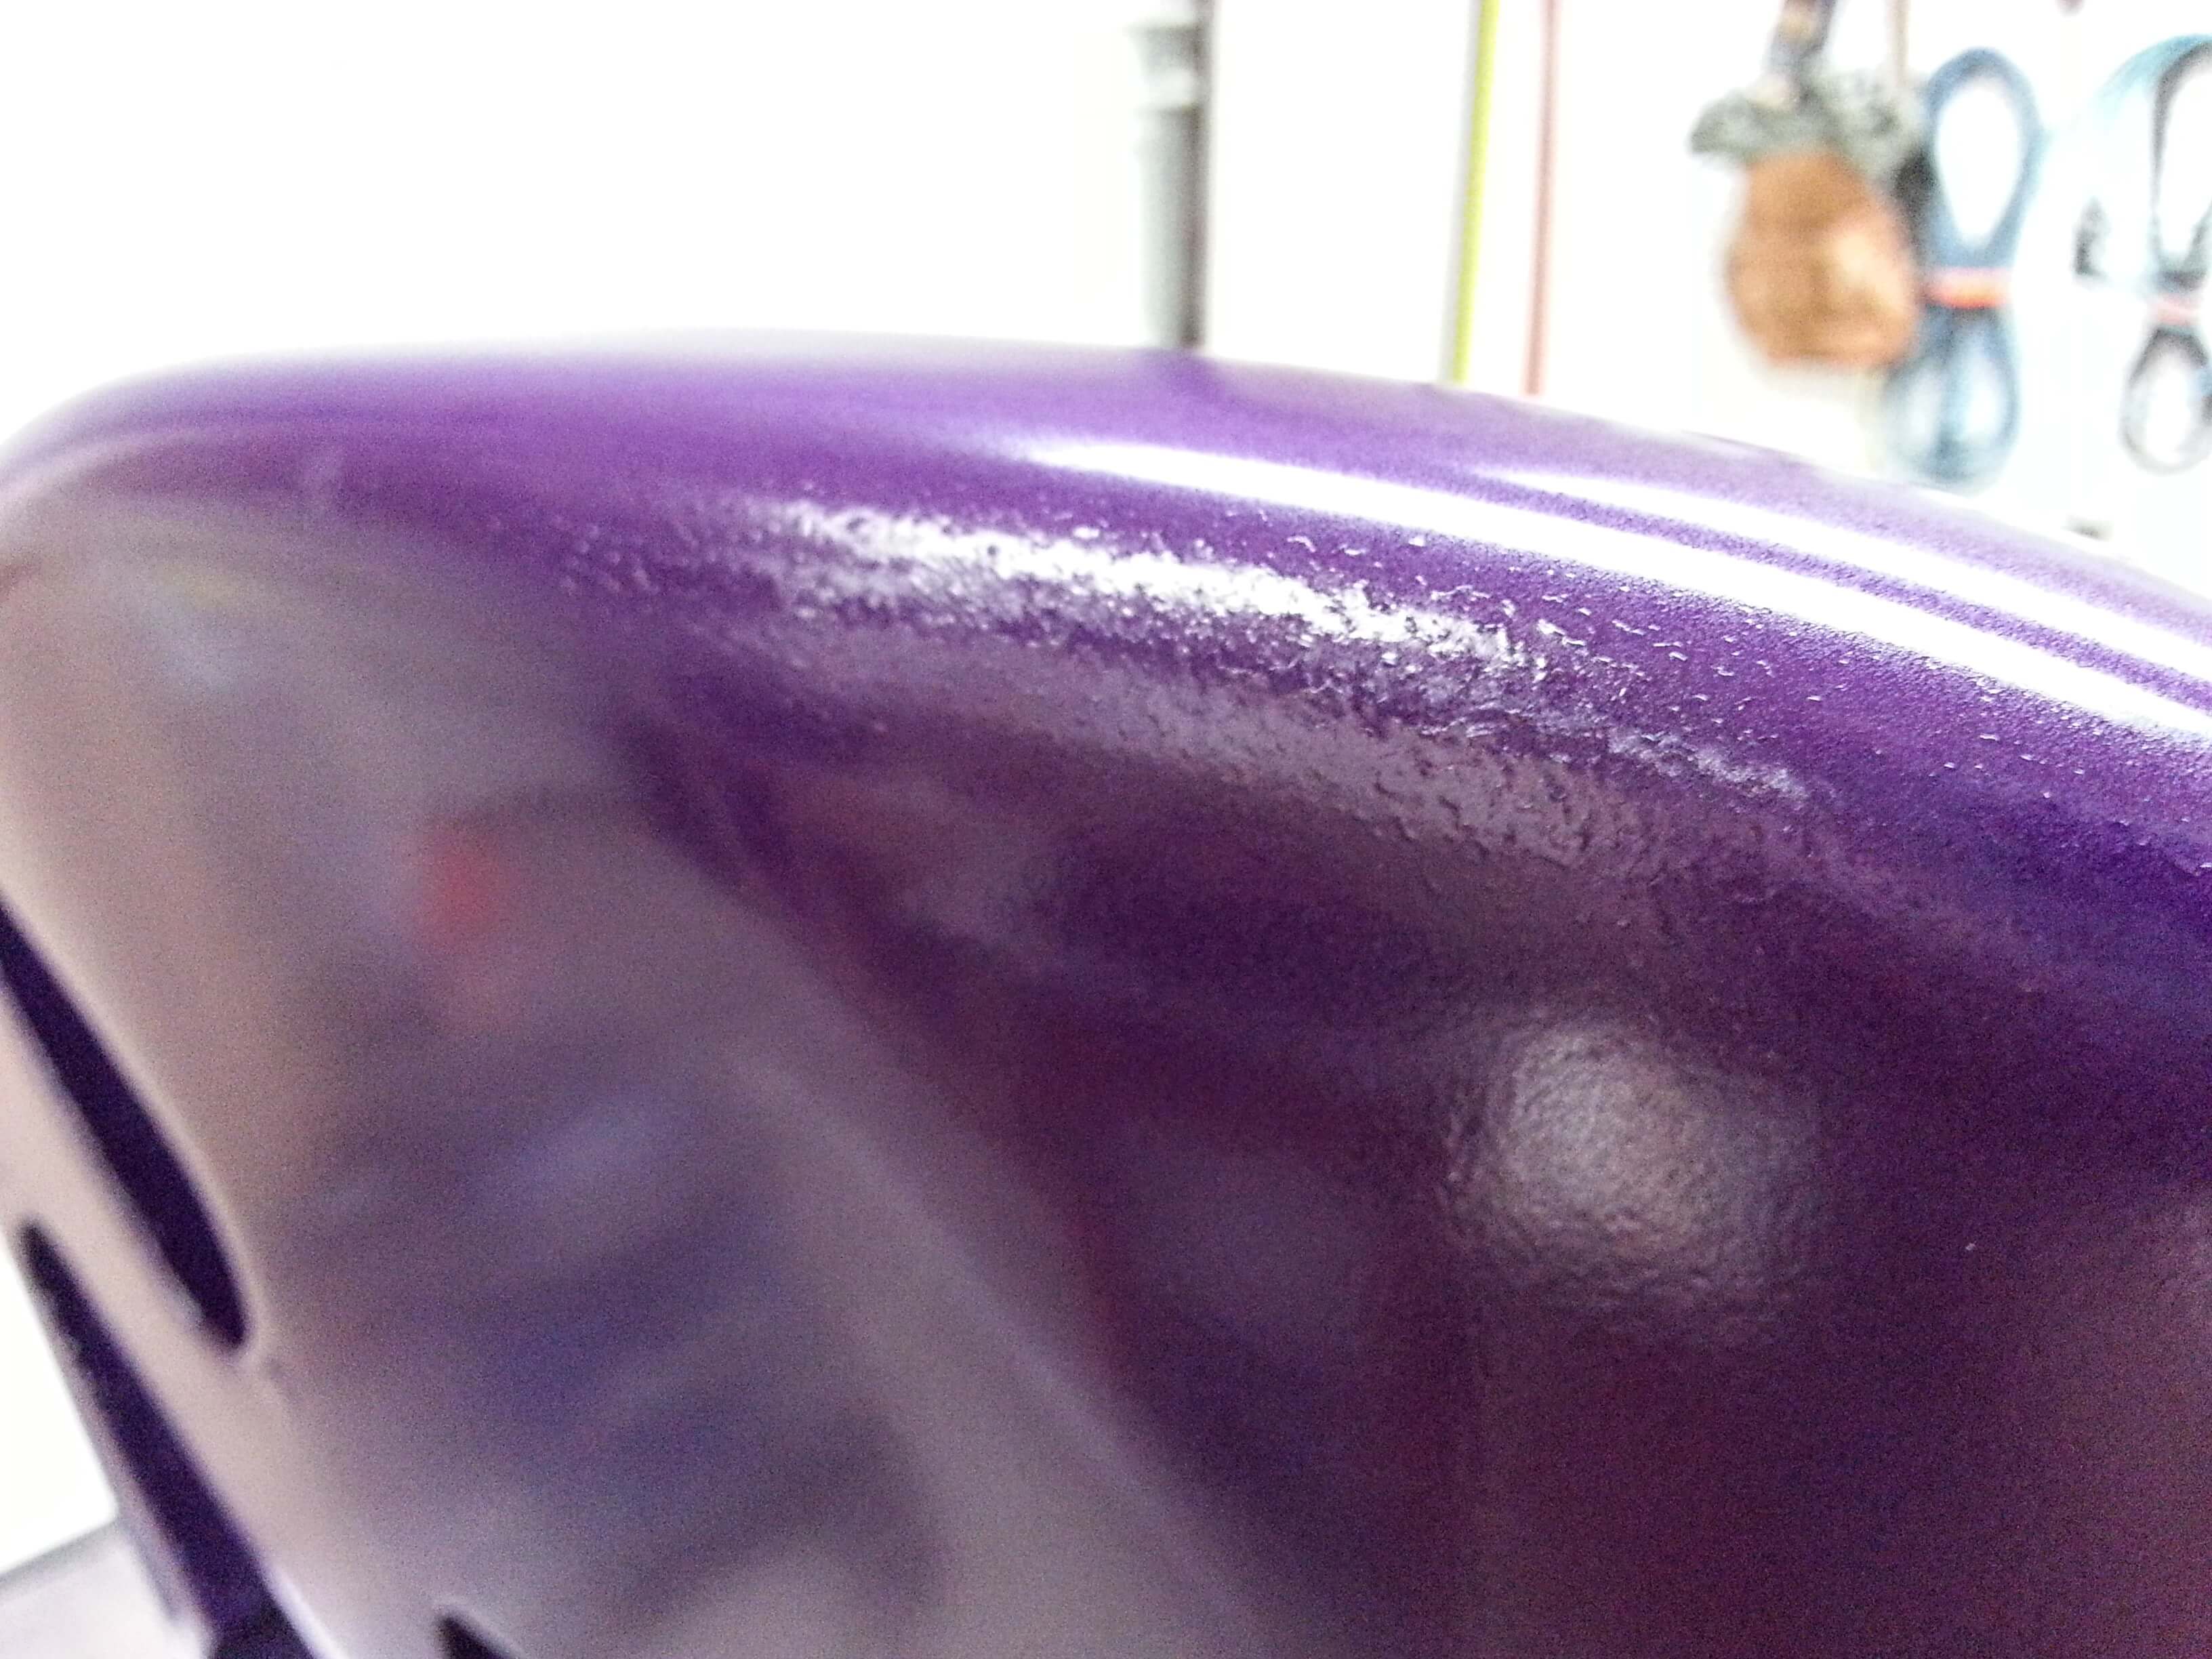
New Clear coat after wet sanding the wrinkled coat off. So far no wrinkles. I did get a bit of orange peeling, but that was due to the heat drying the spray out faster than I could apply it. It was in the 80’s that day.


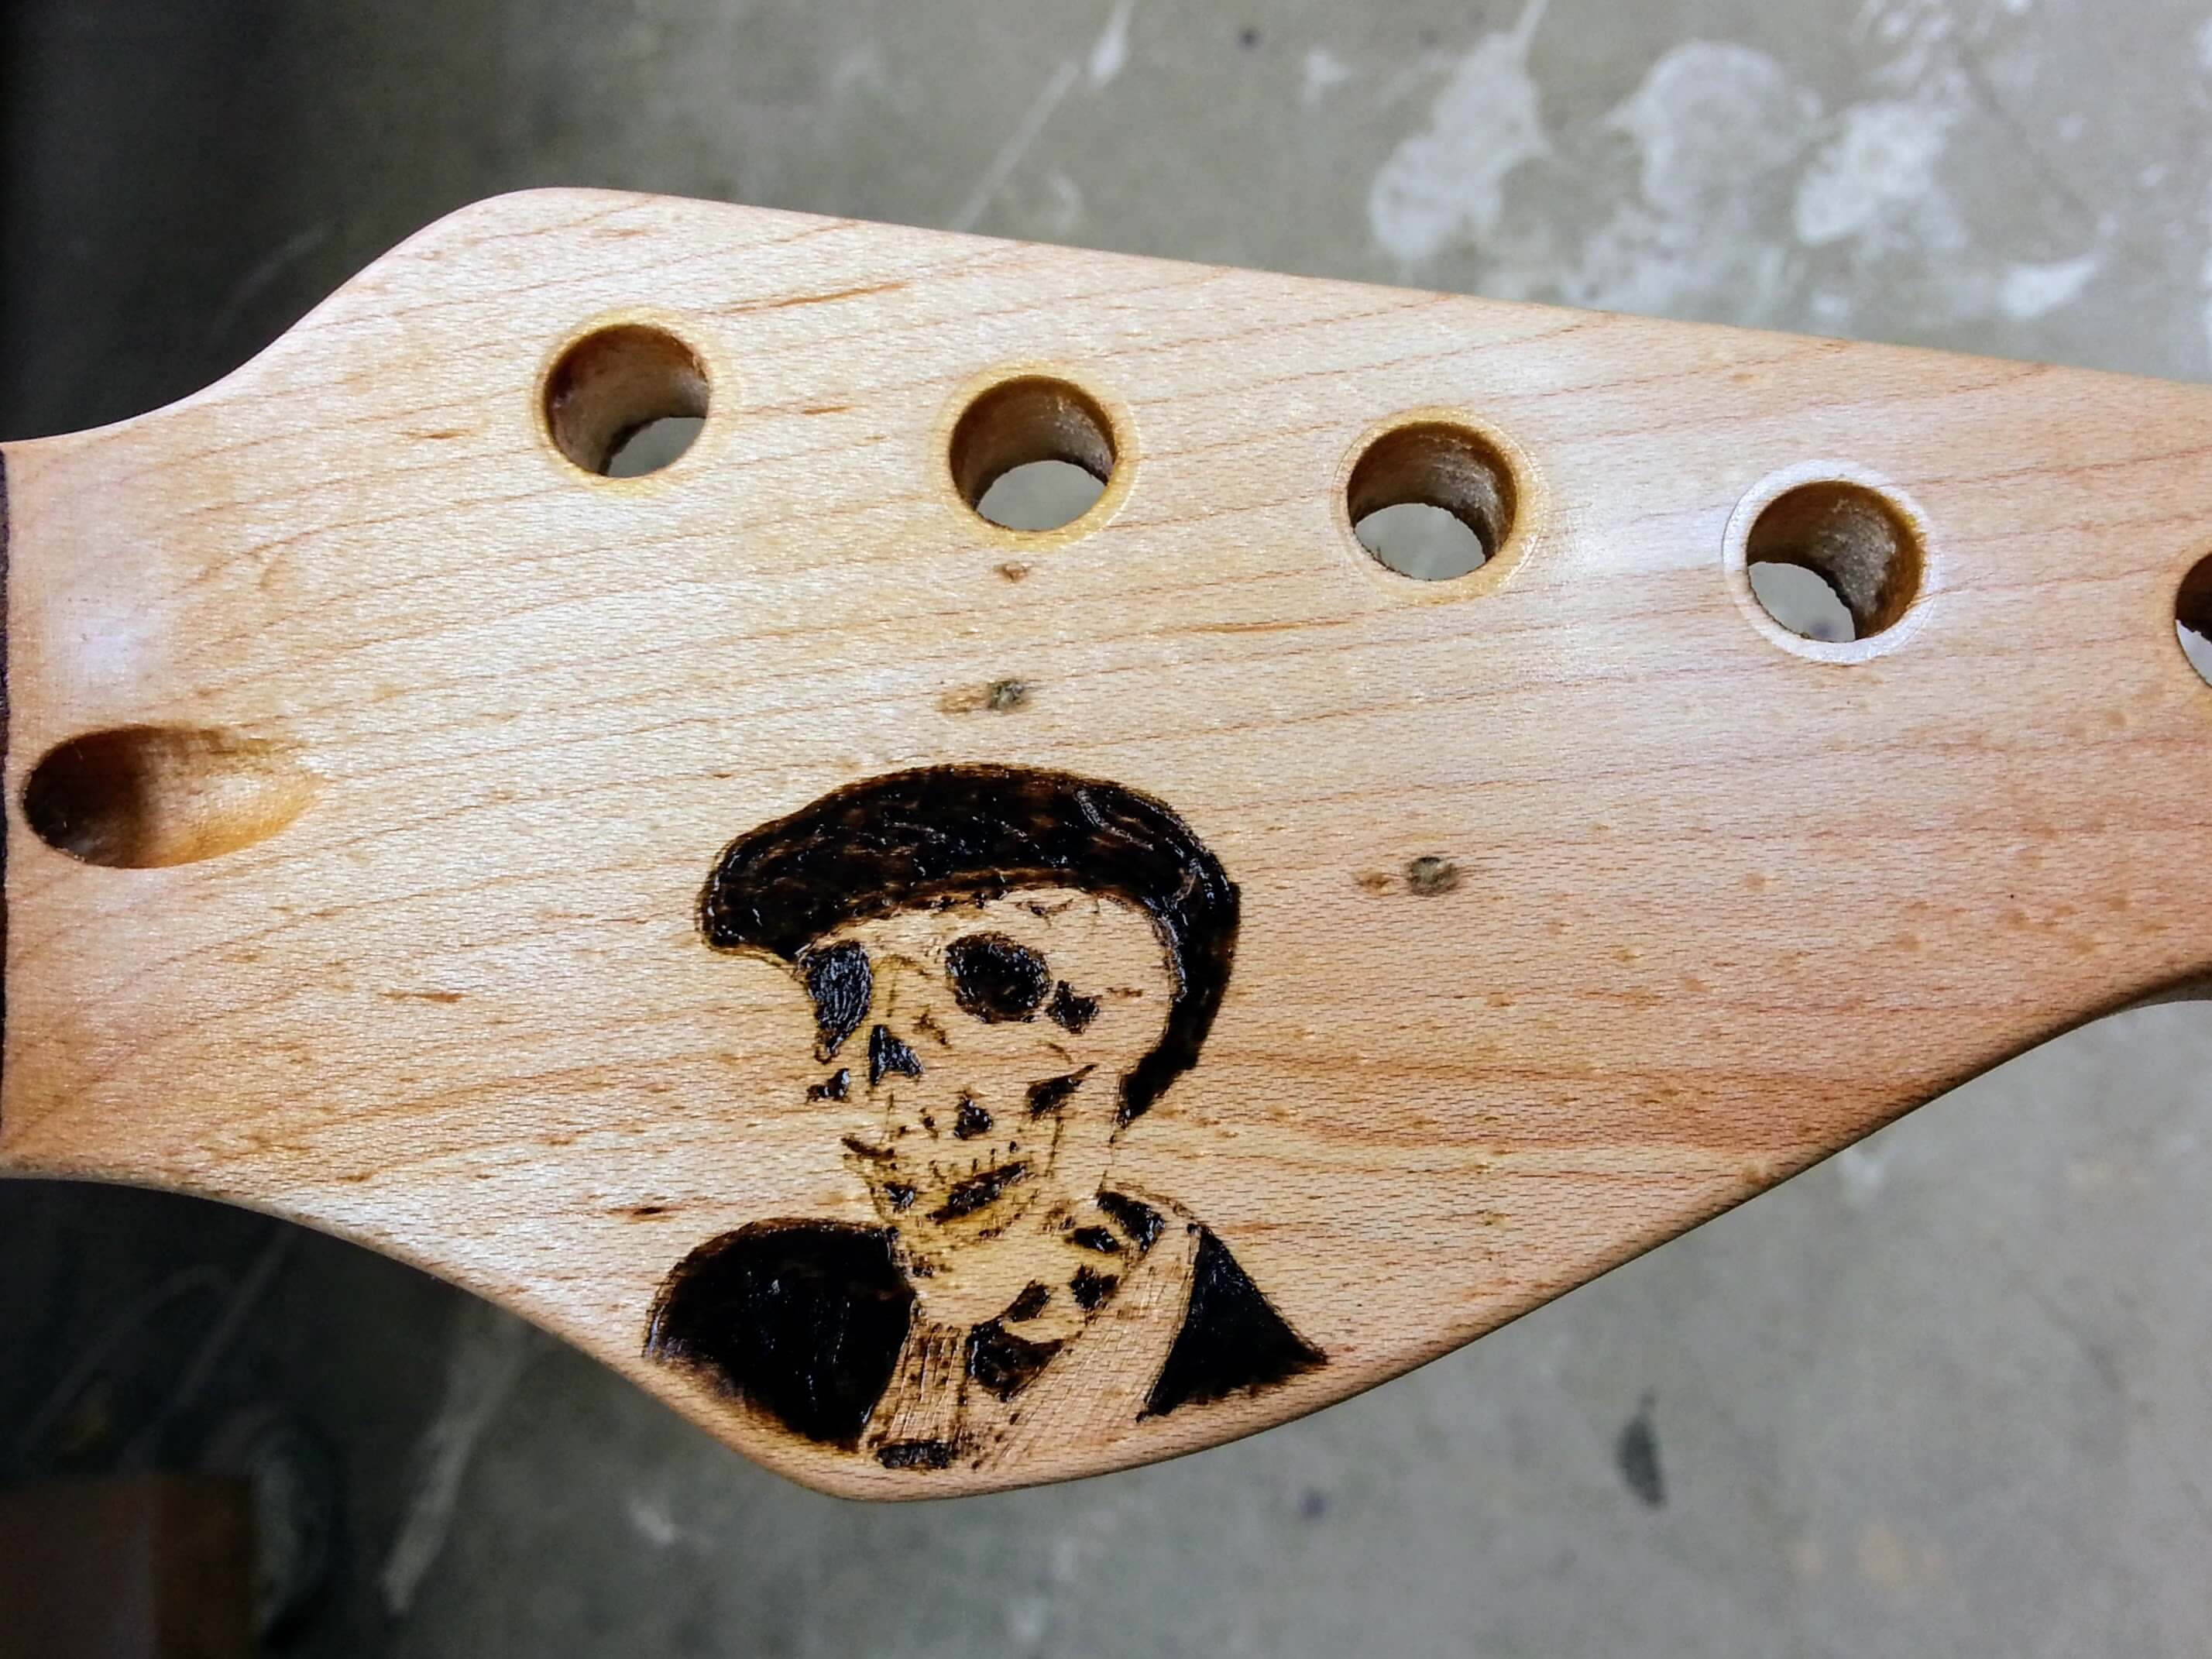
While the clear coat cured I burned in a partial logo into the headstock. I tried three different way to transfer it from printed paper to the wood so I could have a more accurate version. I gave up and started it freehand. About halfway through I remembered that we used to have a laser printer. That is what I used to use to transfer drawings. Still, not too bad for being out of practice.
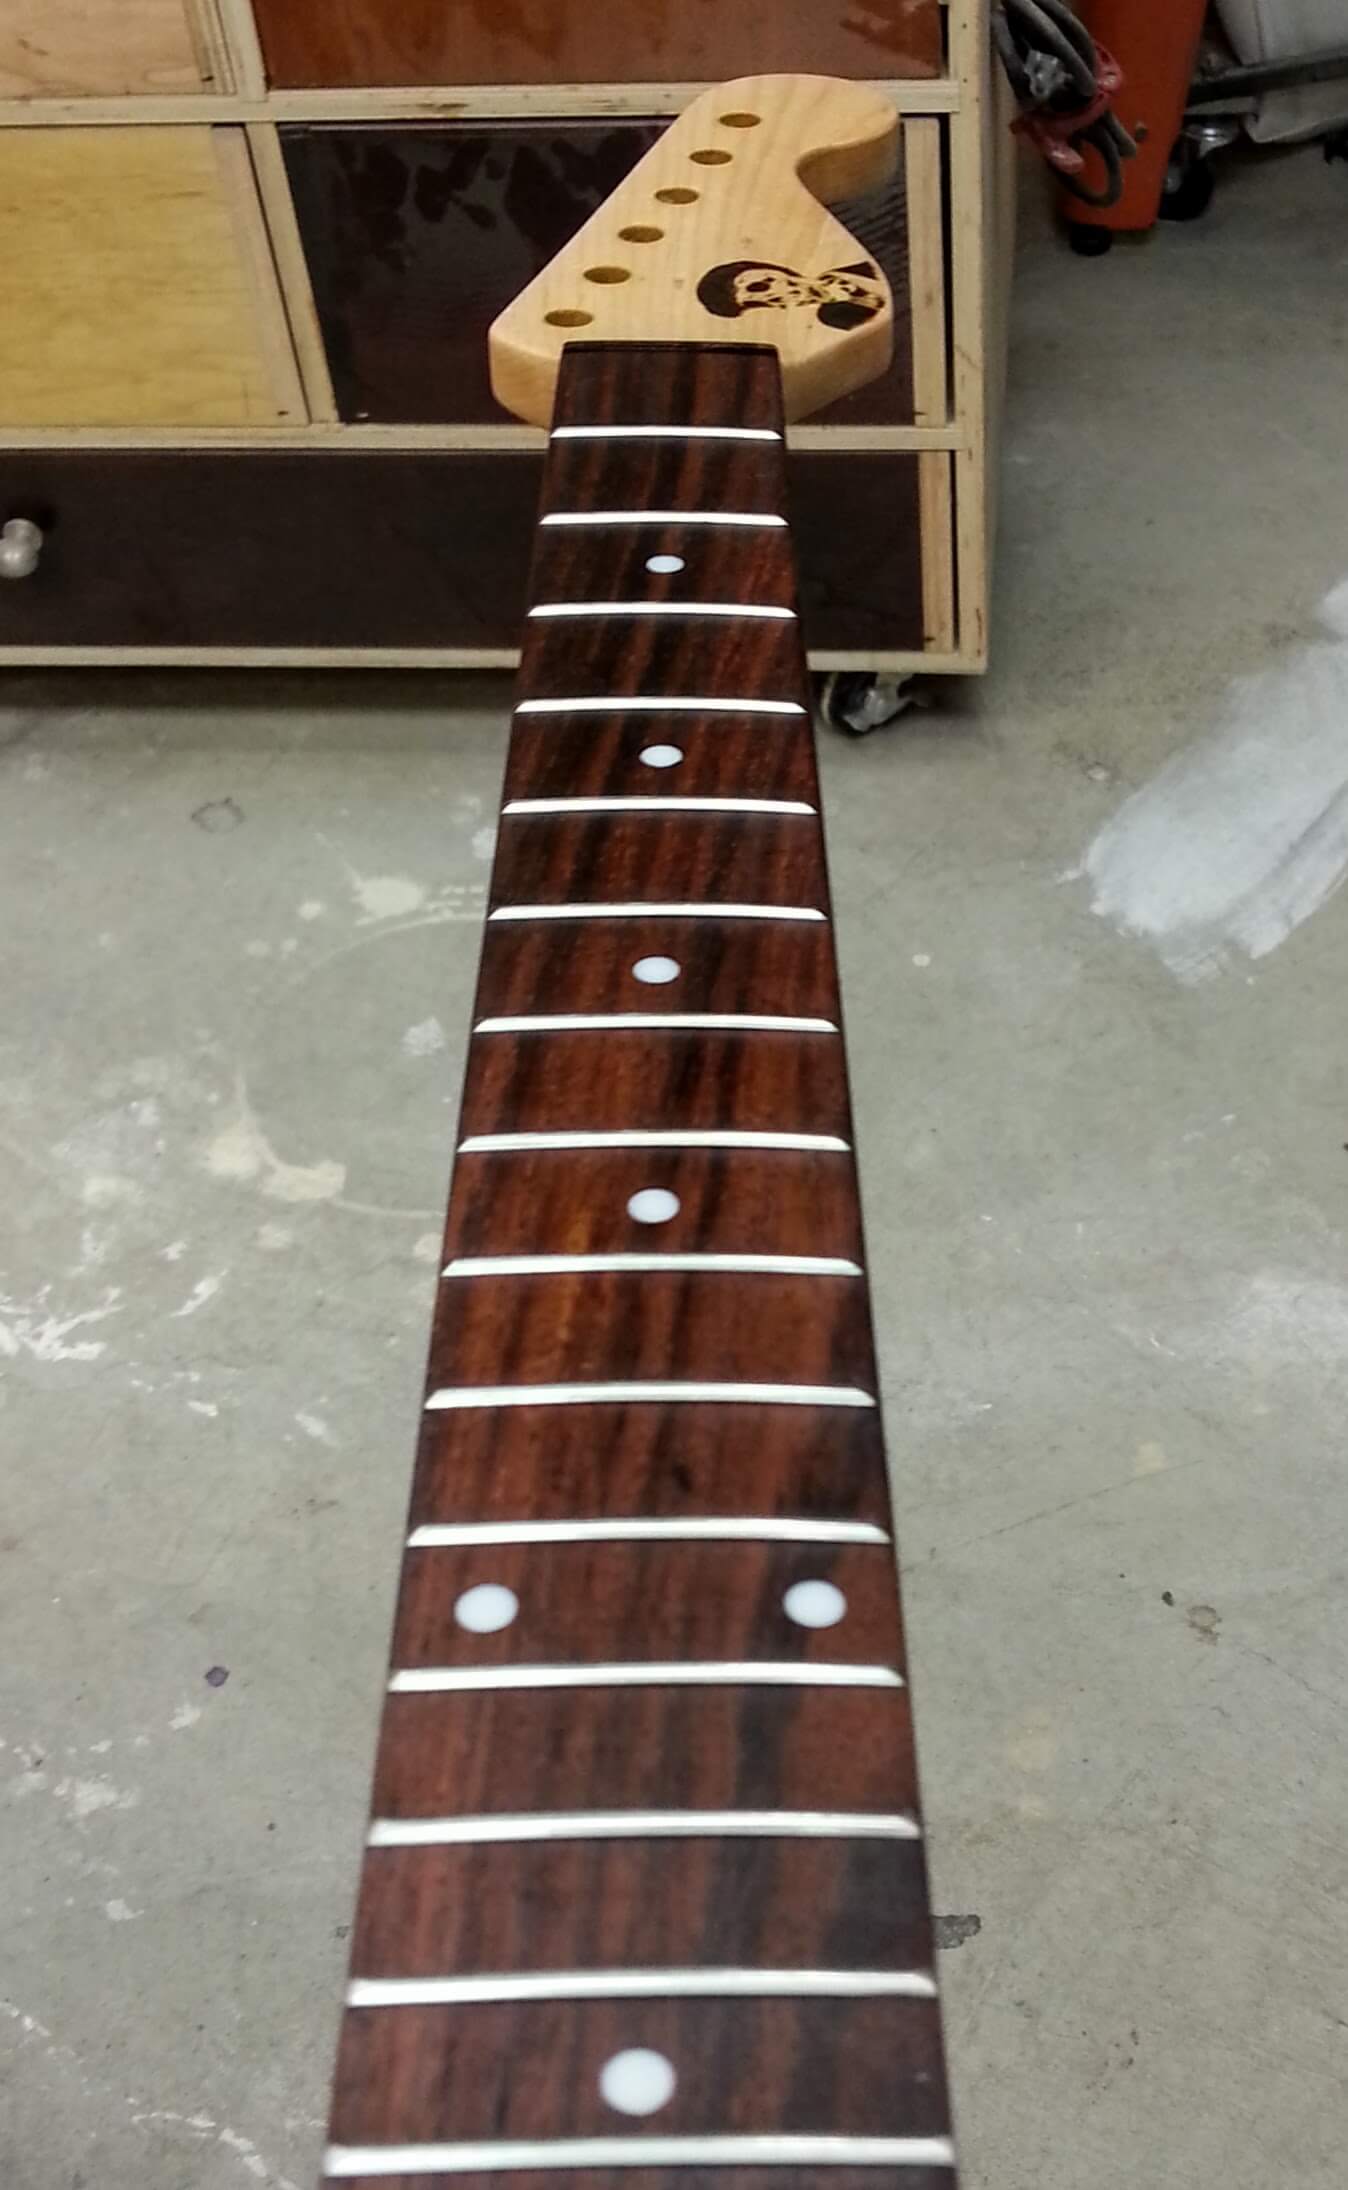
The hardwood that made up the fret board was very dry. Since usually an oily wood is used I figured that they either didn’t use a decent rosewood (likely),or they over dried it in a kiln (also likely). So I tested some danish oil after the last fret with the idea being that if it didn’t work, at least the wouldn’t be fingers on it spreading oily finish everywhere.
It soaked that stuff right up. I probably put 15 applications on the whole neck before it finally started to behave properly.
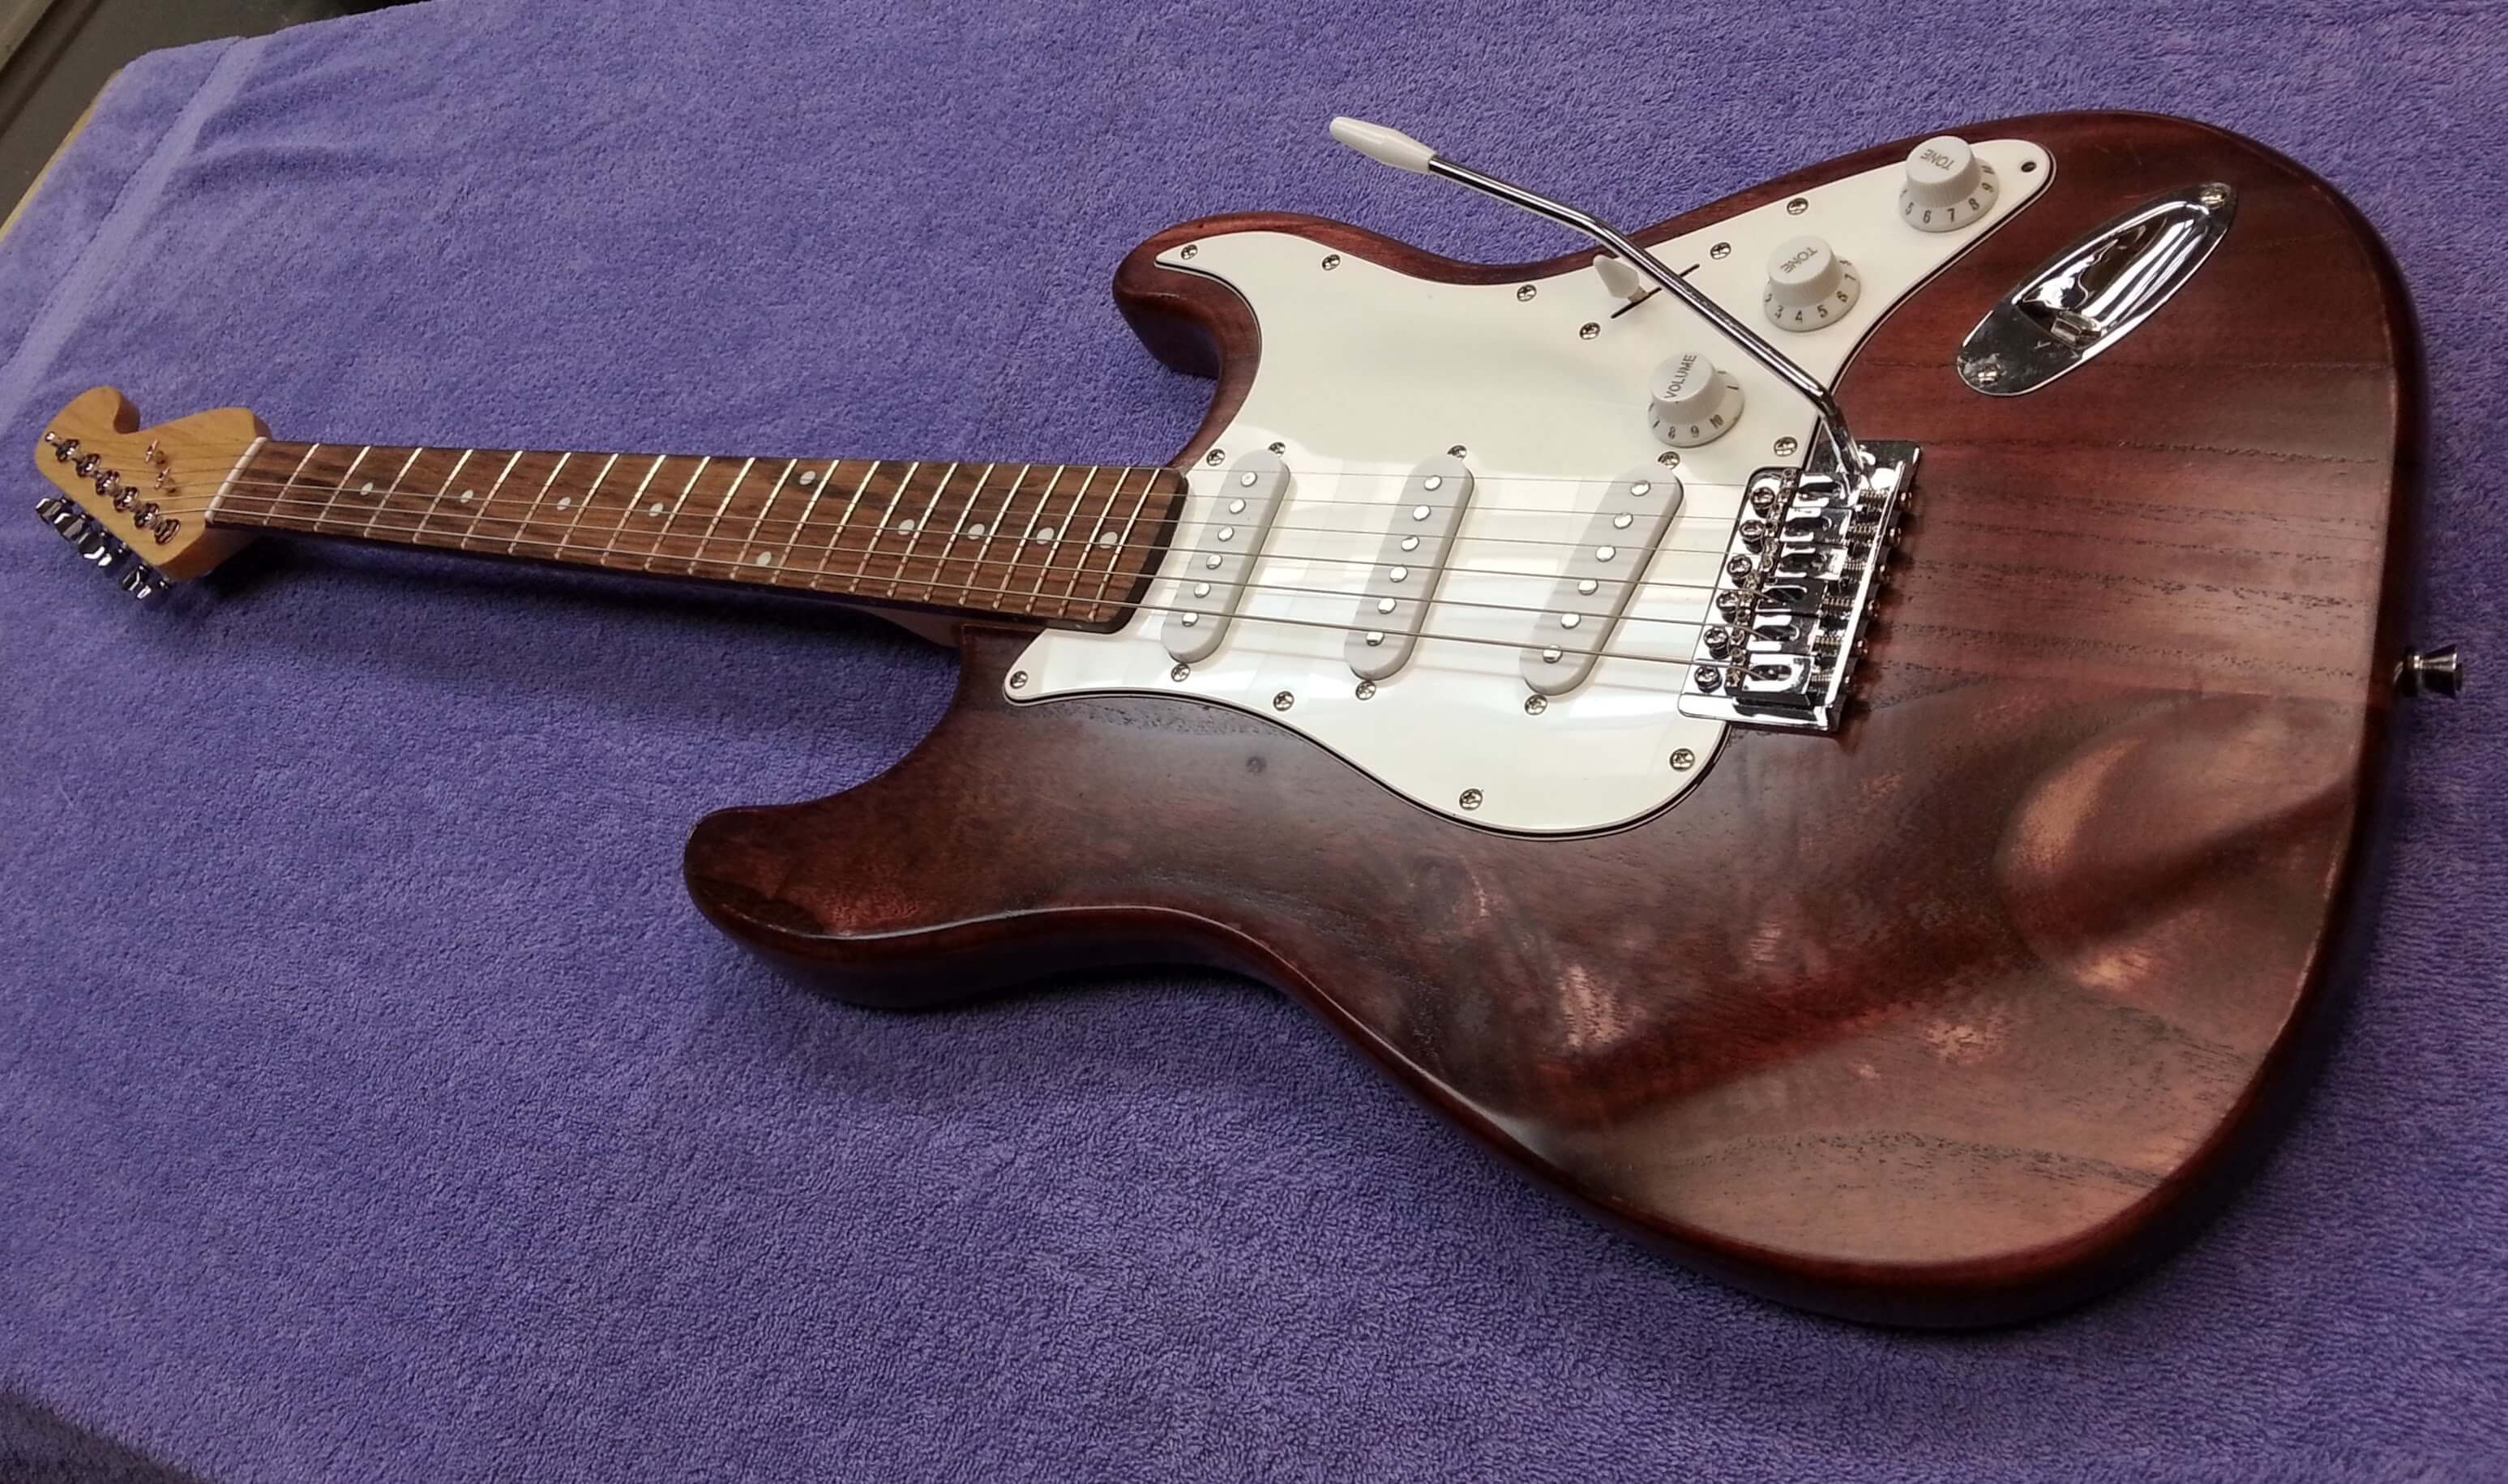
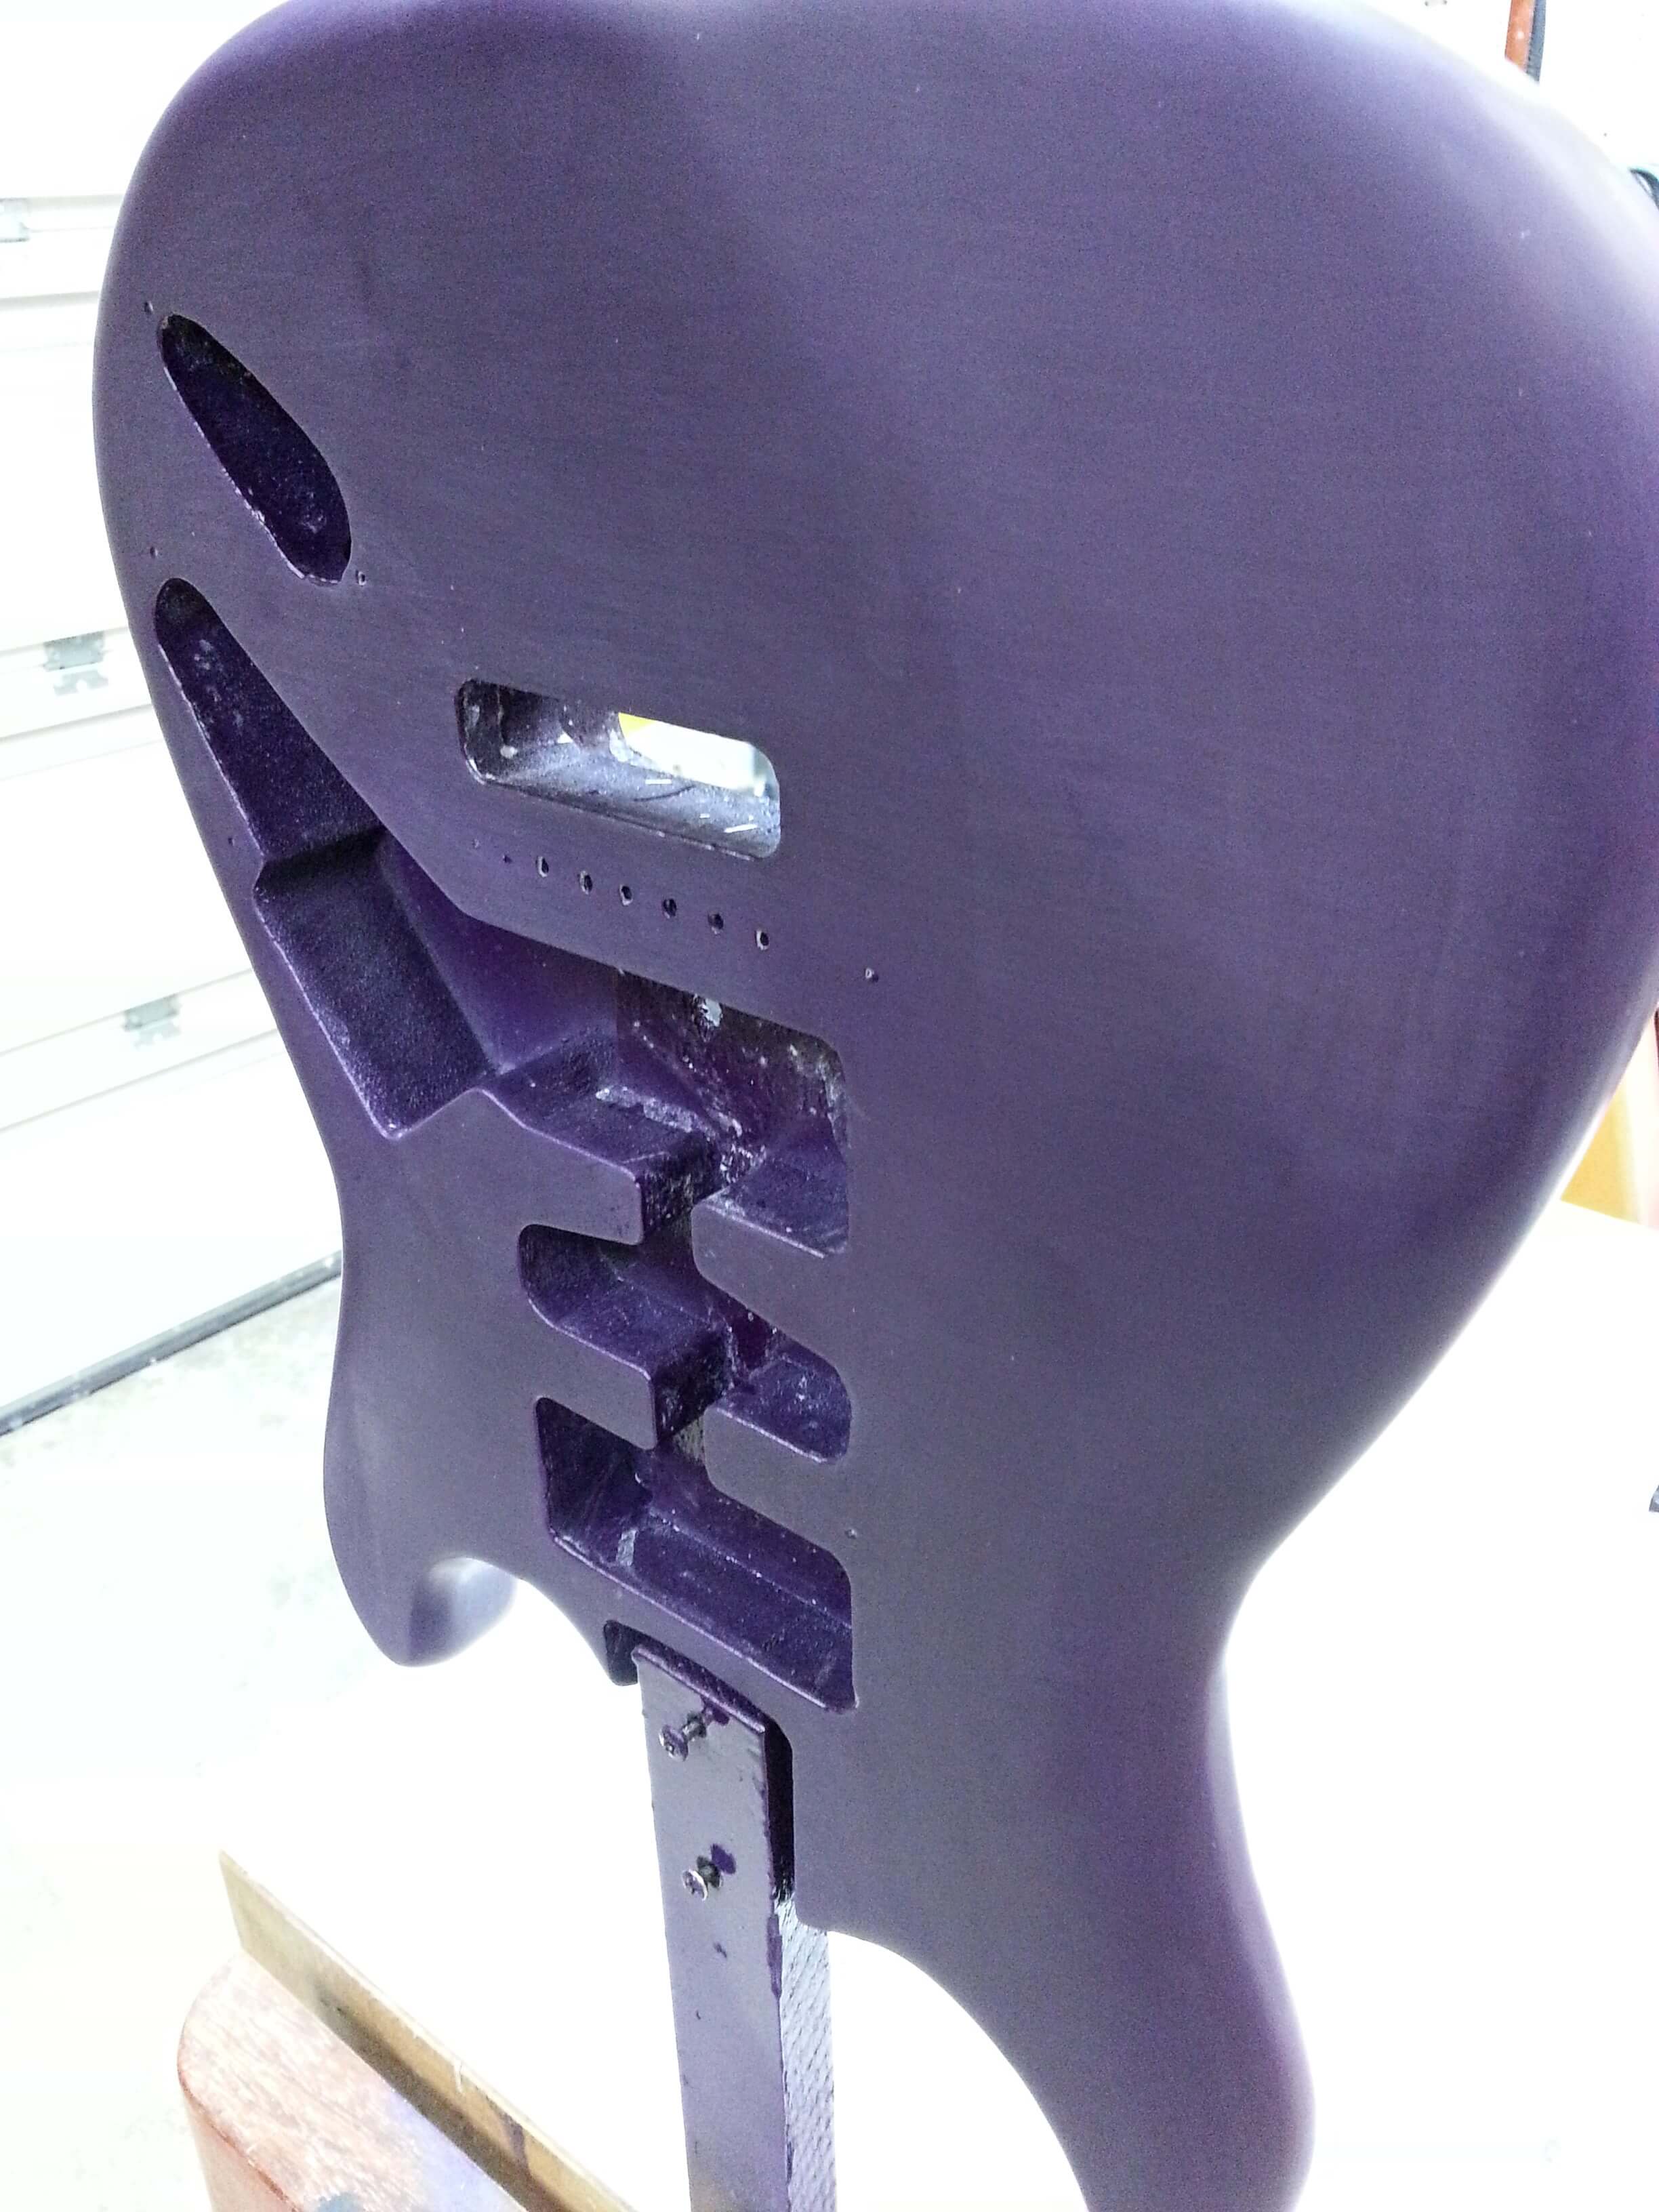
There is a lot of paint and fill. In some sections it’s over lapping enough that there is a visible overhang in the routed areas. Figured it was a good idea to test fit in case I need to remove some edges. This way if I screw them up, I haven’t spent all that time polishing.
1st pass with 600p wet sanding. Leveled out fairly easy.
I’m very happy with the new swirl remover I found.
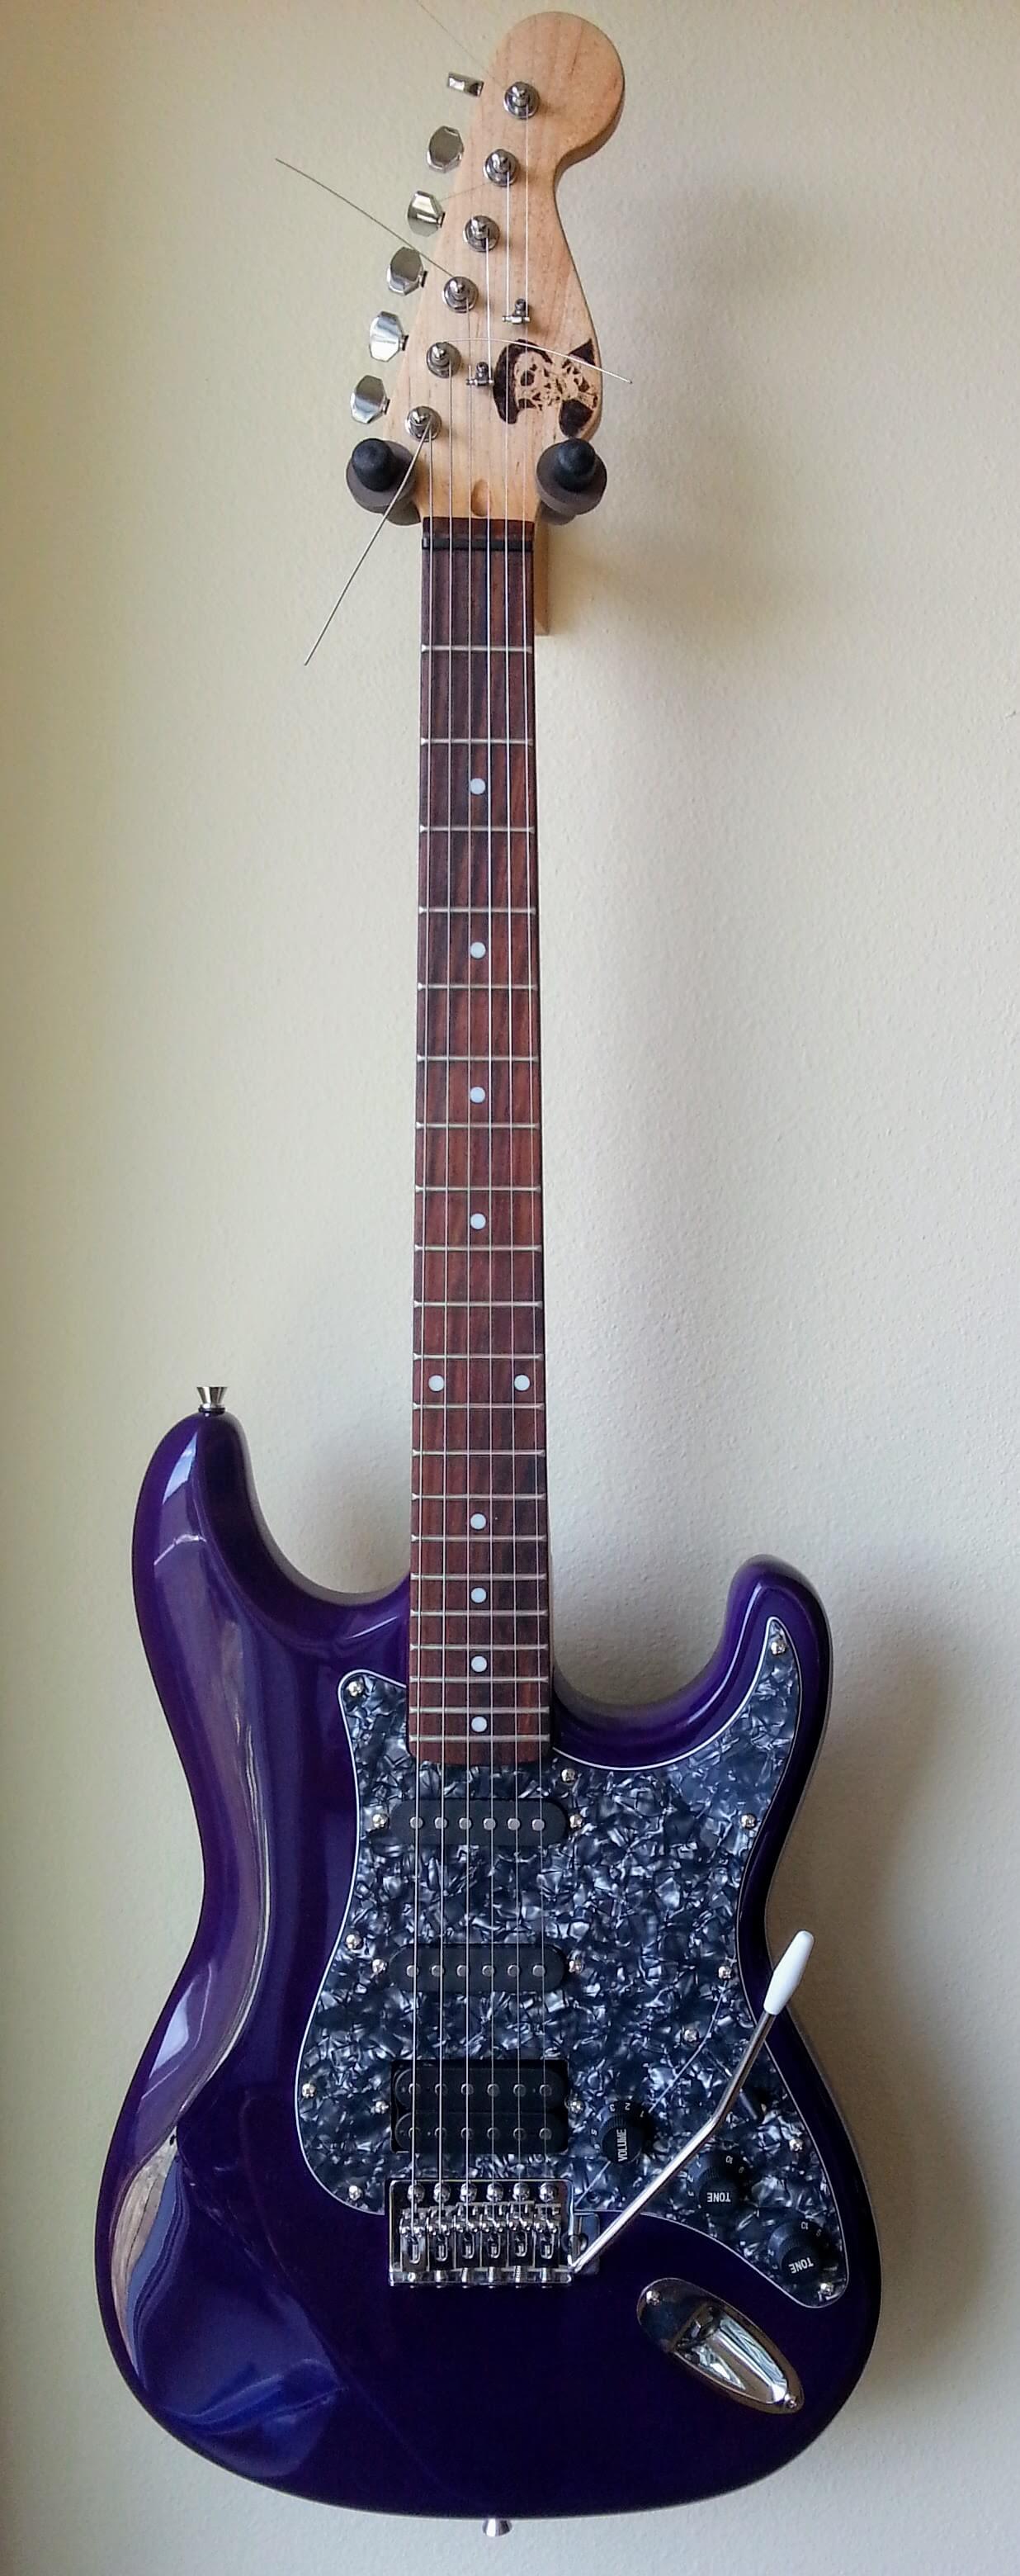
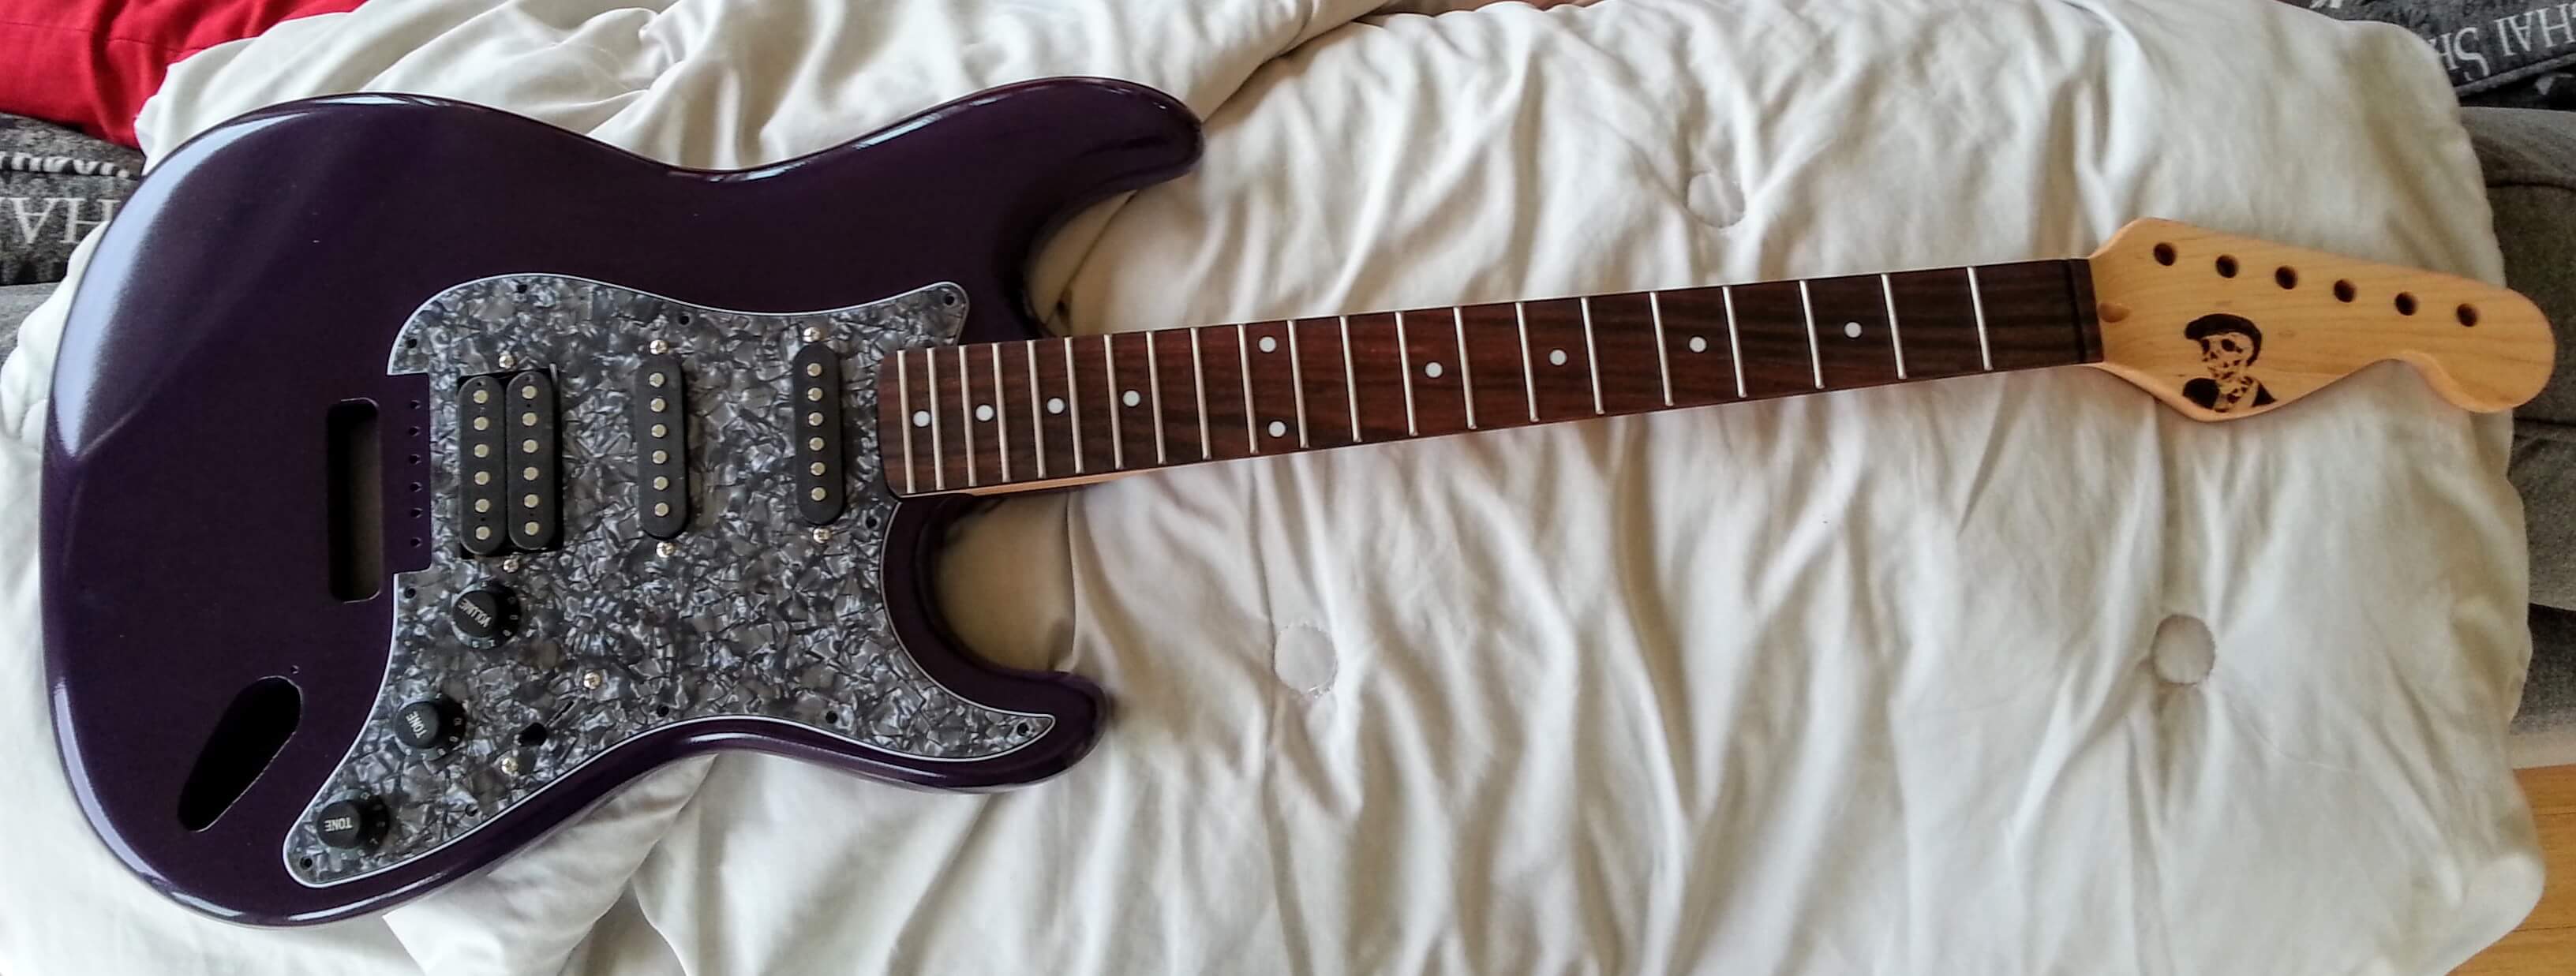
Just need a new nut, and strings.
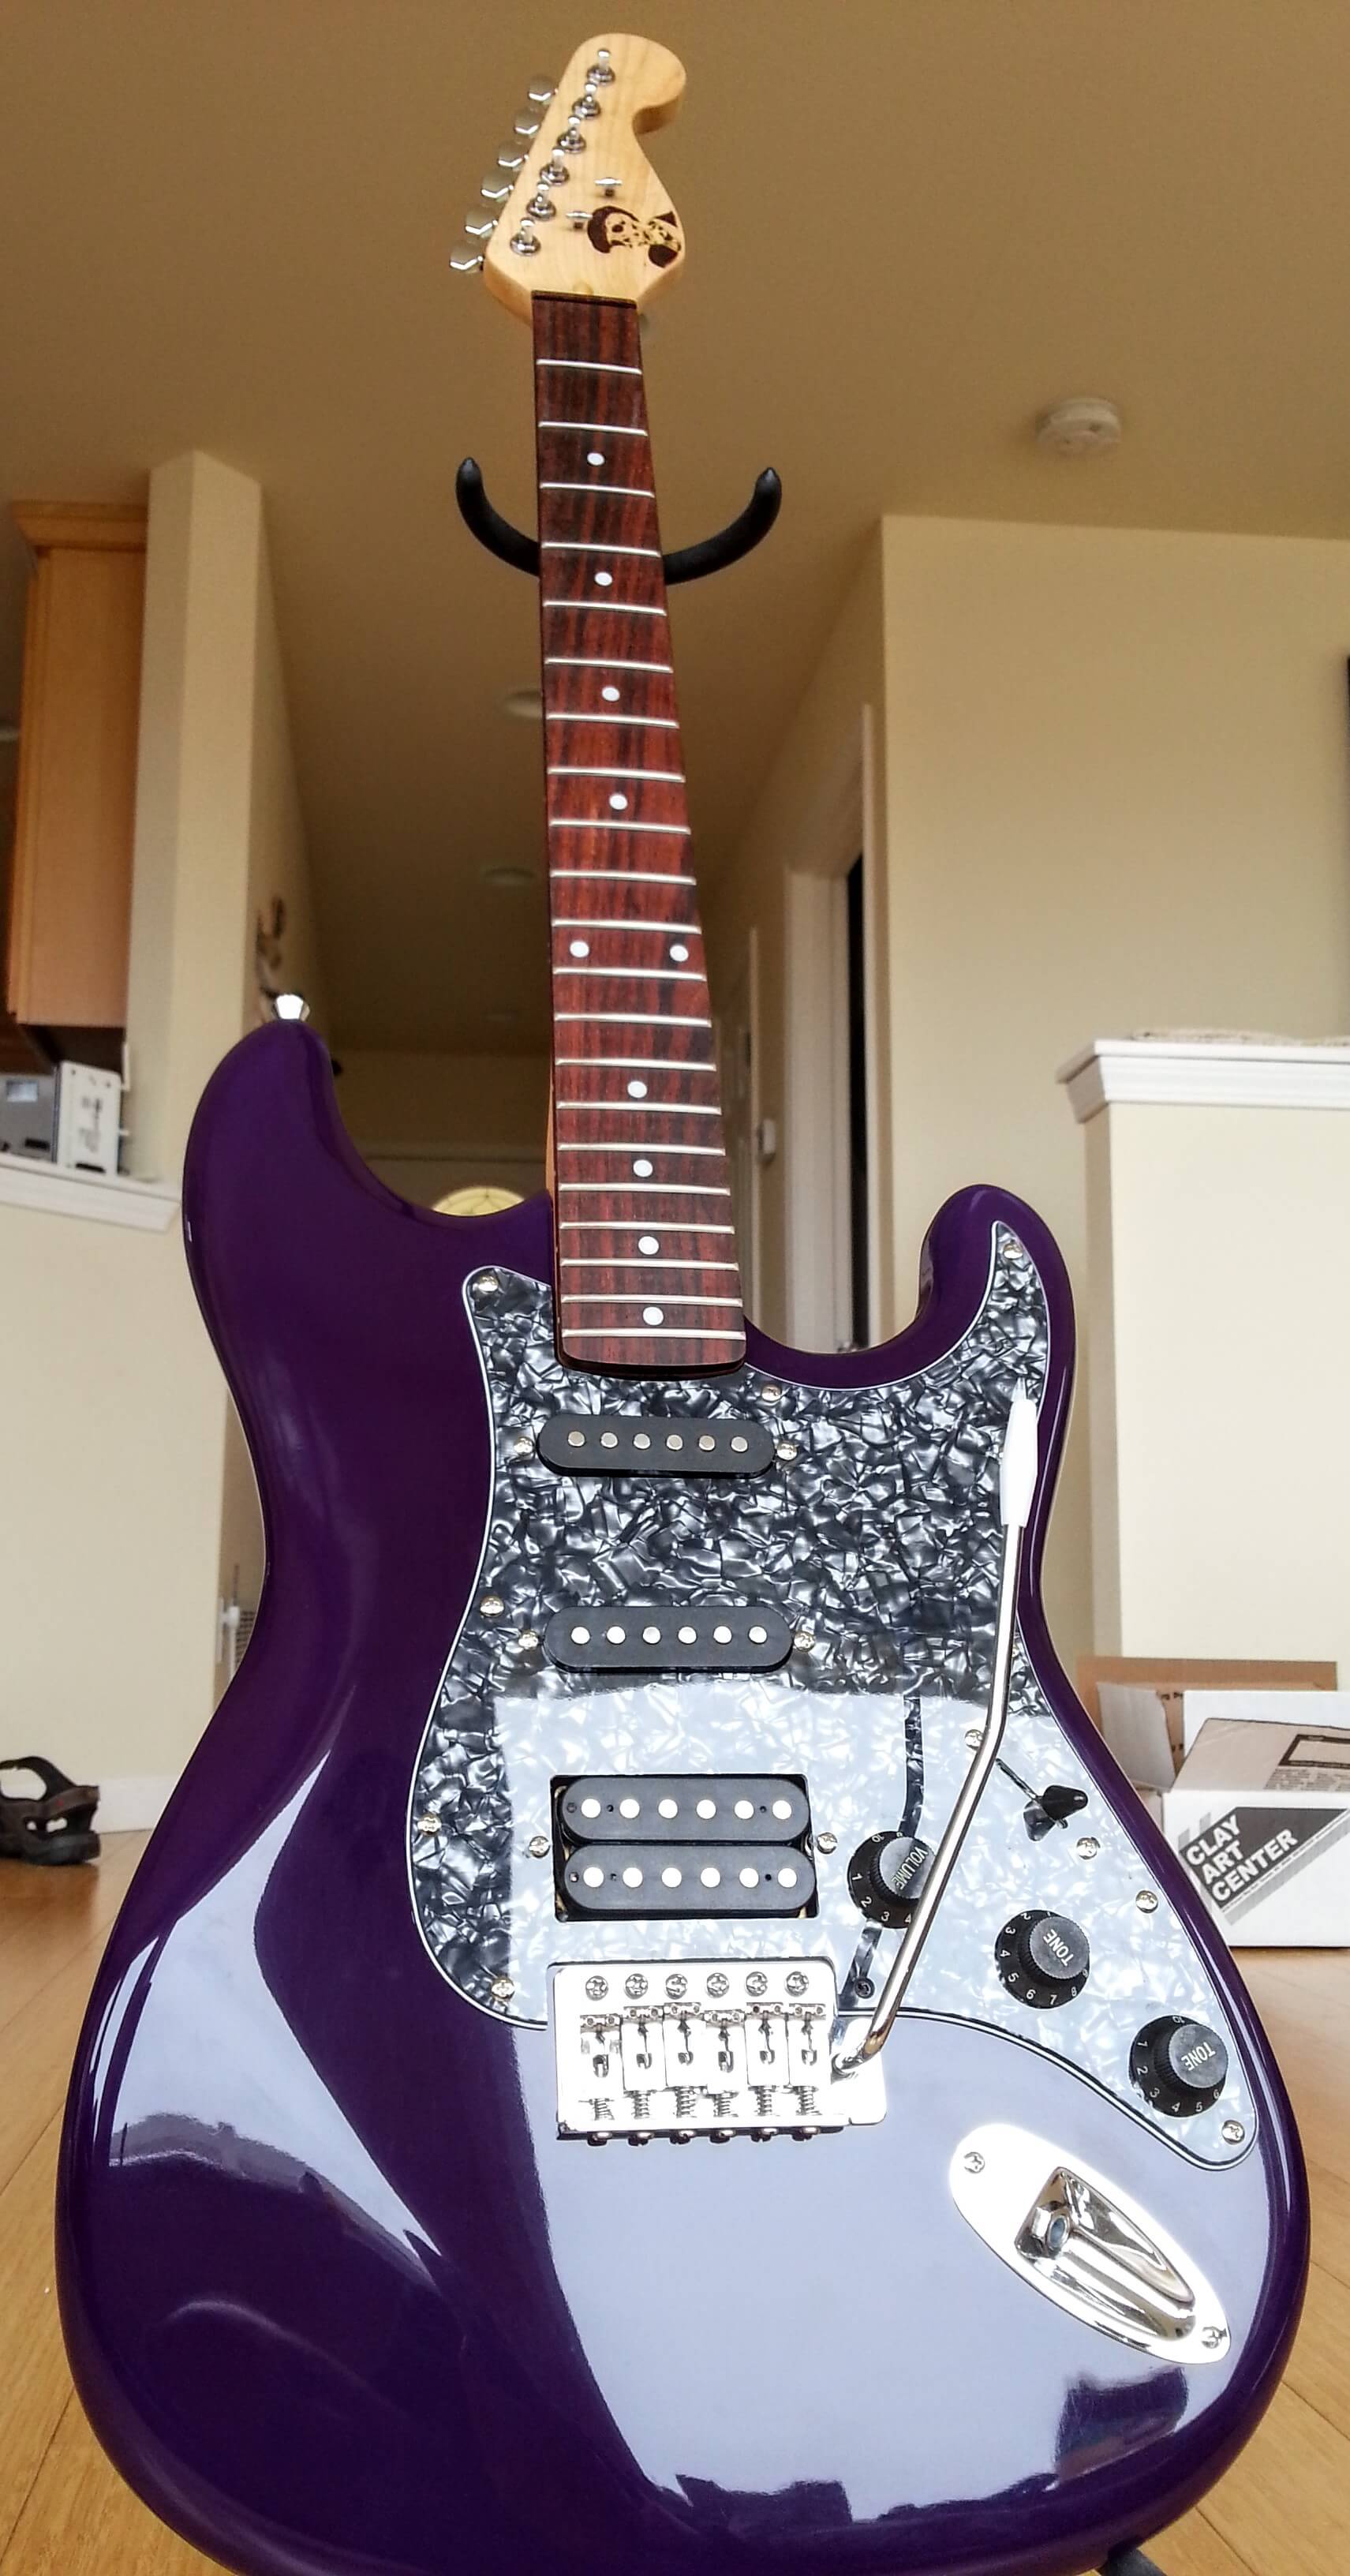
Nut attached. Strung. Partially adjusted. Have to let the strings stretch some more to get proper intonation then it’ll be good enough for what it is.