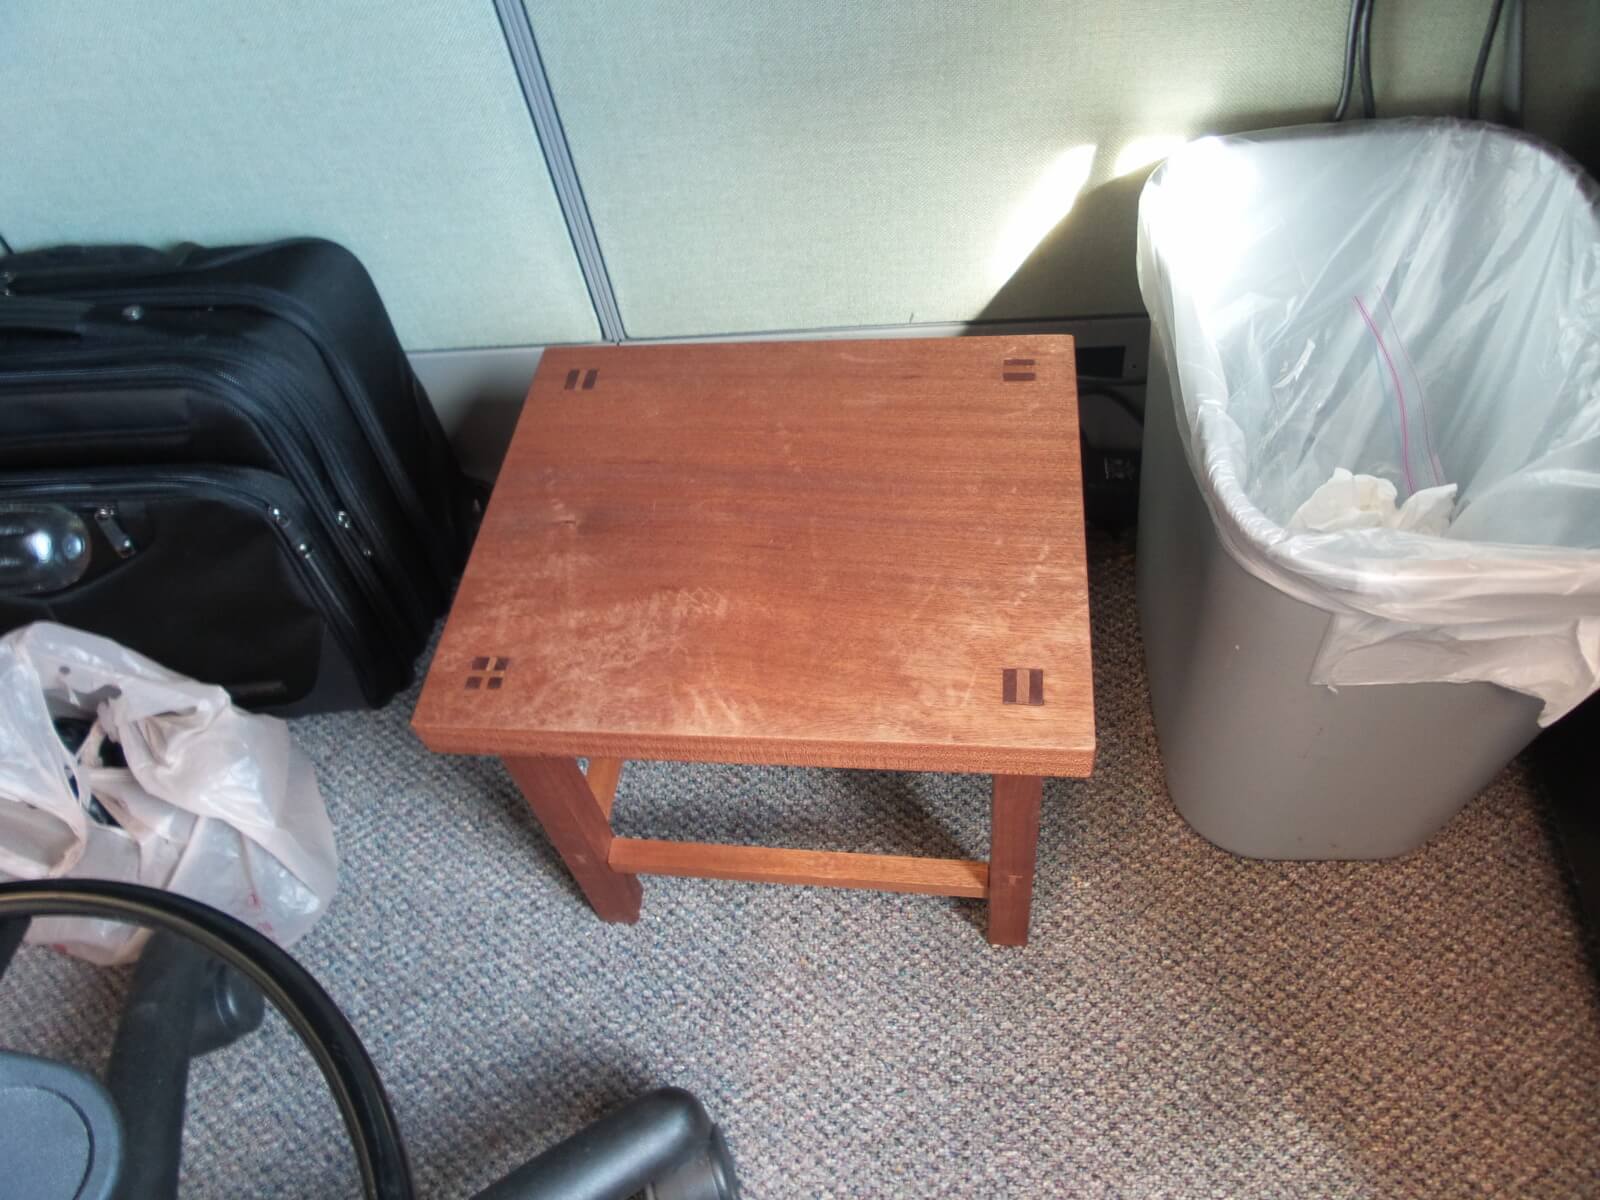
Melissa needed a small footstool for her desk at work because her chair is really tall and she is…not. She gave me a quick sketch of what she wanted and I decided to use scraps from work to make it and practice some joinery techniques. Since it was a stool that was going to get abused I decided on through wedged mortise and tenon for the joints. I also decided to poke a little loving fun at her (greatly improved) drawing abilities. This enabled me to practice non 90 degree joints.
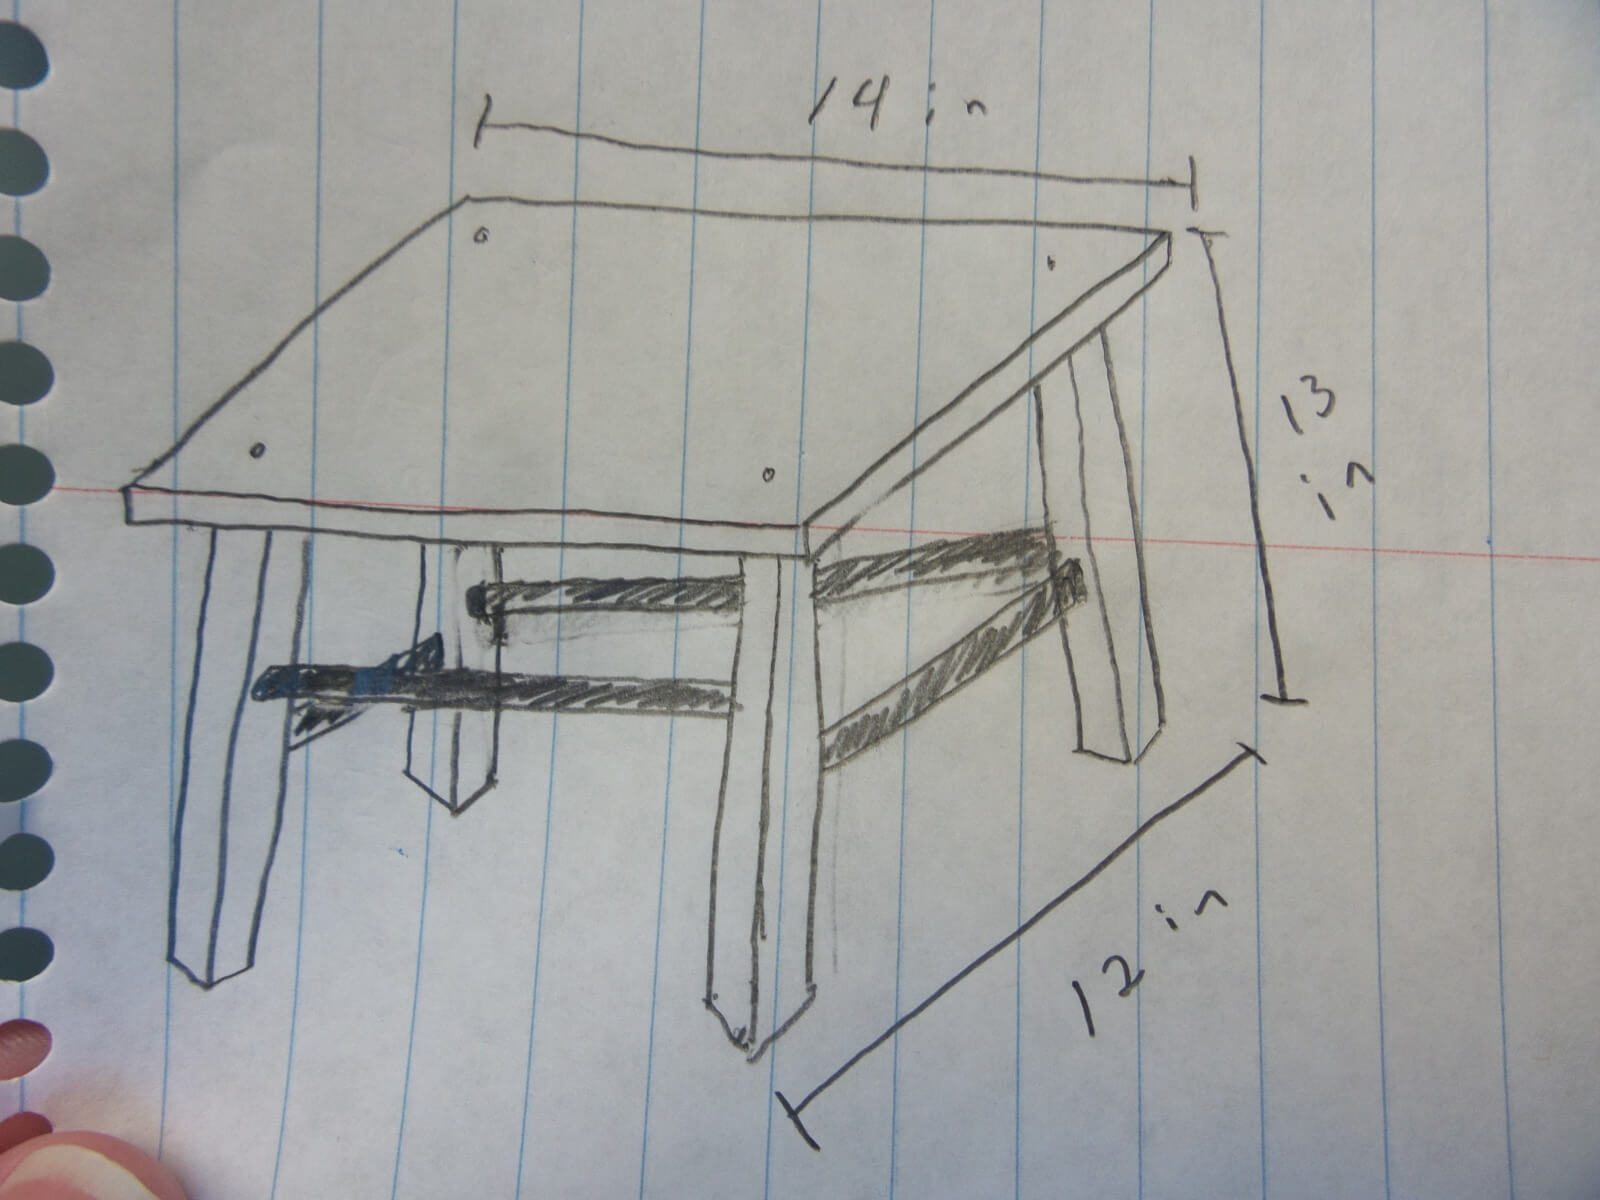
This was the initial sketch she did for me. It really isn’t that bad for someone who doesn’t draw on a regular basis, and who had a hard time translating 3-D into 2-D
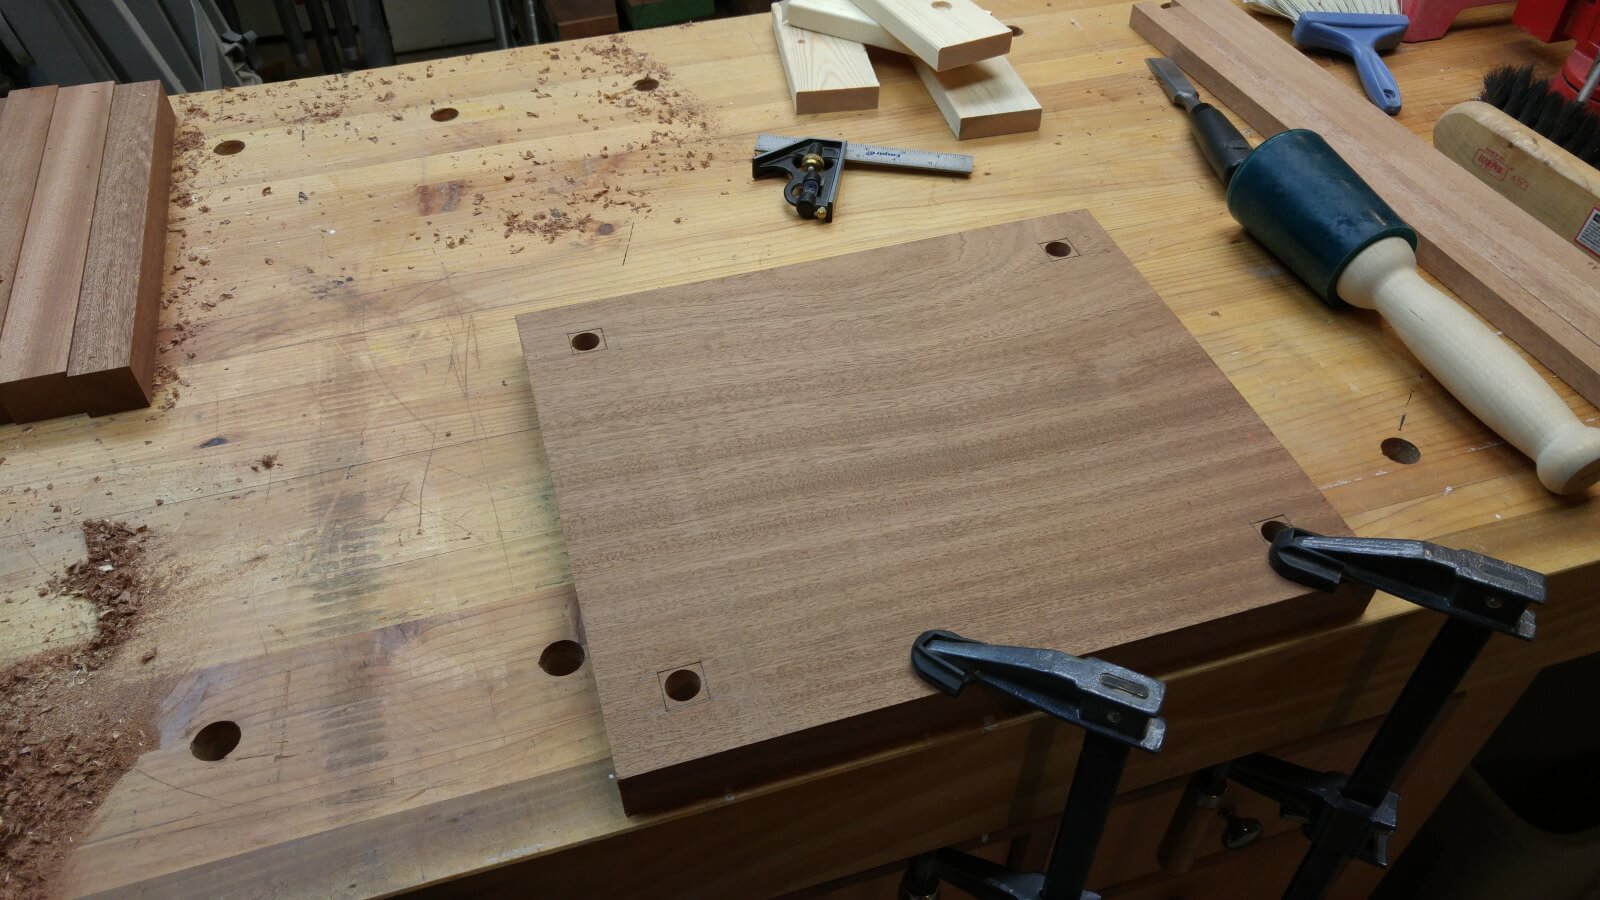
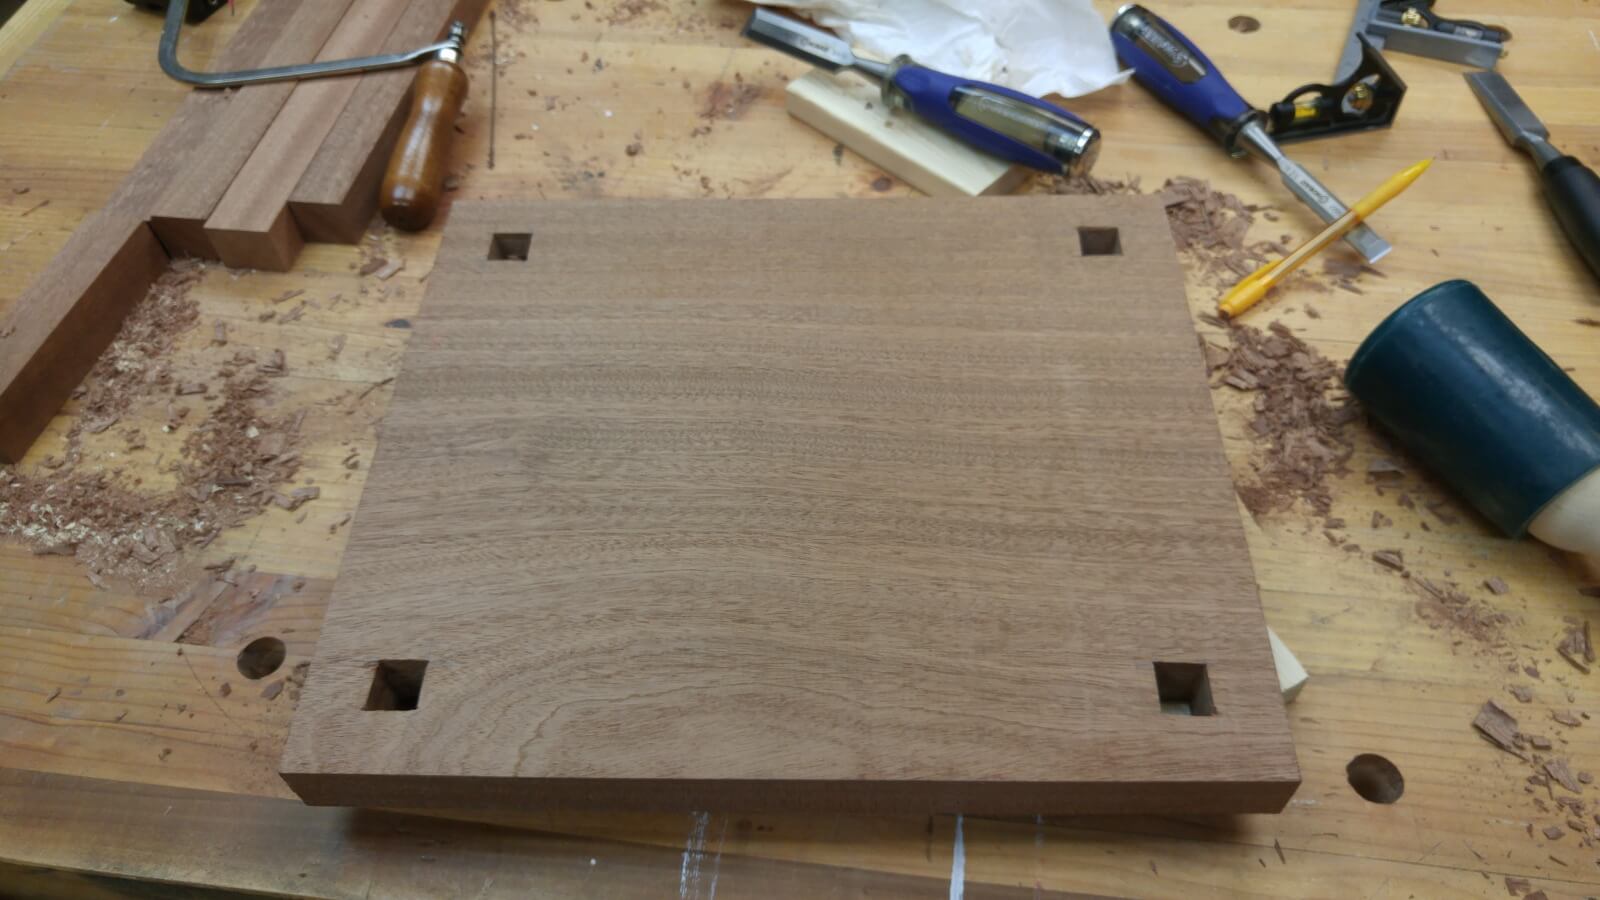
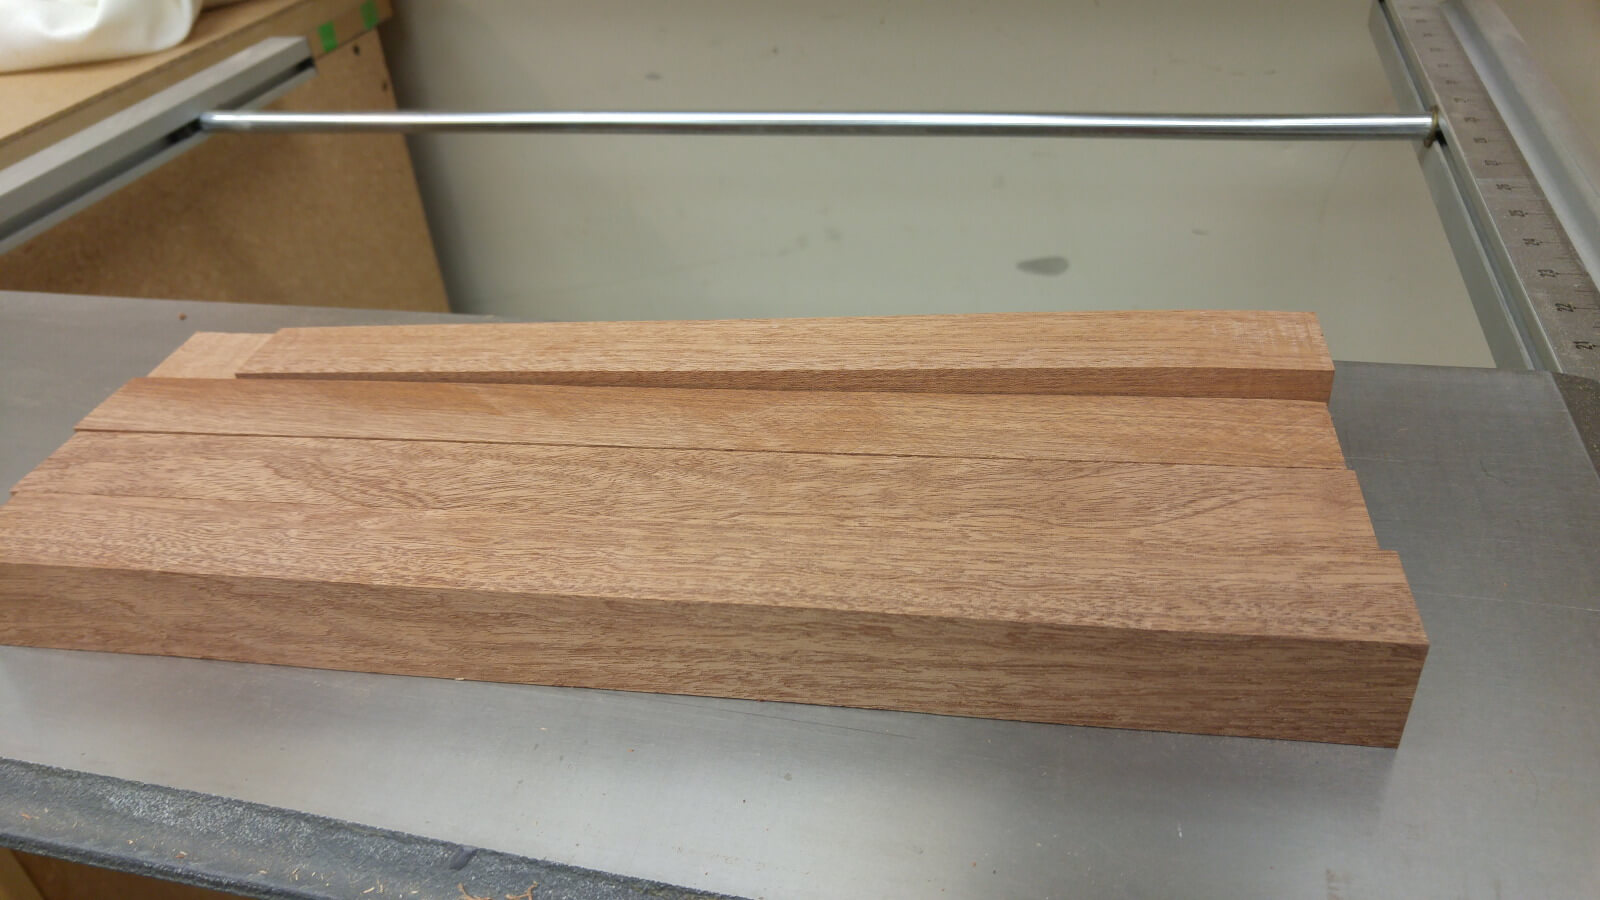
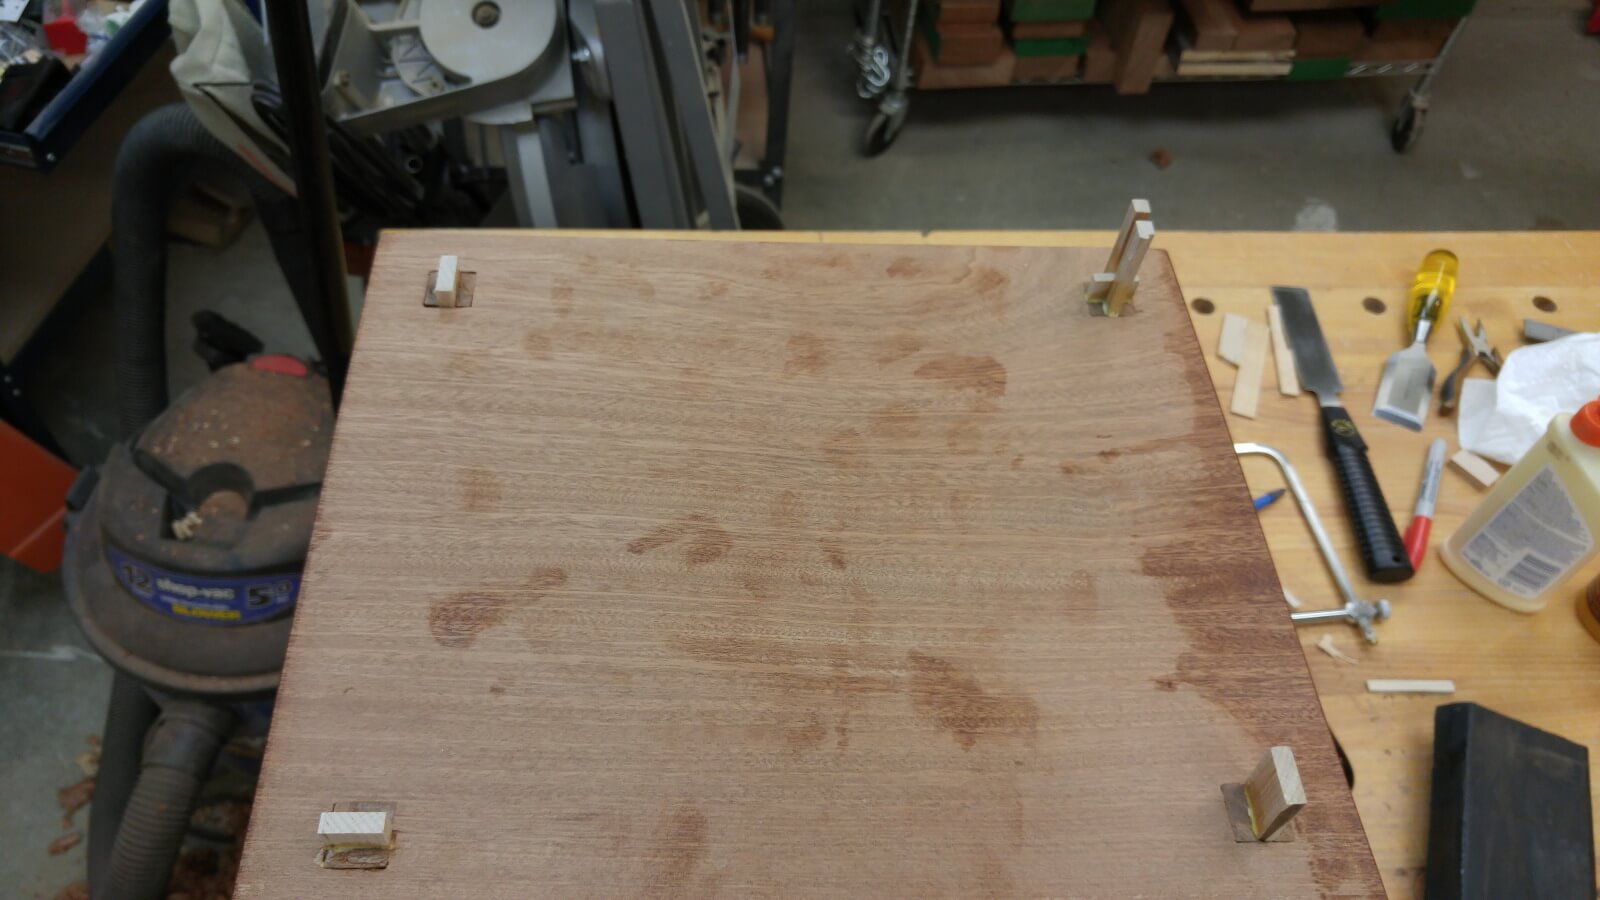
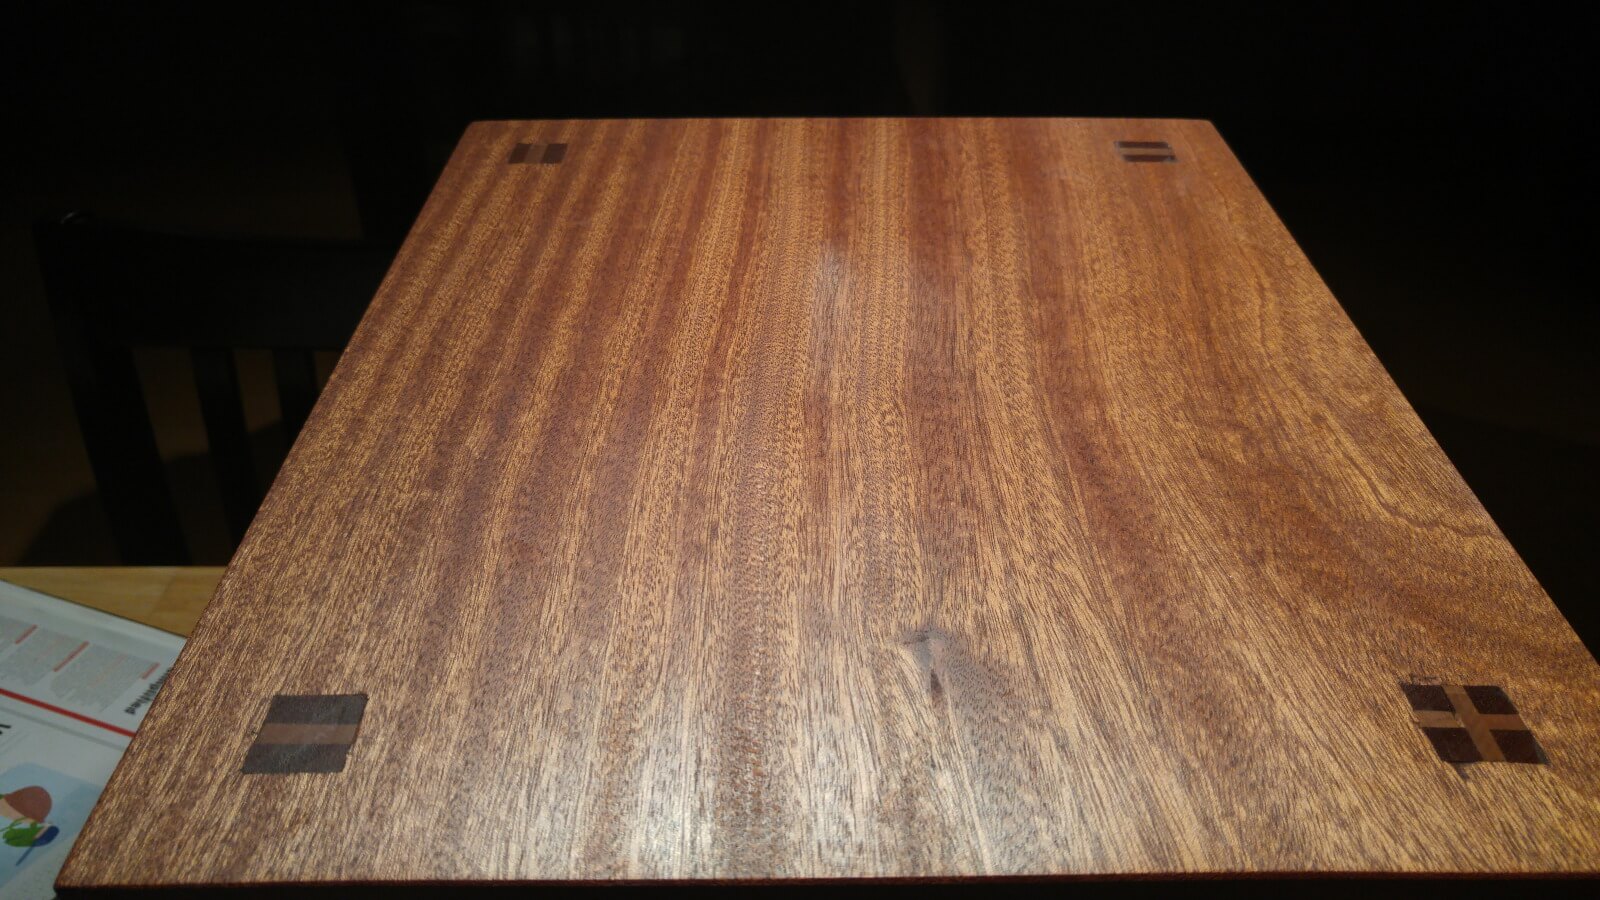
I began by going through the scraps and finding bits to work for the legs and finding a piece for the top, trimming it to size, and mortising for the the leg tenons. I pre-drilled because at the time I didn’t think I’d easily be able to get through the Sapele. In the end I think this made it more difficult because it was much harder to control the chisel. Instead of chopping, I ended up with a lot of parring. Chopping Sapele isn’t too bad. Parring is very annoying when you have a lot of material to remove.
I then planed the legs to fit the drawing dimensions. You’ll notice one leg is a different size than the others.
Once I had the legs shaped I marked off for the tenons and started my cuts. I did my main pass on the table saw because it was convenient.
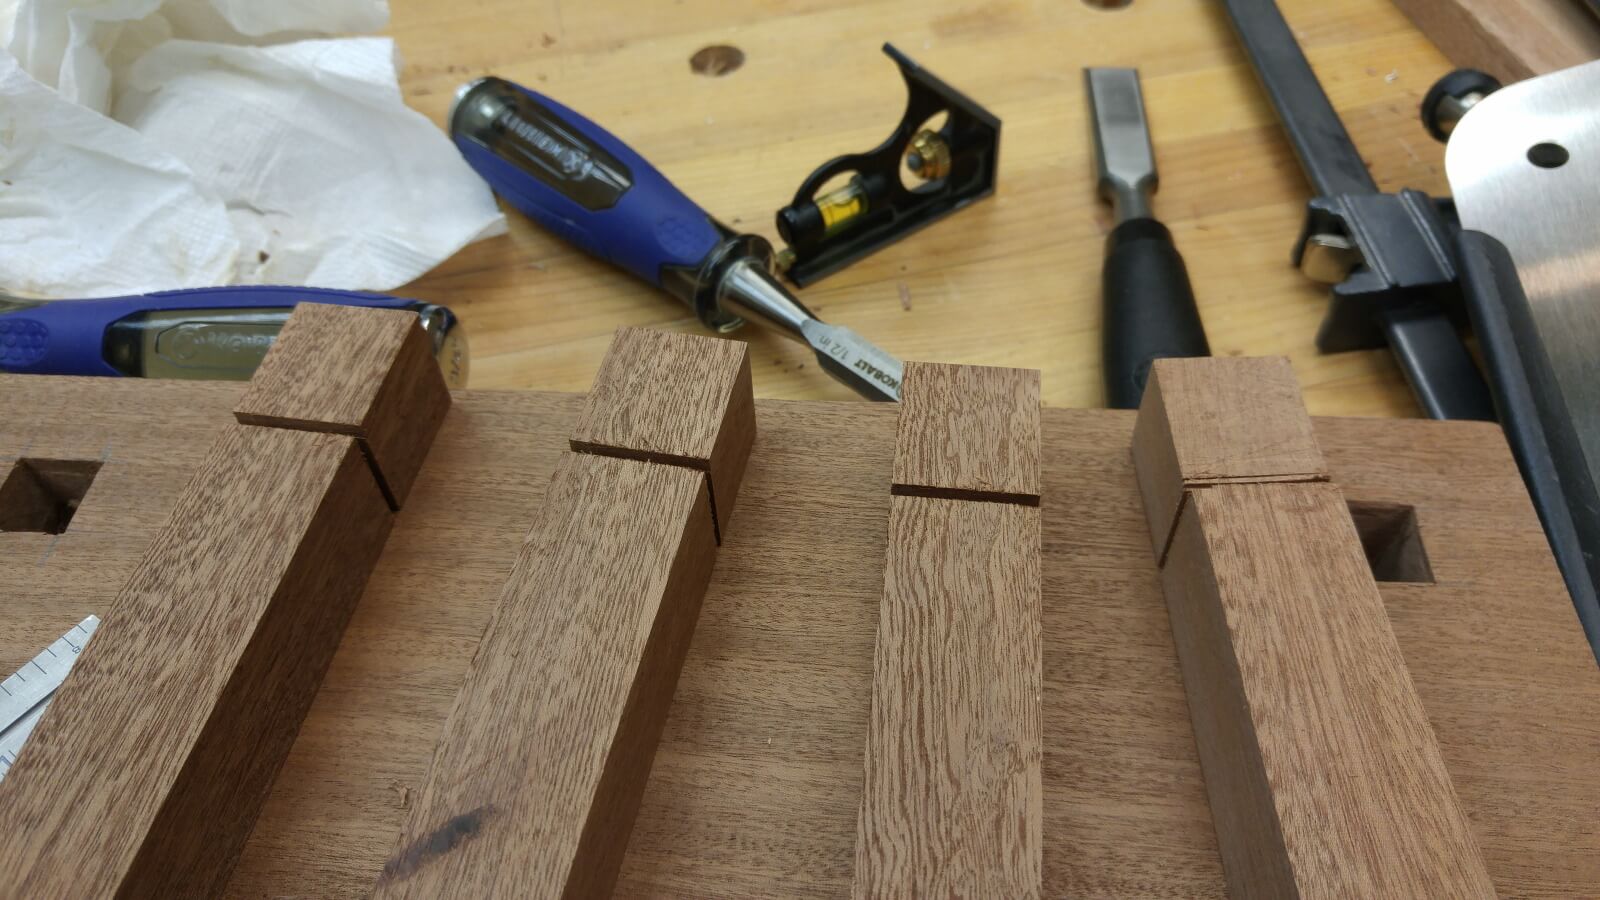
That went so fast and so well I decided to just cut the whole thing on the table saw.
In the end, this was a mistake. I can apparently cut my tenons to fit far more accurately by hand than I can by using the table saw and removing the waste with chisels. It was a few hours of tedious chisel work removing just the tiny little bit of wood that was left. This may have went easier if my holes and legs were square, but with everything being just slightly out of square on purpose, it made it harder.
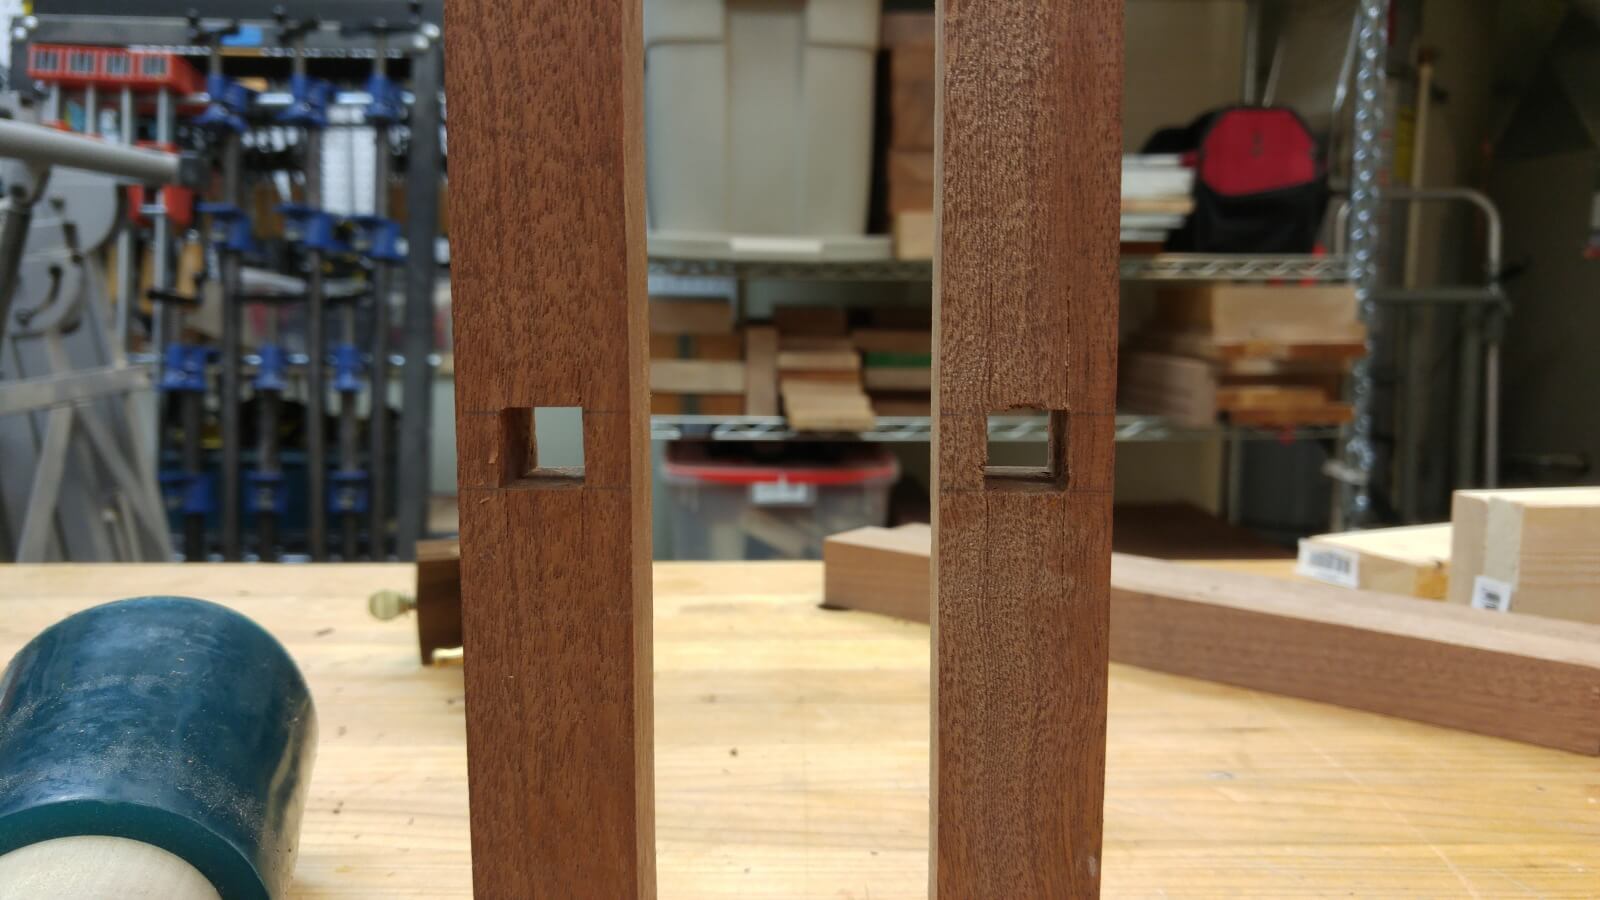
before I could do any of that I needed to chop out the mortise on each of the legs for the stretchers.
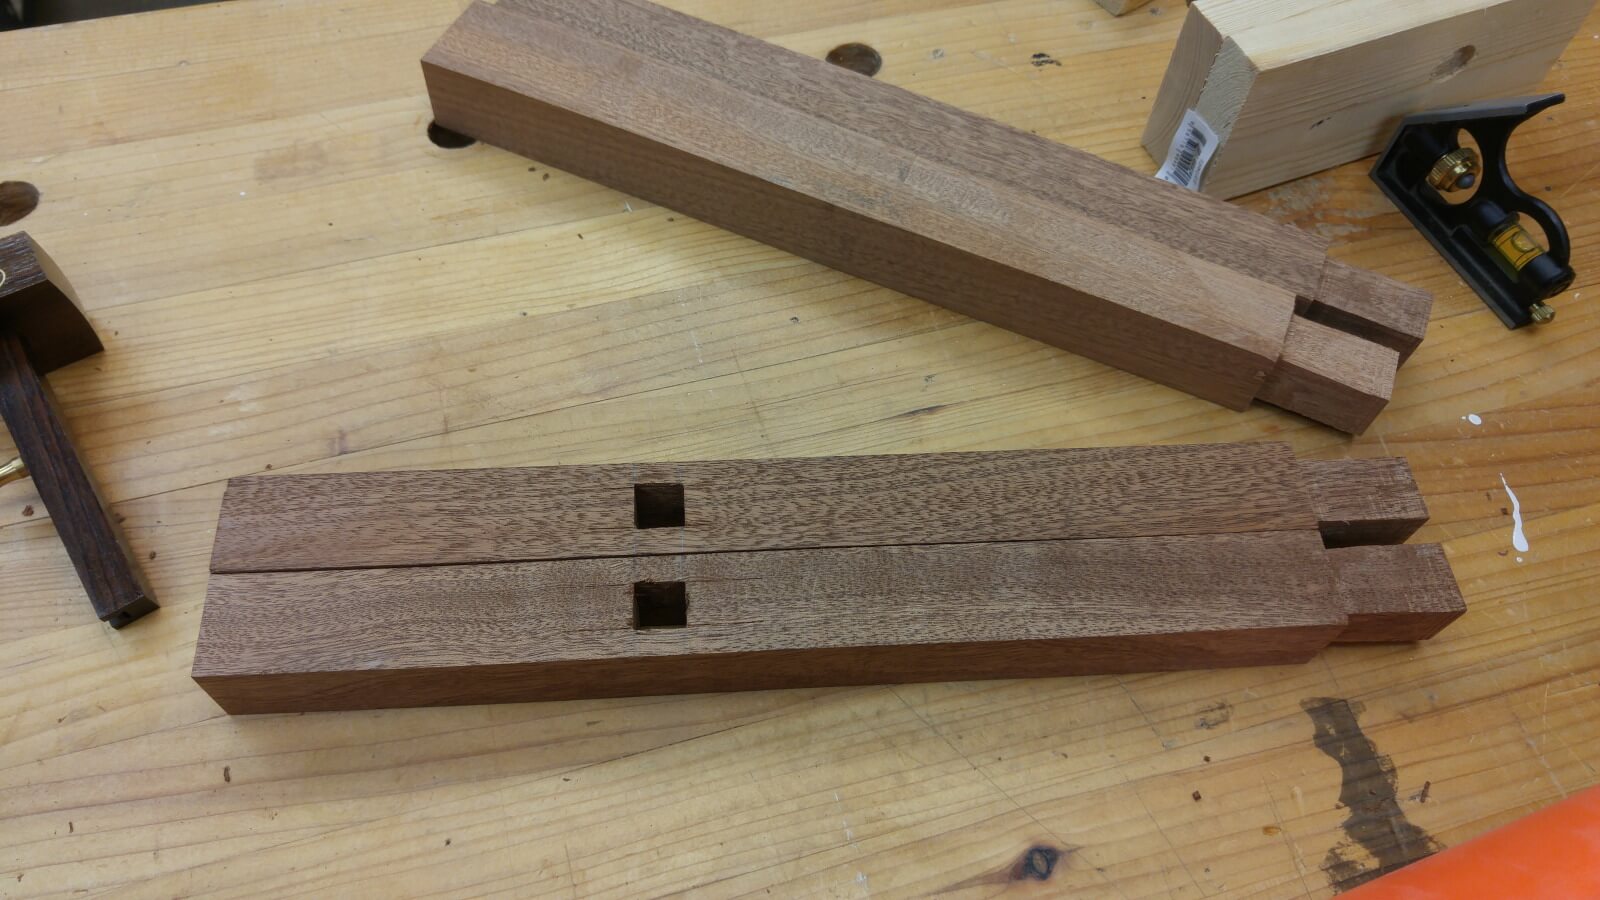
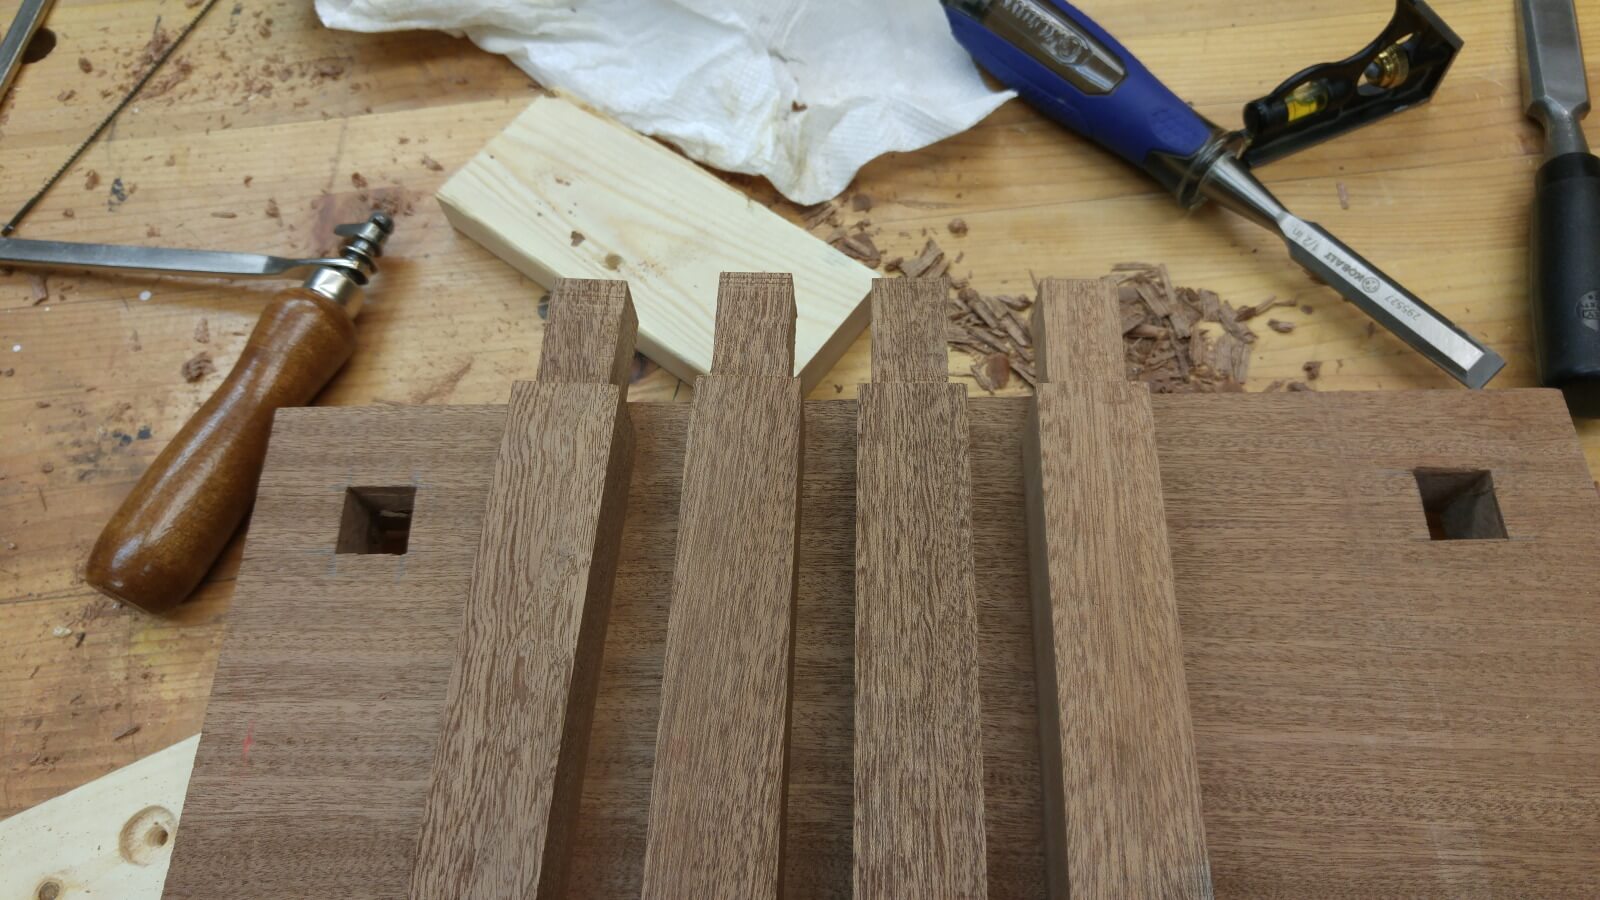
After cutting out the stretchers and cutting the tenons on three of the four, I did a dry fit of all the parts up to that point. I still needed to chop out the mortise and cut the tenons for the crooked stretcher.
I then rough cut the 4th stretcher and laid it out in the approximate tilted position I wanted and marked it off.
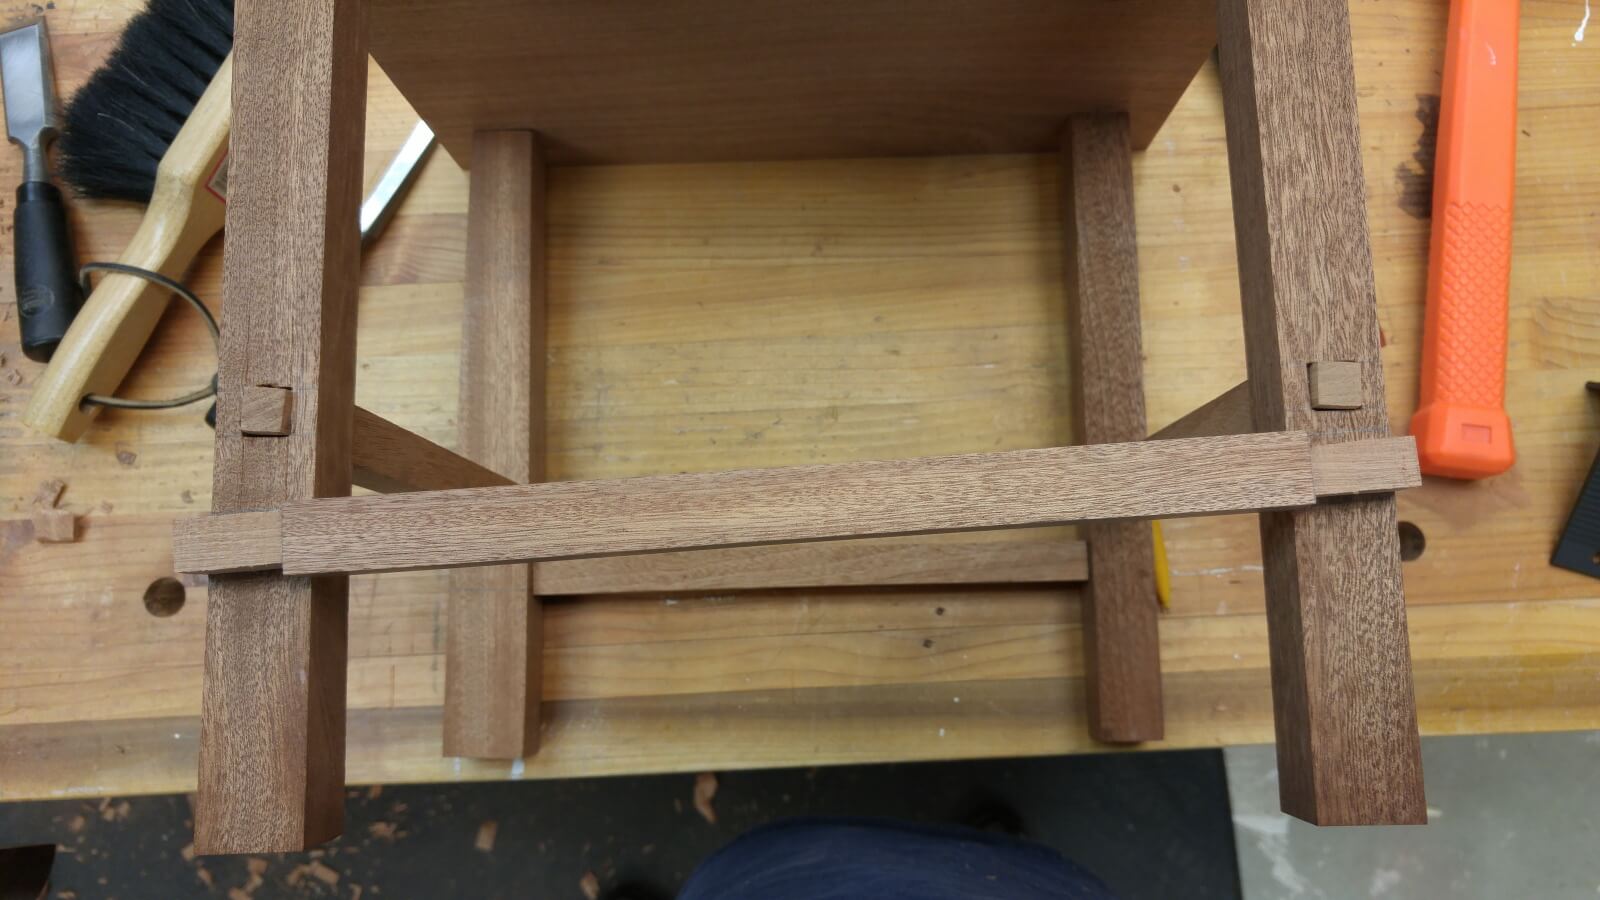
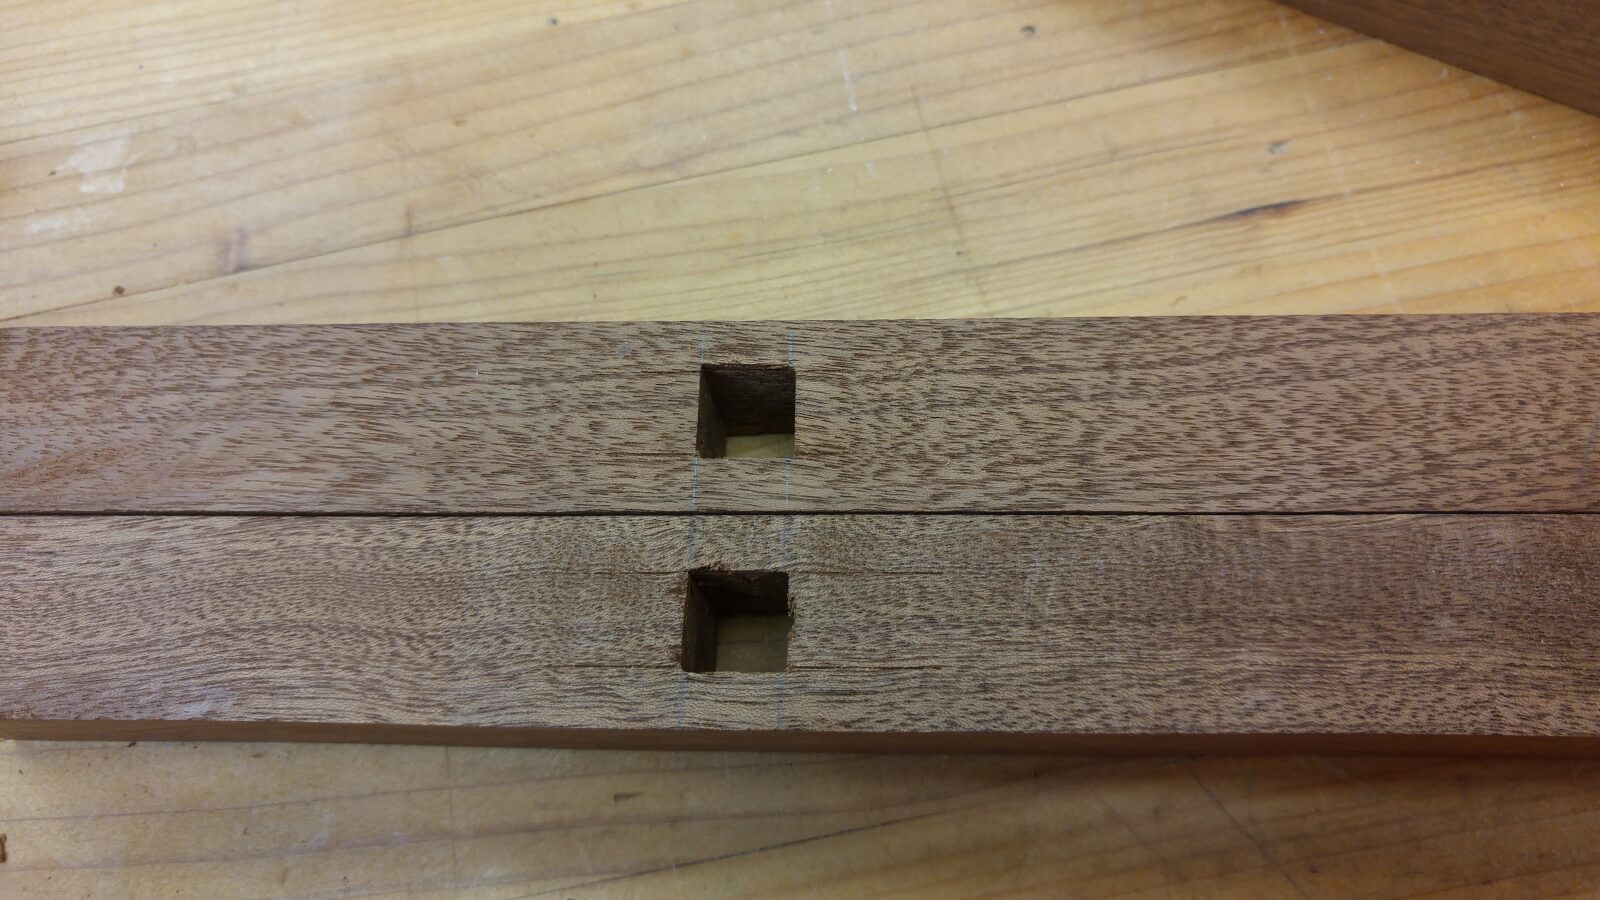
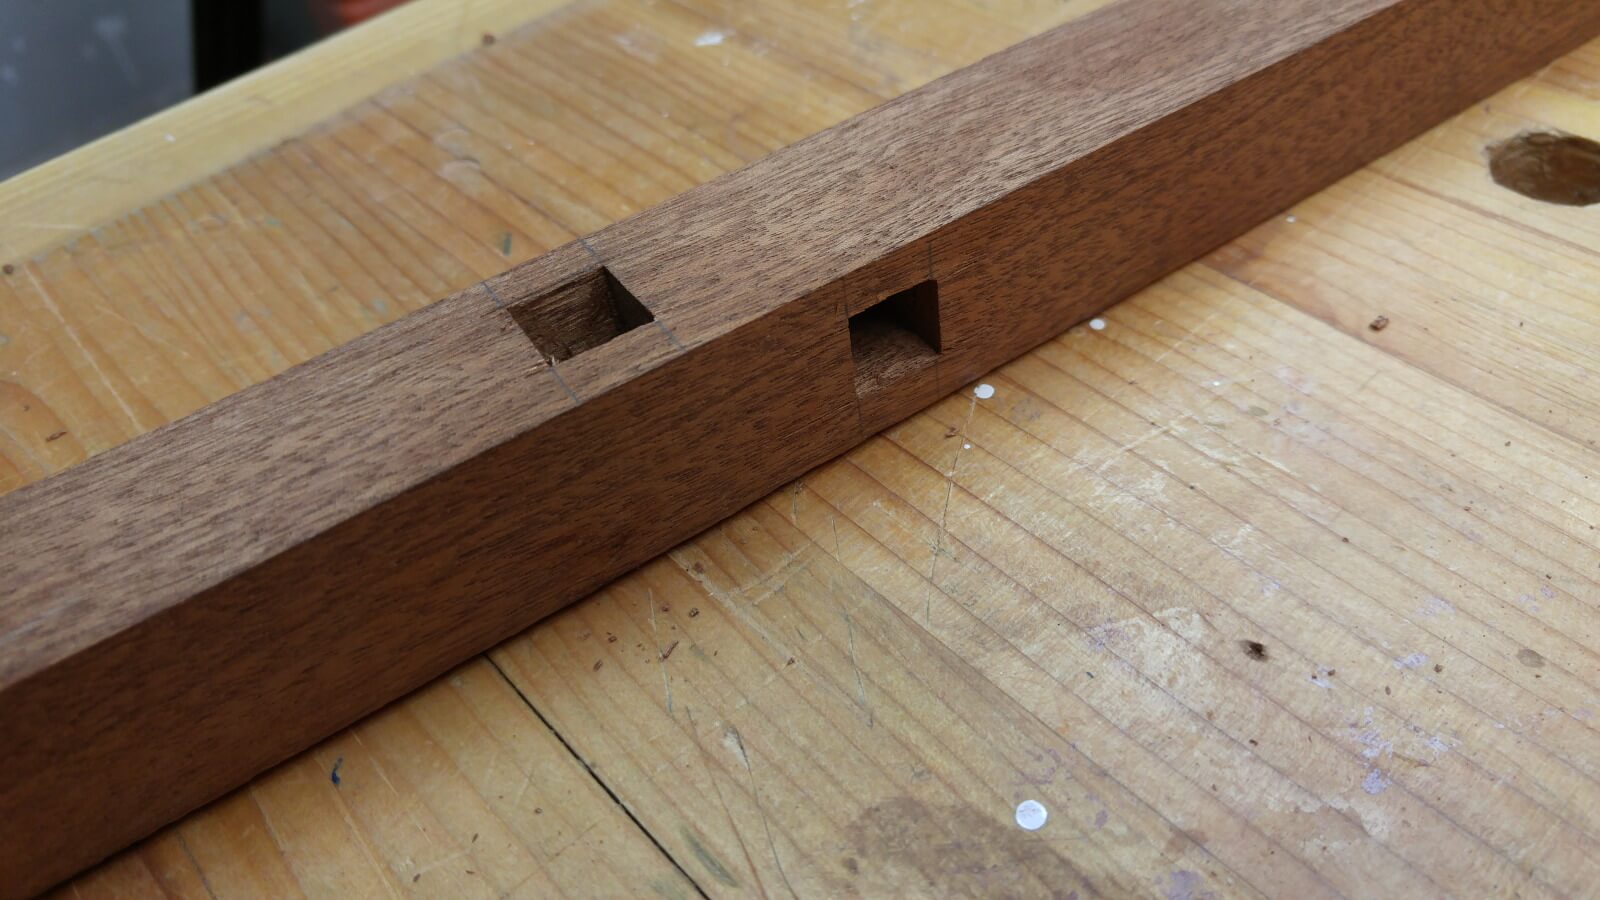
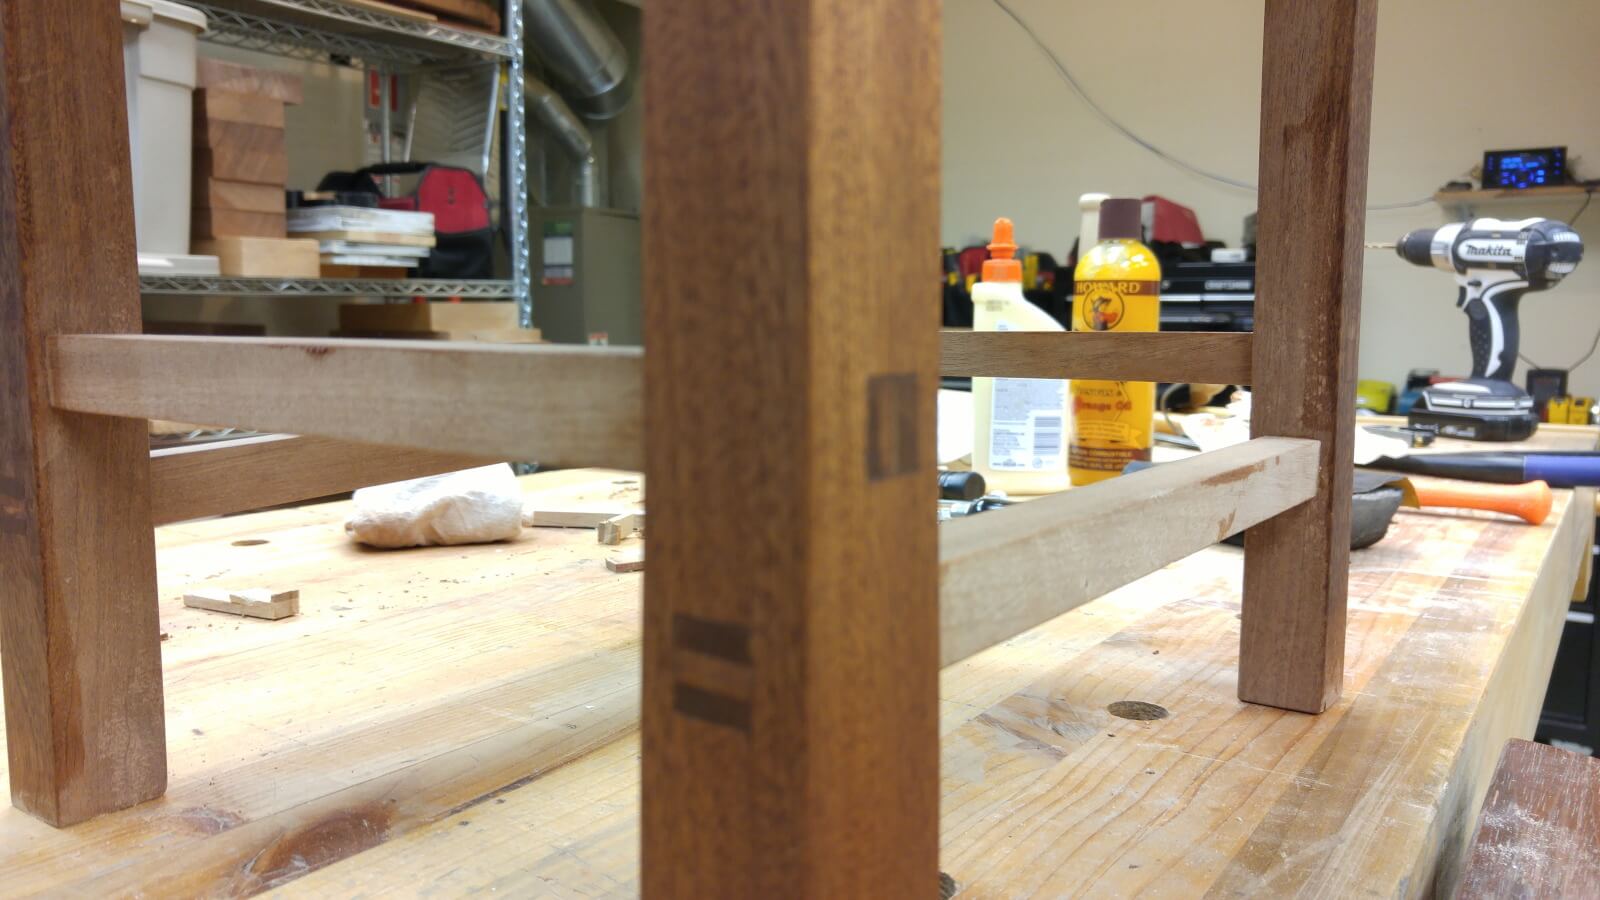
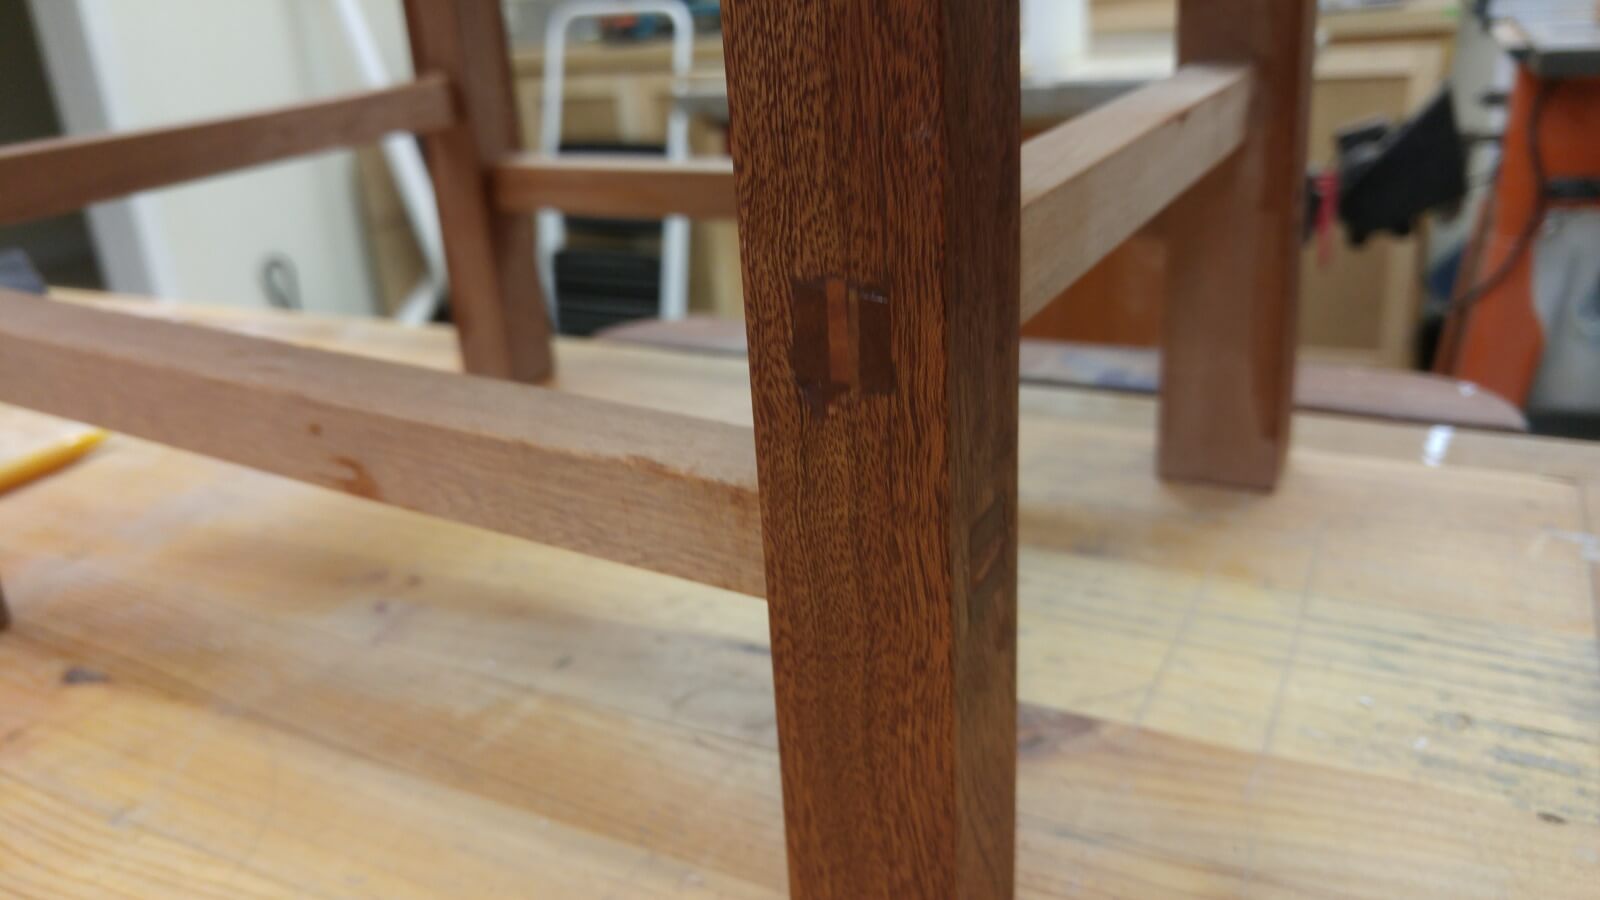
Once the angled mortise’s were cut, I move on to cutting a path in the tenons for the wedges. After that it was simply a manner of slicing enough thin scraps to put pressure on the glue joints.
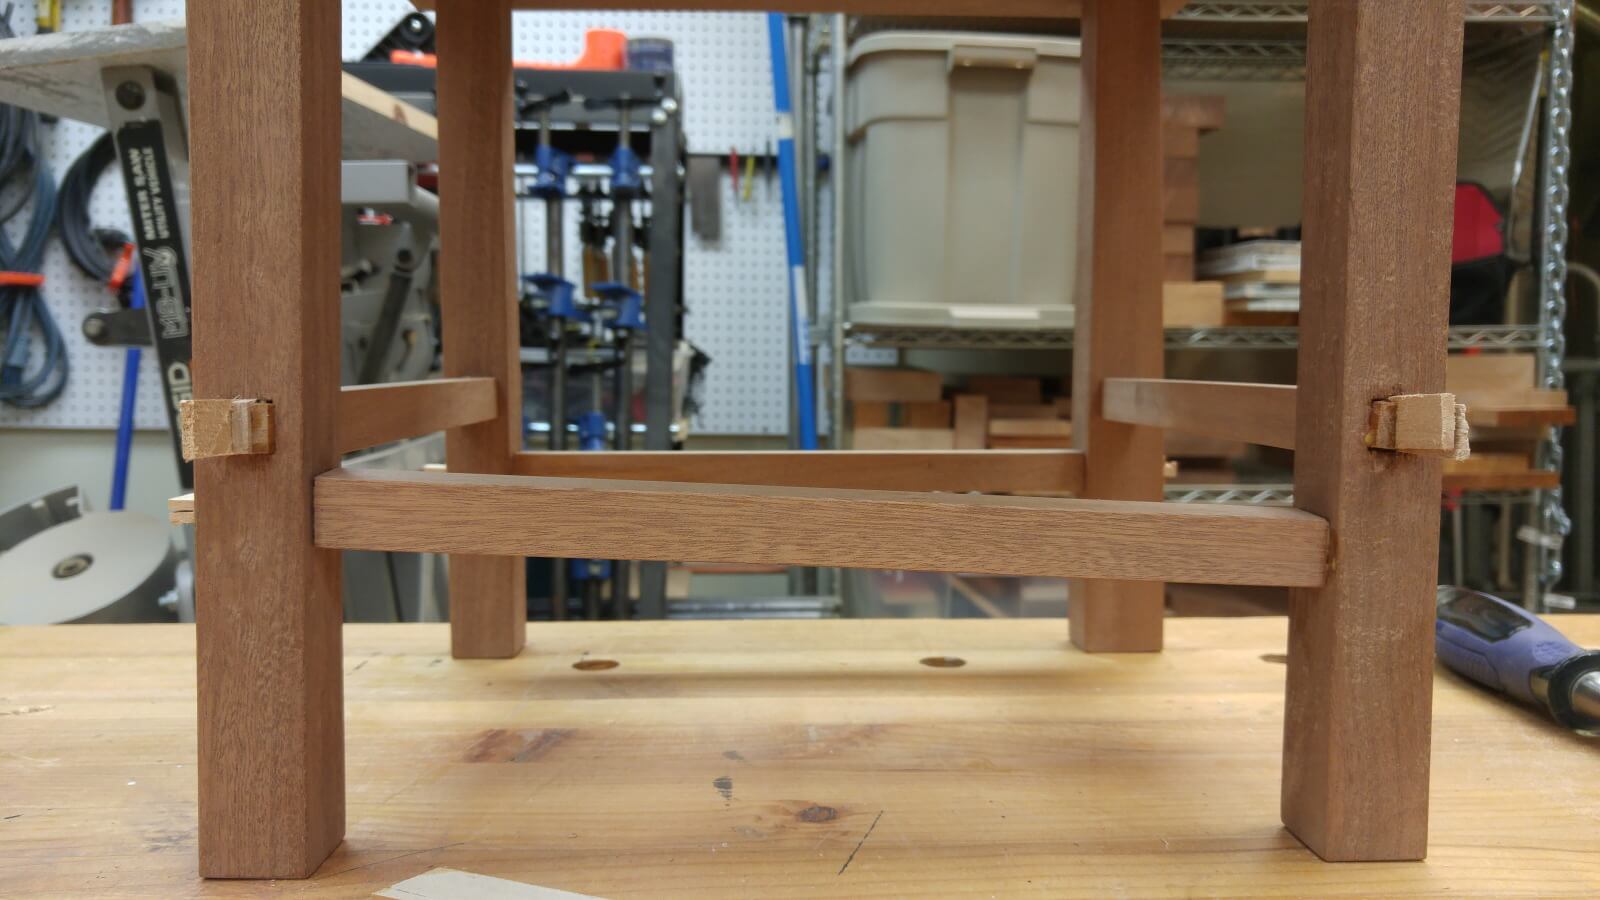
Once the wedges were dry I trimmed them flush and planed them smooth. Since my tenons did not come out as square as I would’ve liked, I used the finish wax and ‘wet sanded’ out to 400 grit and used the sawdust wax mixture to fill in the crevices. This had the downside of dying the maple wedges reducing the contrast somewhat.
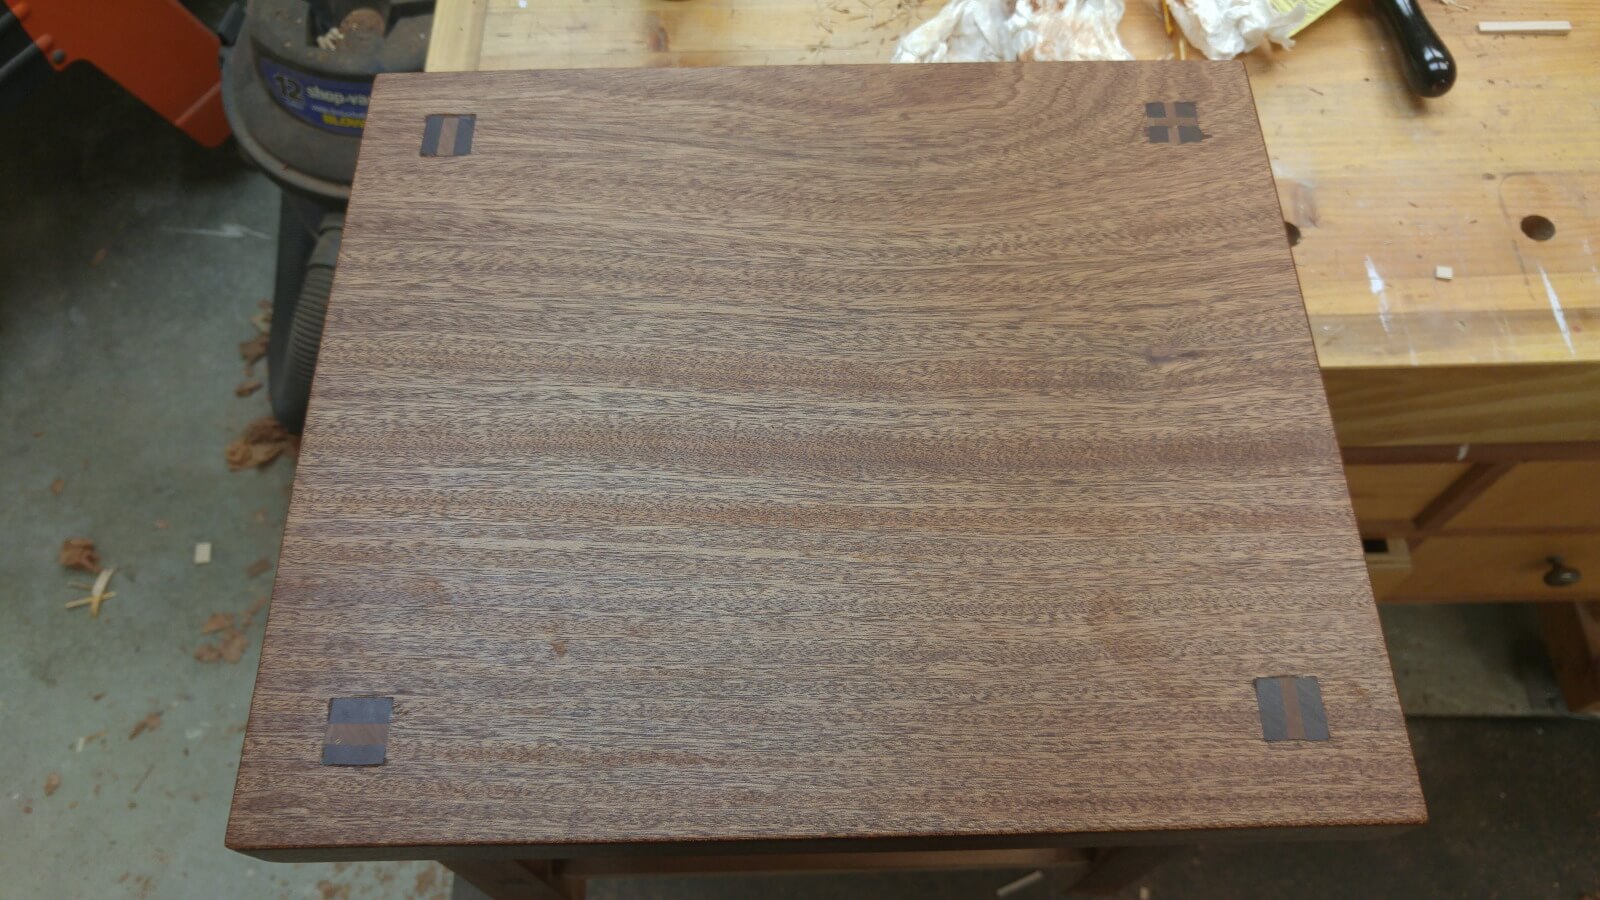
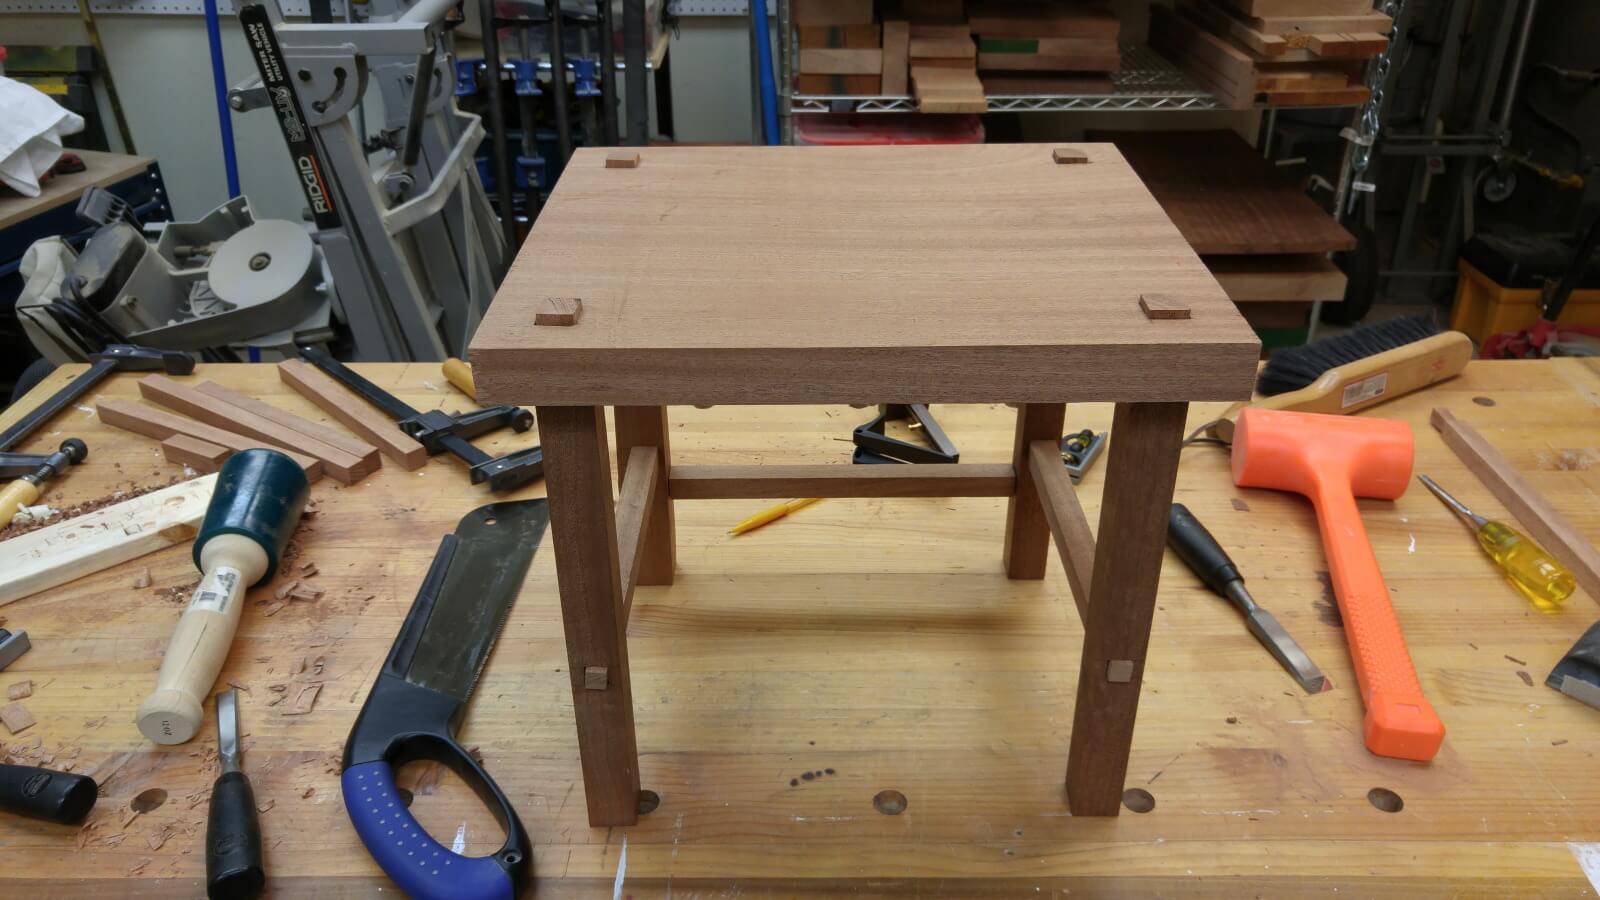
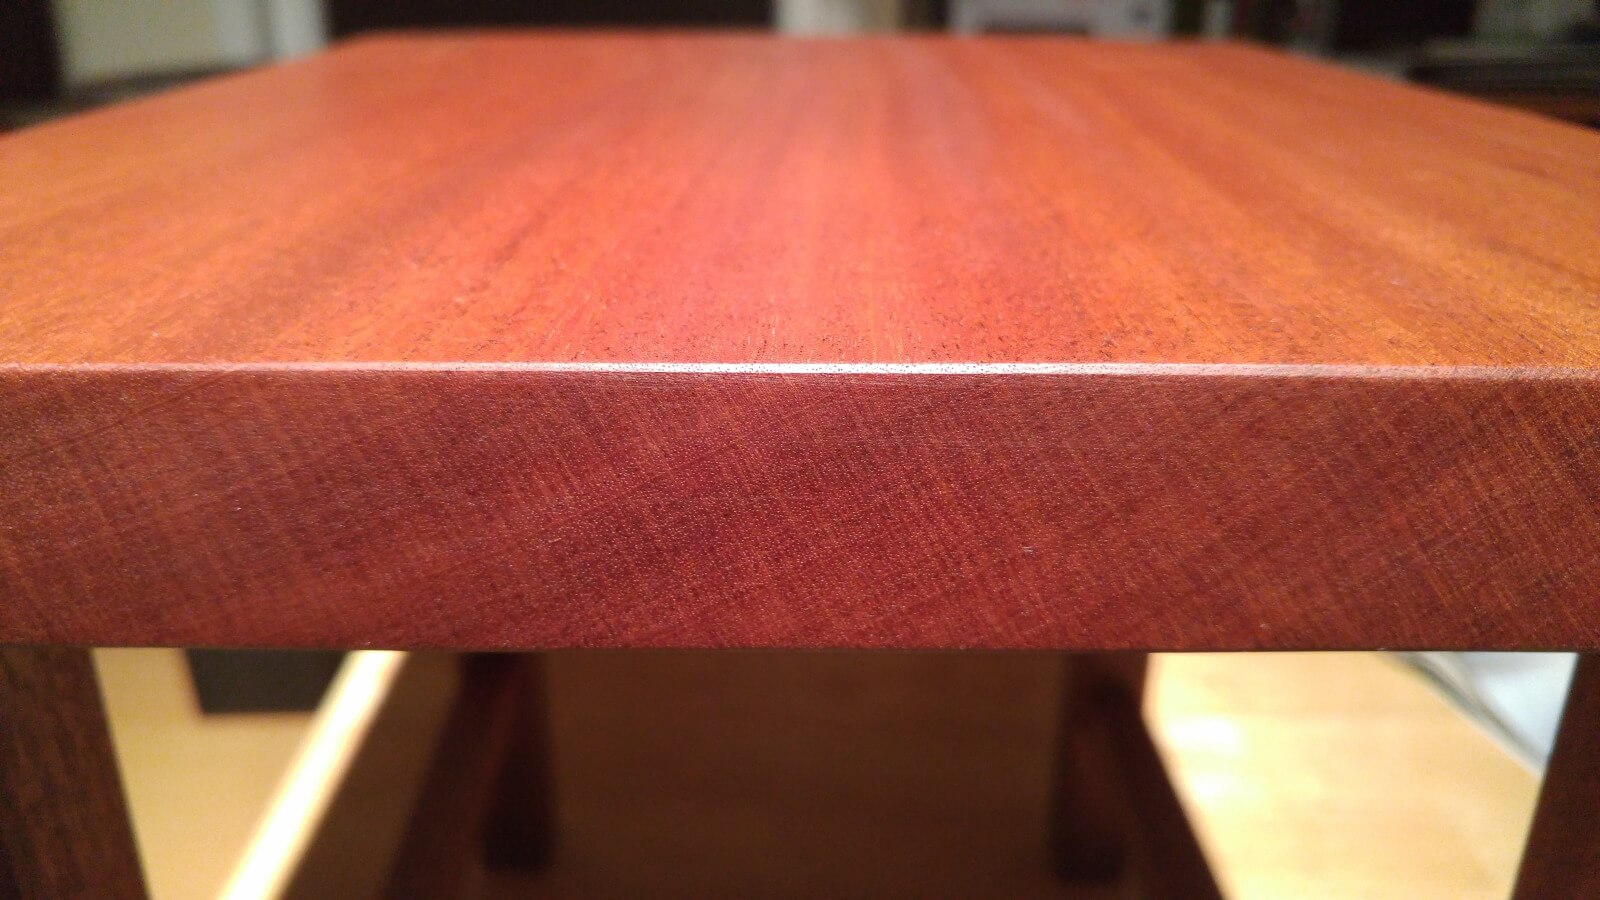
Once it was completed, I finished the whole thing in the wax. This stool is going to be used and abused so there was no point in using a harder clear coat. The wax can be easily re-applied as the stool absorbs it and her feet wear it down.
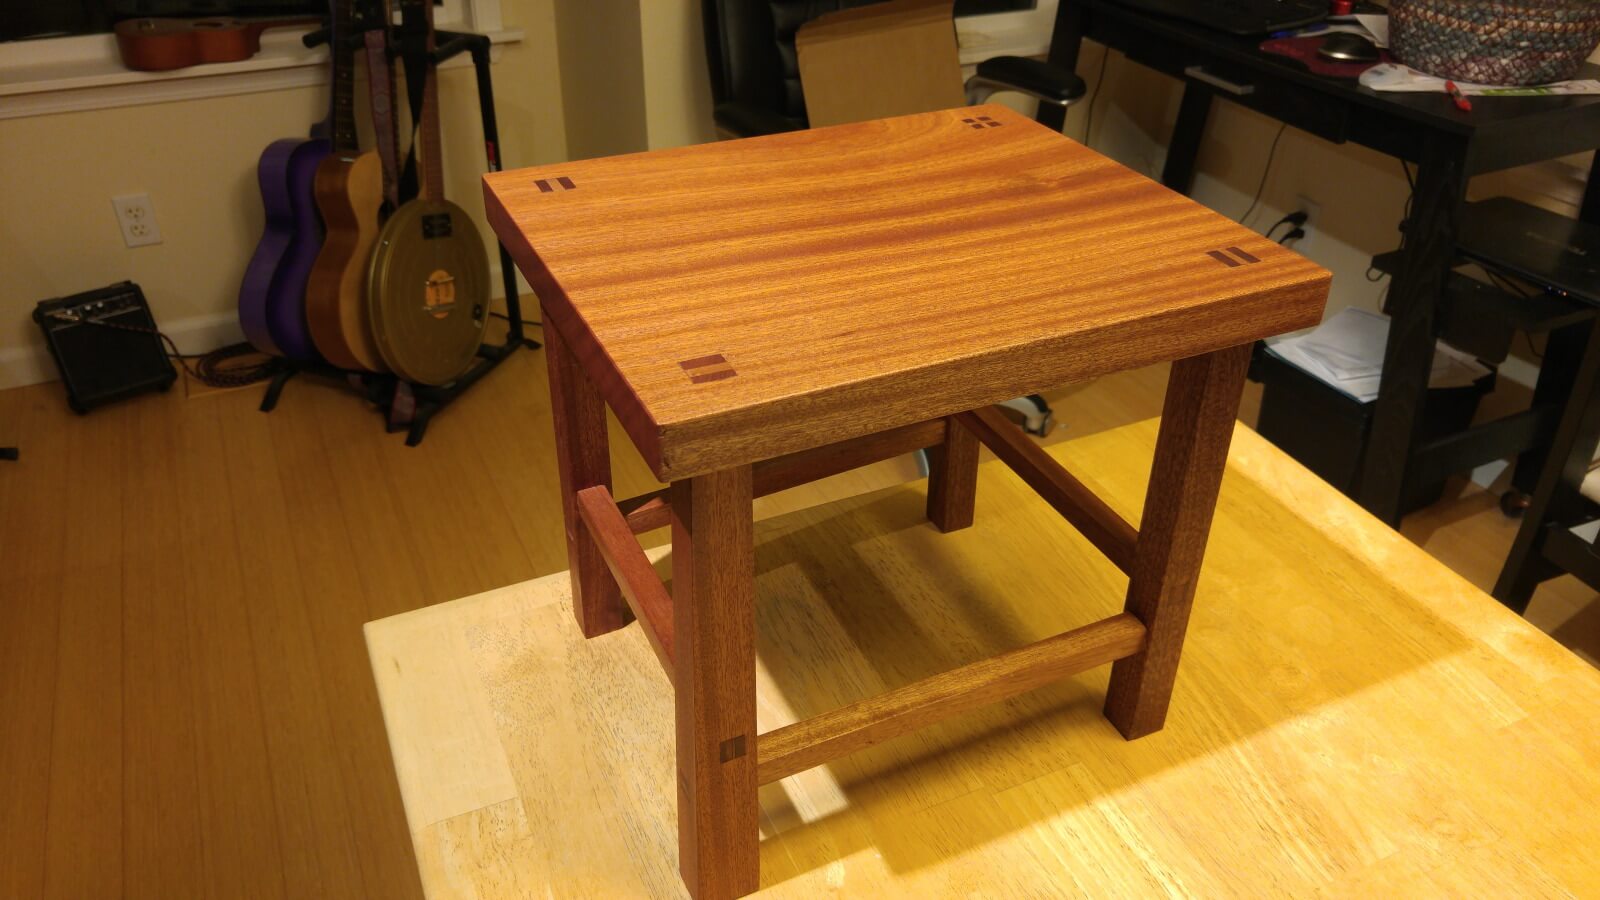
And wear it down she does.