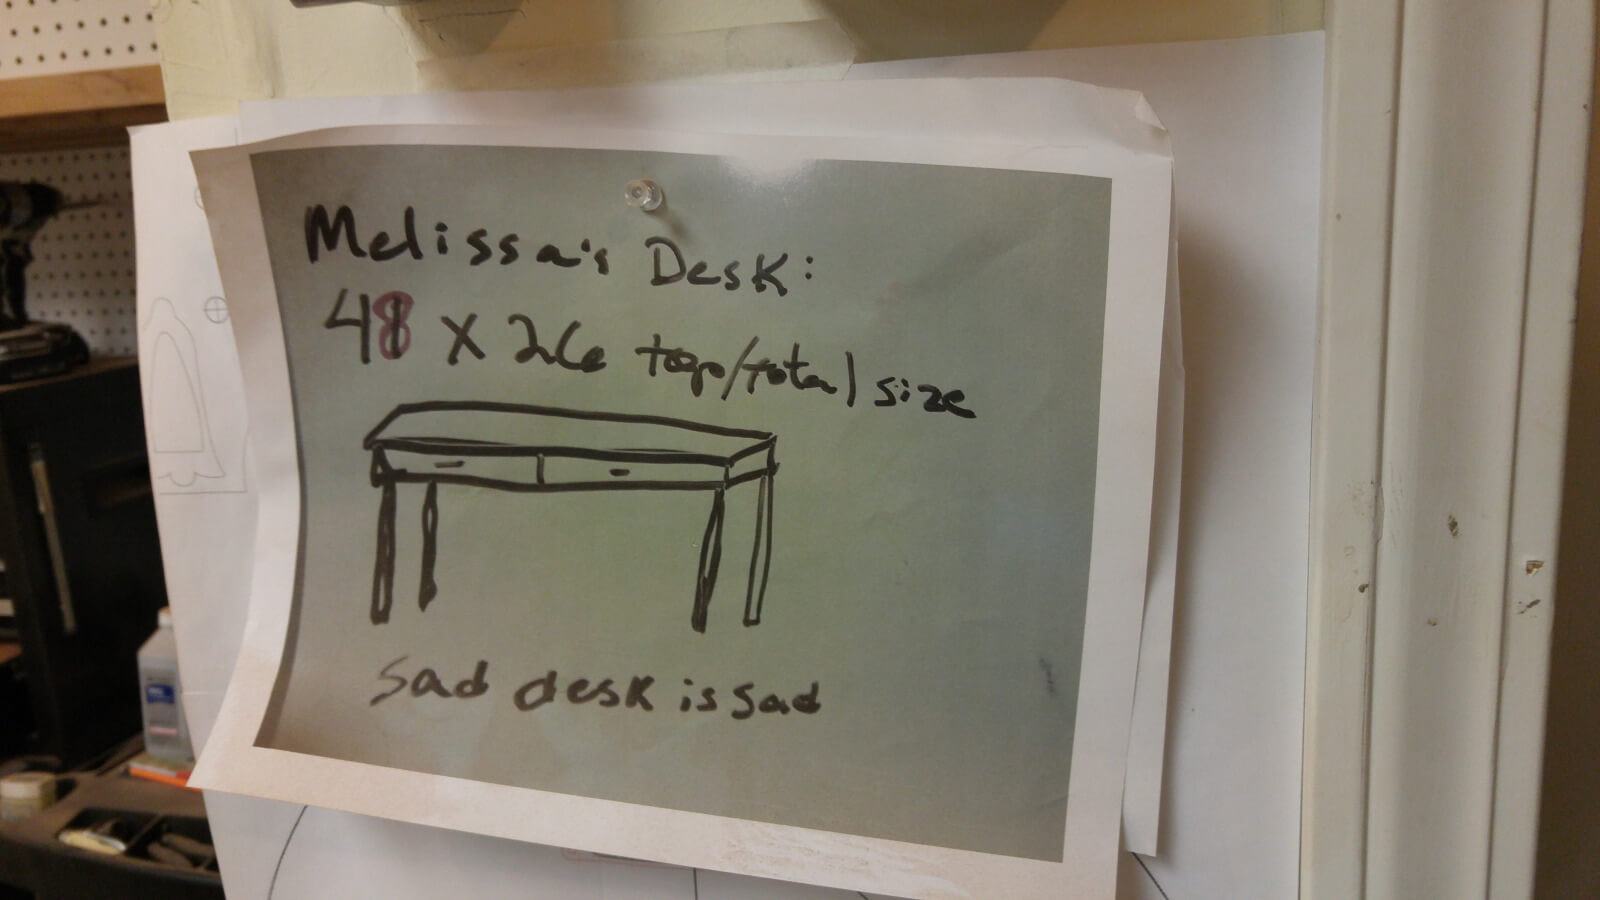
Melissa drew a desk on my giant whiteboard shortly after we moved into the new house in WA. Luckily we took a picture of it before it was wiped, and before I took the whiteboard down. I’ve been collecting scraps from work for quite a while now and I think I finally had enough to make the desk from salvaged Sapele cut offs.
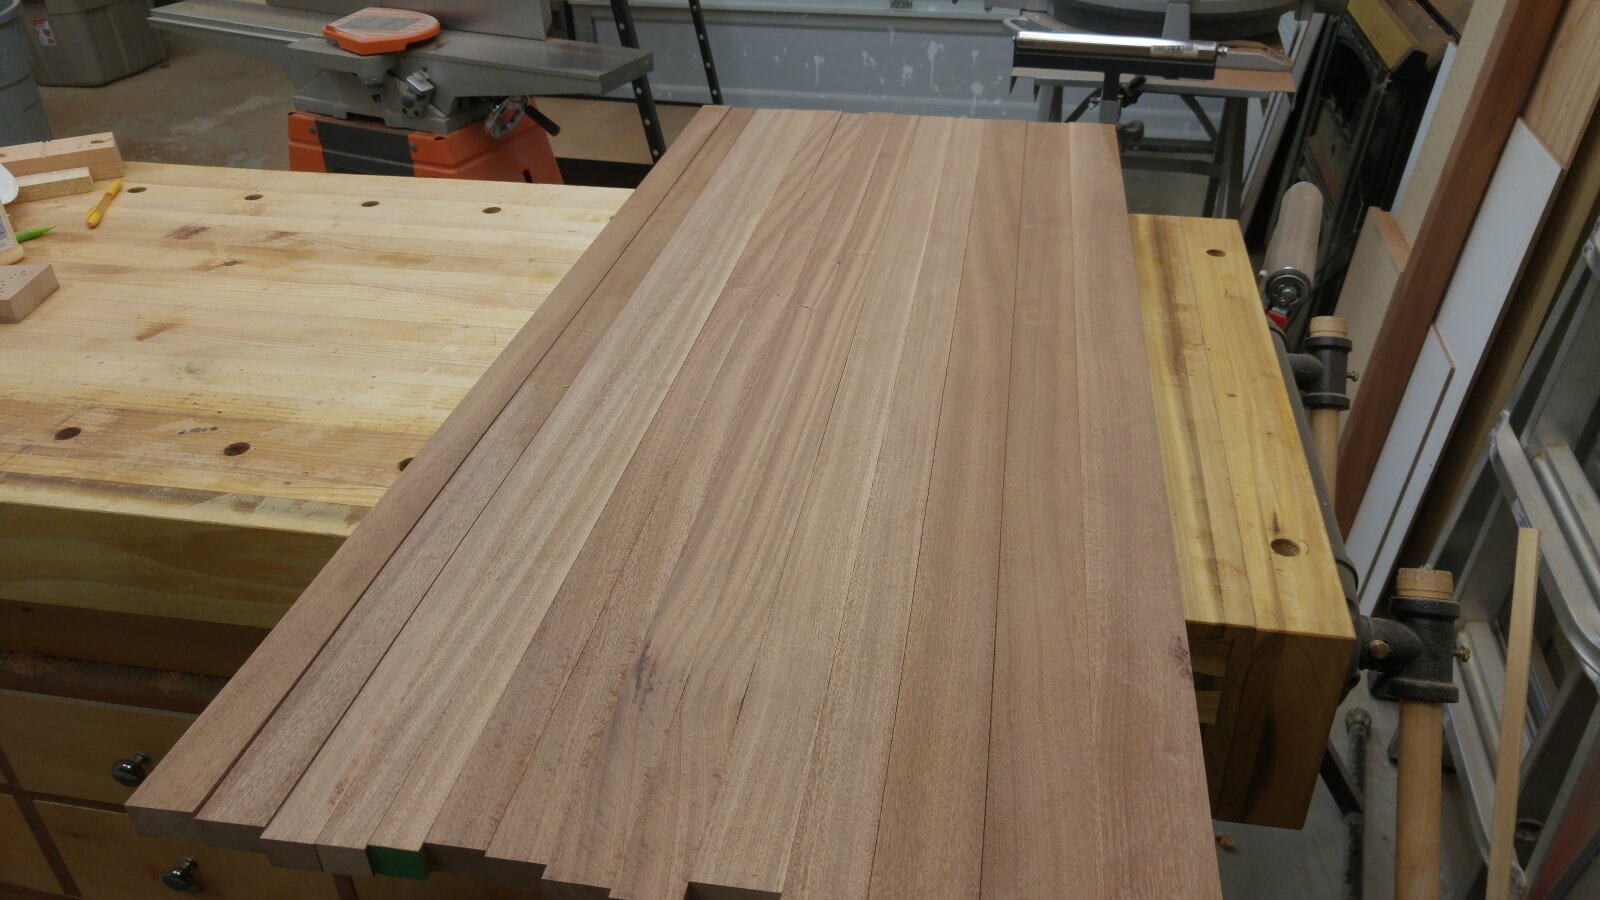
It took a few days to go through all the scraps to come up with the right pieces that gave off the desired reflections. It wasn’t perfect, but not bad for a scrap wood desk.
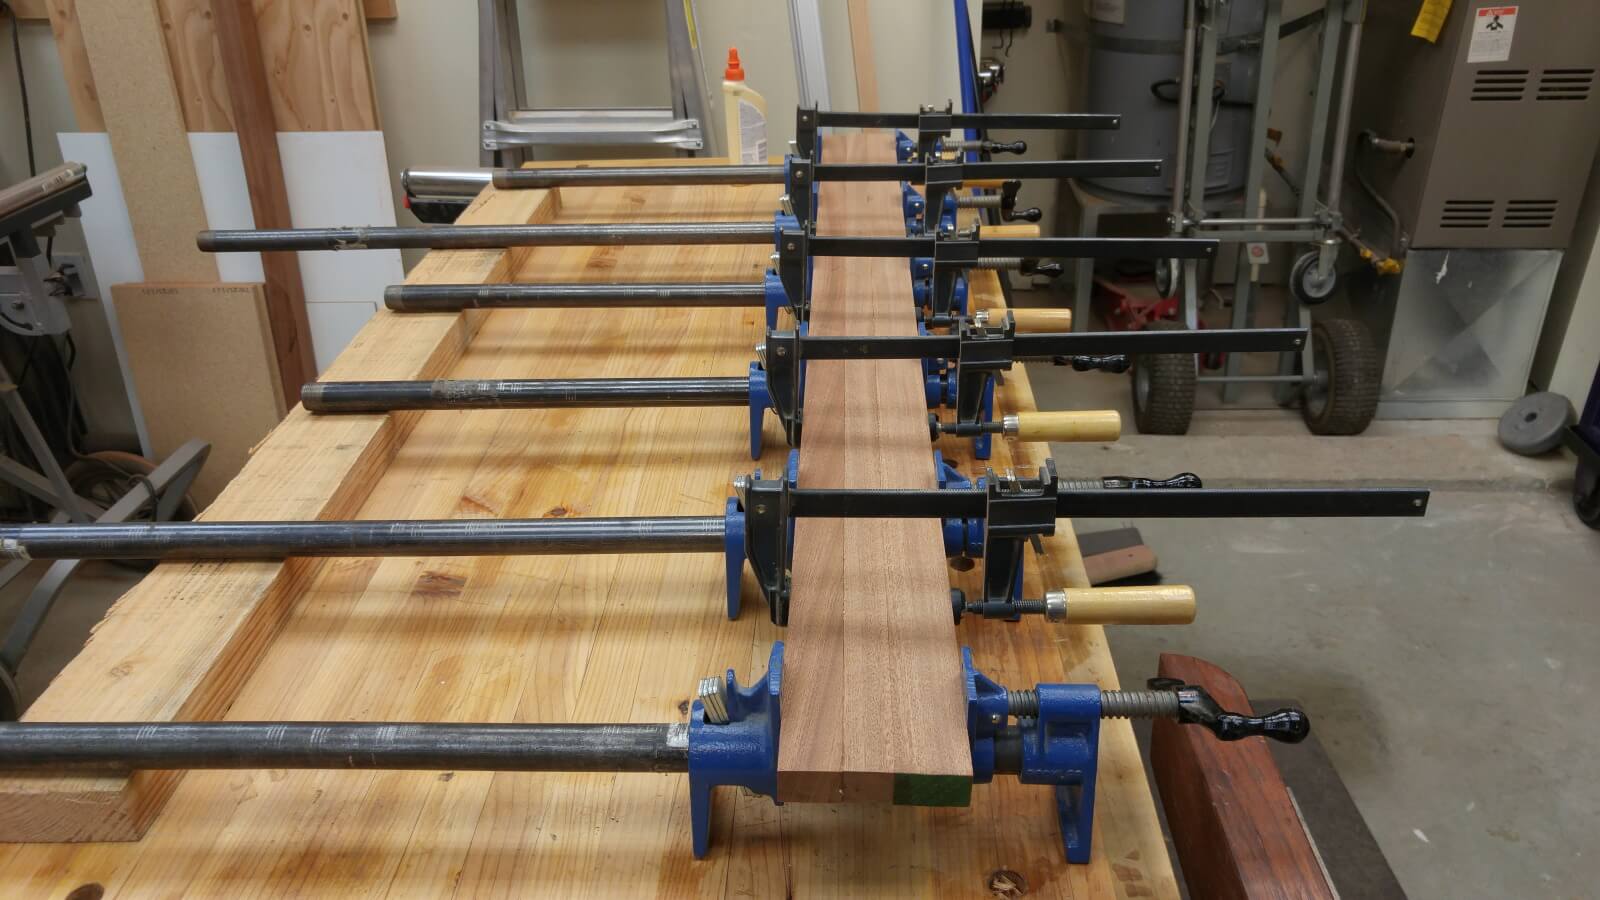
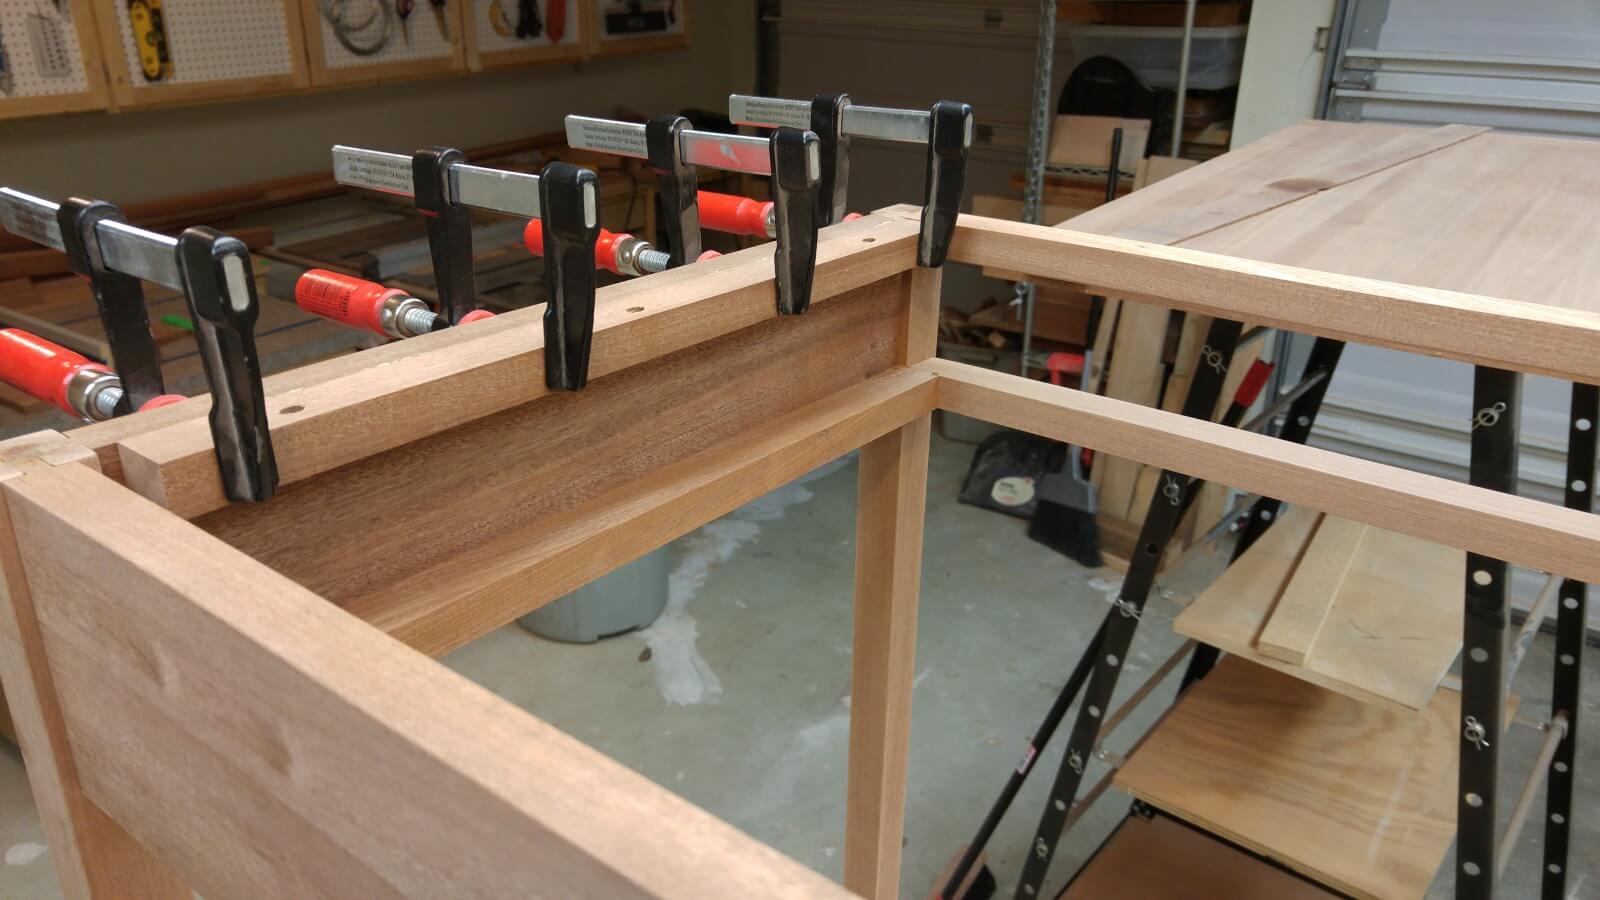
After that it was a matter of jointing, then gluing and clamping all the strips together. I glued them up in smaller groups so that it would be easier to control and keep them level on one side. Less planing later on that way. I also only have a 6″ jointer so it’s a bit faster to run the smaller sections through to resurface after a glue-up.
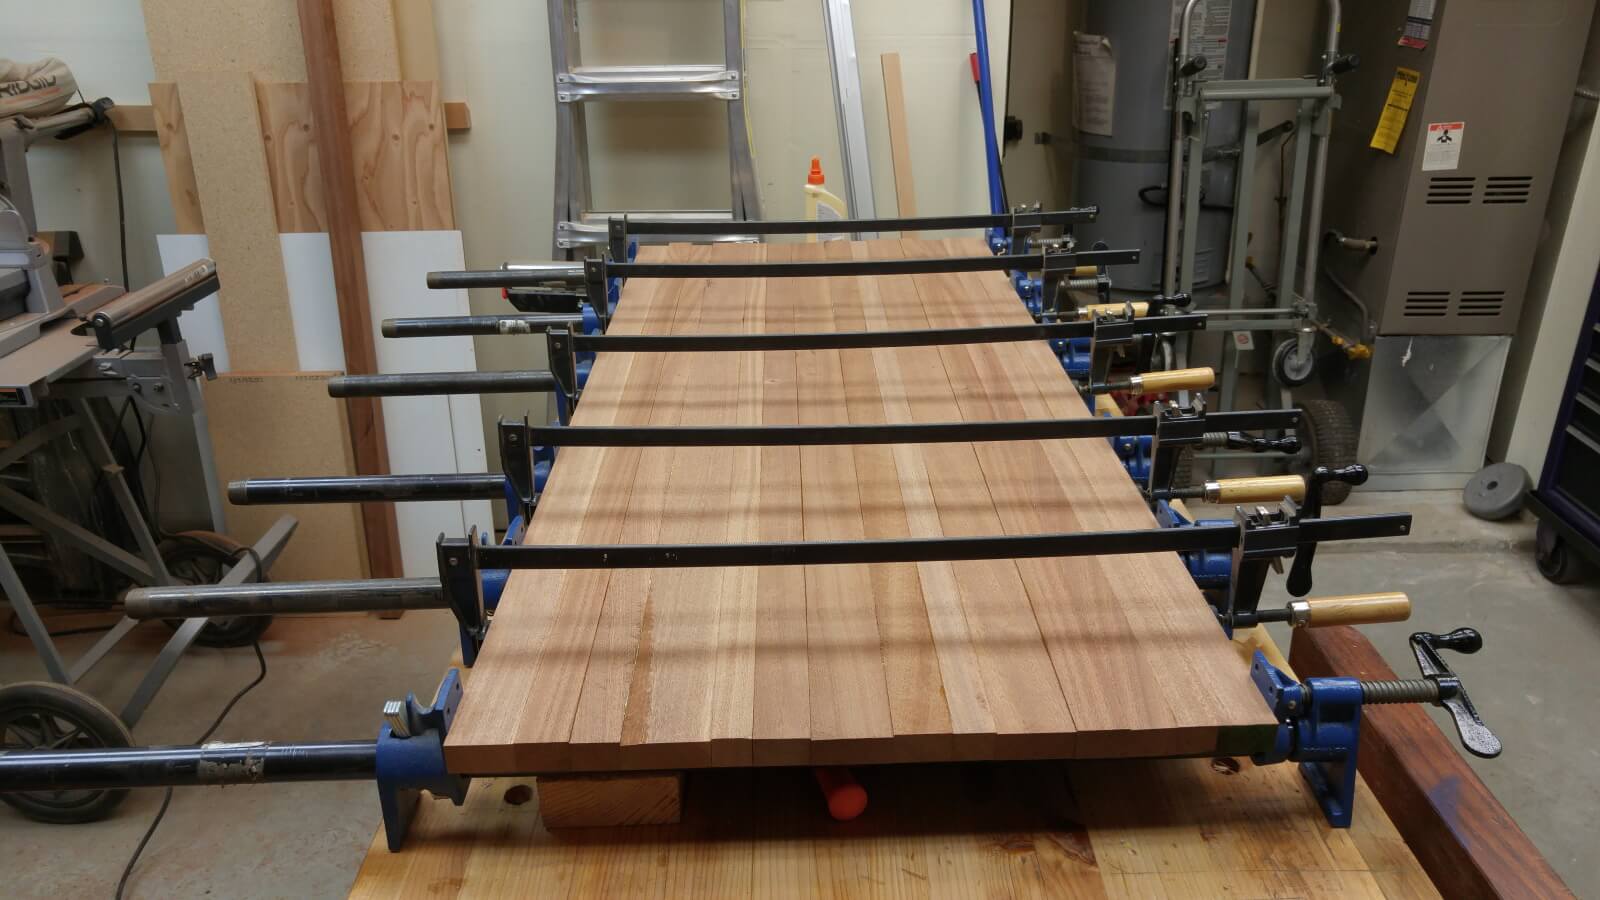
After resurfacing the back side of each group I then clamped them all together. In hindsight, 6 months later, I could have save myself a lot of work by milling down the top side of the small groups as well.
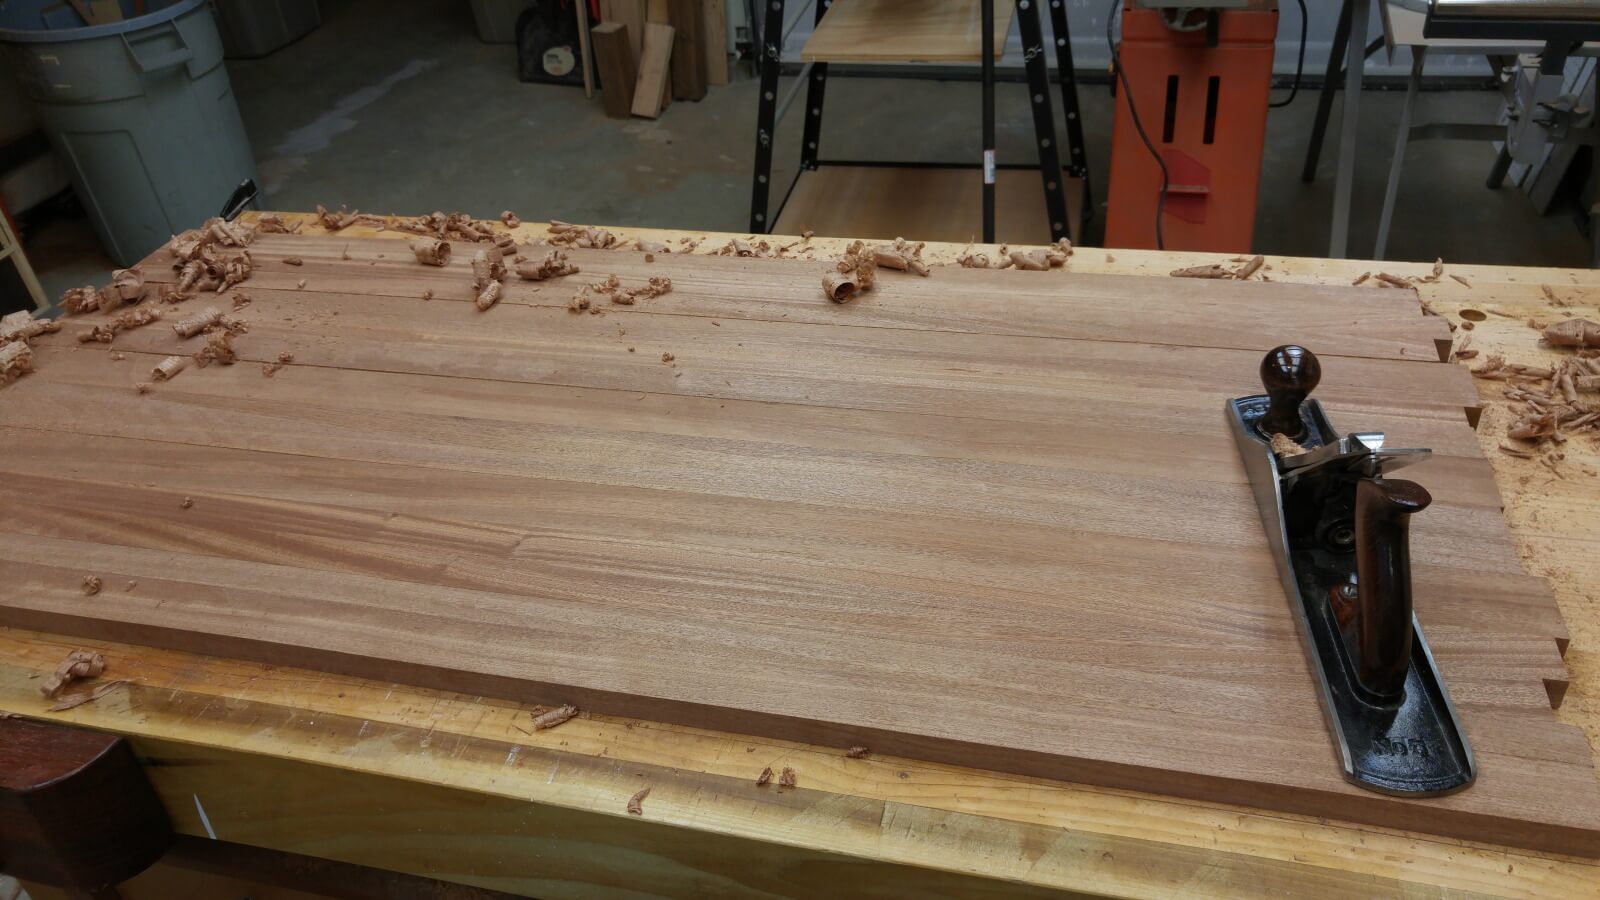
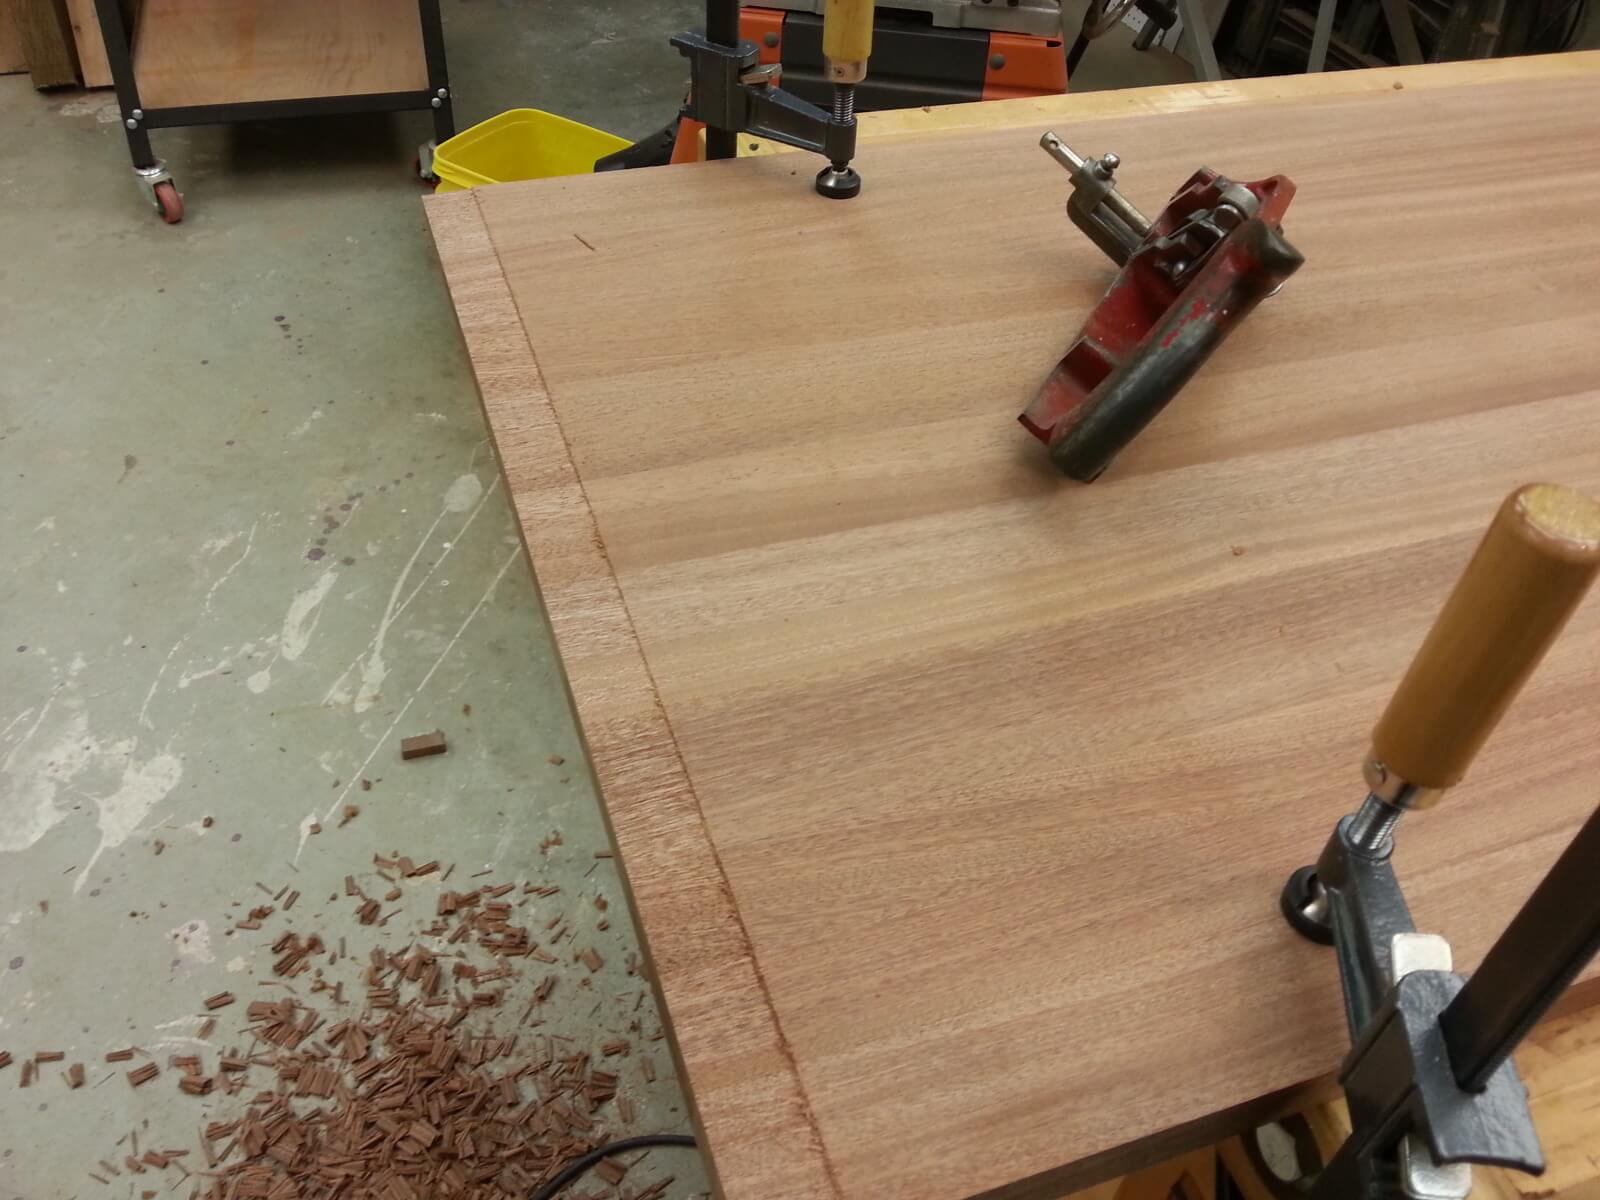
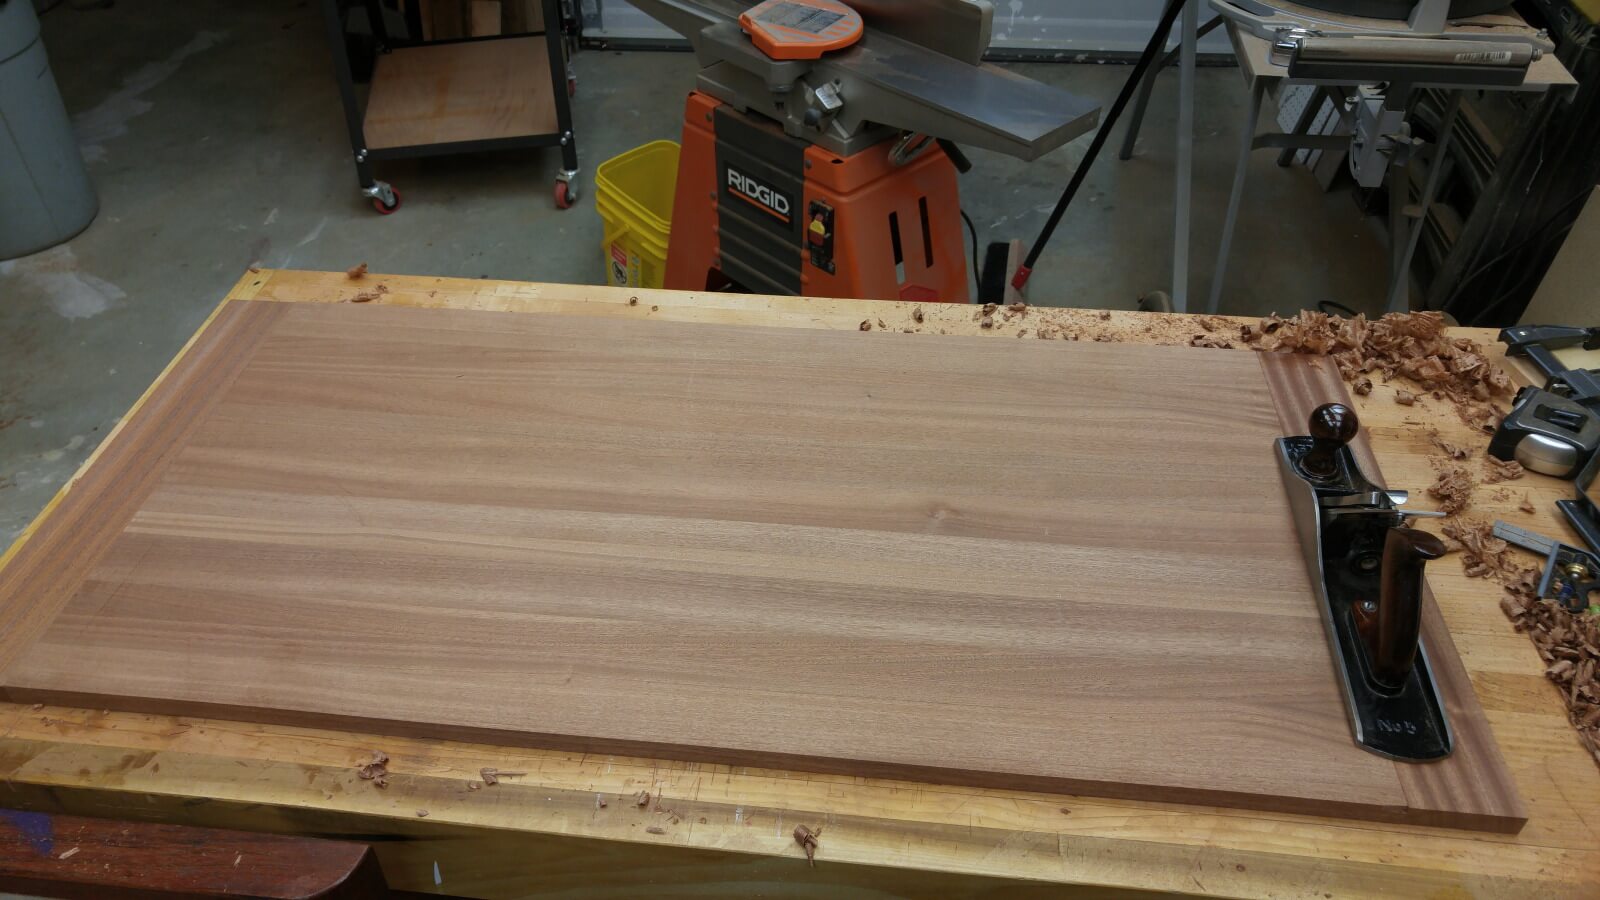
Next it was on to surface planing. A lot of it. Sapele is a very hard wood and it really likes to dull your blades. The quartersawn pieces I was using were also very prone to tear-out so it ended up being a lot of very thin shavings.
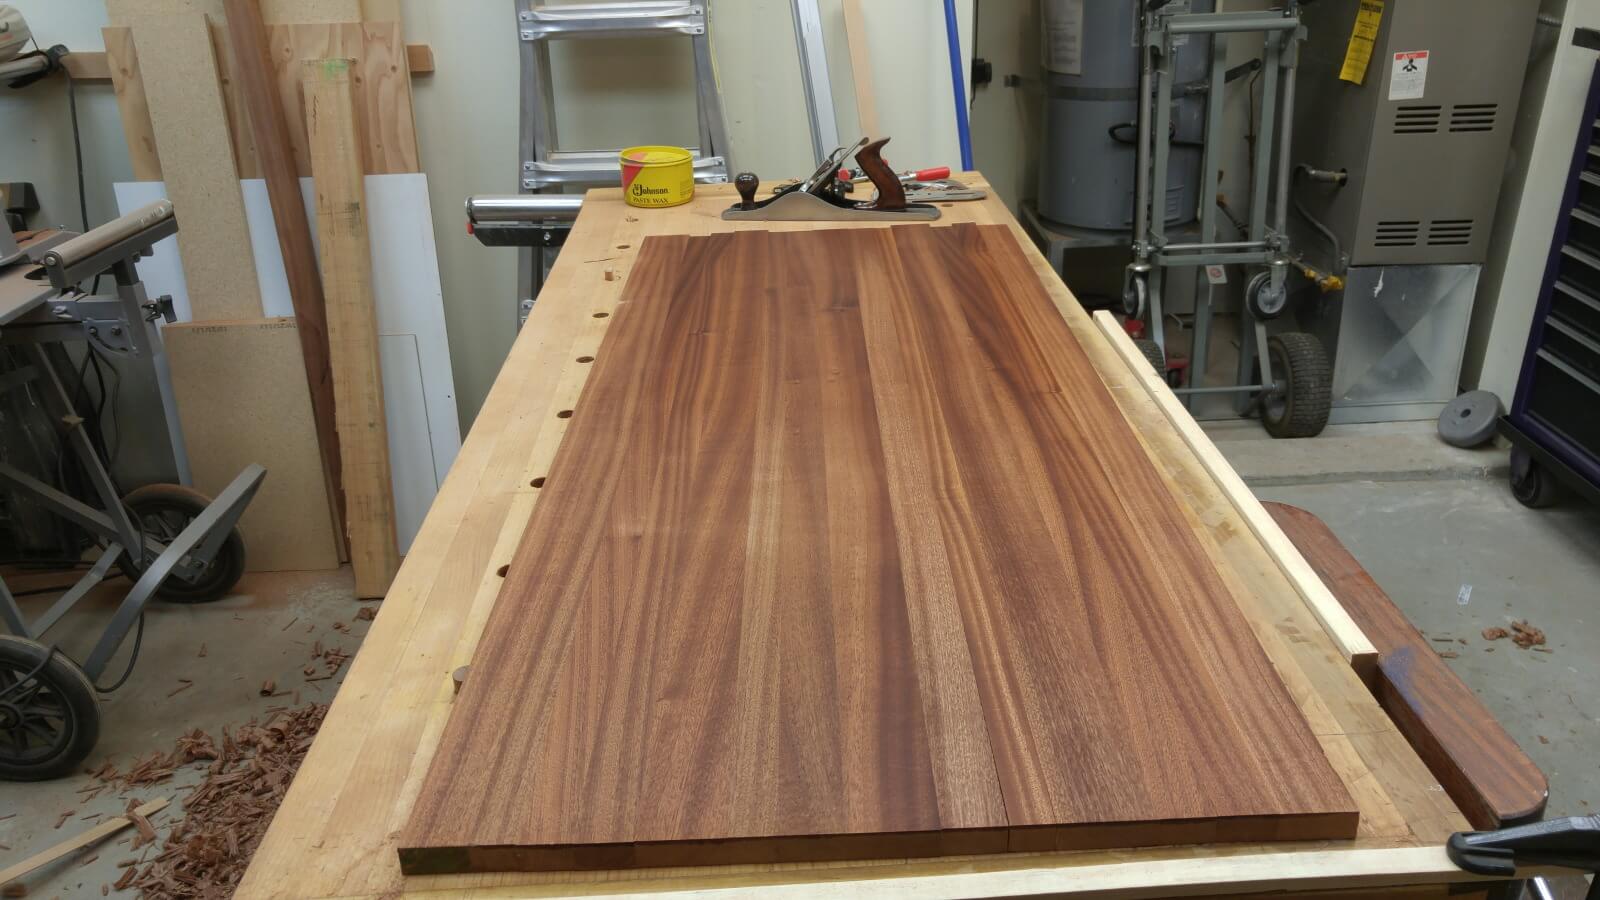
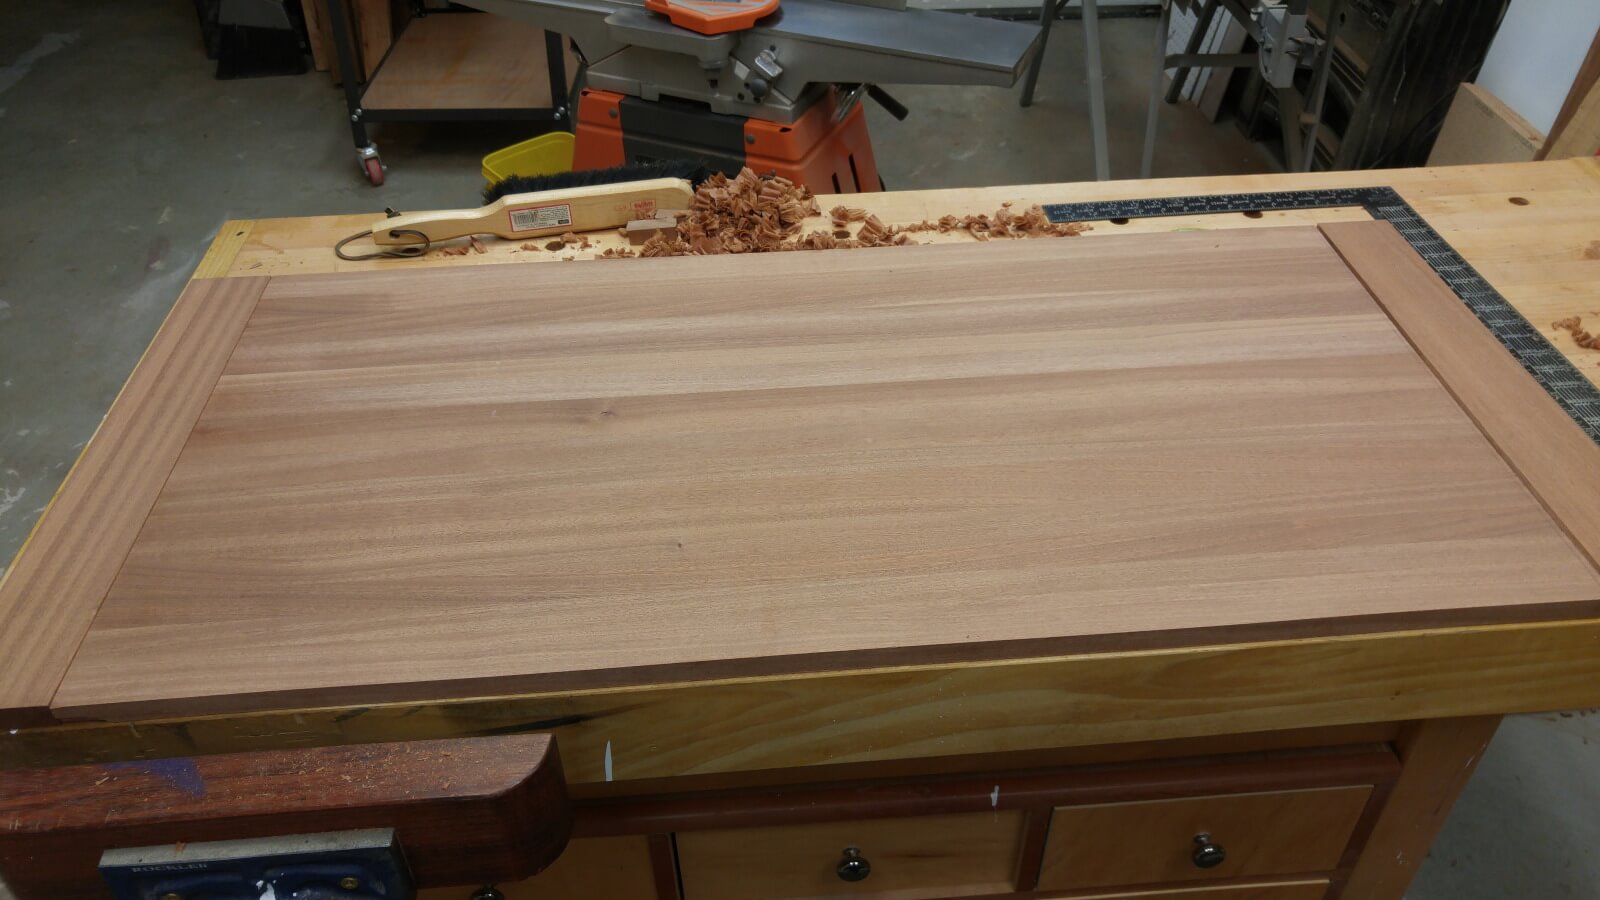
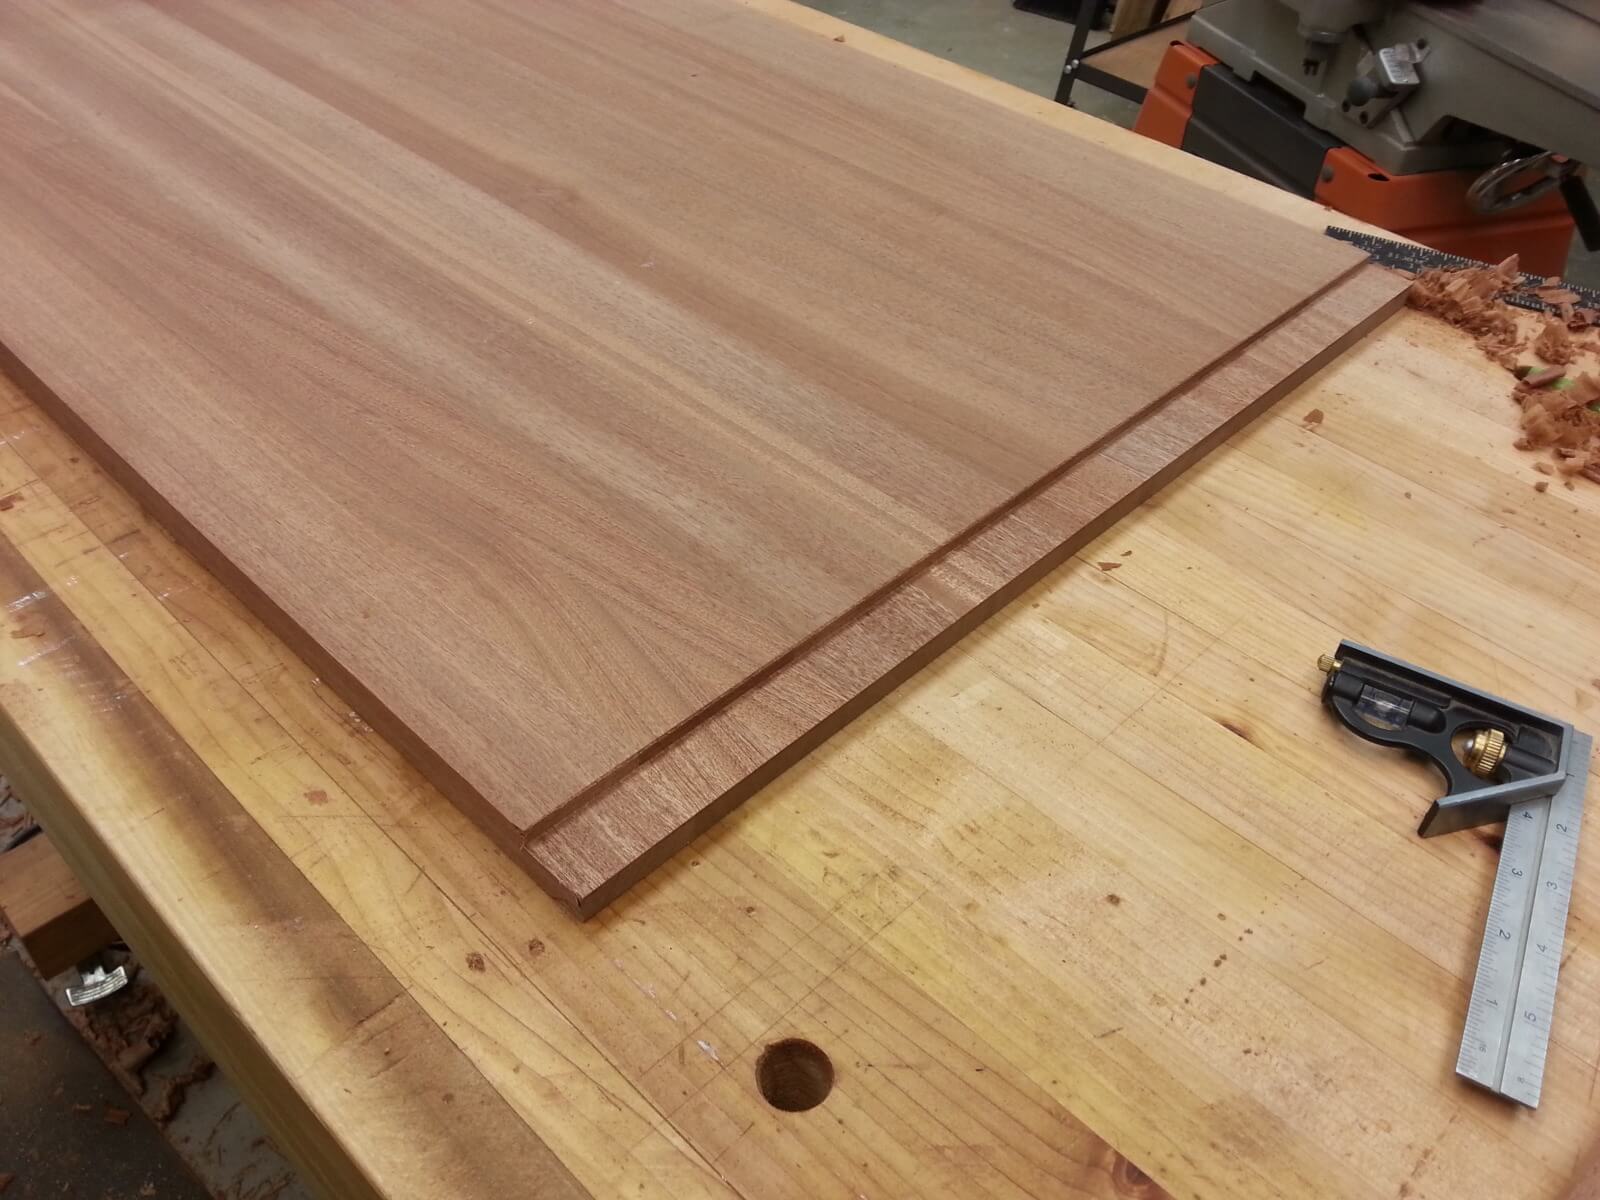
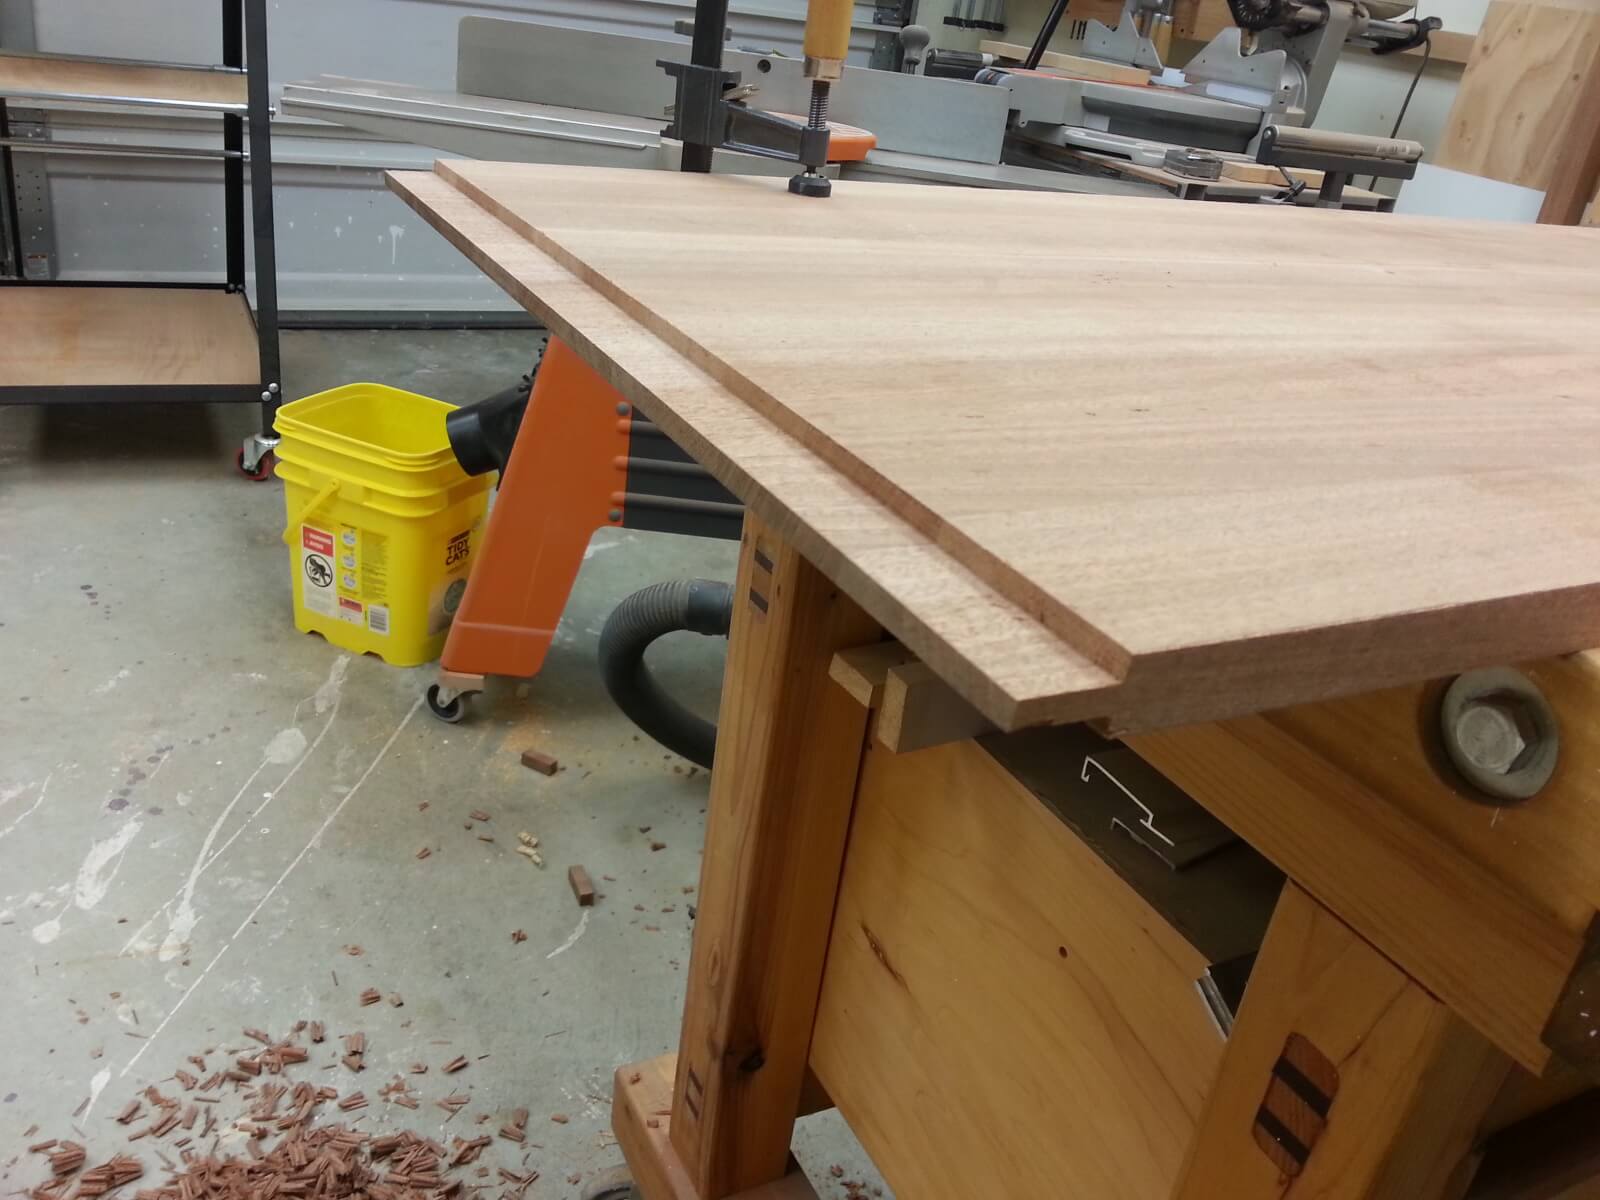
After surfacing the top I squared it off cut some breadboard ends. It was a top style that I’d not yet attempted to do and it would cover the endgrain while keeping the top flat. I have no idea how stable to top would be without it because of all the varying grain pieces.
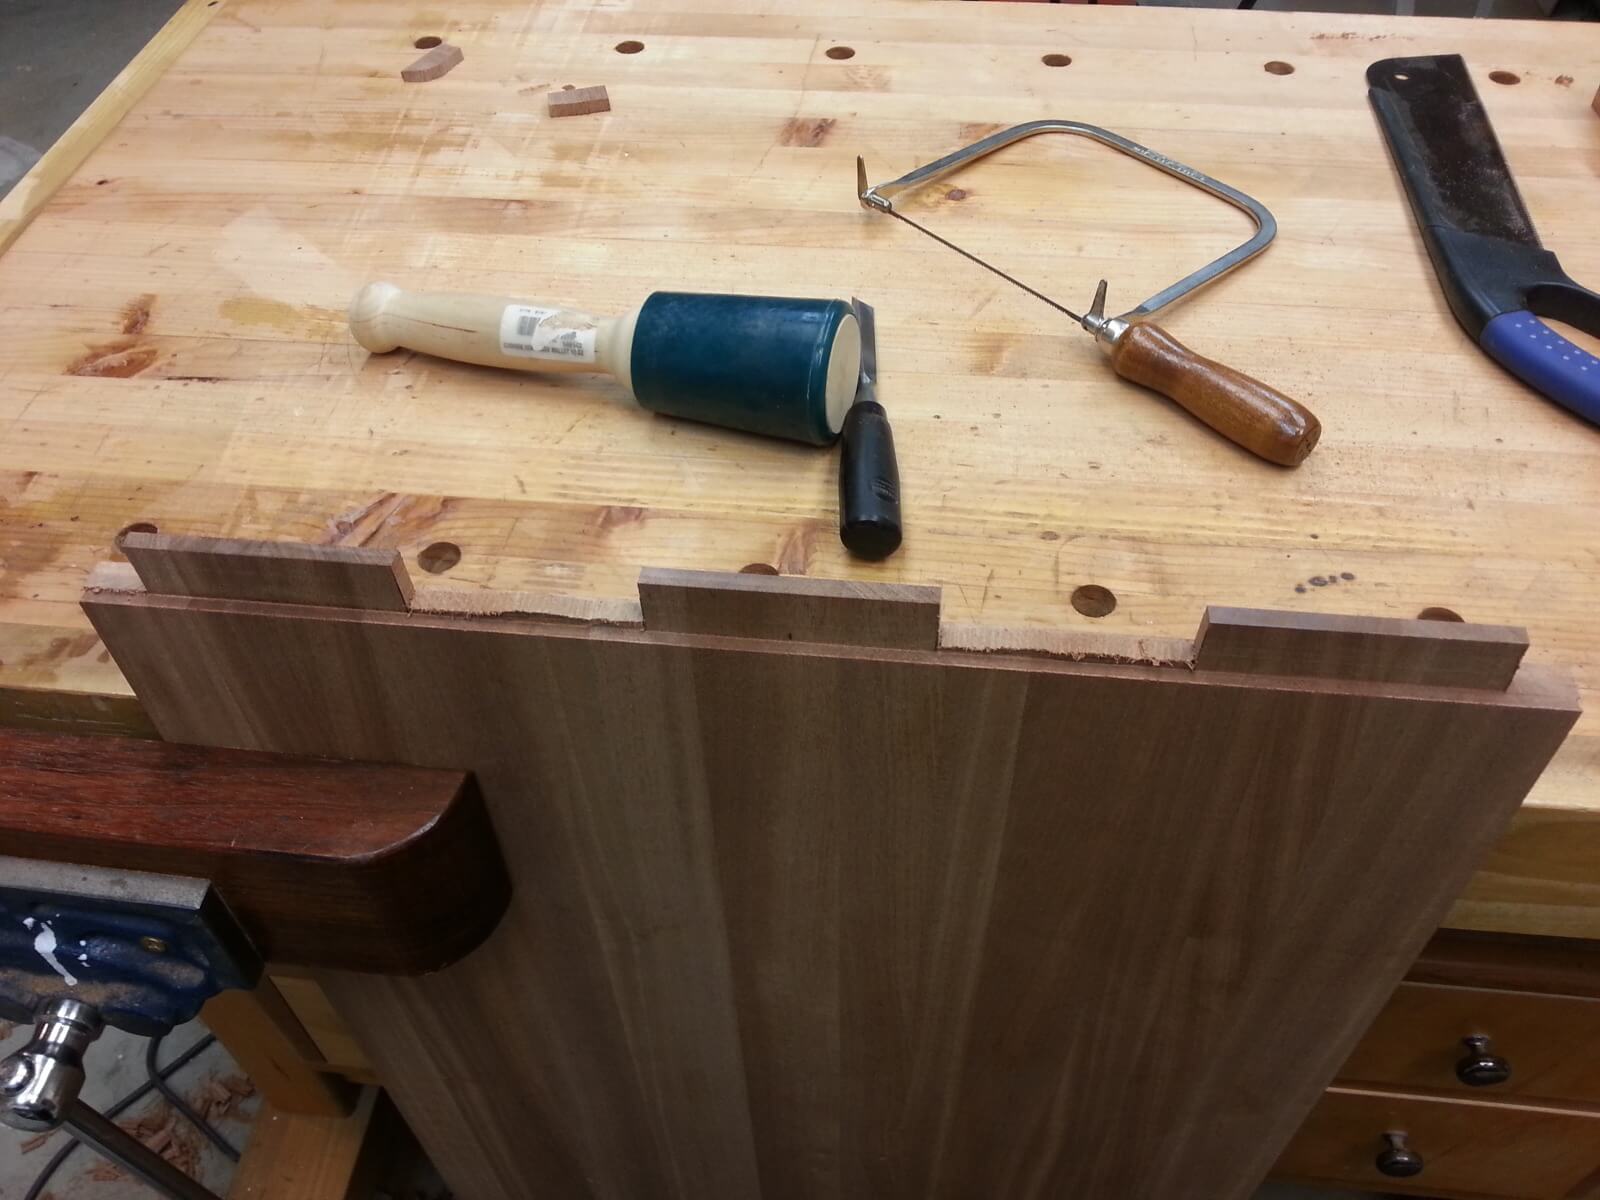
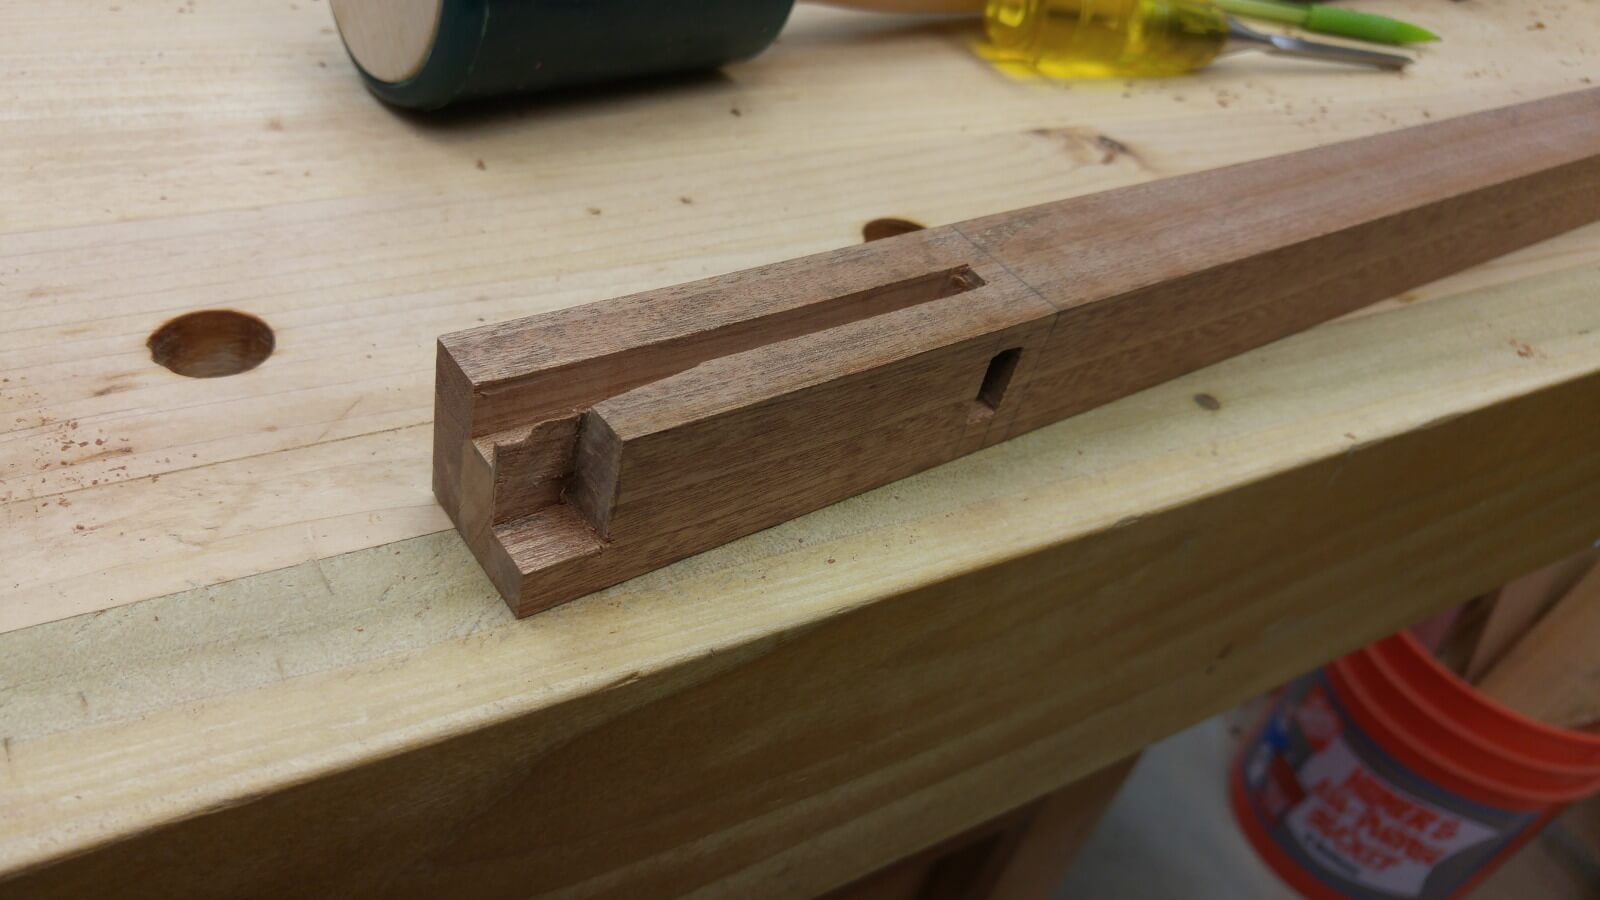
I also decided to cut the tenon and mortises by hand. It was going to take longer, but it was something I wanted to try as well.
for a first attempt, it wasn’t bad. I definitely had a bit of stepping as i went down the layers. I also did a lot of correcting and over correcting of my angles. Would I do it again? Certainly, although on something this large I will likely remove the majority with the router. It doesn’t take long to set up a fence since I don’t really work off of plans with set measurements.
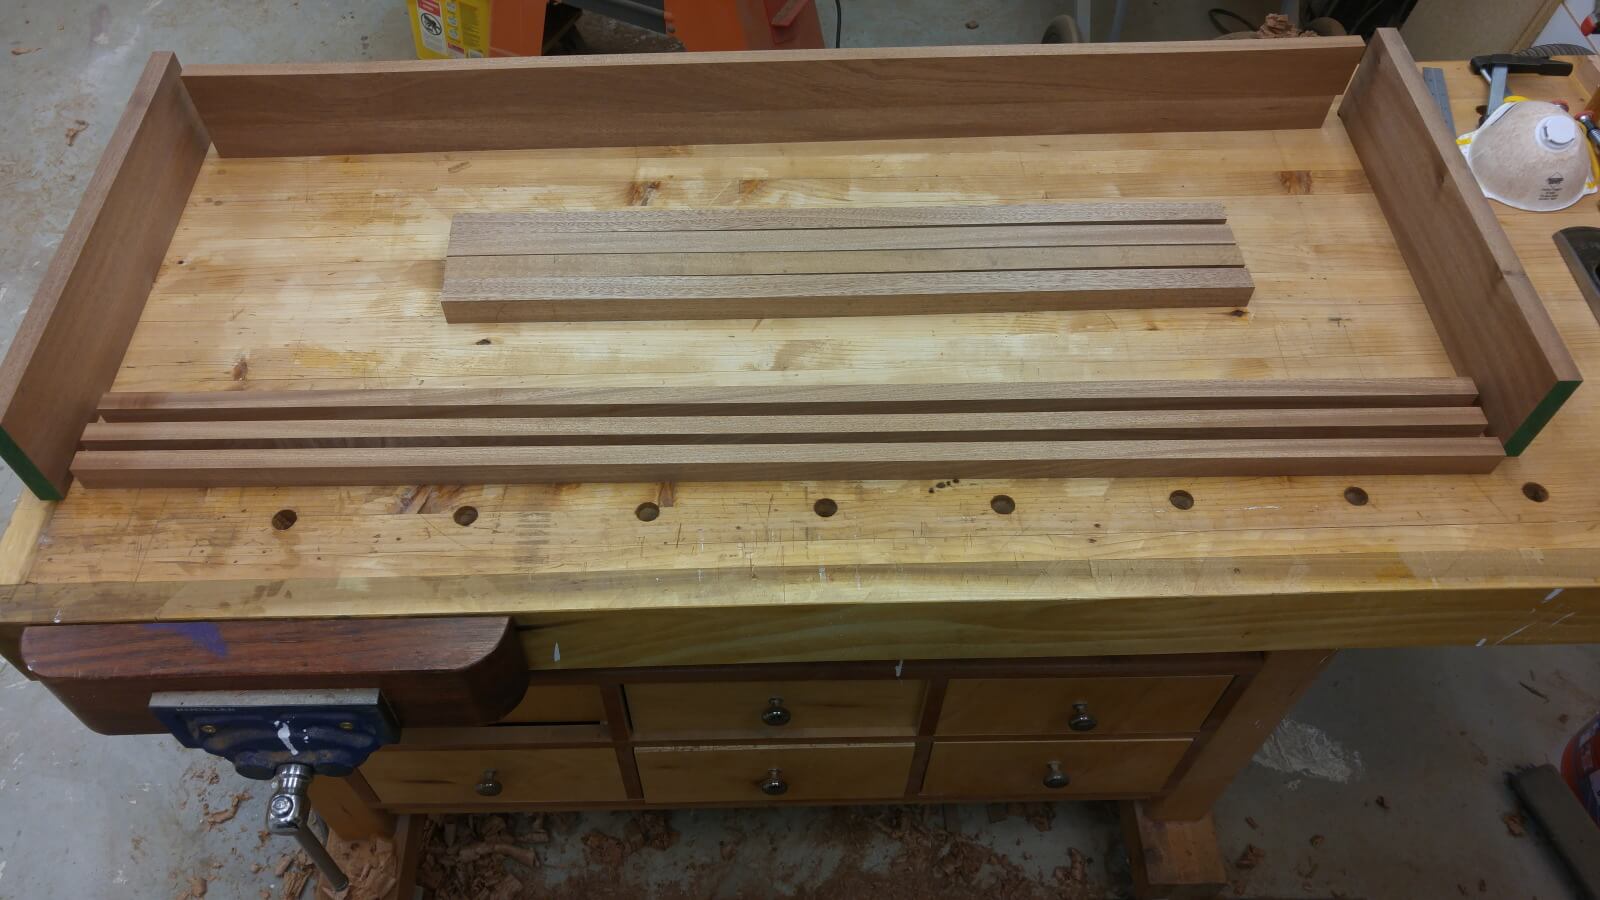
Next was cutting the individual sections. Instead of one big tenon, I wanted to try three separate. My thought was it will be less mortise work on the ends and I’ll get some know how.
About this time my phone died. Like My carrier pushed an update and it fried my phone died. Luckily it was still under warranty, but it also meant I didn’t get pictures of the mortises. What a pain in the ass they were. 1″ deep, 1/4″ wide, by 4″ long. My shoulder was killing me. I ended up using a trim router for the second one. My hand cutting had just as good of a fit, but boy was the router faster.
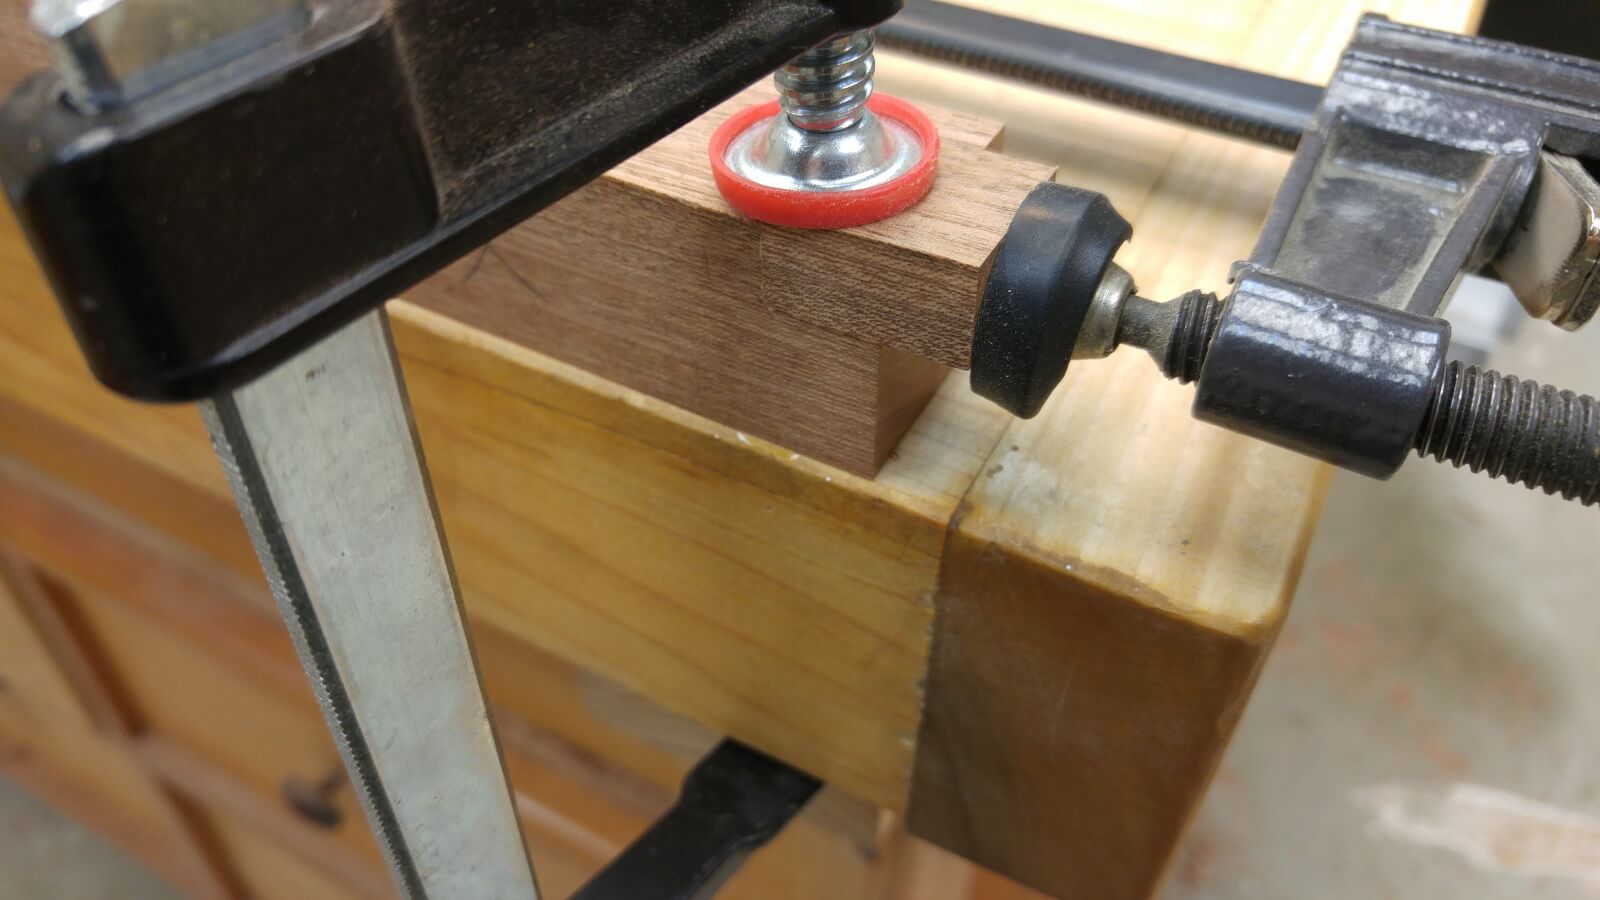
Rather than use a pin like my original intent, I decided I didn’t want to break up the visual field of the top. I put a dime size smear of glue on the center tenon, and a little drop on the out side corners of the outer tenons to hold. the fit was really good, but there was certainly going to be movement. Especially since I’m in the Pacific Northwest and it was “winter” time and humid. It also occured to me that I could use the old phone to take photos. Especially since it was already in the garage hooked up to the stereo to play music.

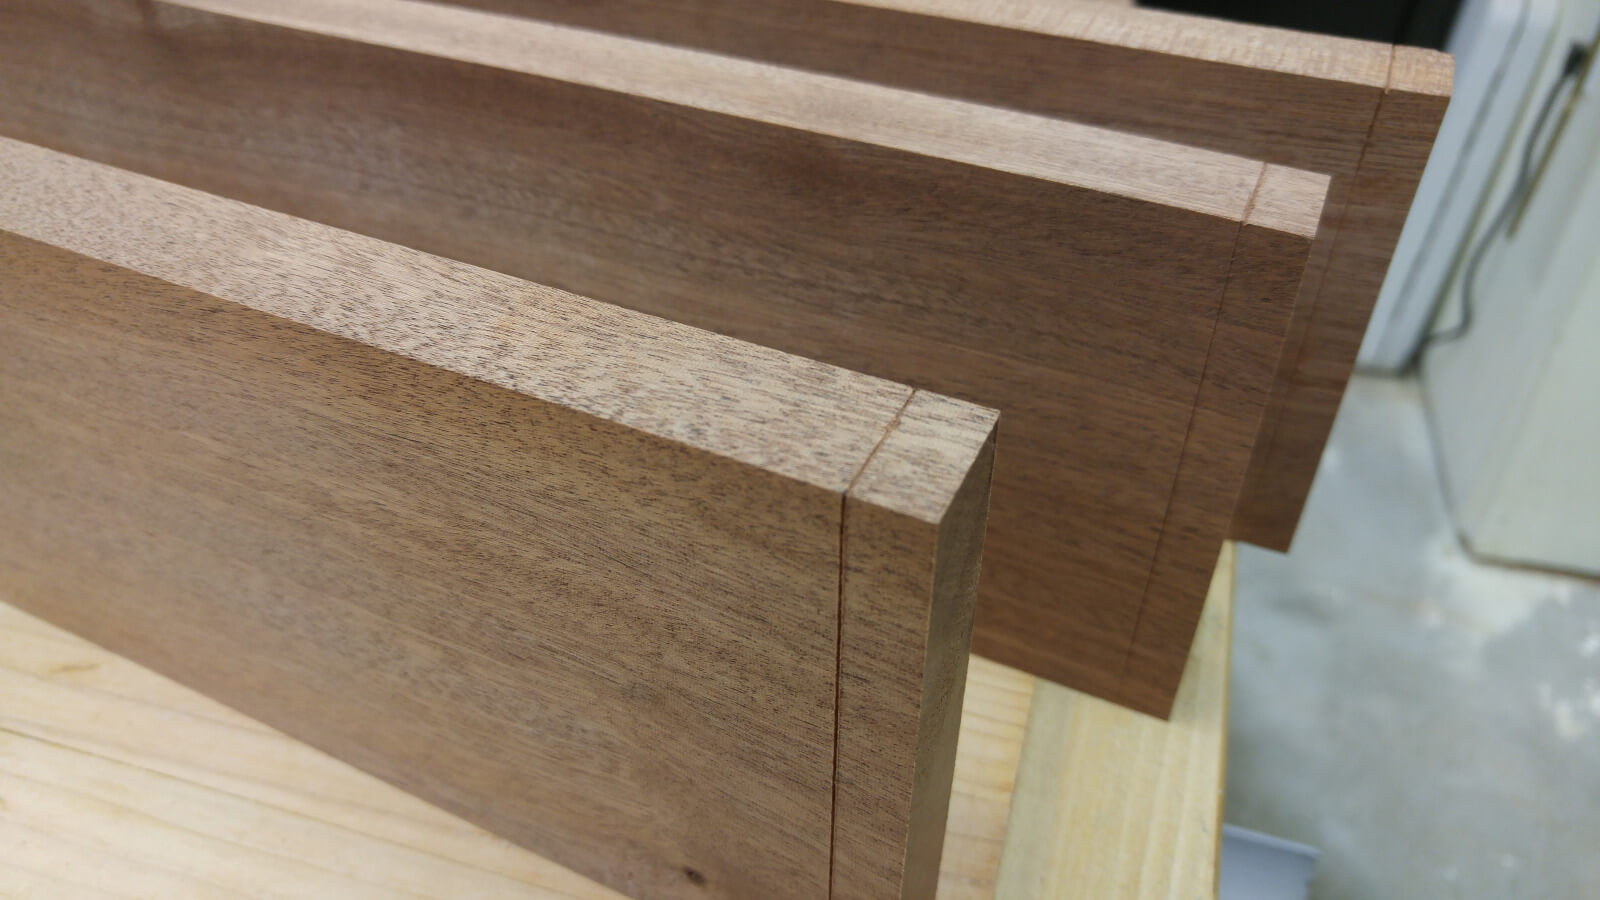
Once glued up, it was time to plane them level.
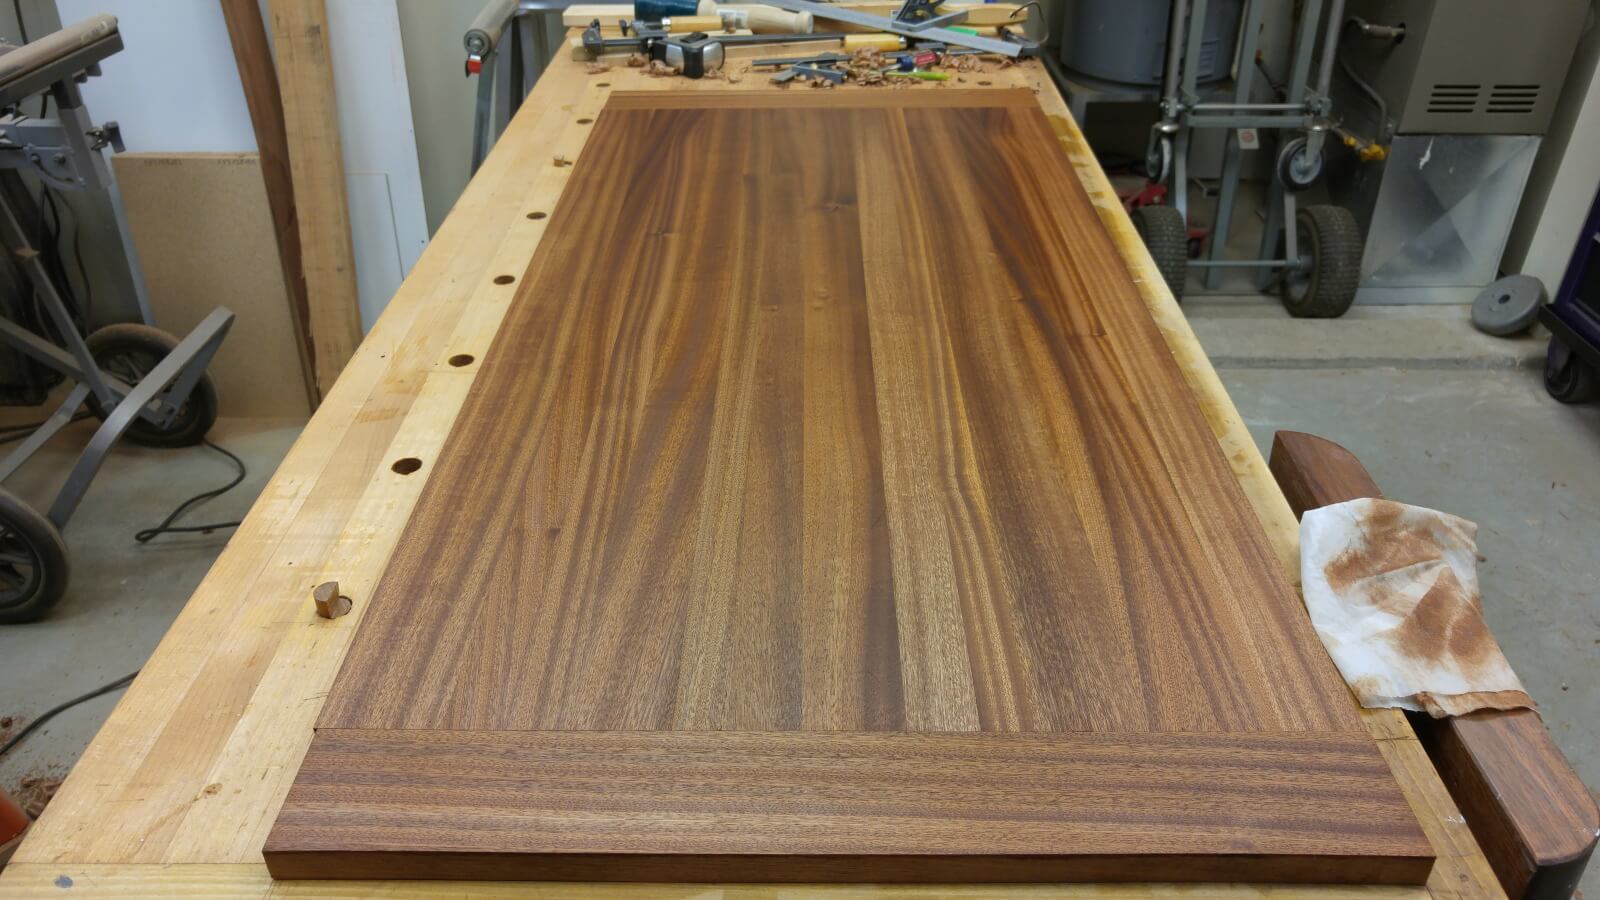
Not Bad for a first attempt and scrap wood.
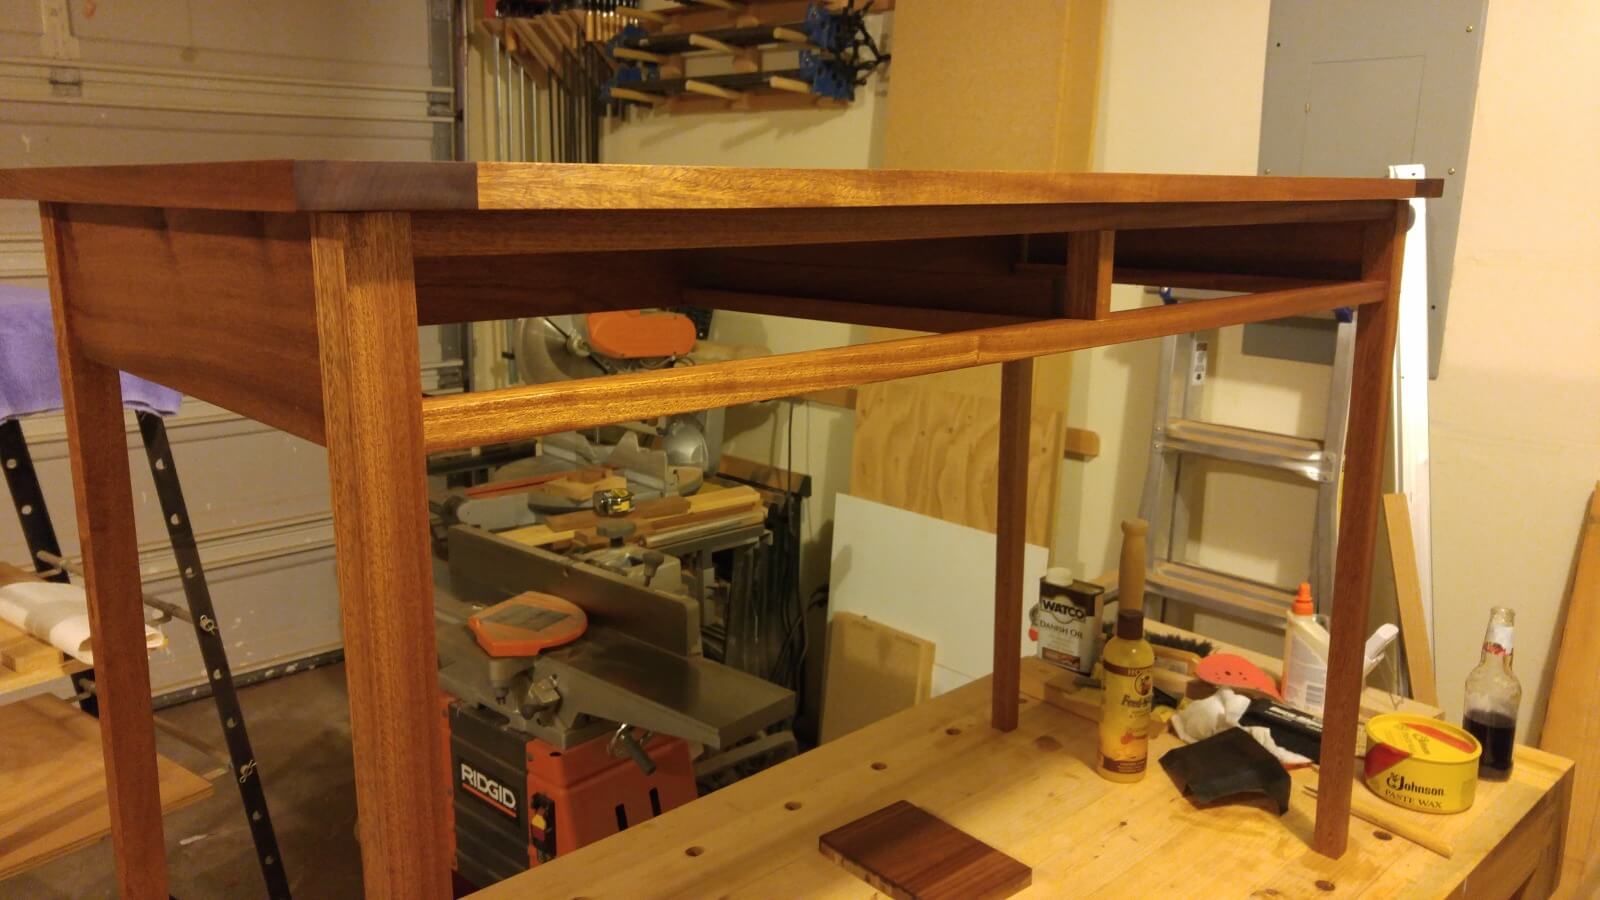
Not having the phone in my pocket was certainly not as convenient for photo taking. I neglected to shoot the leg tapering, the drawer supports, and the sides until after they were done. It may also be that I thought at the time that is was very simple and not necessary to take pictures since it was never the original intent to make a how to. The pictures were originally taken so I could remember how I did things. Most of the joinery in the desk is hidden, if I were to recreate it, photos would be handy.
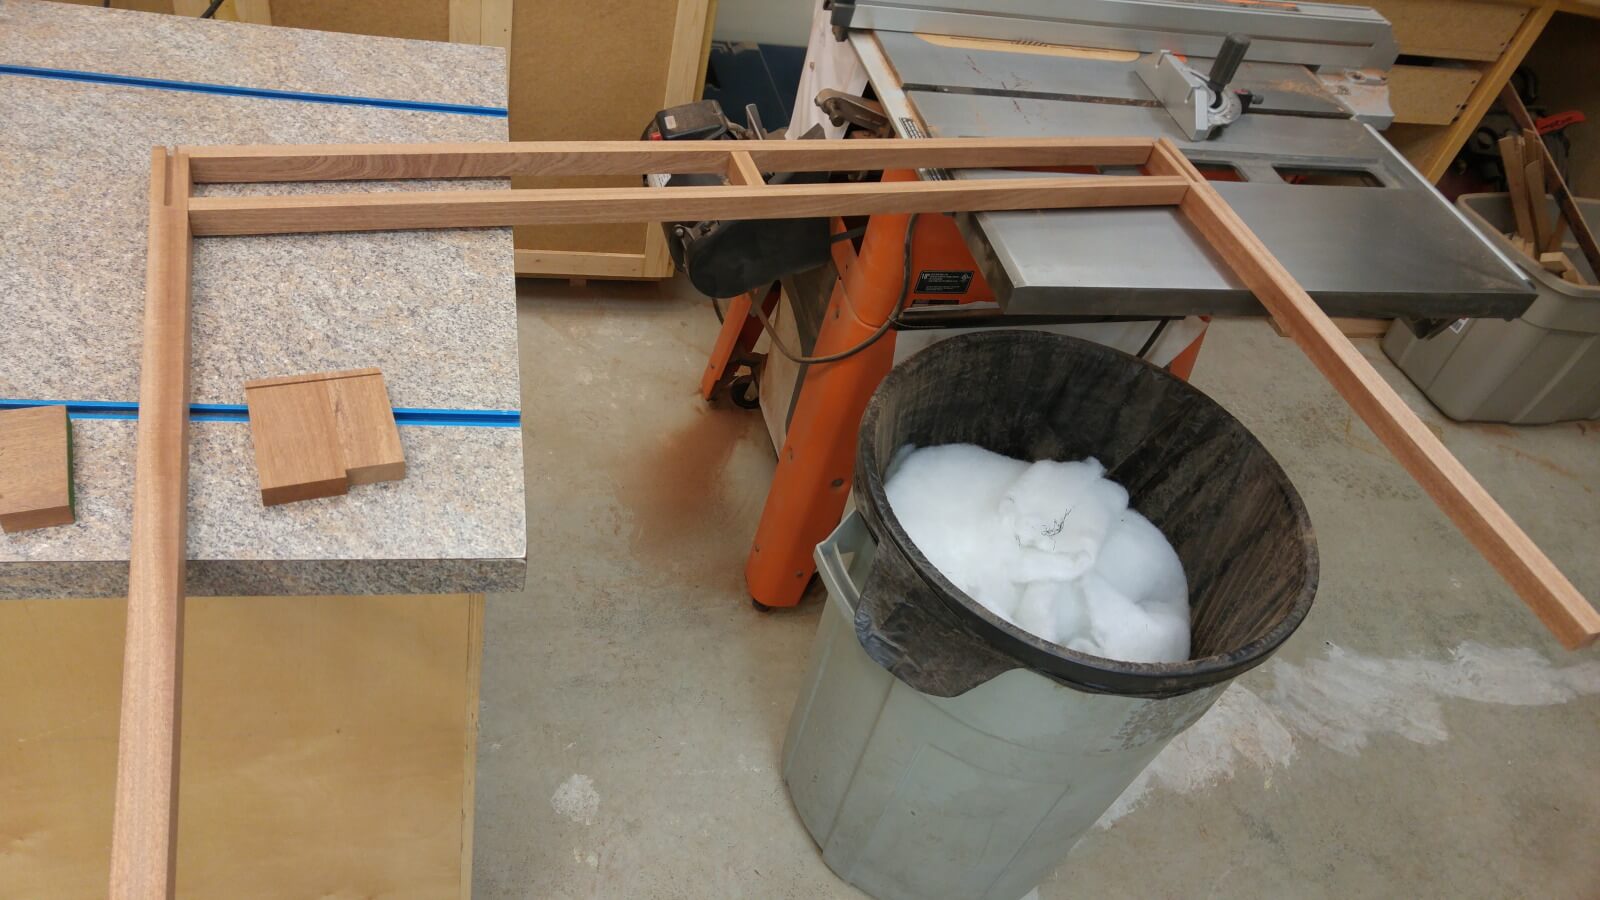
Basically the sides and the back are just squared and flattened at this point. If you look closely you’ll see that the back is made from two glued pieces. Just one of those thing you have to deal with working with scraps. The drawer support rails are also just squared up pieces. The only thing I did was choose faces for the visible faces and mark them off. I did the same on the legs. Each leg was squared; the initial size having been chosen for me by the available scraps; a face chosen, then a leg position chosen but not marked. There’s one very simple and important reason I did not mark which leg went where! I’m an idiot. Not marking the legs bit me inn the ass later, but taught a good lesson. I did mark the width of the sides on each leg, this is where I started the taper. I marked off 1/8″ at the bottom of the first leg, drew a line from that point to the mark of the desk side to get the basic taper. Using a square I transferred the 1/8″ mark across the bottom of the leg, then repeated the angled line on the opposite side of the leg. Basically I just took a #5 plane and starting from the bottom end of the leg, removed the unneeded material squaring it up as I moved along. I could have done the same thing on the table saw, or used chisels to remove the majority of it as well. (In my case it was 2 am and I didn’t want to wake the wife)
Once all of the parts were prepped I began by chopping the mortises into the front leg tops for the drawer aprons. After marking off the first leg I realized that I was only going to have about 1/16″ where the mortise for the side apron meets the front. Not being THAT confident in my chopping skills, having had to scrounge for the leg pieces in the first place, and wanting to get it completed by Christmas (it was already the end of November) I decided to do the long mortises on the router table, and clean up the corners with the chisel. Even then I still managed to chip out a little bit.
Marking off the Second leg is when I discovered I had made two left legs. So I found a piece with a matching grain and cut it to fit. I then glued the chunk in place.
You’ll notice that the grain certainly matches, but it still looks slightly off. This would be because even though I found the near perfect piece that was likely from the end of the same leg, I still glued that damned thing in upside down. I didn’t catch it until the next morning.
Holding my shame of the stupid mistake to heart, I slowed down a bit. This was going to be my first run at proper mortise and tenons for skinny legs for a desk thing. I would rather get it right and have it not look as good than do it wrong or skip this part and have it come apart on me later. The only screws I wanted was to attach the top, and even those would be hidden inside the carcass. I began to mark off the side pieces for the tenons.
Once I had them all marked out I laid everything out to double check my measurements and decided that I would just cut the tenons on the table saw. This would save me quite a bit of time, and time was getting a bit more tight. Once all the tenons were cut, I just cleaned them up with a chisel until they fit the mortises, and a little bit of dry fitting the various assembly bits…
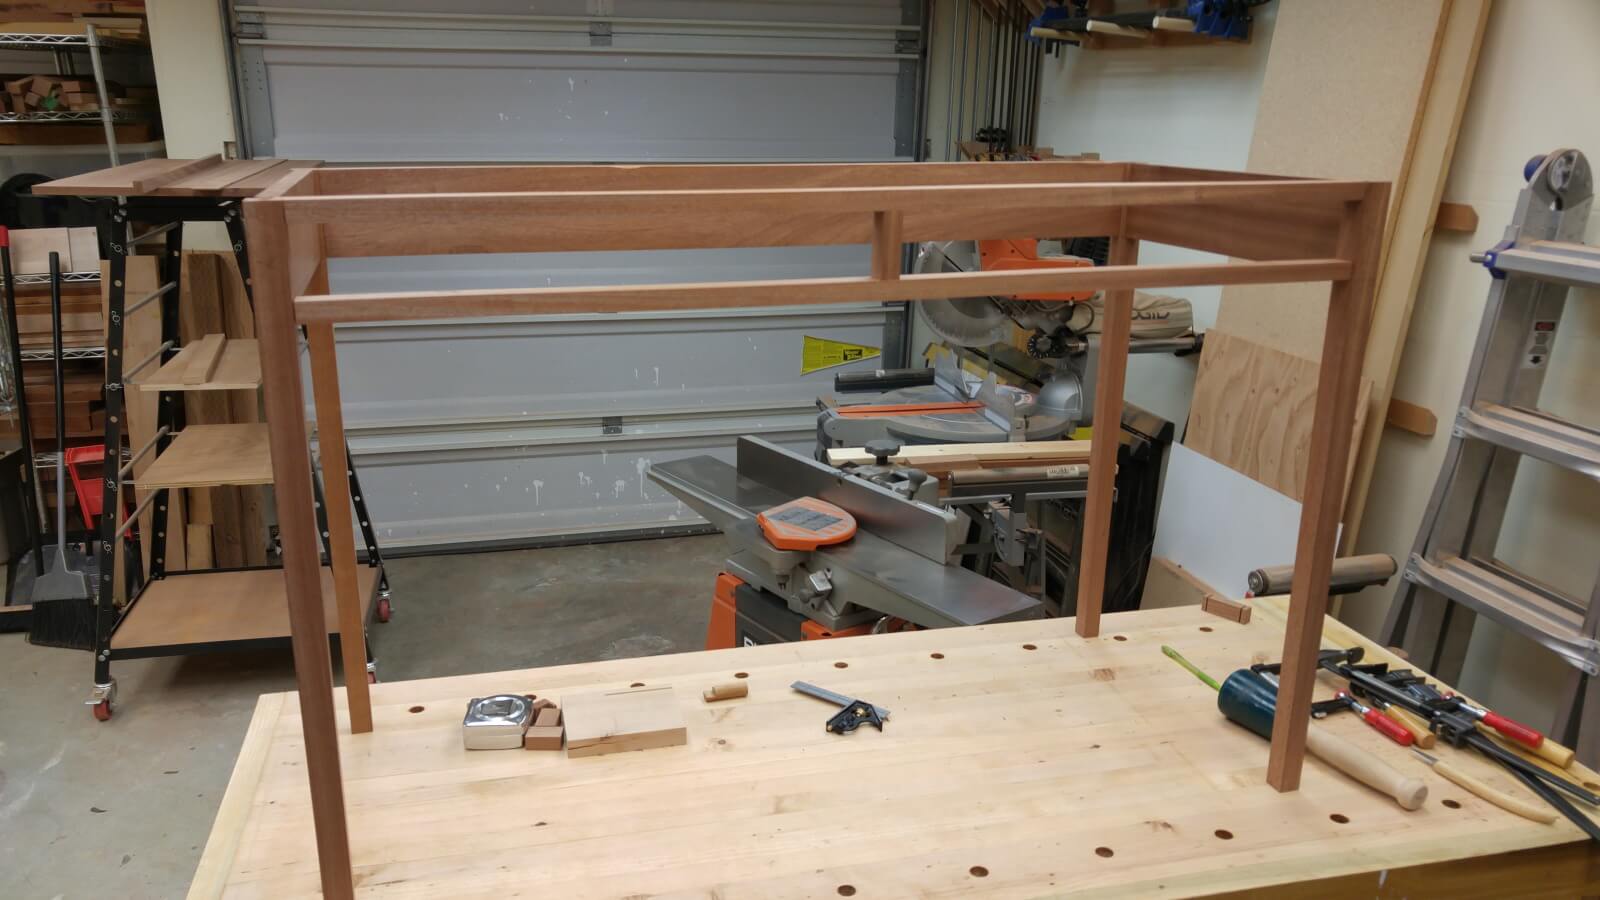
It’s at this point I realized I hadn’t mortised out for the center drawer and top supports. So I did those real quick and then the final glue up.
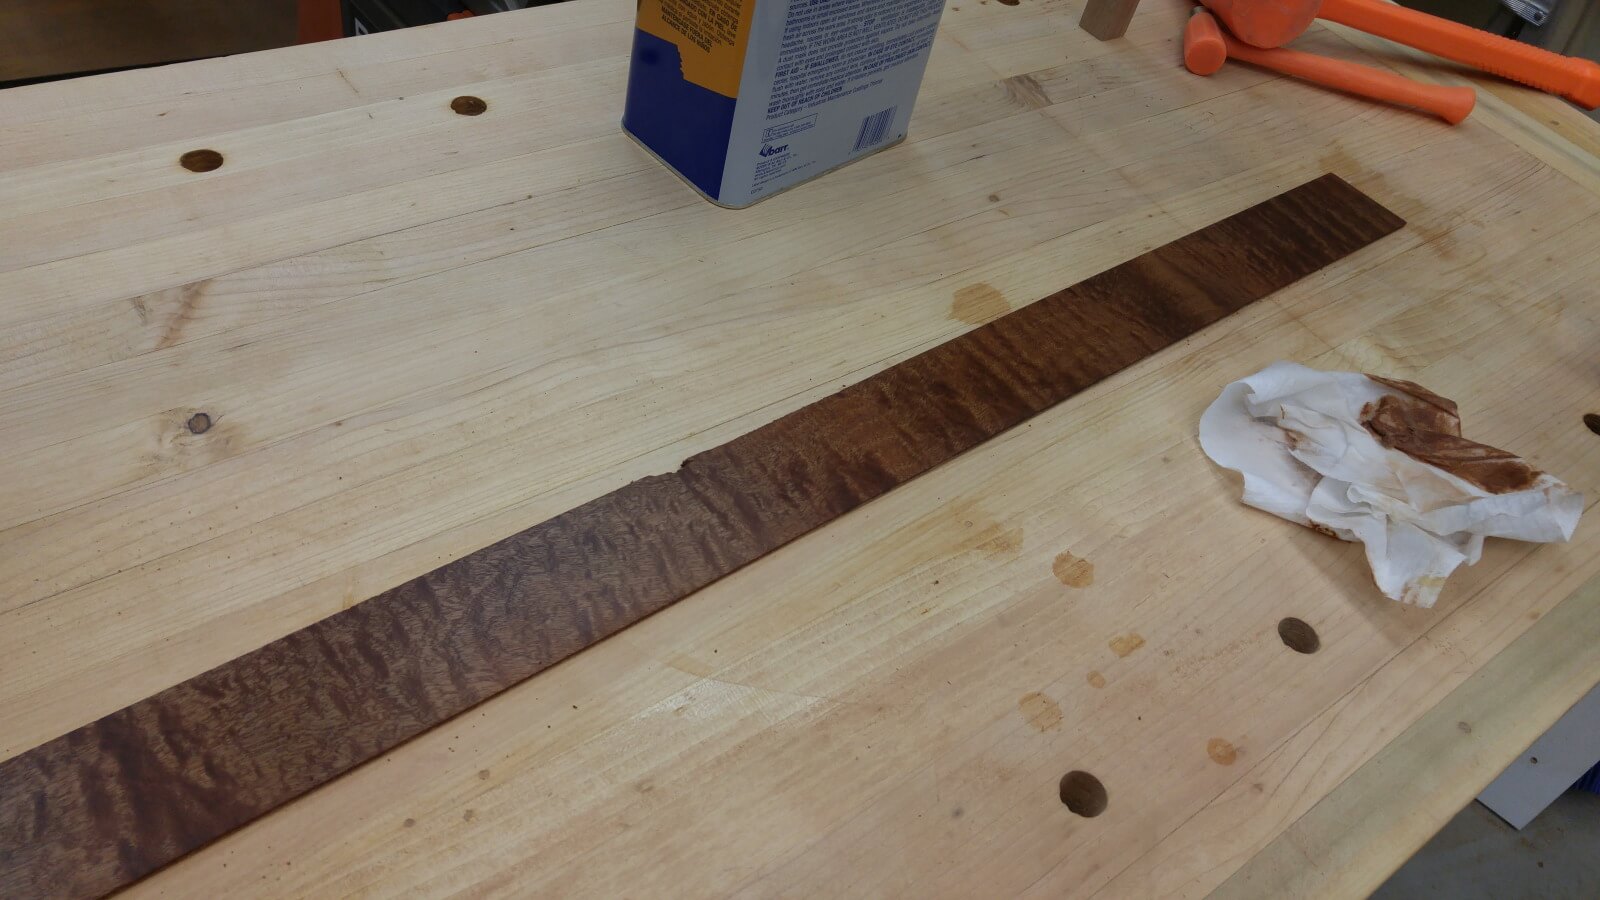
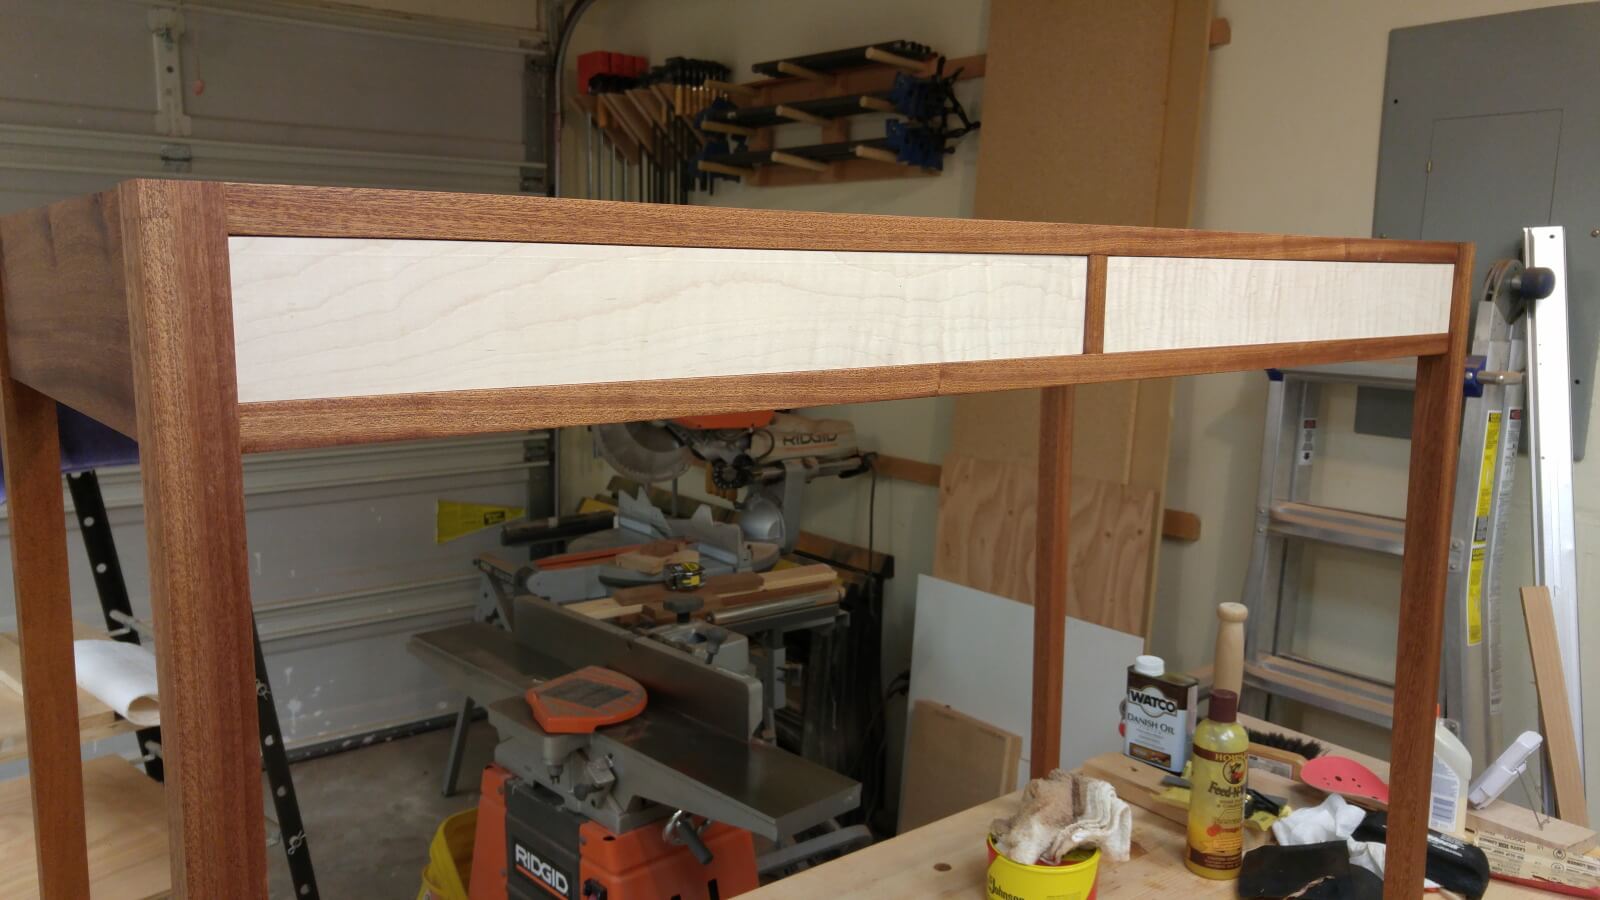
The idea was to make the drawer faces out of some curly maple I had left over from the Library bookshelves that I did back in Anchorage. This was a large project I did for the wife that kind of didn’t get completed before we moved down to Washington. So I though using some of the scrap from that would be a good idea and a nice touch. I would then veneer in the center some highly figured Sapele I pulled from the scrap bin.
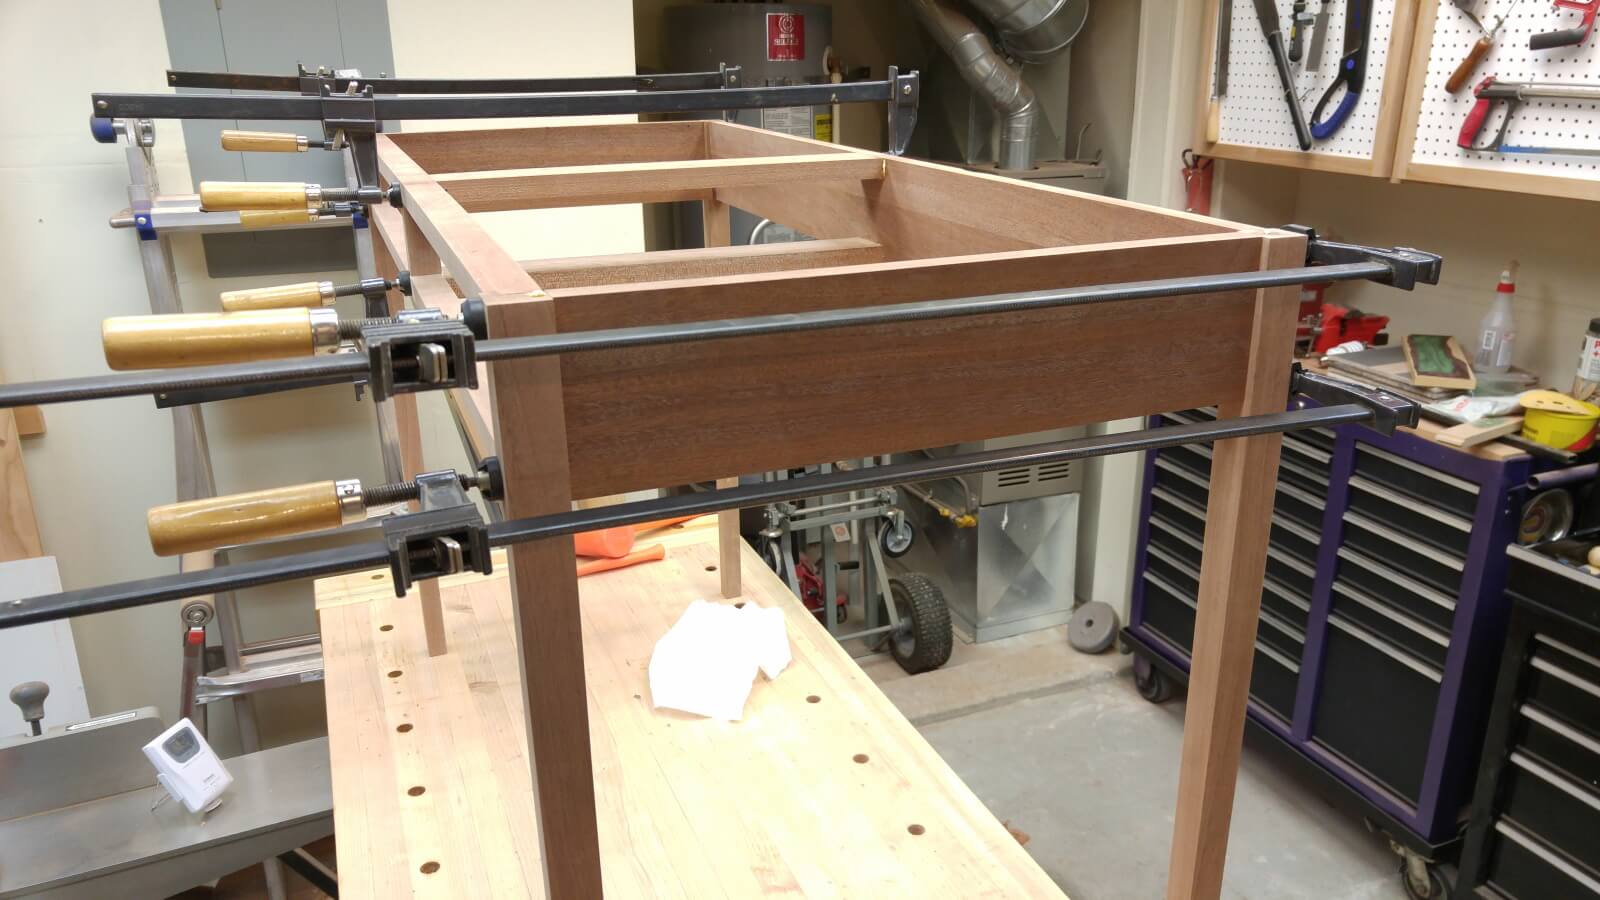
While I contemplated just how I was going to go about making the actual drawer fronts I started gluing up the drawer supports and guides.
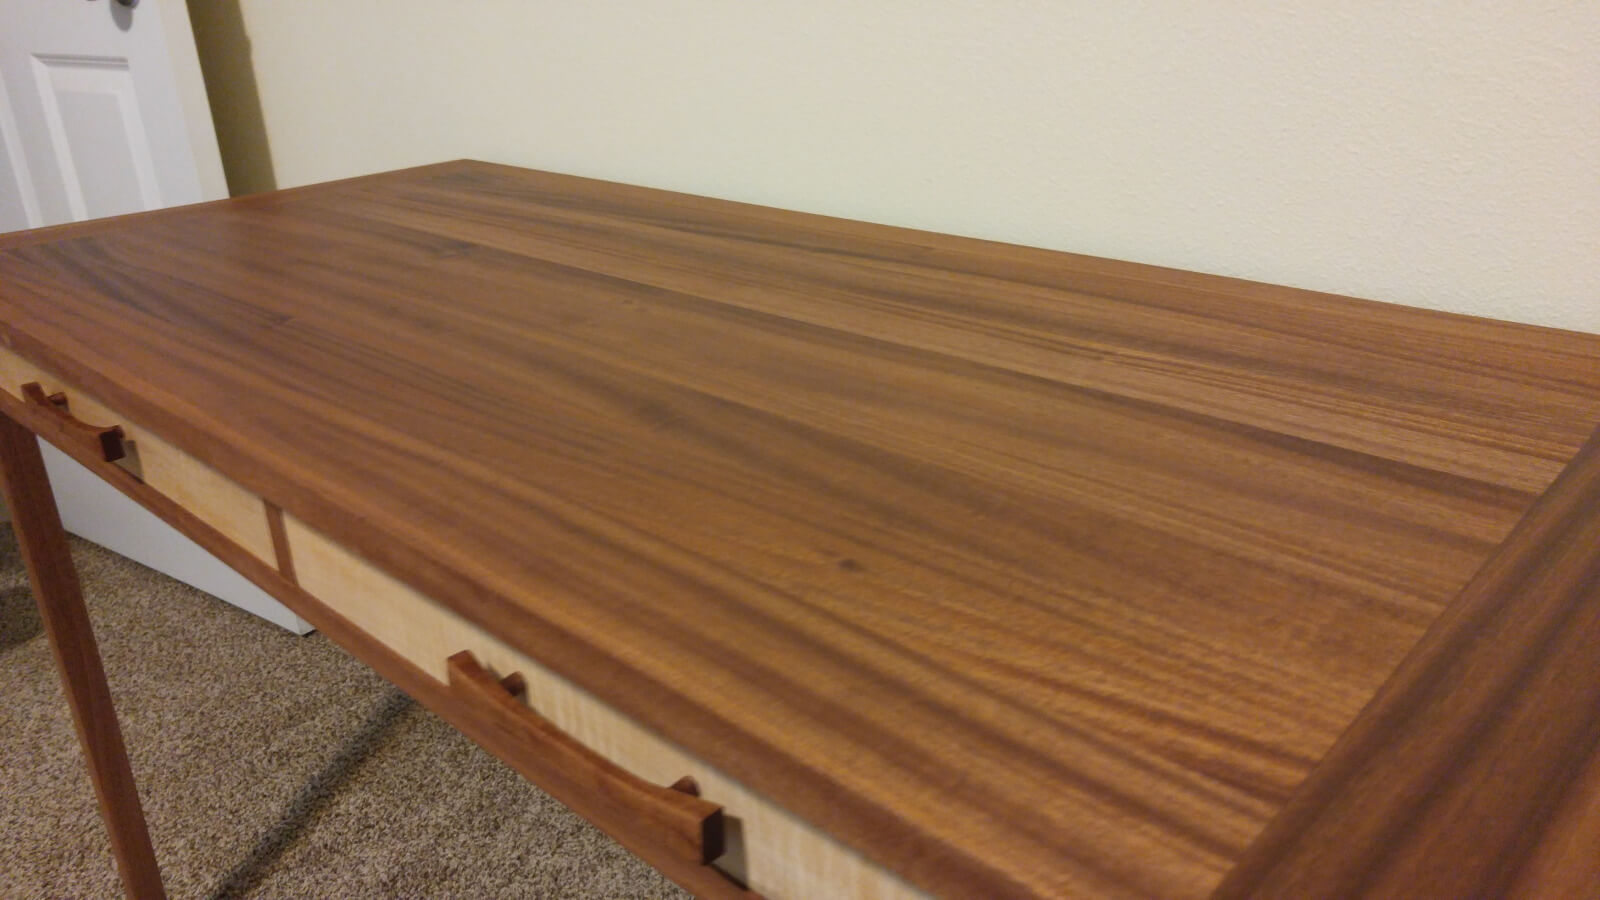
While the frame was gluing, I started applying the finish to the top. I decided to go with a natural beeswax finish. It’s easy to maintain and I find the application process relaxing and I like the matte sheen it produces.
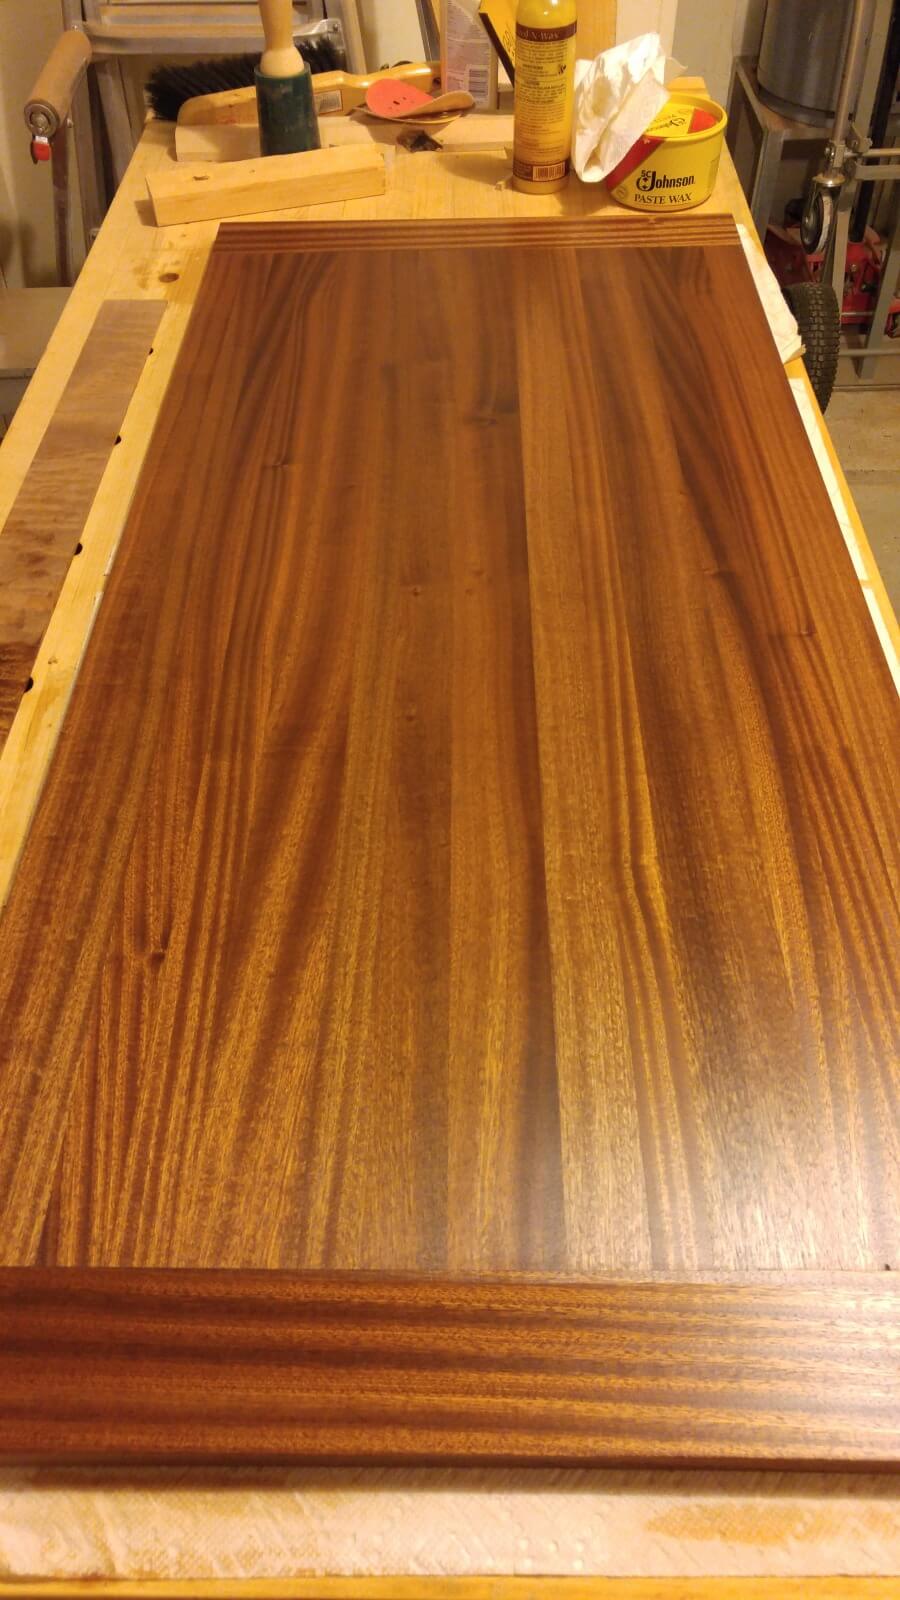
For the top, I applied the wax on with 320 grit wet sand paper. After that dried, I did the same with 400 grit and then 600 grit. Then a final coat with just a cloth.
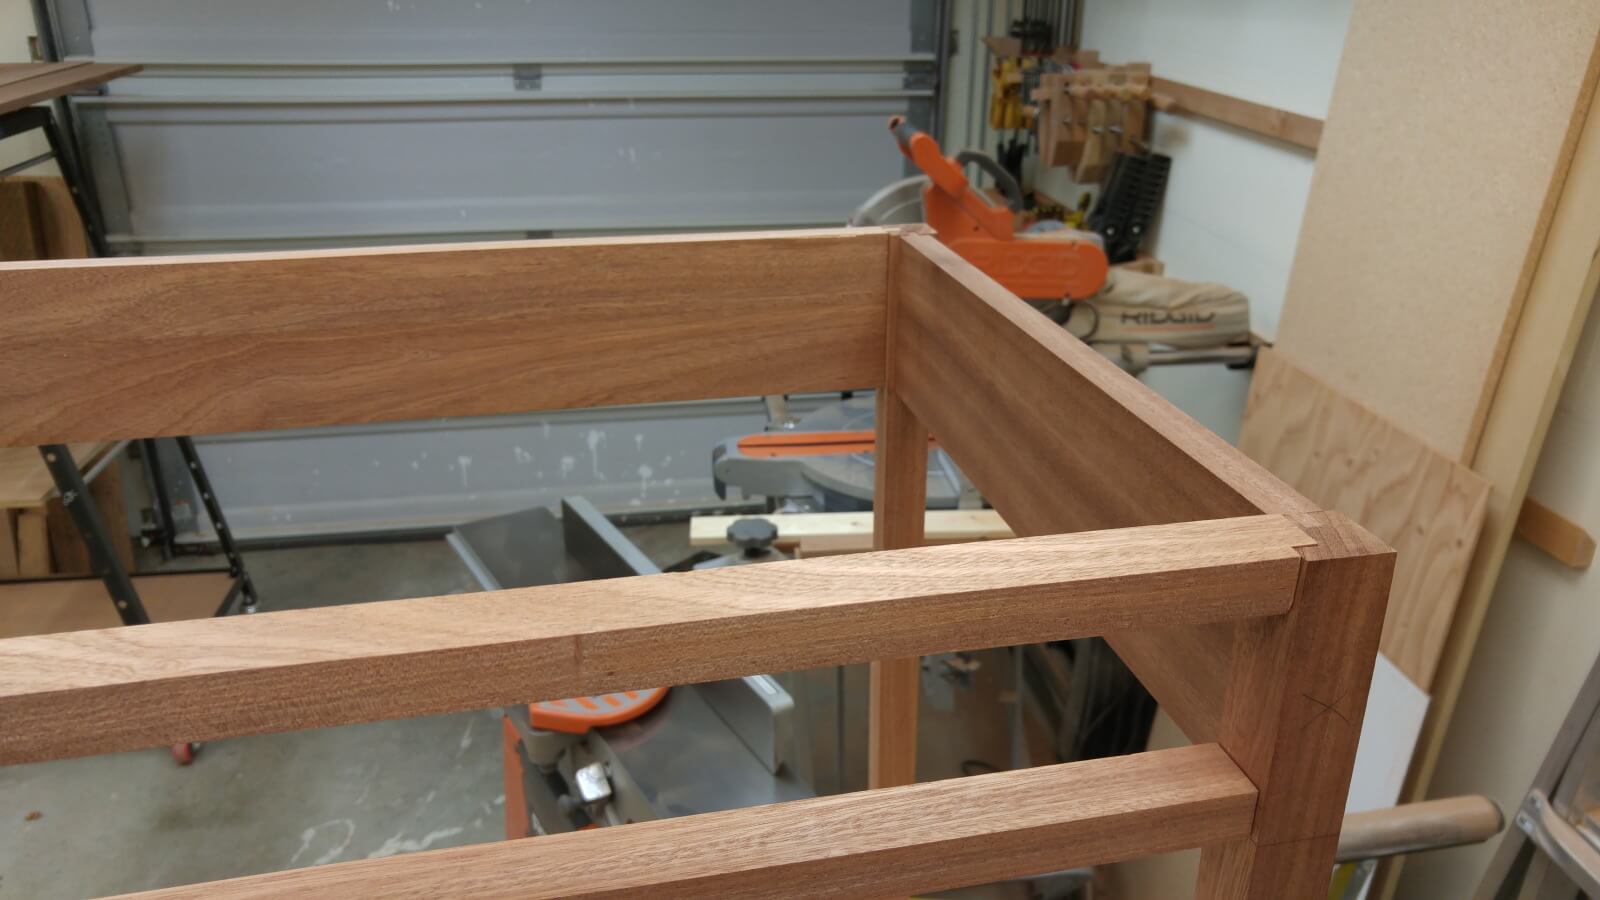
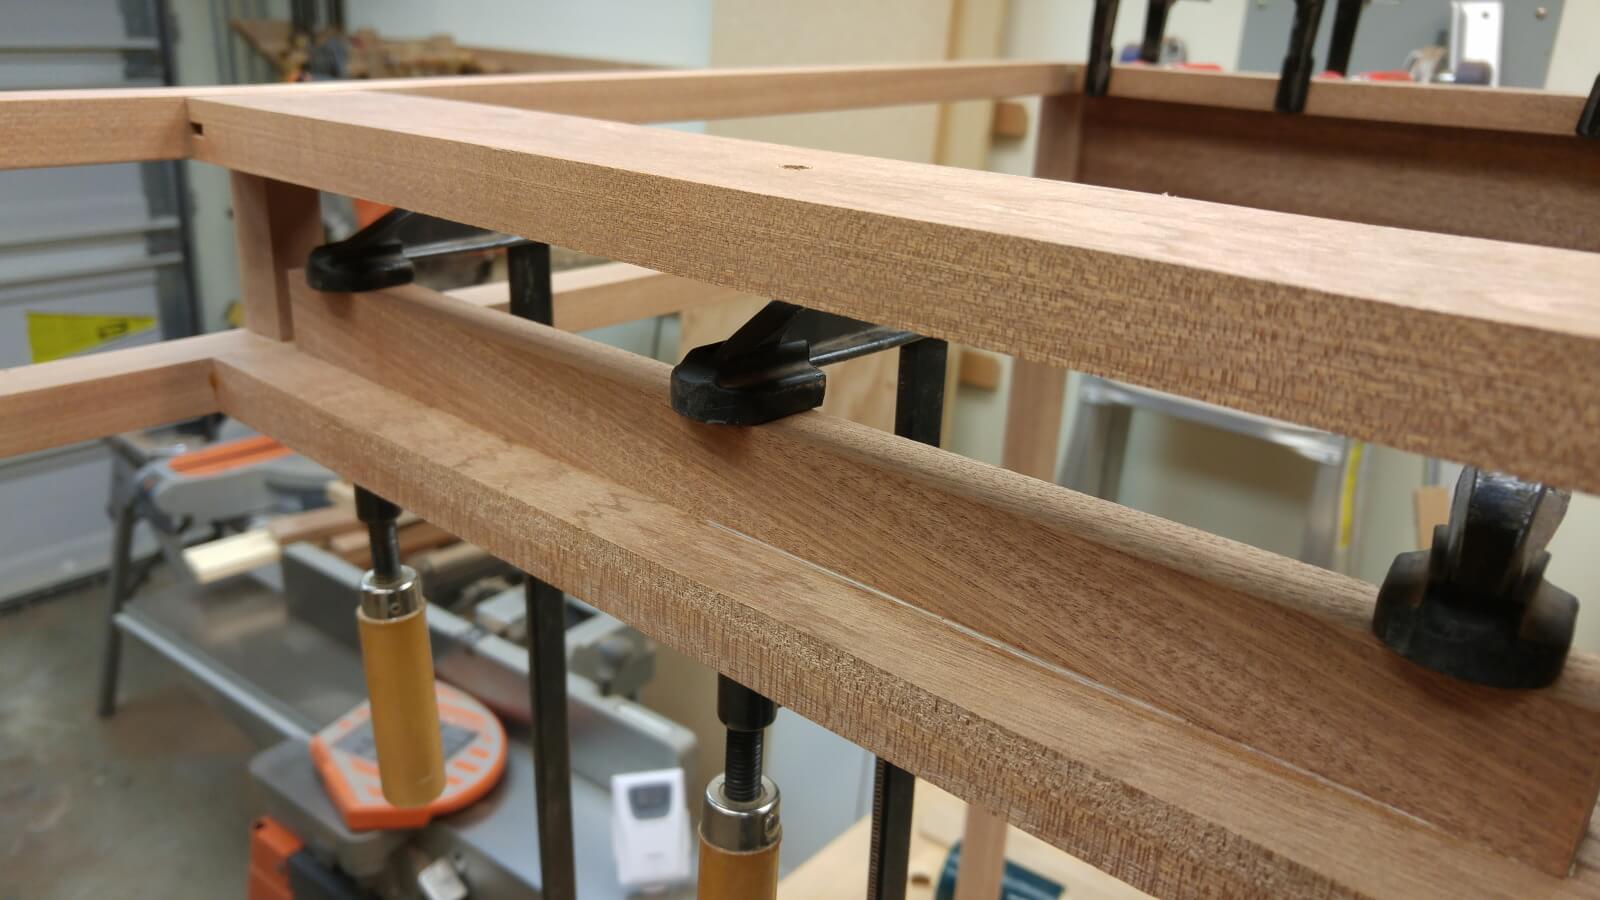
Once the glue dried, I cleaned off the corners, and softened the edges a bit.
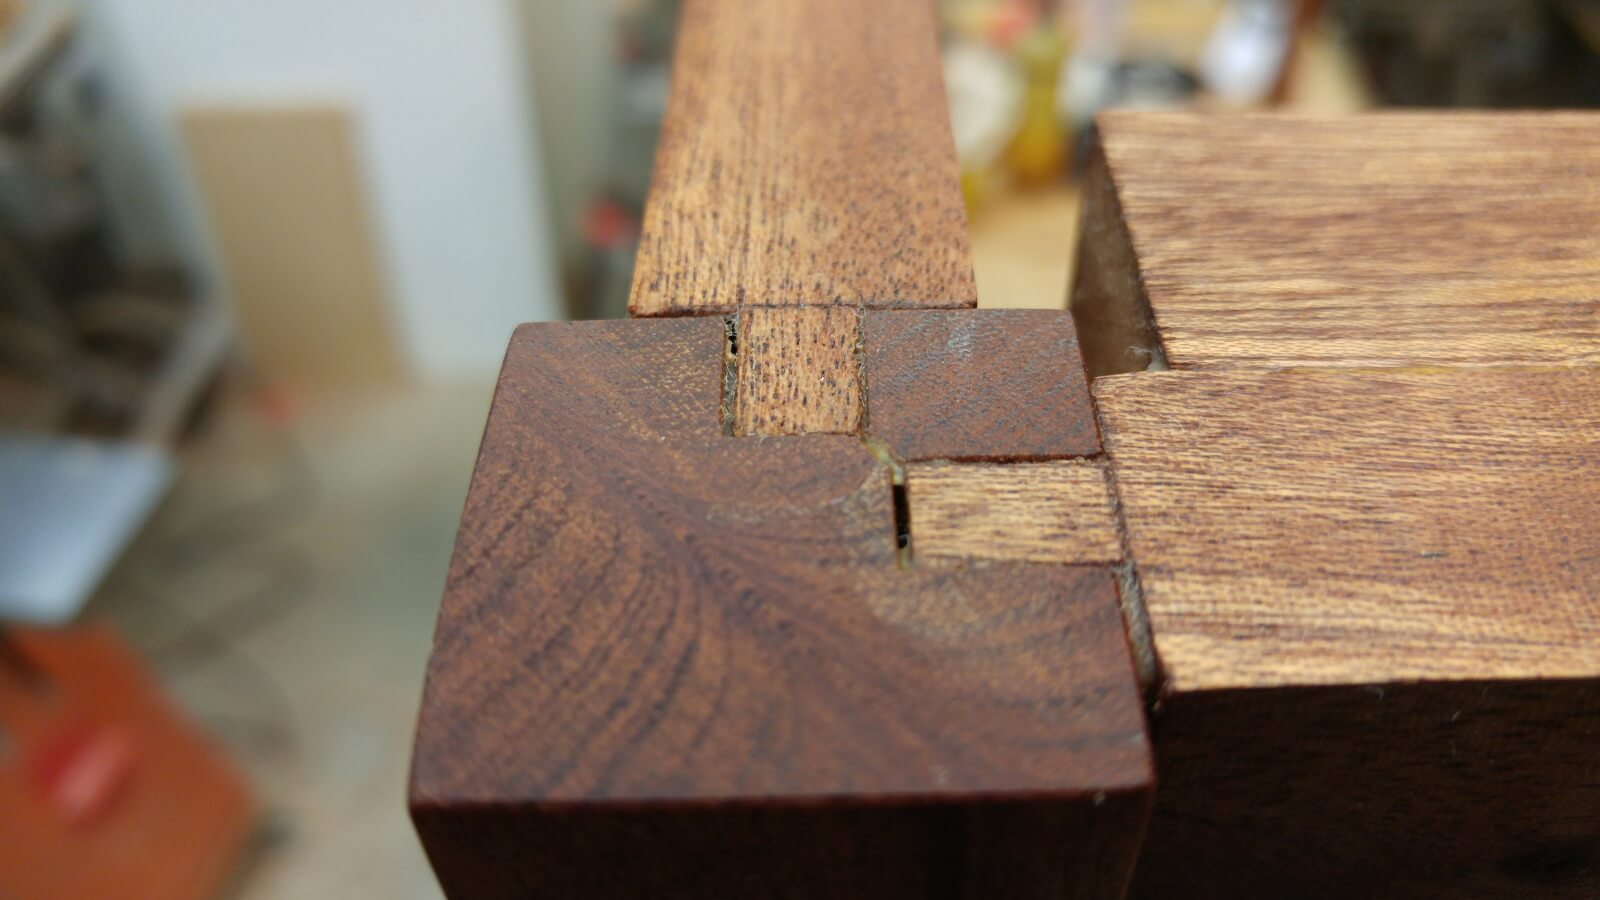
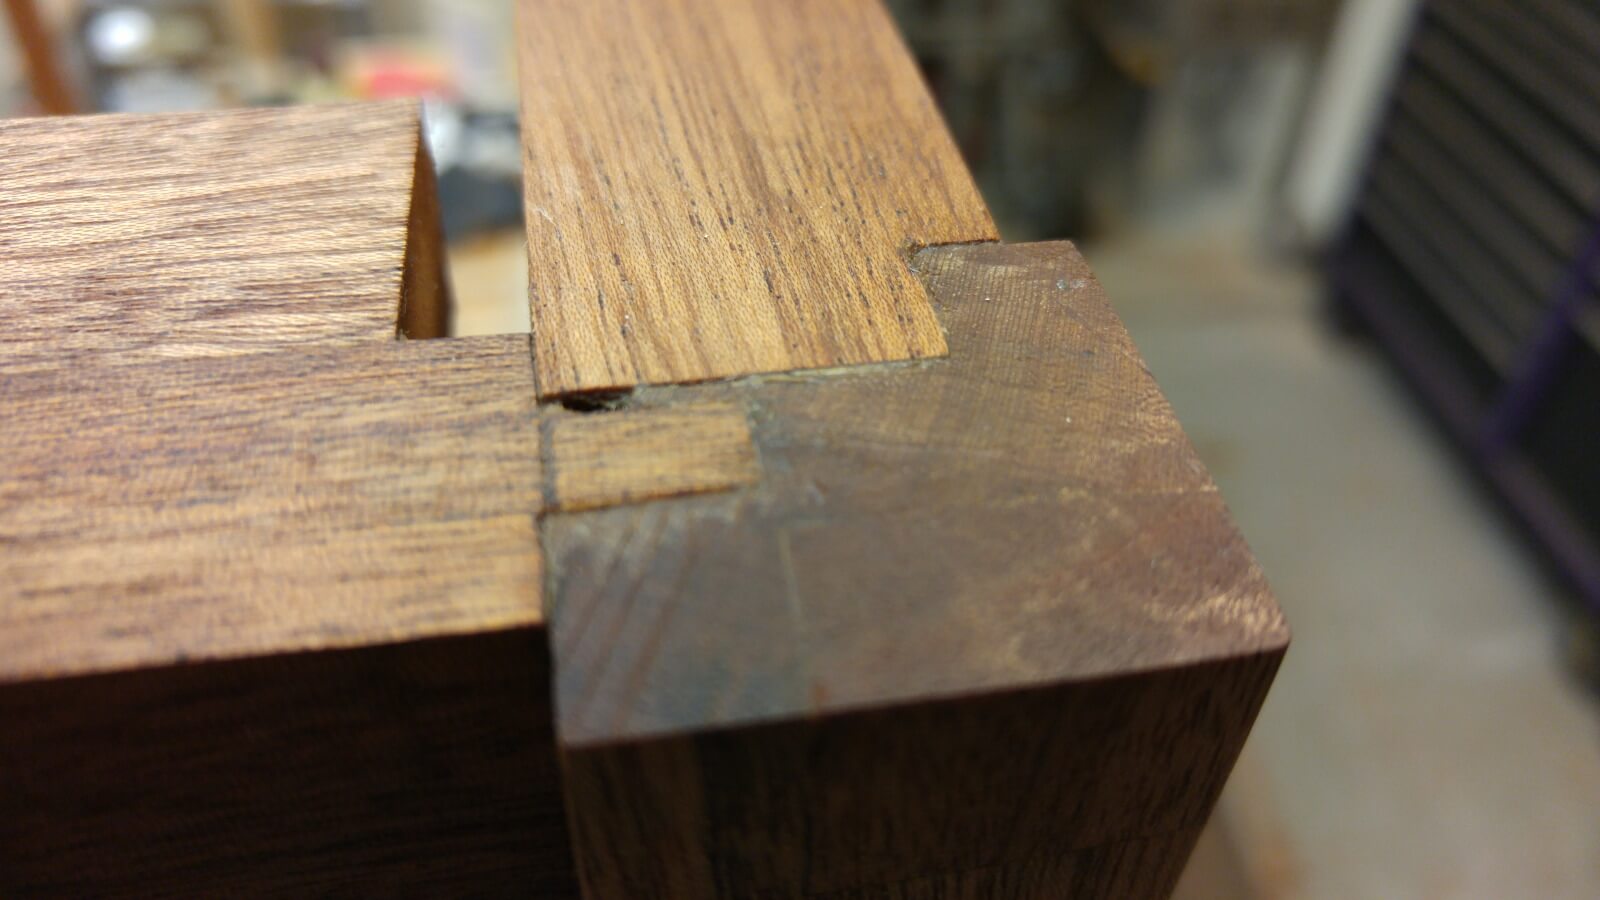
You can see that some of my joints are a bit off.
It was then time to wax the frame. I did this the same as the top, only I stopped at 220 grit
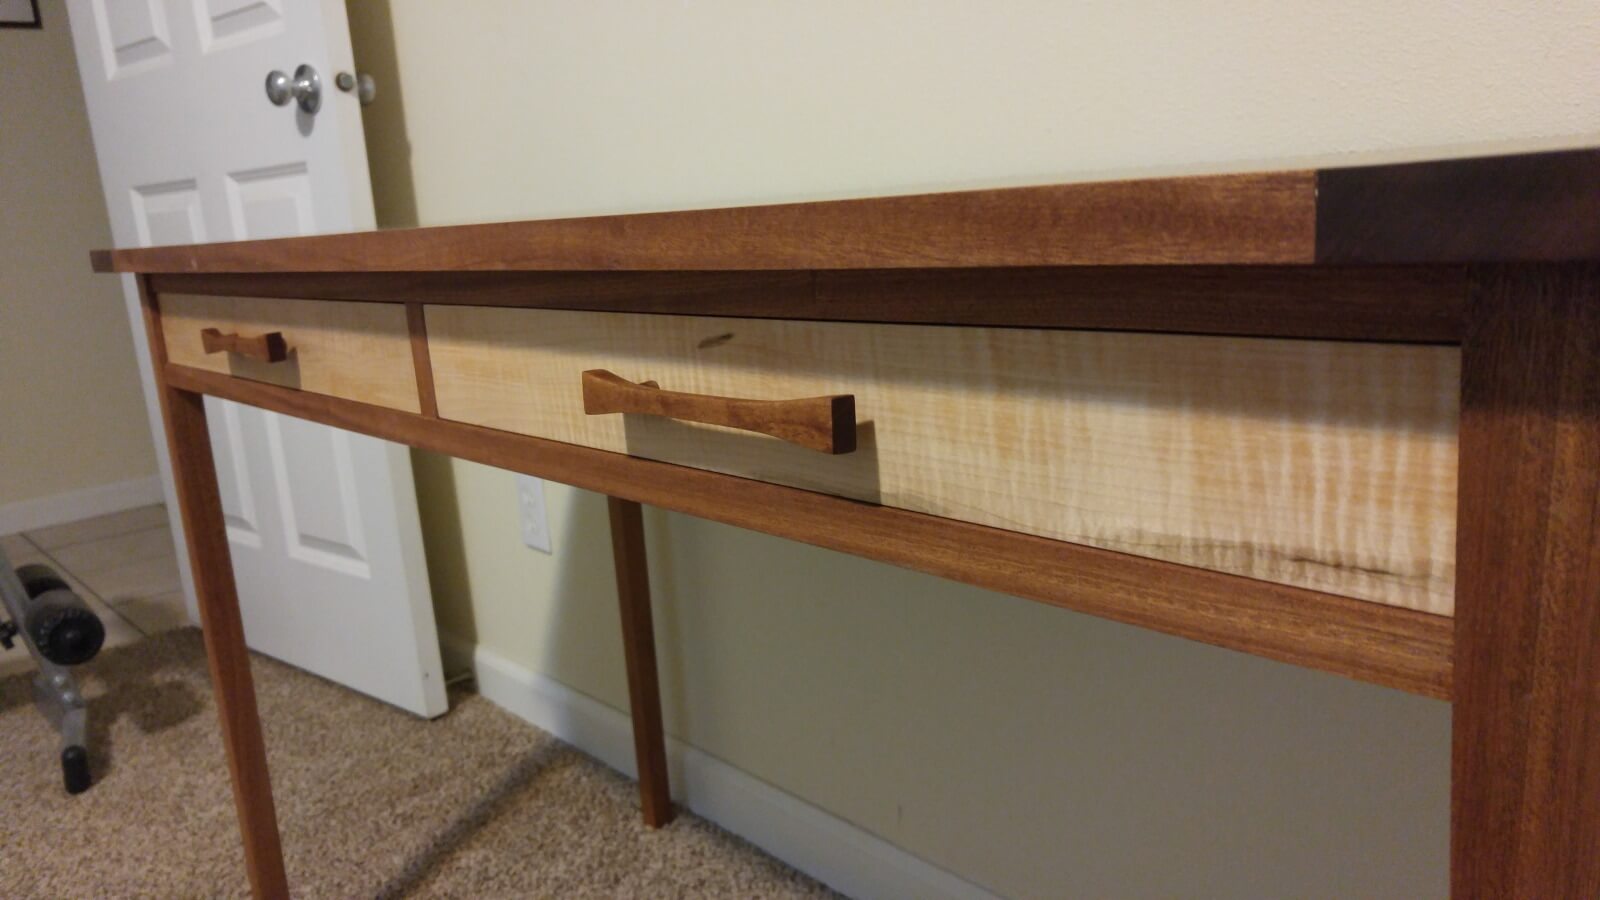
The drawers were going to be very narrow. This was either going to leave a very thin reveal of curly maple, which would also mean a much more complicated drawer face than I had time for, or a smaller veneer area which didn’t look so good on my test pieces. So it was decided to just skip the veneer on the drawer face and simply just use the curly maple for the whole face. I would then make my own handles out of figured sapele to tie it together.
At this point, it is already December 20th, so time is getting to be a bit close. As such, I did not take as many photos as I could have. As I mentioned before, the pictures I did take were simply so that I could remember how I did something later on, and of course to message a few friends on the progress.
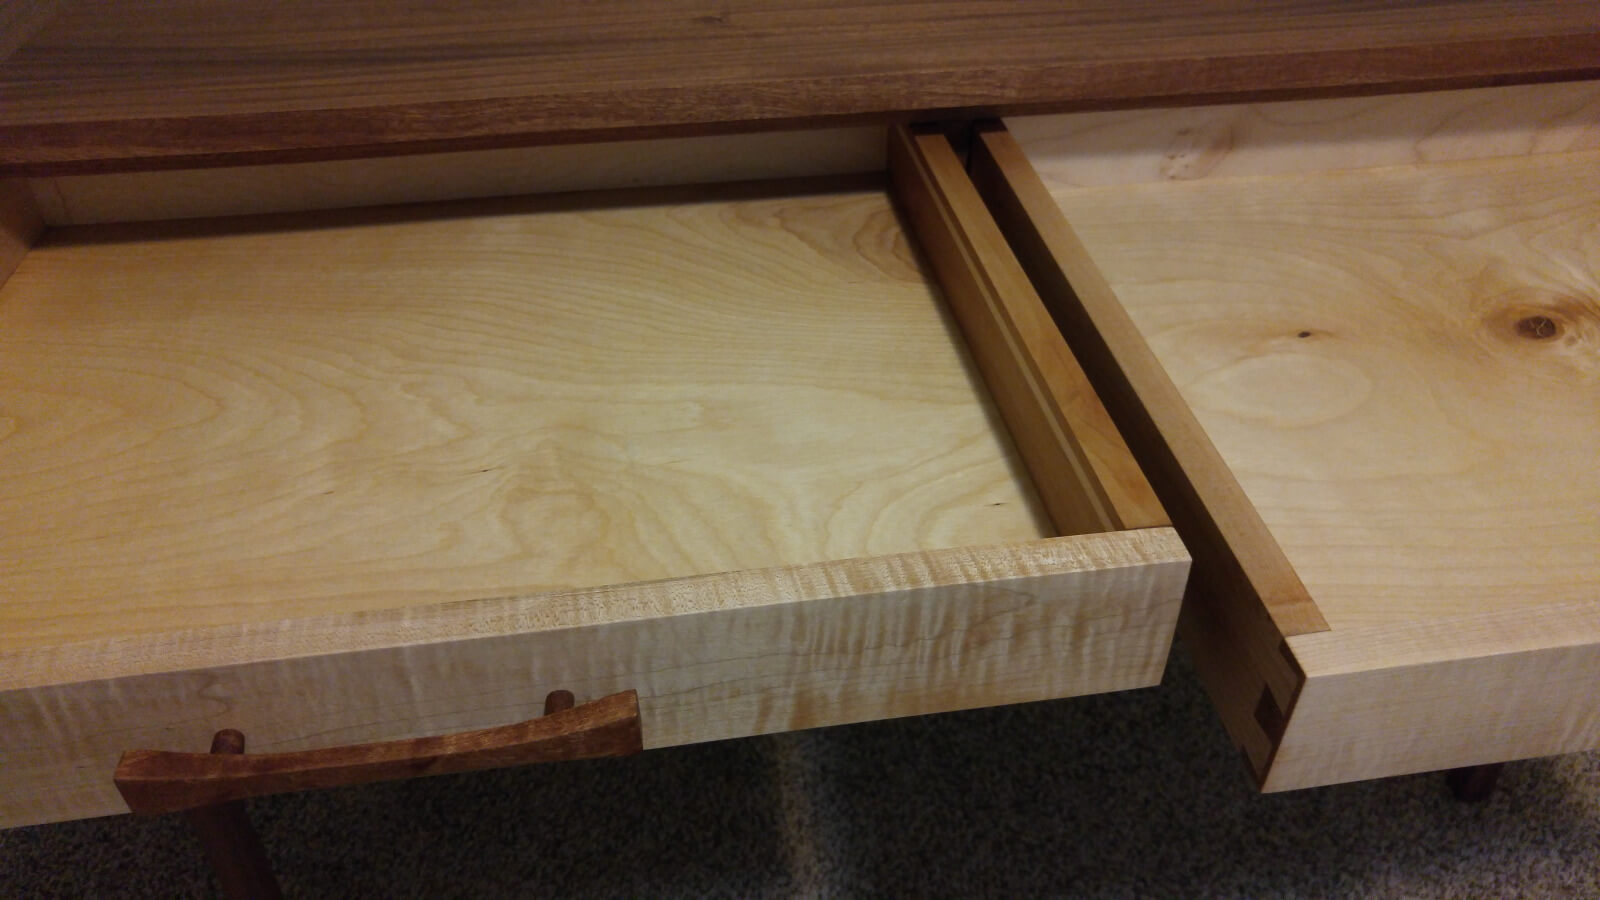
The new plan for the drawers was the Maple face with a half blind dovetail to some alder sides. the alder sides would simply be butt jointed at the back roughly 2 inches from the end. this would allow the drawer to pull out and leverage itself at the tipping point, but not leave any drawer in reachable. A fake full extension drawer if you like. Why only a butt joint at the back and not dado? Time was part of it, but I was also a little bit unsure of the alder for the sides.
I started by fitting the faces to the opening.
My half blind tails were off a bit so I ended up very carefully cleaning them up with the router. This was very nerve racking as I only had the two pieces of maple left with any figure on them that would actually work as drawer fronts. In the end it came out OK.

The more astute of you will notice the file date on the photo is December 24th. I mention this because the time crunch drove me right into the next mistake. When I was cutting the slots for the drawer bottom, I cut four left hand sides. While this was really shitty, it did give me some marquetry practice :-) I ended up cutting filler strips of some scrap maple to fit into the mis-cut slots.
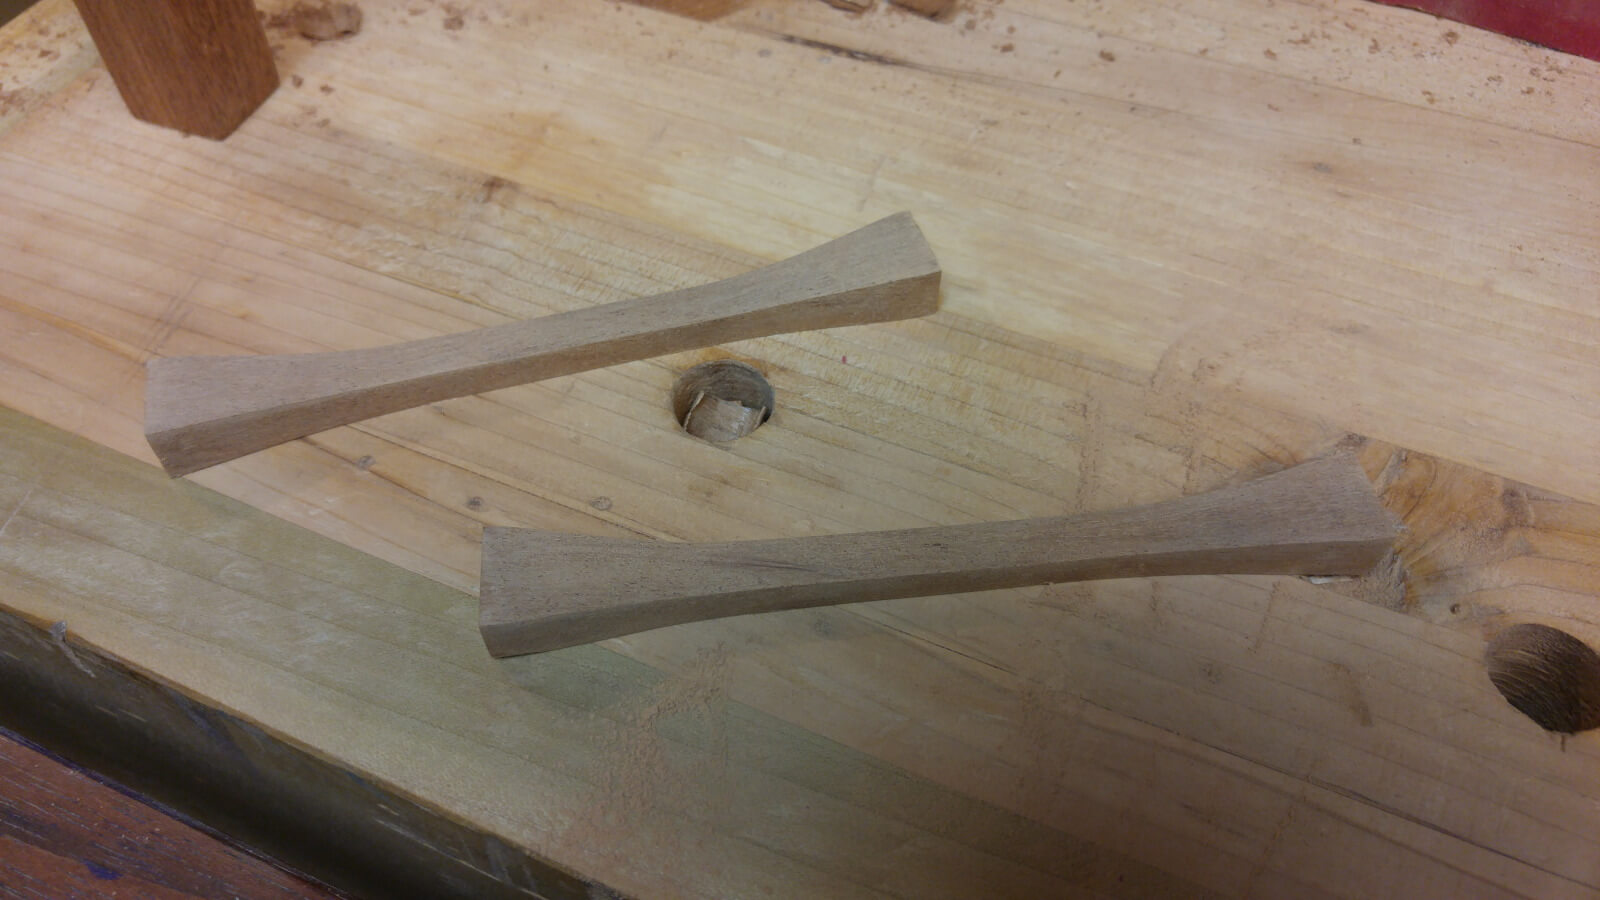
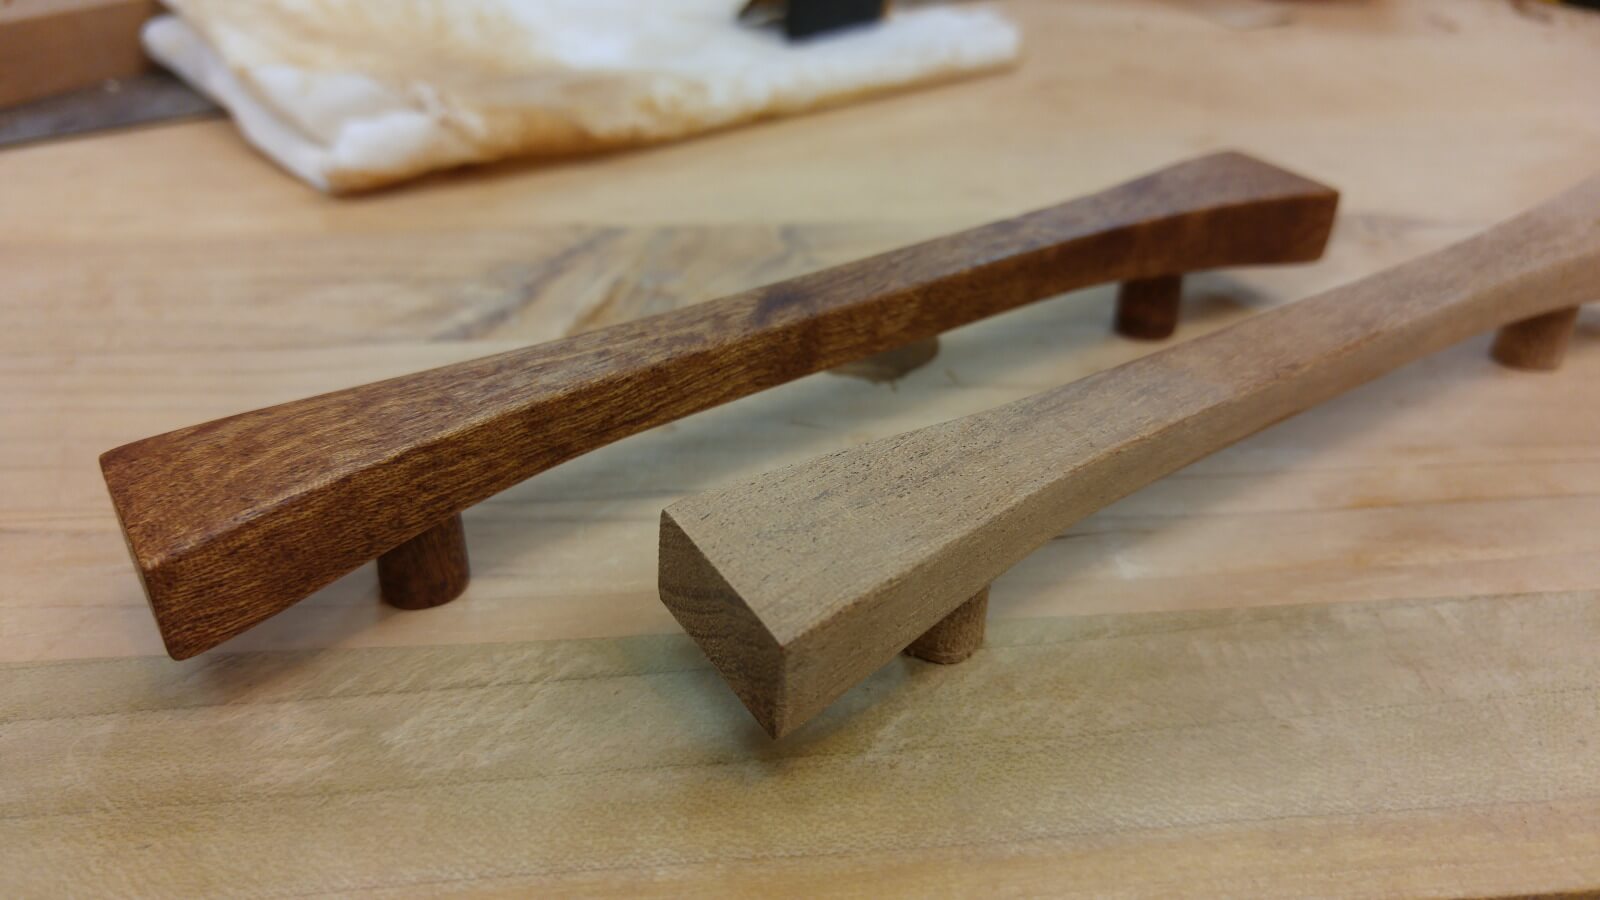
Once the drawers were gluing, I started on the handles. I had yet to make my own handles so this was going to be interesting. The nice thing was that since I had already missed the xmas deadline, I wasn’t rushing things anymore. I started with a few blank chunks and a thin scrap. I marked off the centers and hand drew a curve on the thin scrap. I then used an xacto knife to cut out the template, smoothed the curve with sand paper and transferred the curve to the various parts of the handles. Yes it’s a bow-tie, bow-ties are cool.

The same curve was used to taper the back of the handle for fingers. I used a chisel to remove the majority of the waste and finished up with a scraper and failing that in some spots, sandpaper.
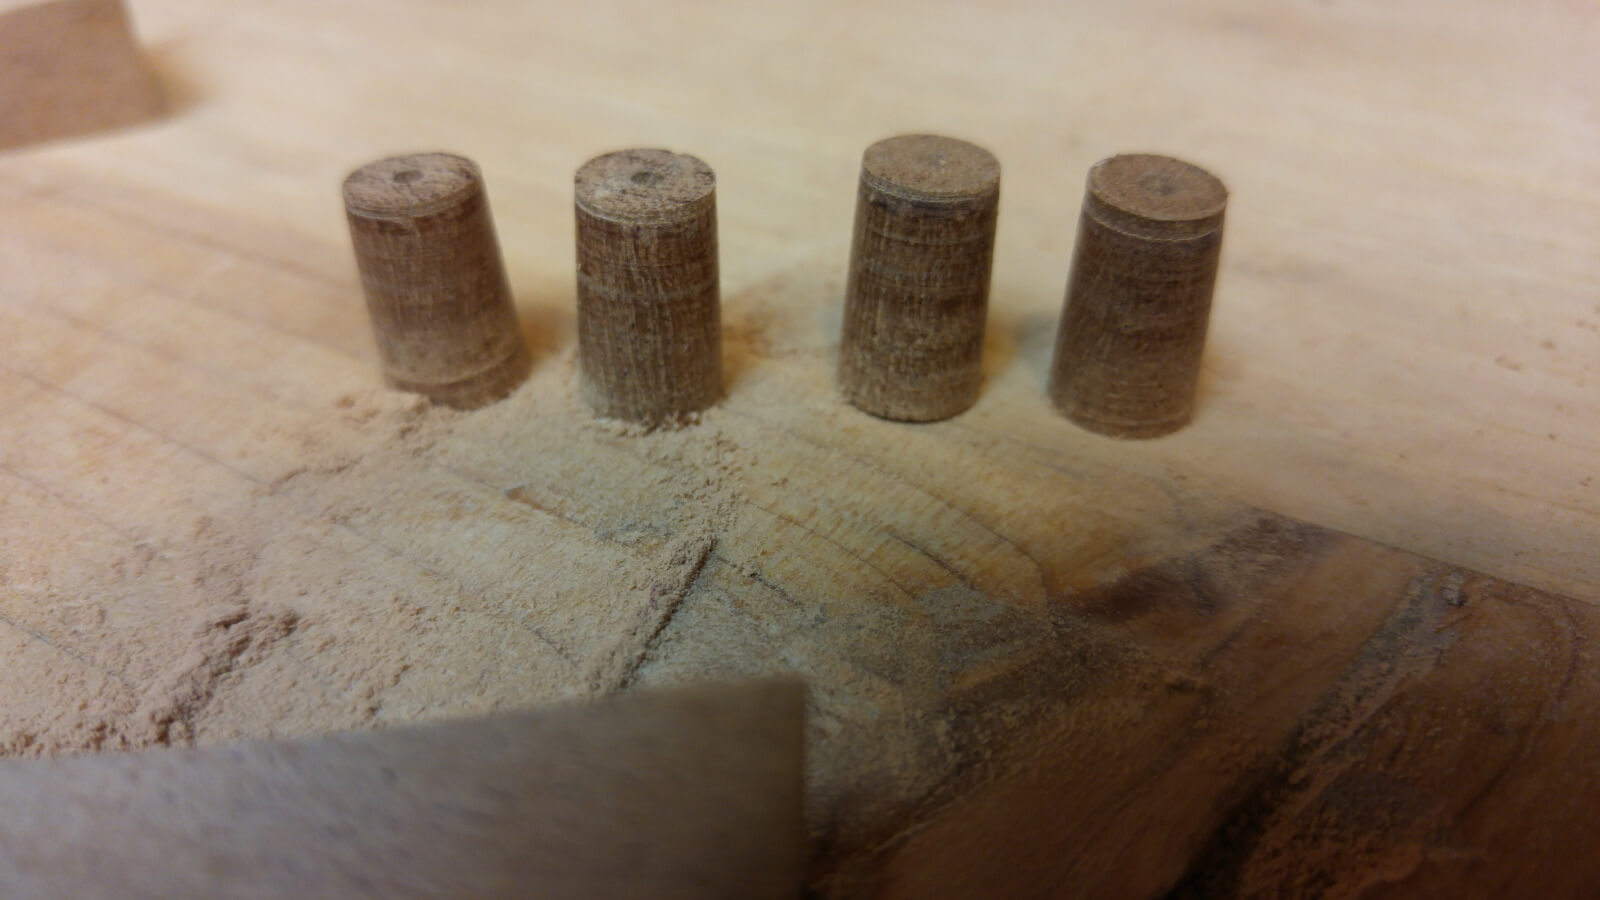
So I had the basic pull shape, but now I has to figure out how to attache them to the drawers. I contemplated just gluing them straight to the drawer fronts. This would be problematic if they broke, and didn’t really give much space for gripping. So I needed to make a standoff, and my best bet was some sort of standard spacing. This way, if it didn’t work out I could still just buy handles. I remembered that I had some plug cutters I bought from some random tent sale. Sure enough I had one a decent size to make stand offs. I found a scrap piece with a wide enough base area from the end, marked it off for center, and began drilling.
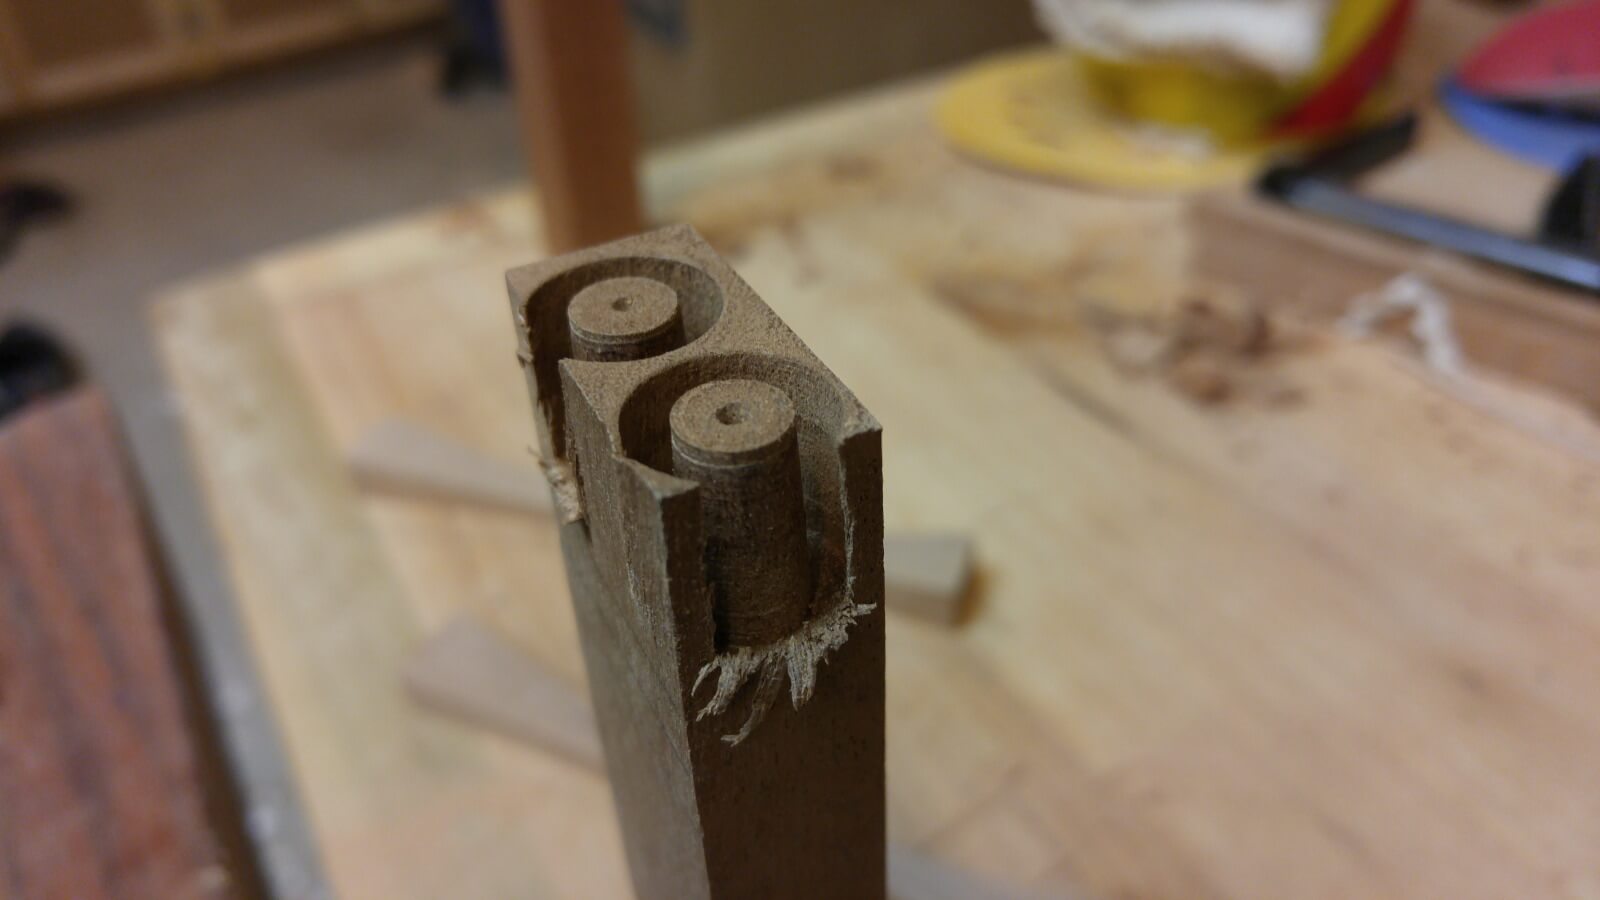
Then simply cut the bottom and the standoffs fall right out
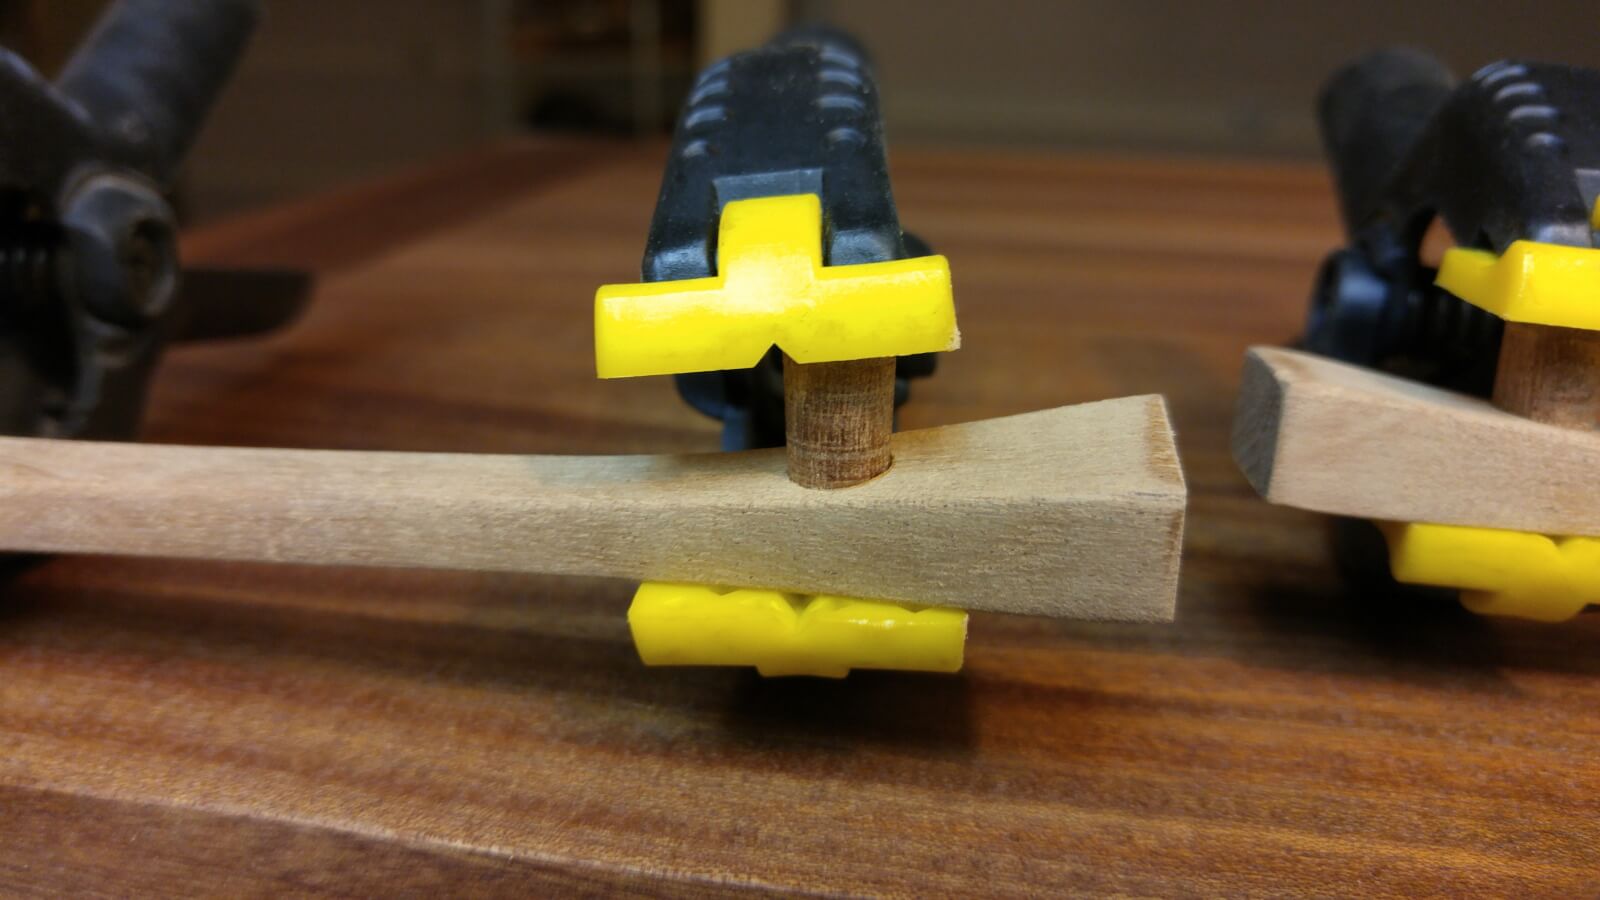
The pieces actually came out smooth enough that I was able to use them. I simply had to drill a small recess into the back of the handles to accept the standoffs and make sure they were level with each other. I have no recollection on how I did this. I don’t own a drill press, and I don’t think I have that small of a forstner bit. I suspect I used a brad point bit, put the handles in the vise, and worked very slowly. Once that part was done I glued them up.
Once dried, wax was applied.
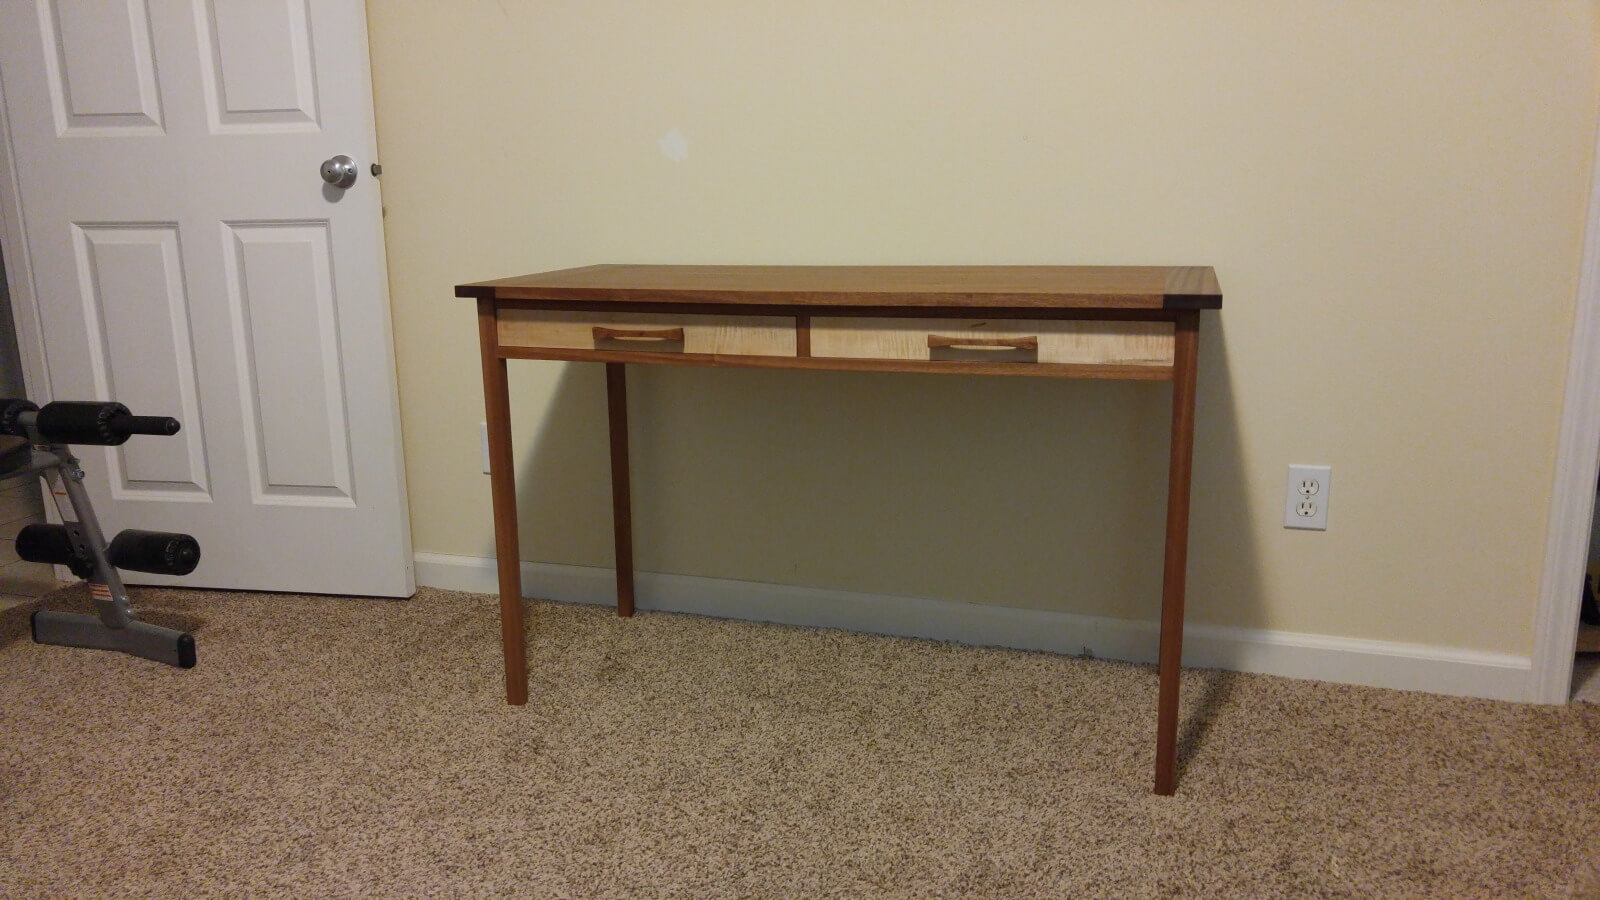
I then attached them to the drawer fronts and brought it into the house for a happy late Christmas peasant. December 27th, 2016. Only a few days late.