A few years ago now I picked up one of the DIY Guitar kits from Rockler Woodworking supply. It’s basically a re-branded kit from China, but I had a gift certificate and I was really curious if I could do it. The idea was to get a better idea of how it all goes together before I start one from scratch. Unfortunately I really hadn’t thought about taking a lot of photos of the process, and only took a few here and there. The first thing I was wanting to do was experiment with dying the wood. On a budget. There are really good dyes specifically made for wood, but at the time I was unemployed and I still really didn’t even have a setup in the garage yet. We had just barely moved into the new house. So I used fabric dye. It makes a mess and it’a water based so it really raises the grain, but it worked… sort of.
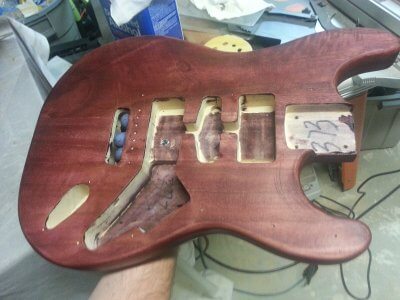
As you can see from the photo, the dye enhances EVERYTHING. You can also see that the body is glue-lammed pieces of hardwood. It sanded easily, but there were some really deep scratches that I hadn’t caught before dying. The wood also did not really like absorbing the dye too much. It ended up being more of a thin transparent layer on top. I know this because even after a few days of curing, when I went to add another dye layer, the first one just came off with. I ended up diluting the dye with mineral spirits instead and that seemed to help get better adhesion.
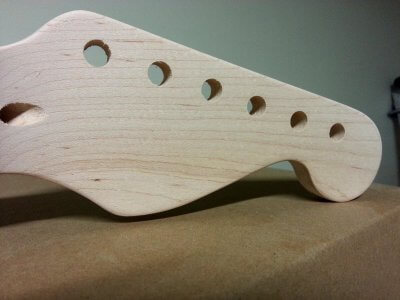
The headstock and neck appeared to be a simple Maple lamination and a hardwood I don’t recognize. I shaped the headstock into a generic Fender style. Coming up with an actual cut for the headstock was the hardest part of this. I ended up using a graphics program so I could be sure to have an actual circle instead of a mess.
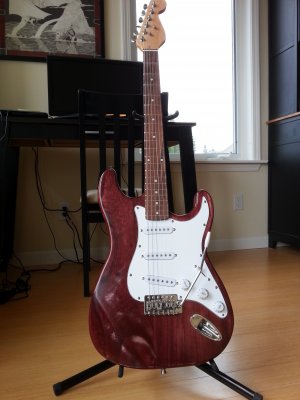
After lacquering the whole thing and final assembly, I had an OK Fender knock off.
You can see in this iteration where the dye was still wanting to come off and not stick to the body. Eventually I decided to redo this kit and it all came out much better than it had any right to.


